I was looking back at the collages I made of all the things I made in 2013. I had a busy year!
So then I decided to make my collage for 2014:

Just the one collage this year, and not so many makes.
But I did make one more thing:

🙂
I was looking back at the collages I made of all the things I made in 2013. I had a busy year!
So then I decided to make my collage for 2014:
Just the one collage this year, and not so many makes.
But I did make one more thing:
🙂
The day before N was born I finished off making a nursing cover, to keep in my changing bag to use whilst feeding out and about. He’s now getting on for four months, and I’m only now taking photos and uploading them – a bit behind!
I searched the internet and used a couple of free tutorials to help make it.
It’s the most awkward thing to photograph as you can’t see the shape of it when you lay it flat, but I used a lovely elephant print that I’d been saving for something baby related: 
It has a piece of boning material across the top to hold it’s shape so you can see the baby. This is the stuff they use in corsets or around big skirts.

The strap has a pair of rings to thread through so that you can adjust the length.

And this is the finished cover:

I have a new machine for my sewing – an overlocker!
It’s quite a scary looking thing, and I’m still getting used to it and working out how it all works, but am using it to make some clothes. I’m hoping it will speed up my sewing.
The first thing that I made with it was some shorts.

Spiderman has been a big hit in our house recently, so when I came across some Spiderman fabric I had to buy some. I bought a half metre, which was just enough for some shorts.
I used the MADE shorts pattern, with a flat front and elasticated back waist. I made a size 3, with a slightly smaller waist, having a particularly skinny 4.5 year old!
I used my new overlocker to finish off the inside seams instead of zigzag stitching like I have in the past, which was much quicker and looks nice and neat. I overlocked the bottom hem, and then turned up and used a twin needle to sew it, rather than turn and turn again.
Here are my finished shorts:

And here they are being modeled, along with his Spiderman jumper (which I didn’t make) and his new haircut with gel to make it spiky:

Does he really love his new shorts? No! He’s complained that I didn’t put in any pockets.
There’s no pleasing some people!
The final Christmas present 2013 post!
After the t-shirt I made turned out too small, I went back and cut out the size large pieces instead. I used the same Charlie Tee pattern by Fishsticks Designs, and again drew on a v-neck, rather than the original rounded neck.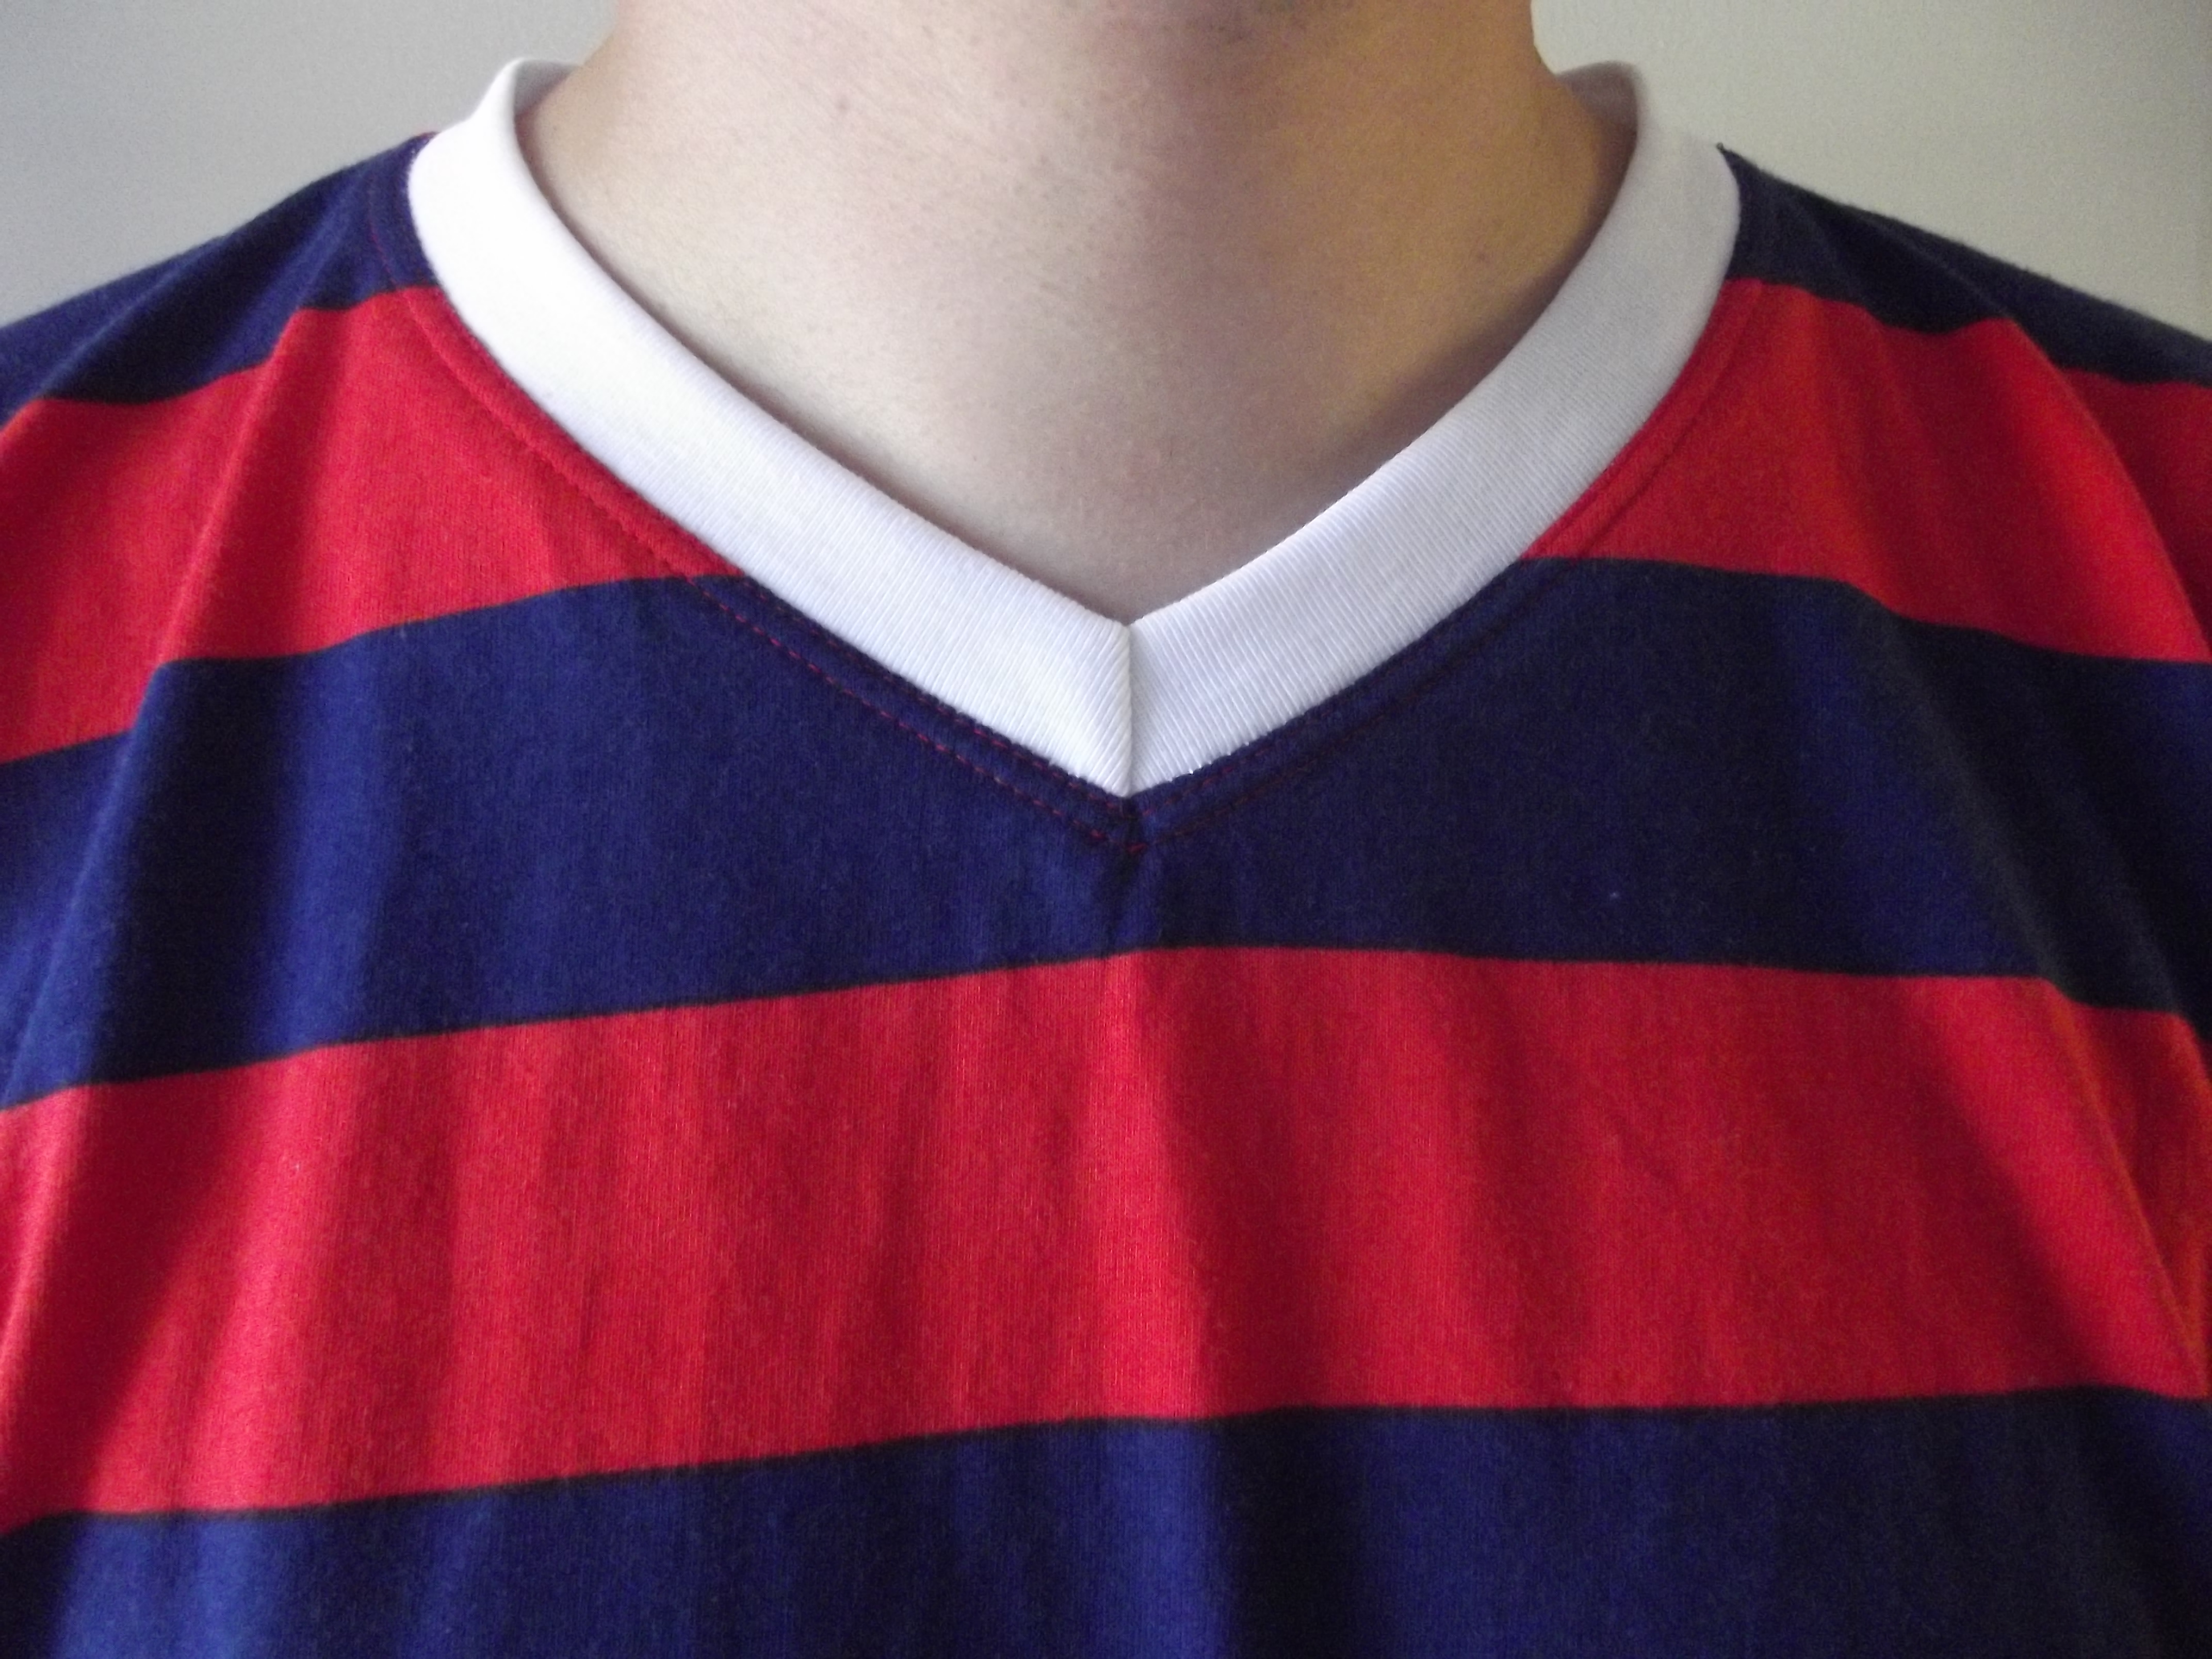 I followed the instructions from the children’s v-neck pattern I have, and stay stitched the v before adding the neckband on. I’ve never done that before as I didn’t really see what difference it would make, and it means changing the double needle to a single and back again, but actually it does make the v much flatter! So perhaps following the pattern properly is a good idea after all!
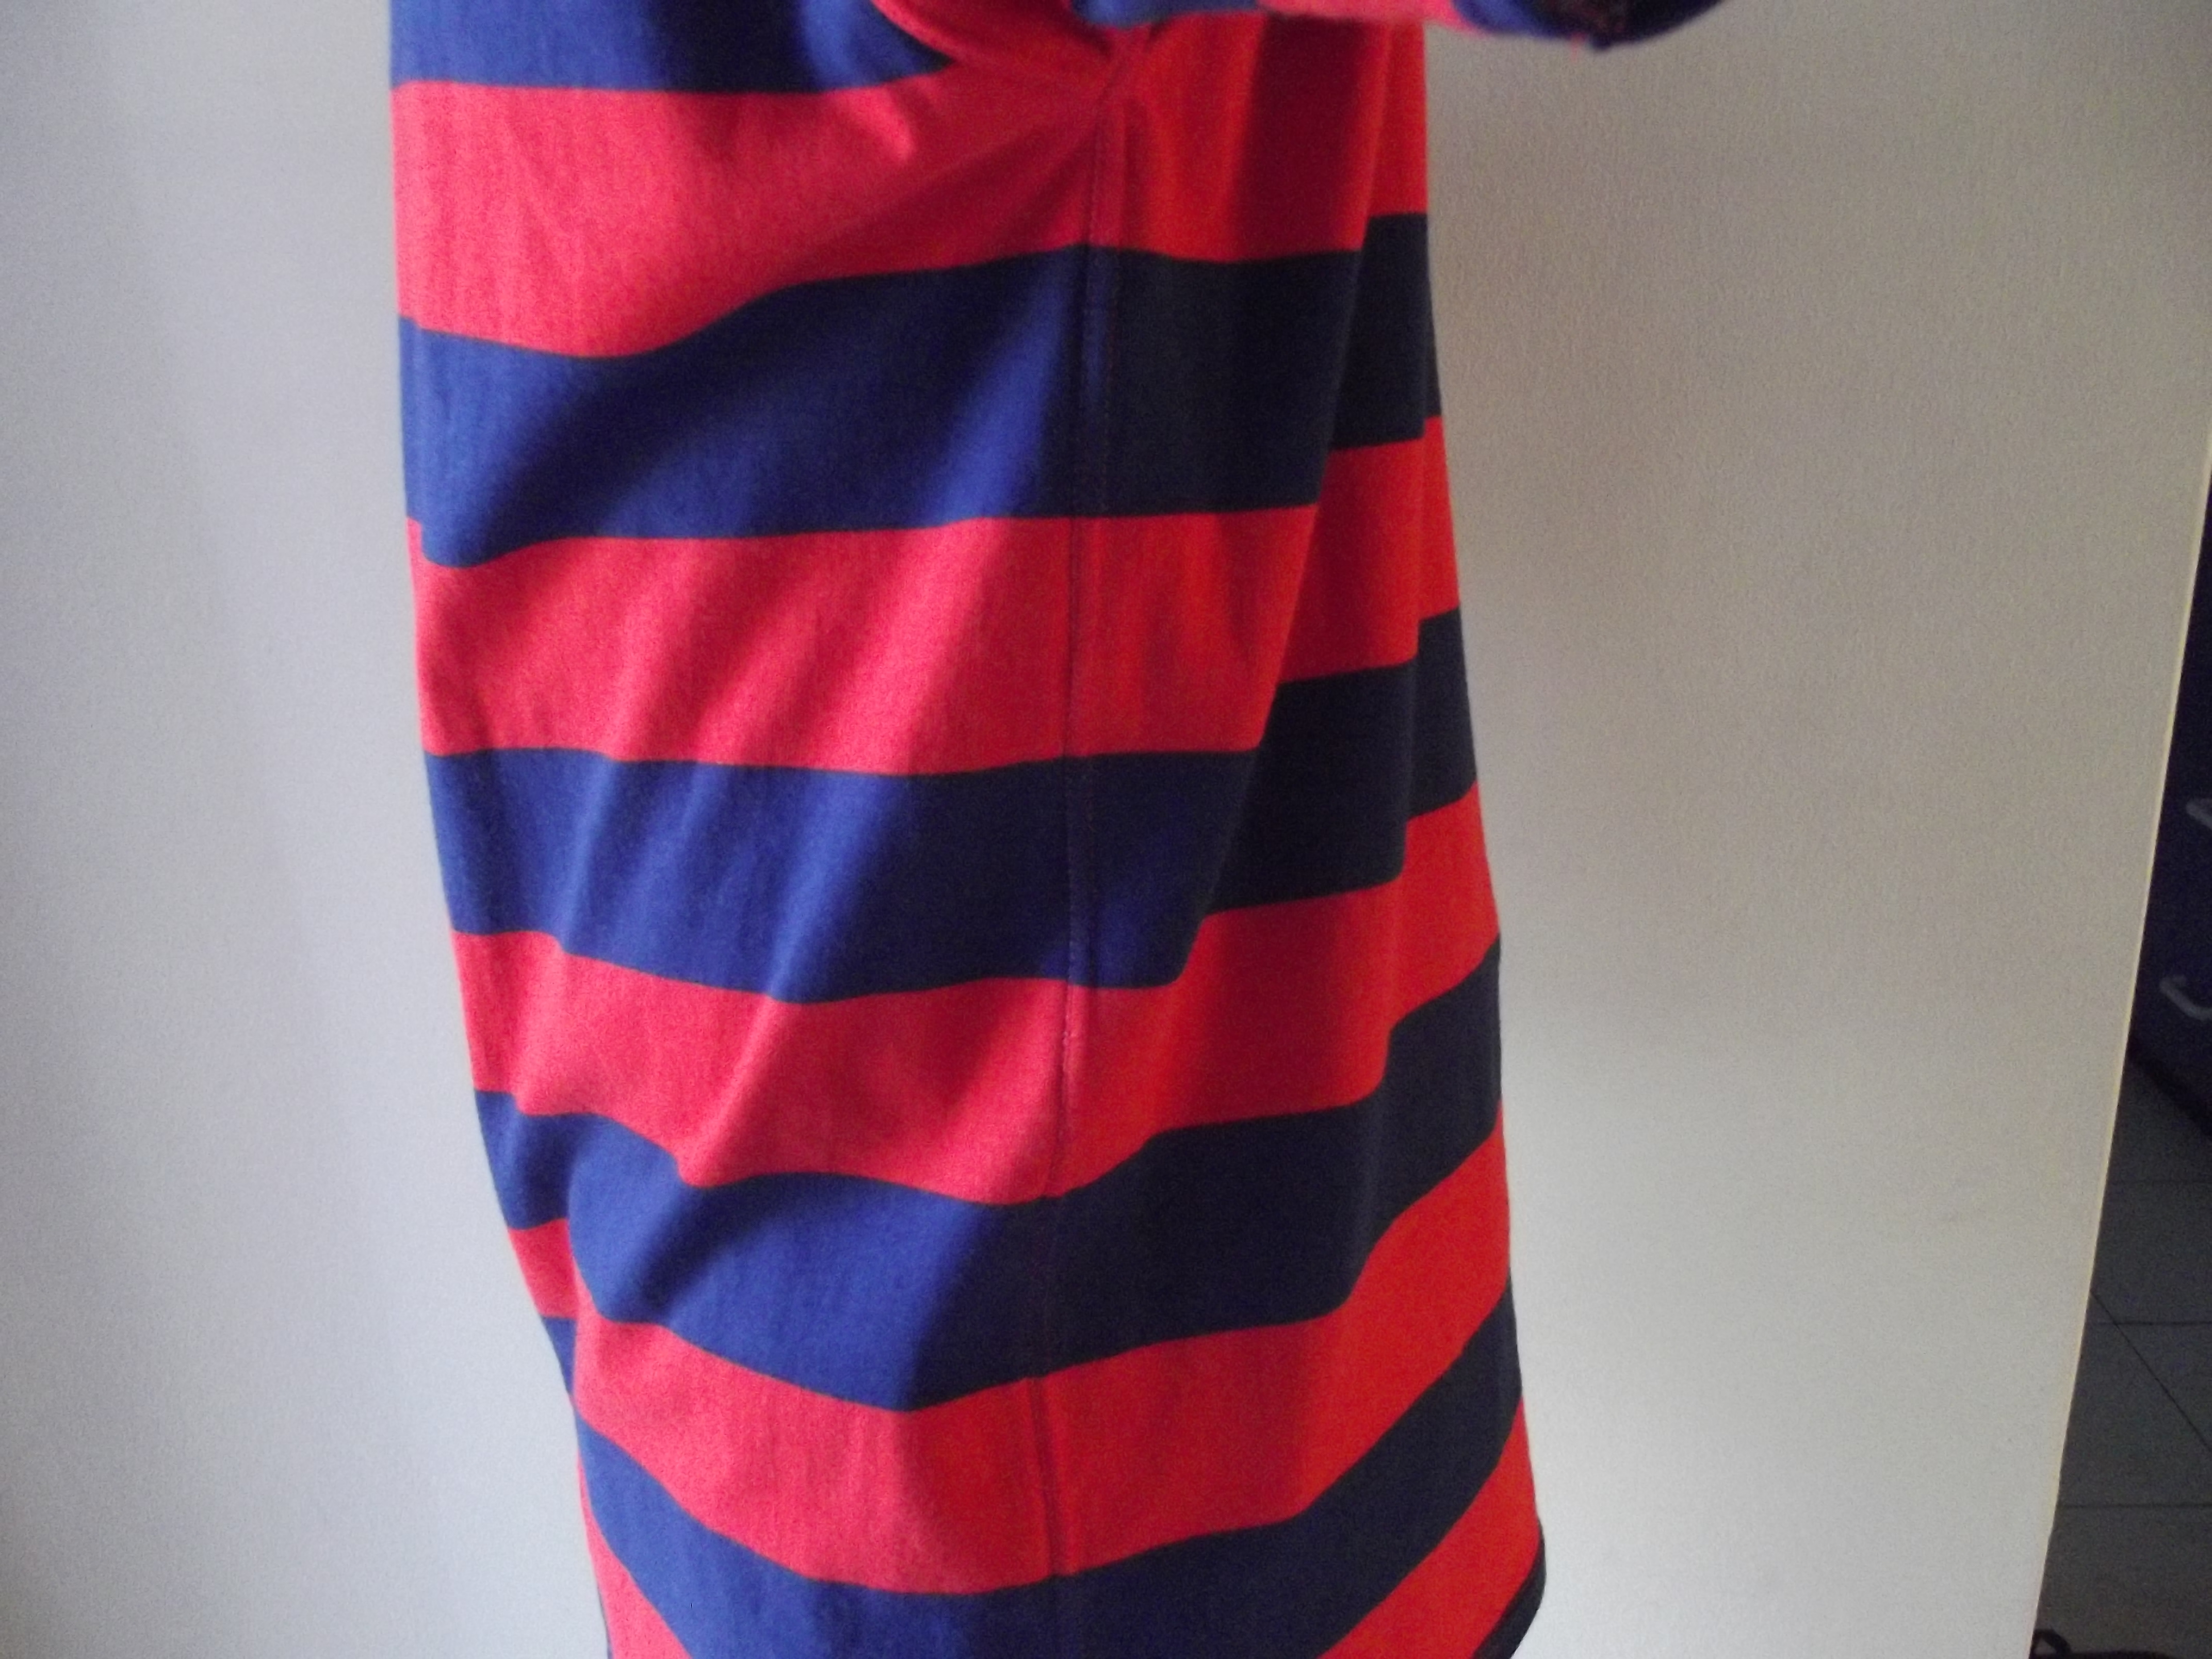 Look at those stripes! I was so proud of these – they match up perfectly!
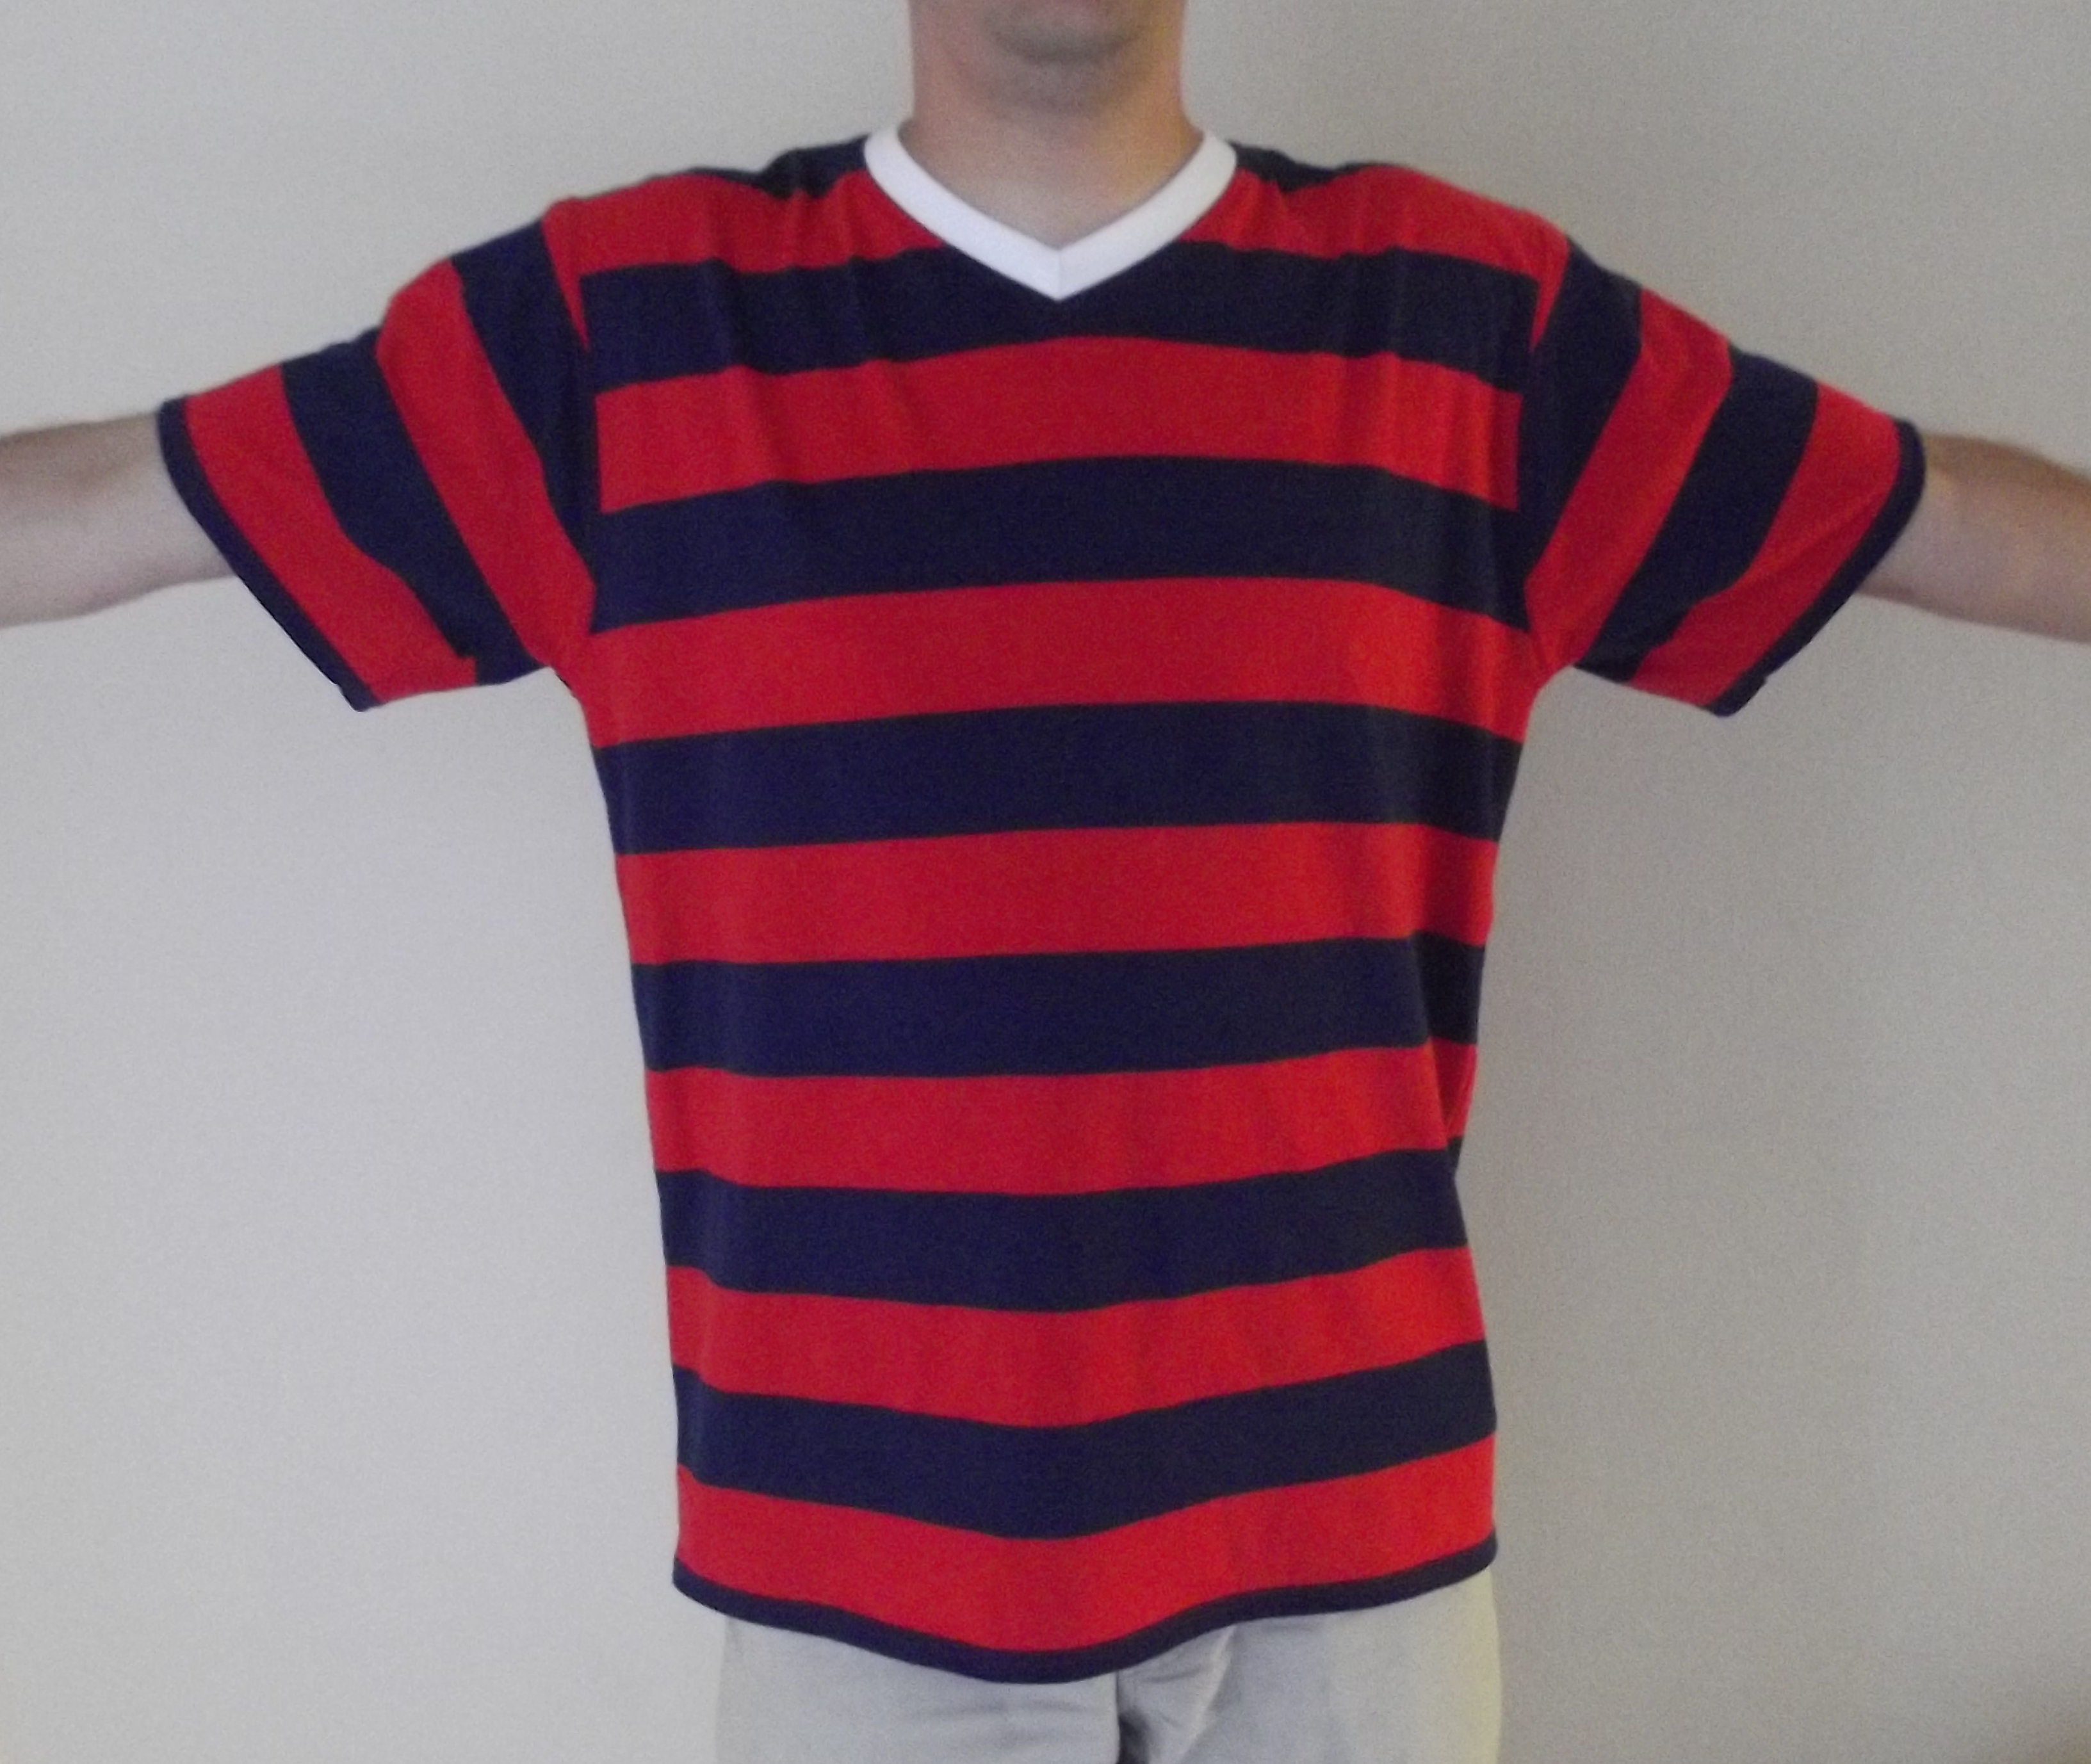
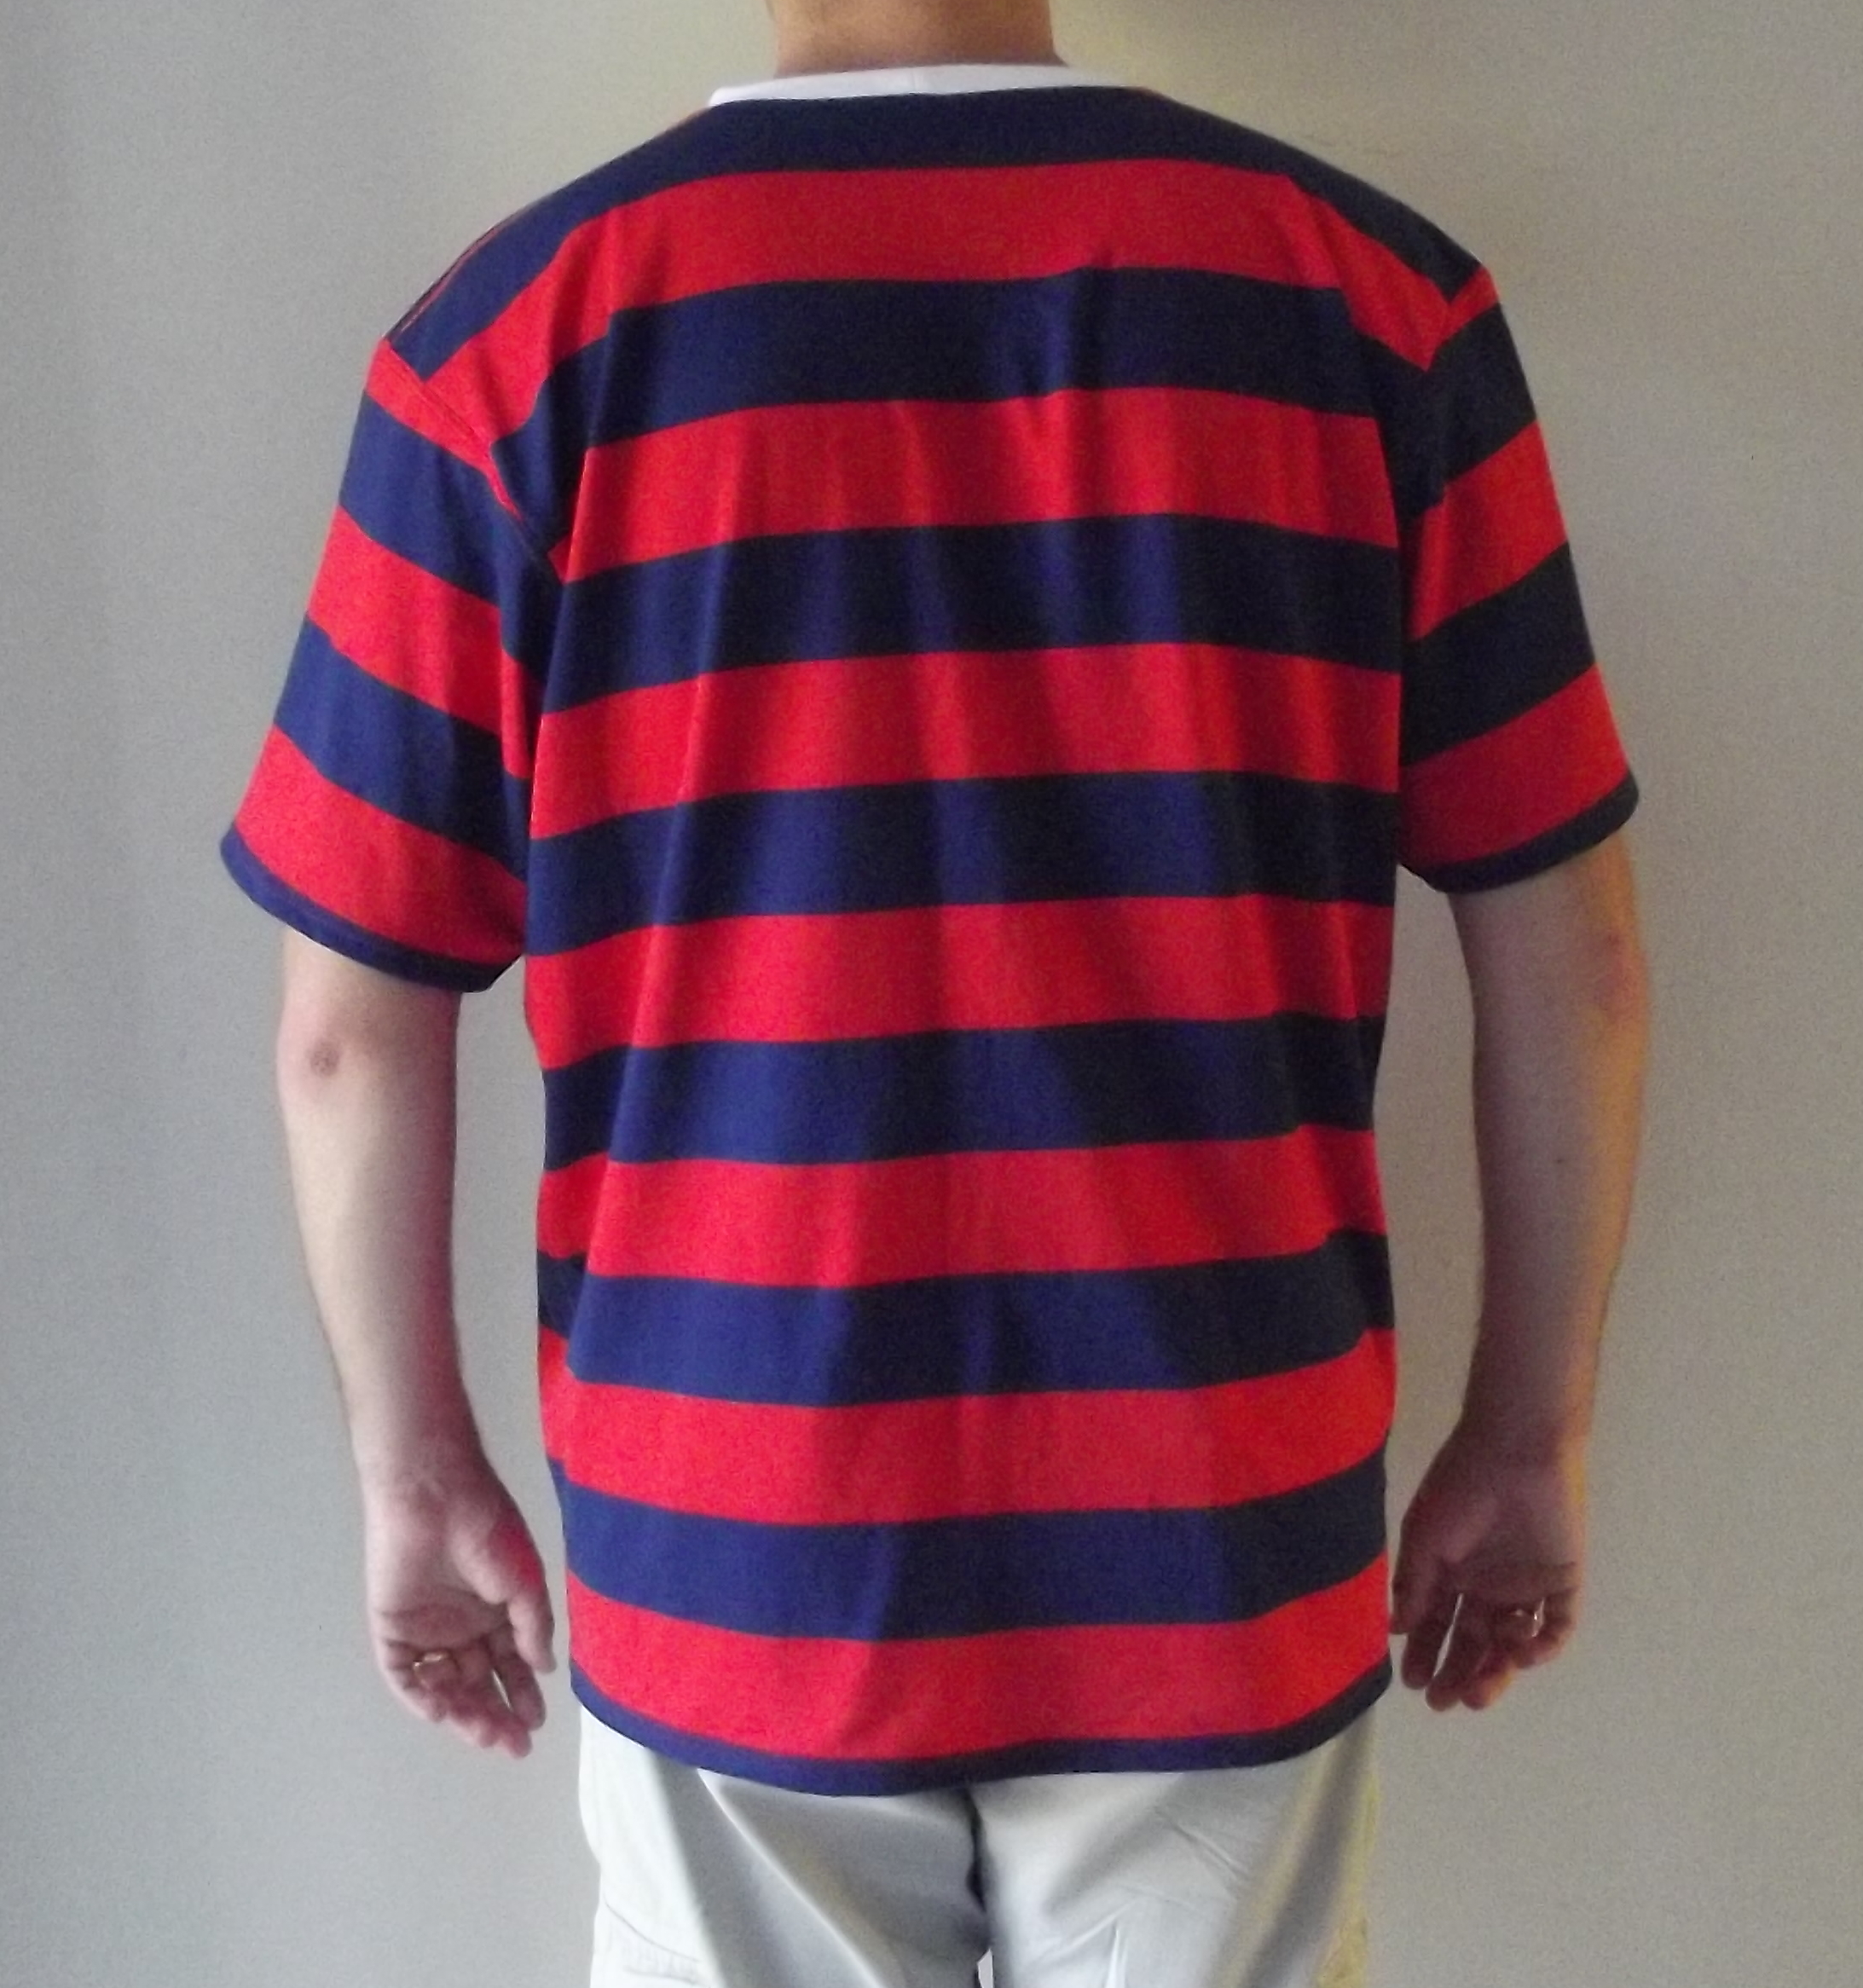
It turned out really well, and was even better as once finished I didn’t have any Christmas presents left to make! 🙂
It’s nearly the end of January and I still haven’t finished sharing the things I made for Christmas!
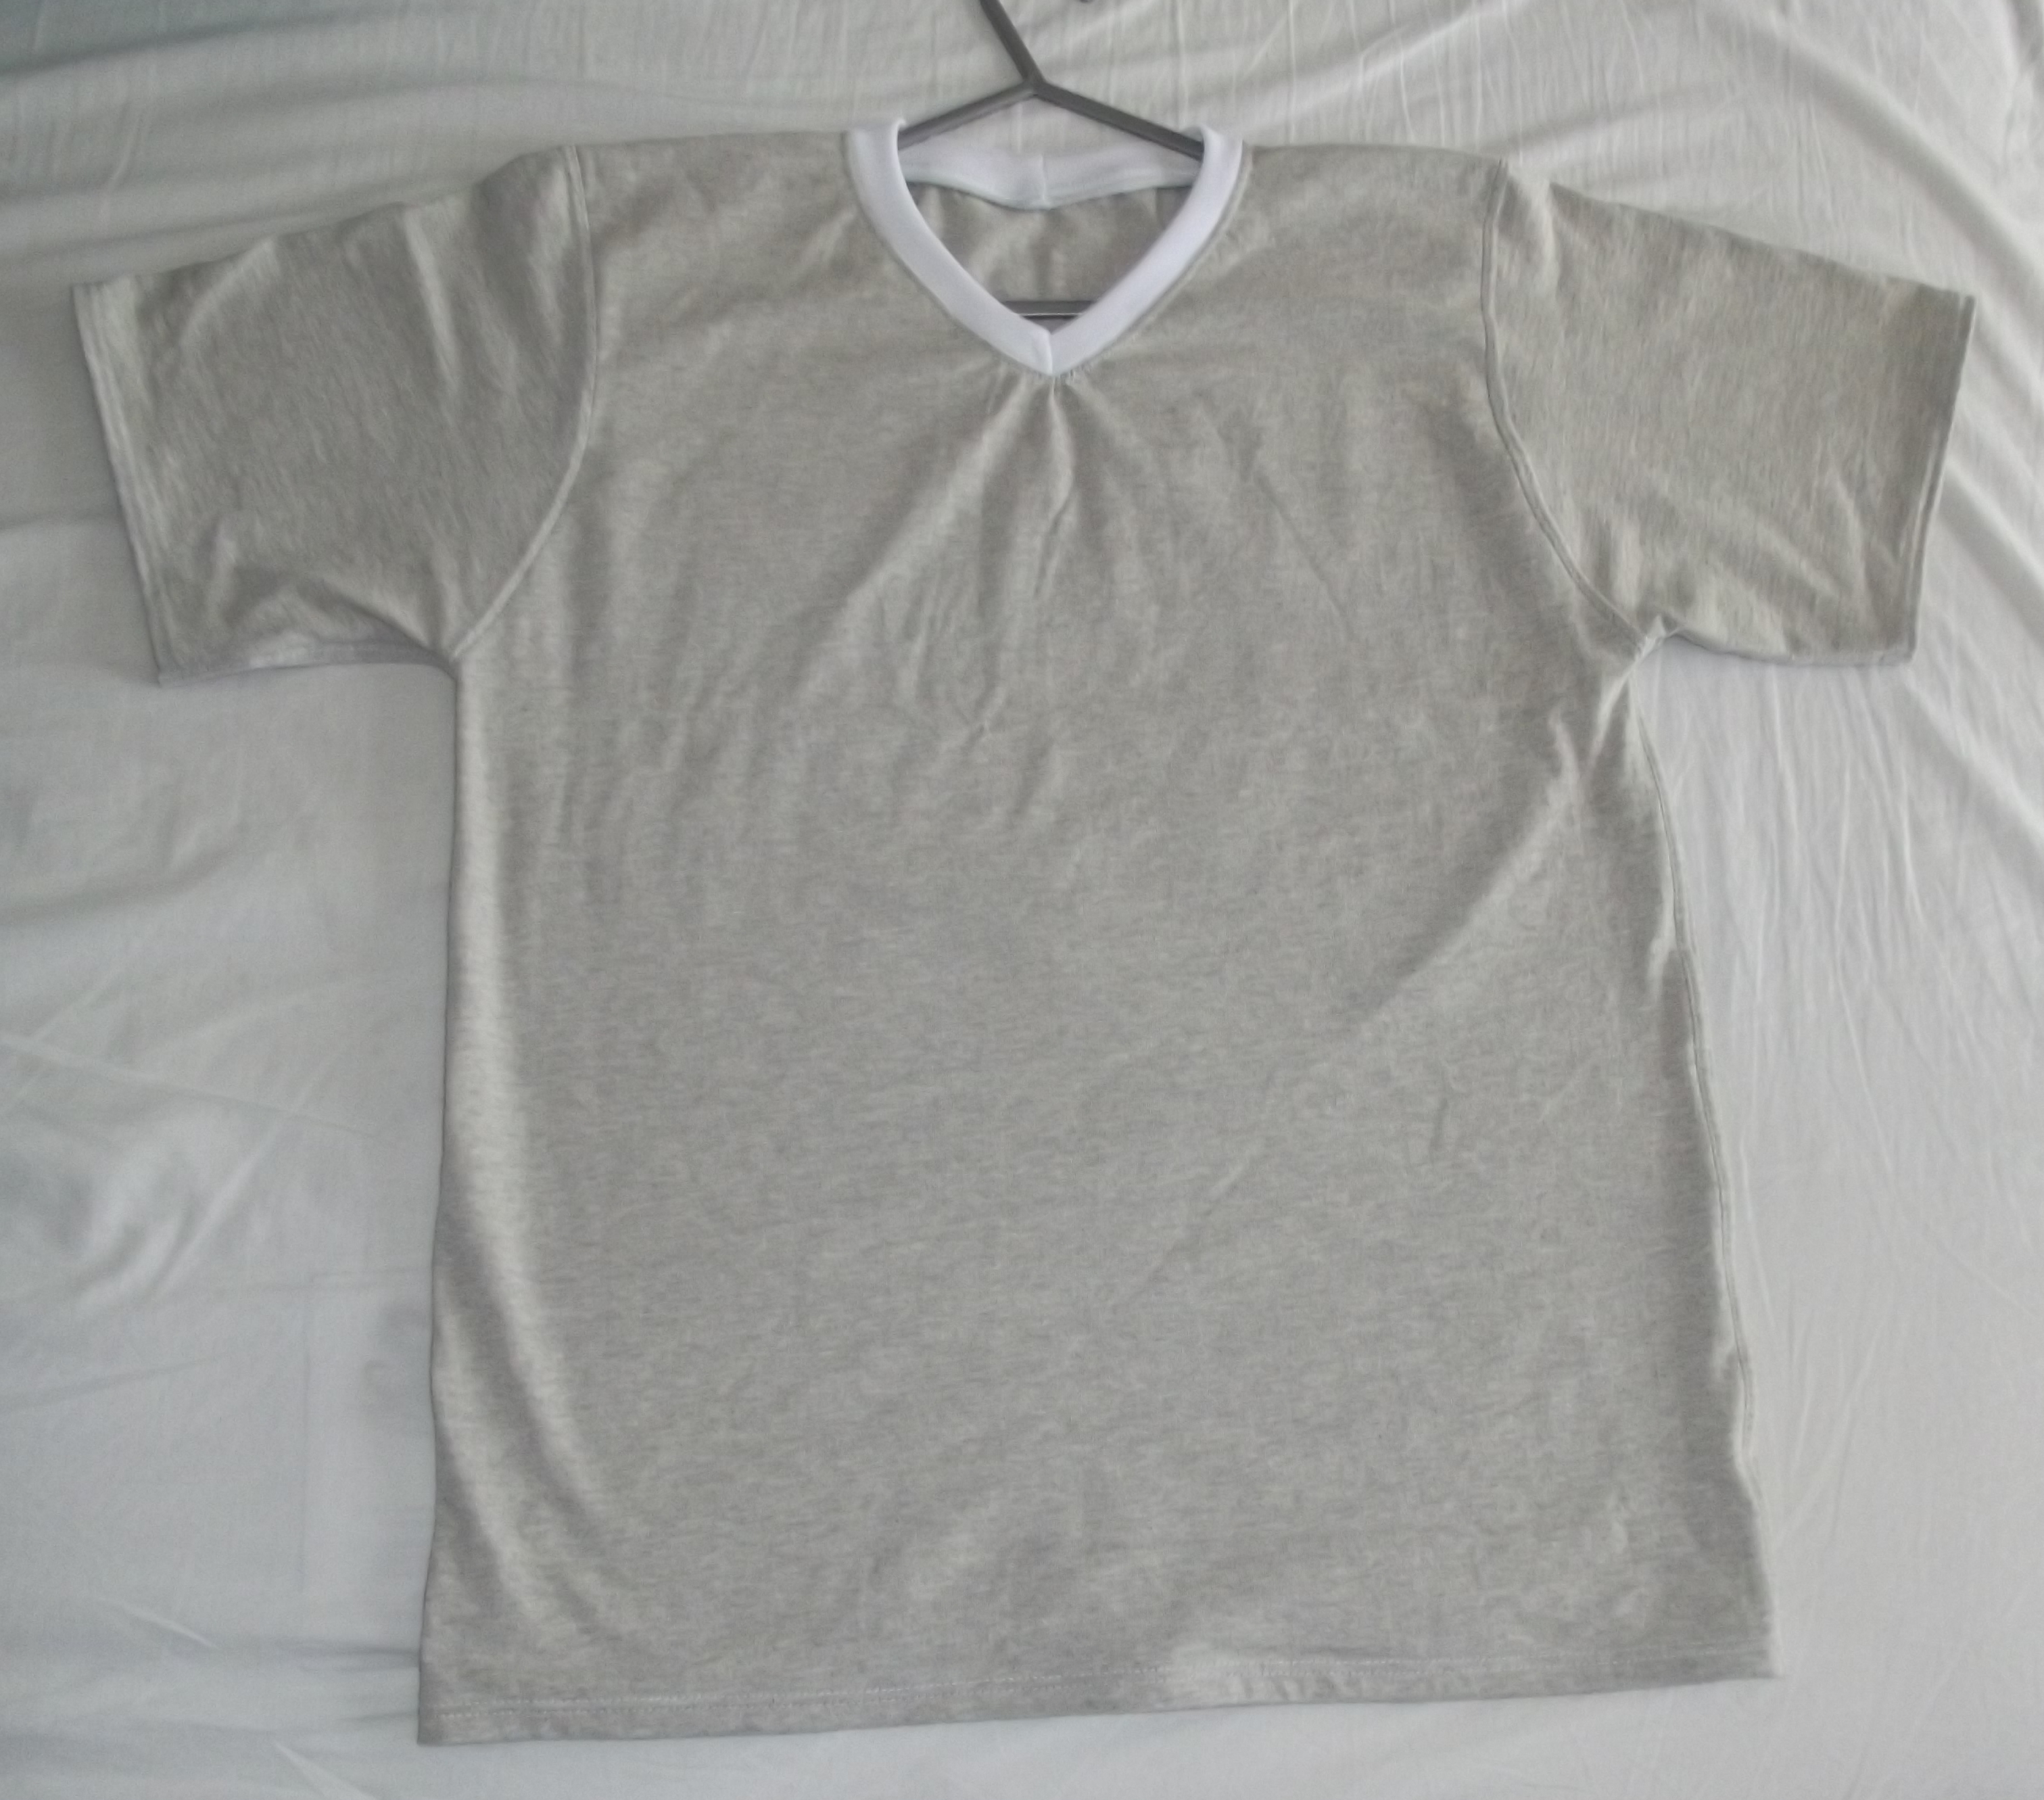 This was intended to be an adult’s v-neck t-shirt that I was going to give as a present. It is made from grey cotton jersey with white ribbing for the neck.
There are not a huge number of adult patterns out there, at least not as much choice as there seems to be with children’s patterns, and I couldn’t find one with a v-neck at a reasonable (not extortionate) price. I did, however, already have an adult t-shirt pattern with the ordinary rounded neck – the Charlie Tee pattern by Fishsticks Designs. So in a ‘how hard can it be?’ moment I decided to just use that one and draw my own v-neck onto the pattern pieces!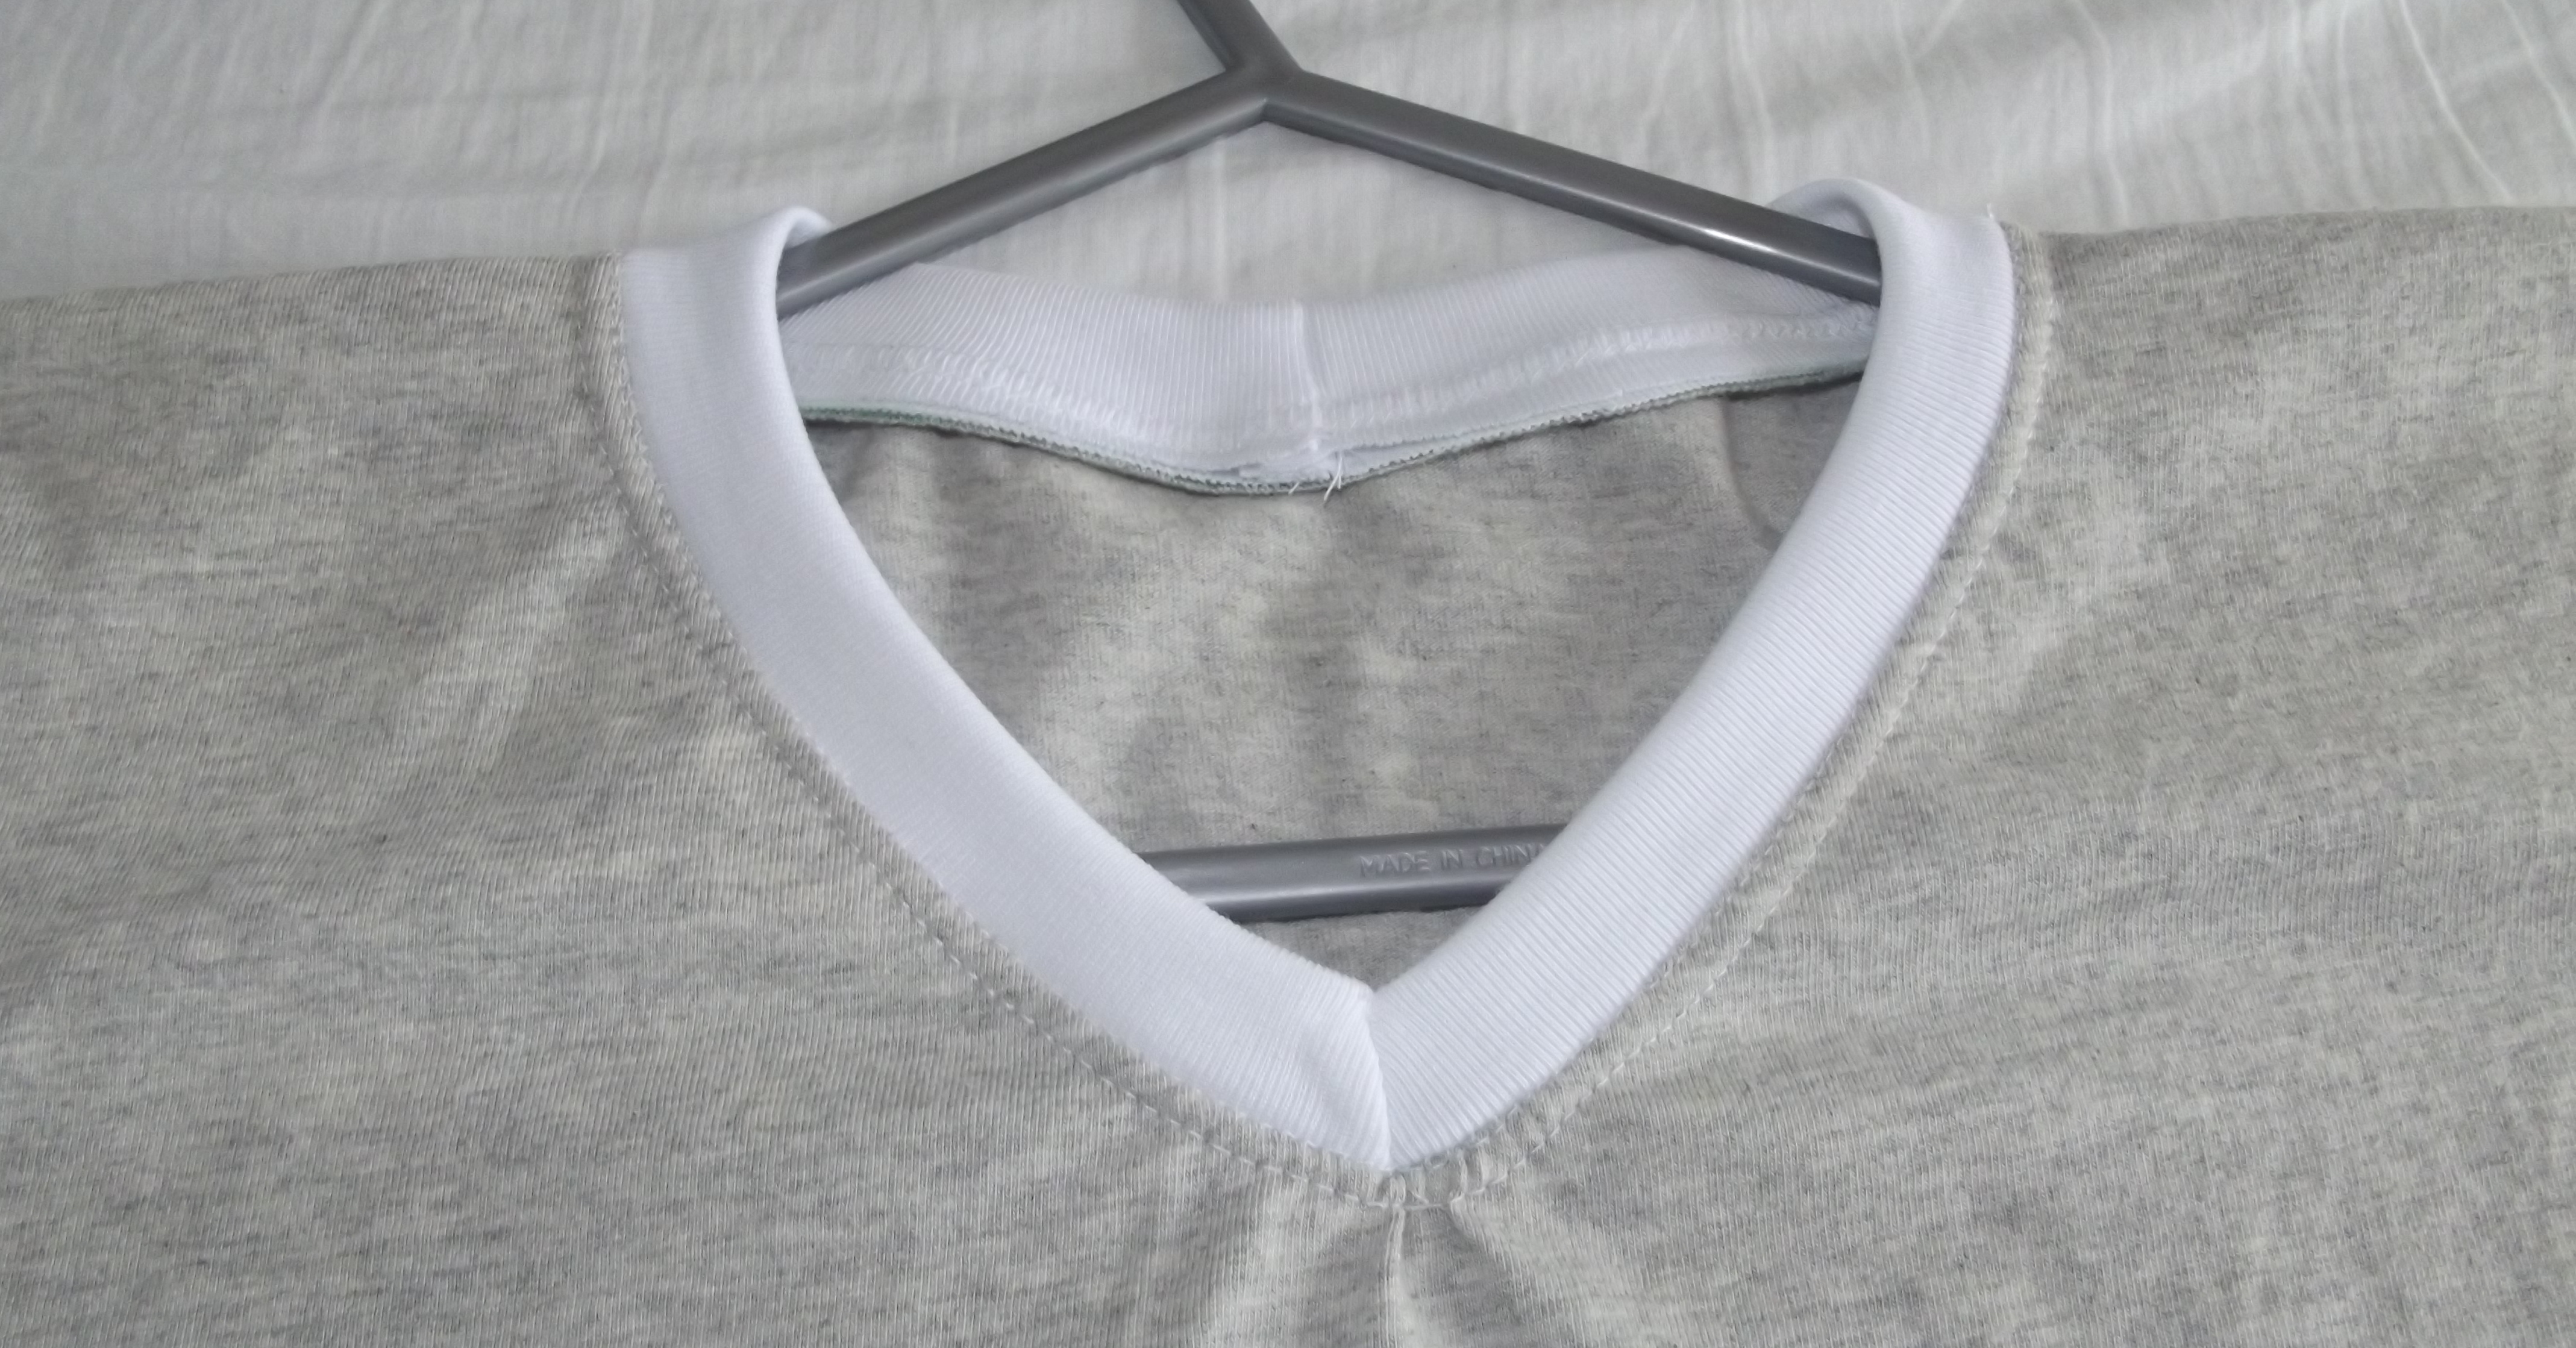 The answer to my question turned out to be – not really that hard! I think the v-neck turned out just fine.
 I used my twin needle again to do all the hemming …
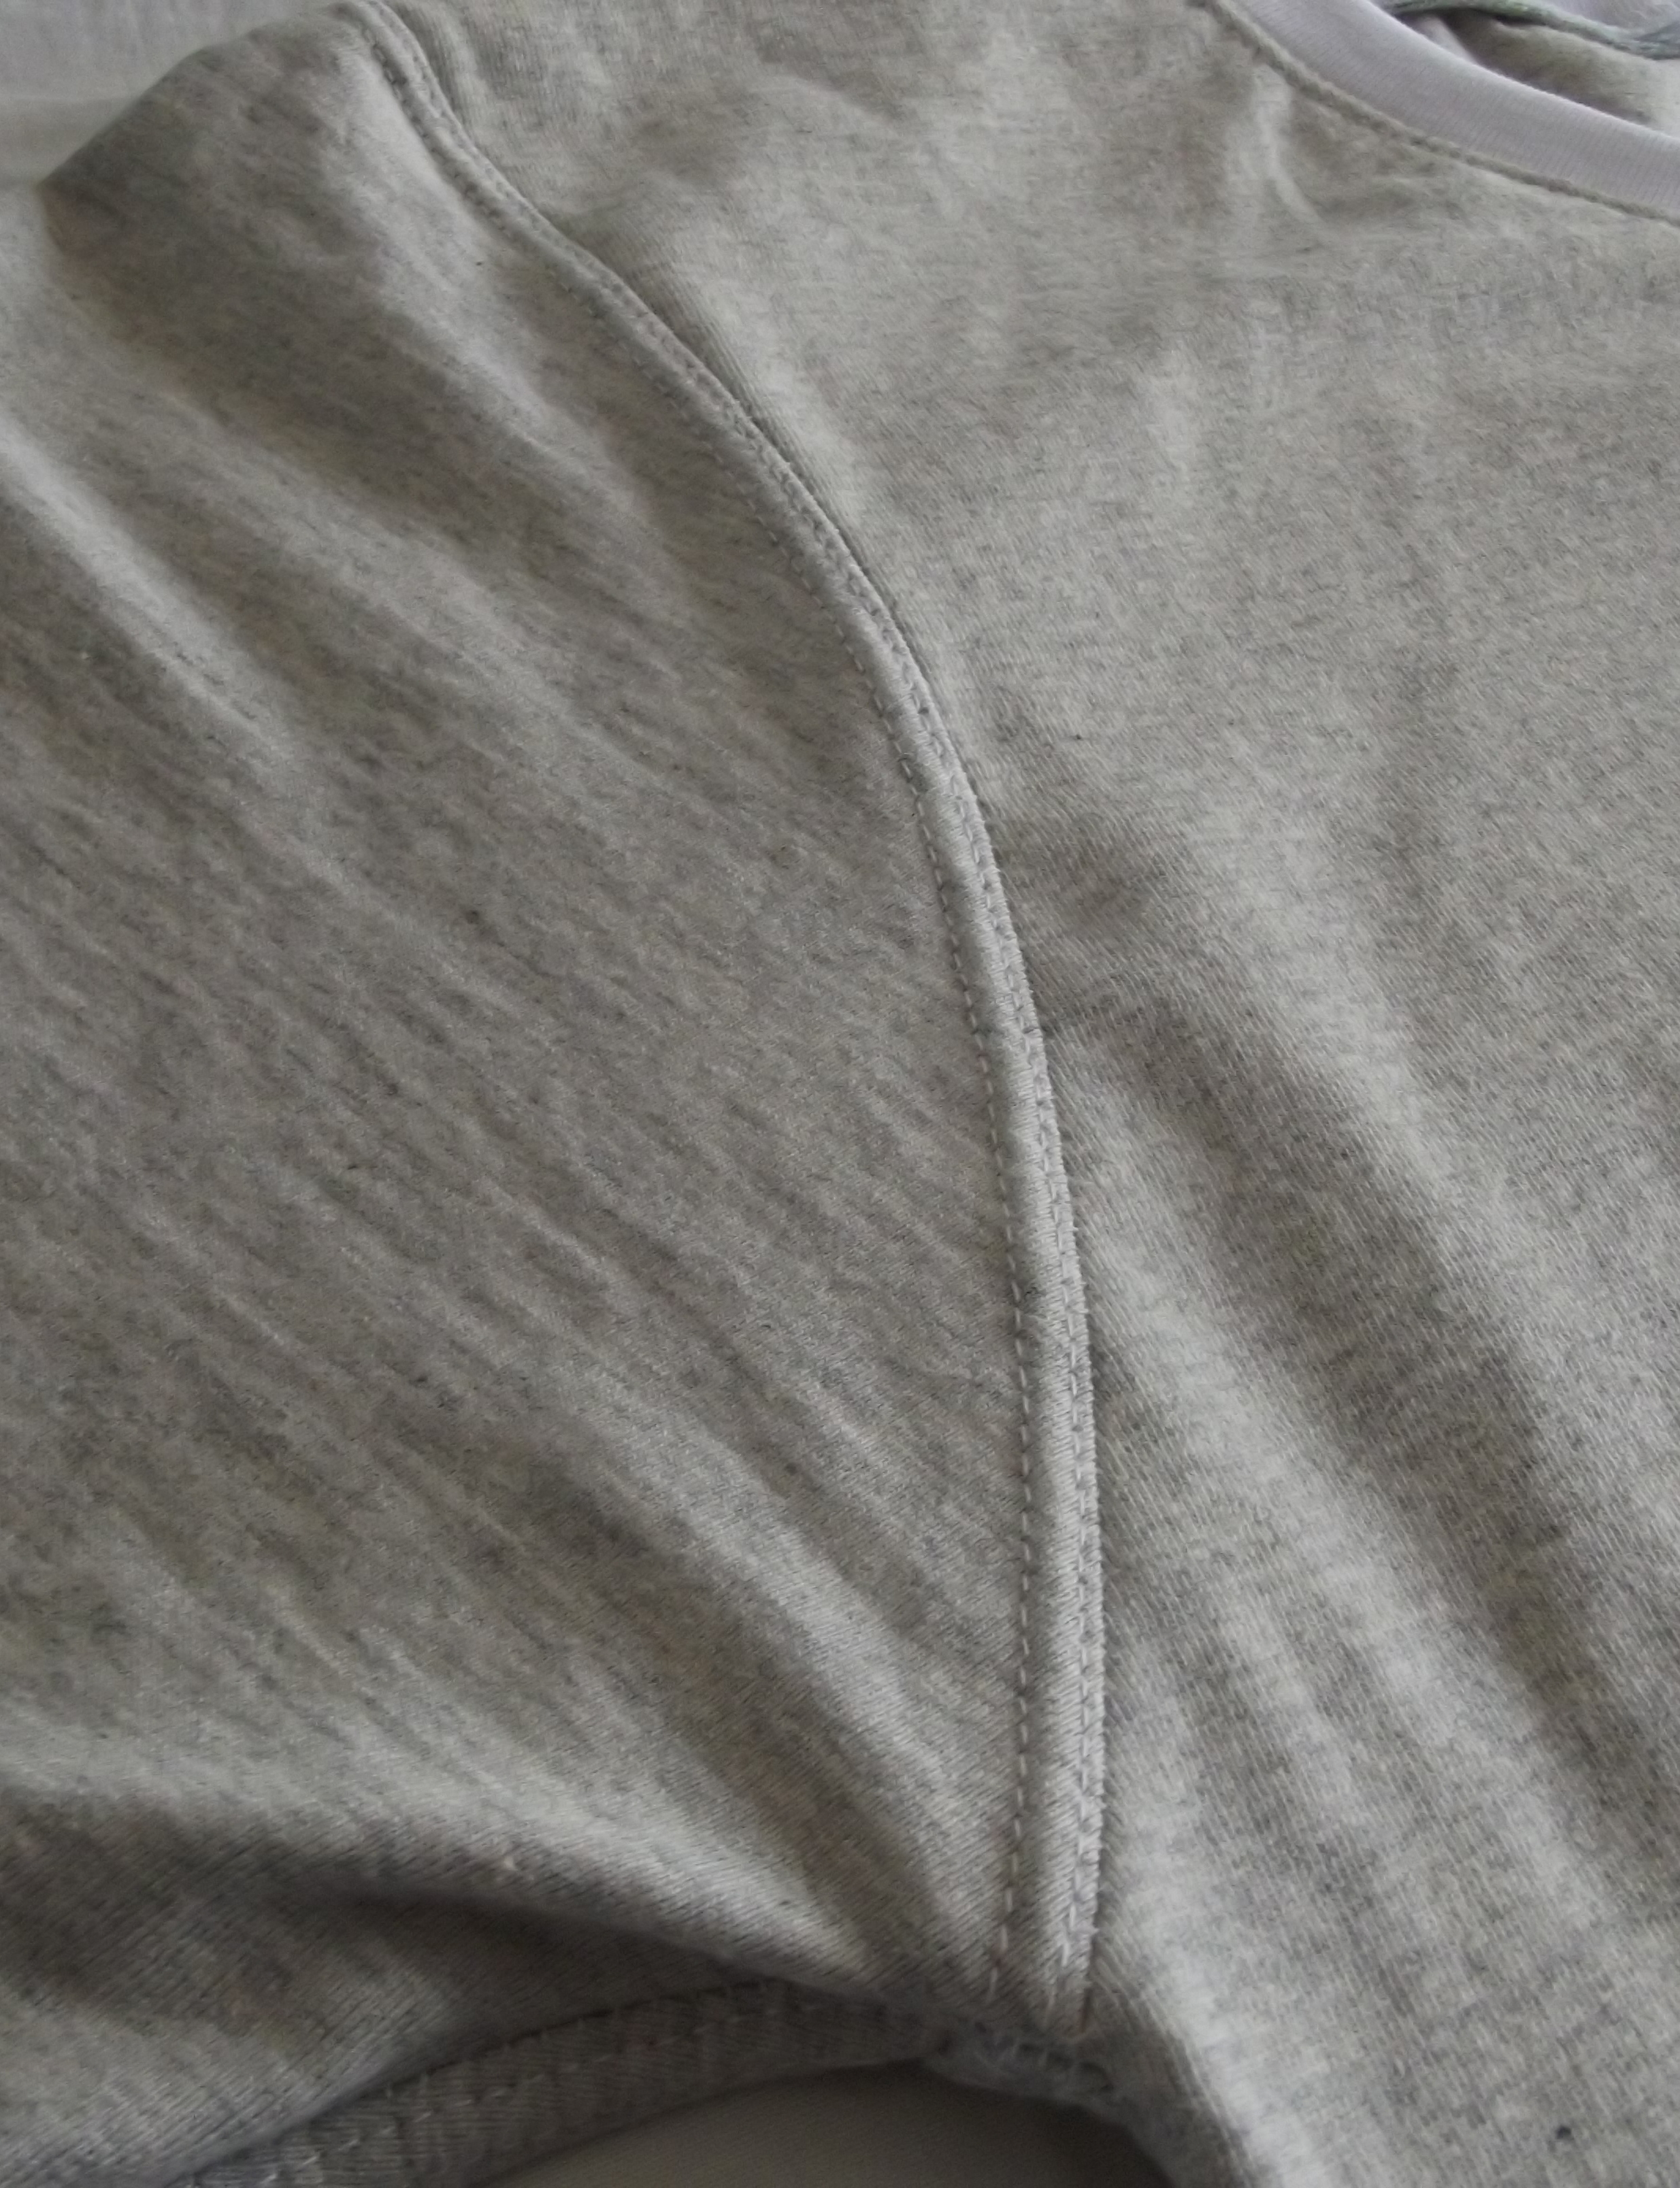 …and I also use it to sew all the seams and topstitching.
I sewed the size medium, and that turned out to be my one mistake. When I got my husband to try it on it was a pretty good fit on him, which meant that it was going to be a tiny bit too small for its intended recipient.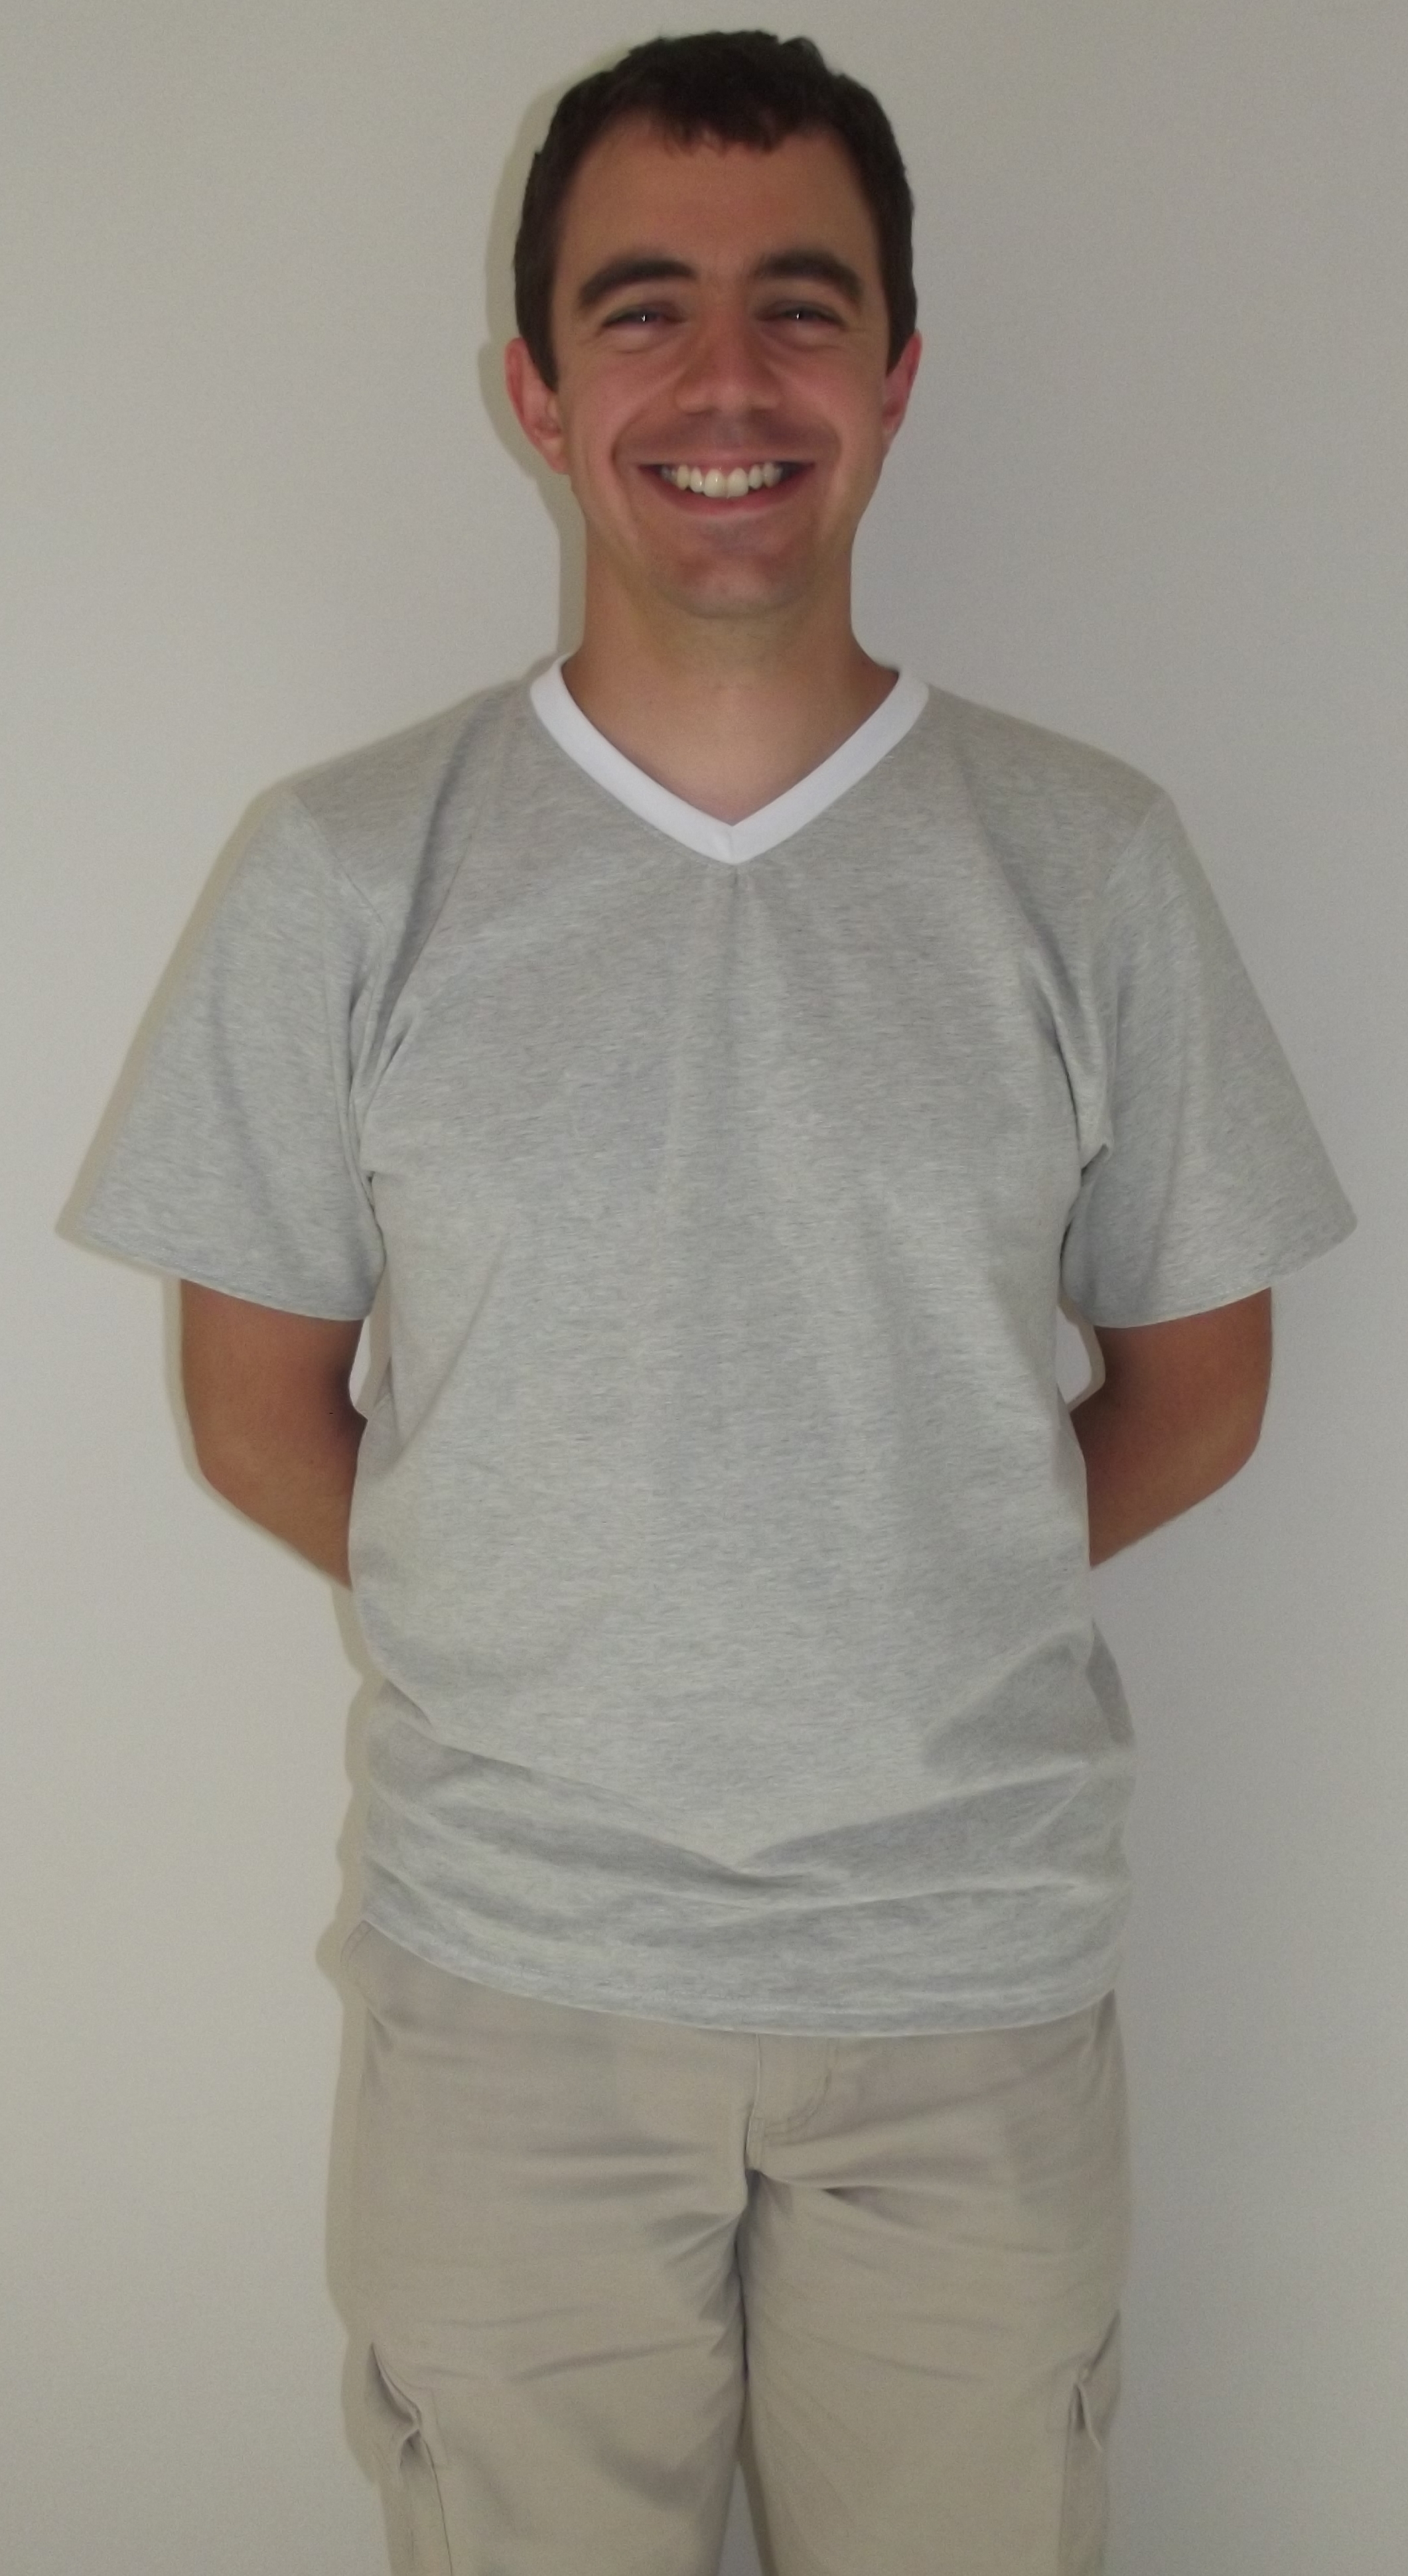 So it was back to the drawing board for the Christmas t-shirt, and this one went into our wardrobe instead. (and he does wear it, so even though he’s not a huge fan of me making him things to wear, he must like it really 🙂 )
I went looking for photos of all the things I’ve made this year. I found a lot more than I was expecting – I’ve been busy!
Crochet:
Clothes sewing:
Bags, pouches and pencil cases:
Other sewing:
Quilt blocks:
I wonder what I’ll make in 2014?!
 I can cross one present off my Christmas list!
This rainbow hat will be for my youngest niece. The pattern is one I found on Etsy. It’s called Tutti Frutti designed by The Hat And I. I made the 6-12 month size.
It is a striped corkscrew hat – it is topped with a corkscrew of each colour stripe, giving it a pom pom effect. I hope she likes it 🙂
I’m linking up with Sew Cute on Blossom Heart Quilts:

This is the second t-shirt I started last week for Kid’s Clothes Week, but only finished the final seams today.
This one too is made from the Charlie Tee Pattern by Fishsticks Designs, and I colourblocked this one as well, but this time horizontally using red and green cotton jersey. I think I like the look of the horizontal blocks of colour better than the vertical split on the last t-shirt.
From the back the t-shirt is plain red. I went with black for the neckband as red and green ribbing sold in my local fabric shop doesn’t match the red and green on the cotton jersey. The sleeves and side seams were all I had left to do today, and they caused me more trouble than usual. Despite checking twice before pinning and sewing, I still managed to sew one sleeve on the wrong way round! You can’t tell now that it’s unpicked and sewn on the right way now though.
 I had to bribe this little man with getting the paints out to try it on and let me take a photo! But he says this one is better than the last, so I guess that means it will most likely be chosen to wear all day tomorrow 🙂
 This happy little fellow has been asking for this t-shirt for weeks!
I finally relented and made it for him during Kids Clothes Week last week!
I used the Fishsticks Designs Charlie Tee pattern, and colourblocked the pink cotton jersey with green for the front … … while the back is plain green.
 The neckband is grey ribbing. The topstitching around the neck is green and matched to the fabric underneath everywhere else.
 W looks every happy with the finished product 🙂
I have been doing some more sewing this week from the Sew Fab Pattern Bundle.
After the success of my first t-shirt I was tempted by the Vintage V-Neck by Blank Slate Patterns. I used the tips from the last t-shirt, of hemming before sewing, so you’re sewing a flat piece of material rather than a circle, which is definitely much easier.
The v-neck was the trickiest part as it took me several attempts to figure out how to position the ribbing so it would sit right. But after reading the instructions for about the ten millionth time and comparing what I had with the photos in the tutorial I finally got it right!
W chose the stars and stripes knit and has been patiently awaiting his completed t-shirt! He says it’s ‘very soft’ so I guess it must be comfy!
If you’re quick you have a little over 10 hours to get this pattern along with 25 others as part of the Sew Fab Sale. (sale finishes Tuesday 8am US EST/ 12pm UK/ 11pm AEDT)
The pattern can also be found on the Blank Slate Patterns website, where for this next week they are donating 50% of profits to the Komen Foundation for breast cancer research and services.
This post contains affiliate links.