This bag has been a long time in the making!
My sister originally asked me to make it about 8 months ago. I spent a while finding a good pattern to use to make it, and then went hunting for fabric to make it with.
8 months later, with the baby not far from being born, I finally finished it – hooray!! I’m very proud of it – it looks good doesn’t it 🙂
The pattern I used is the Does It All Diaper Bag from Peek-a-Boo Pattern shop. And it does really do it all – it has loads of pockets and features!
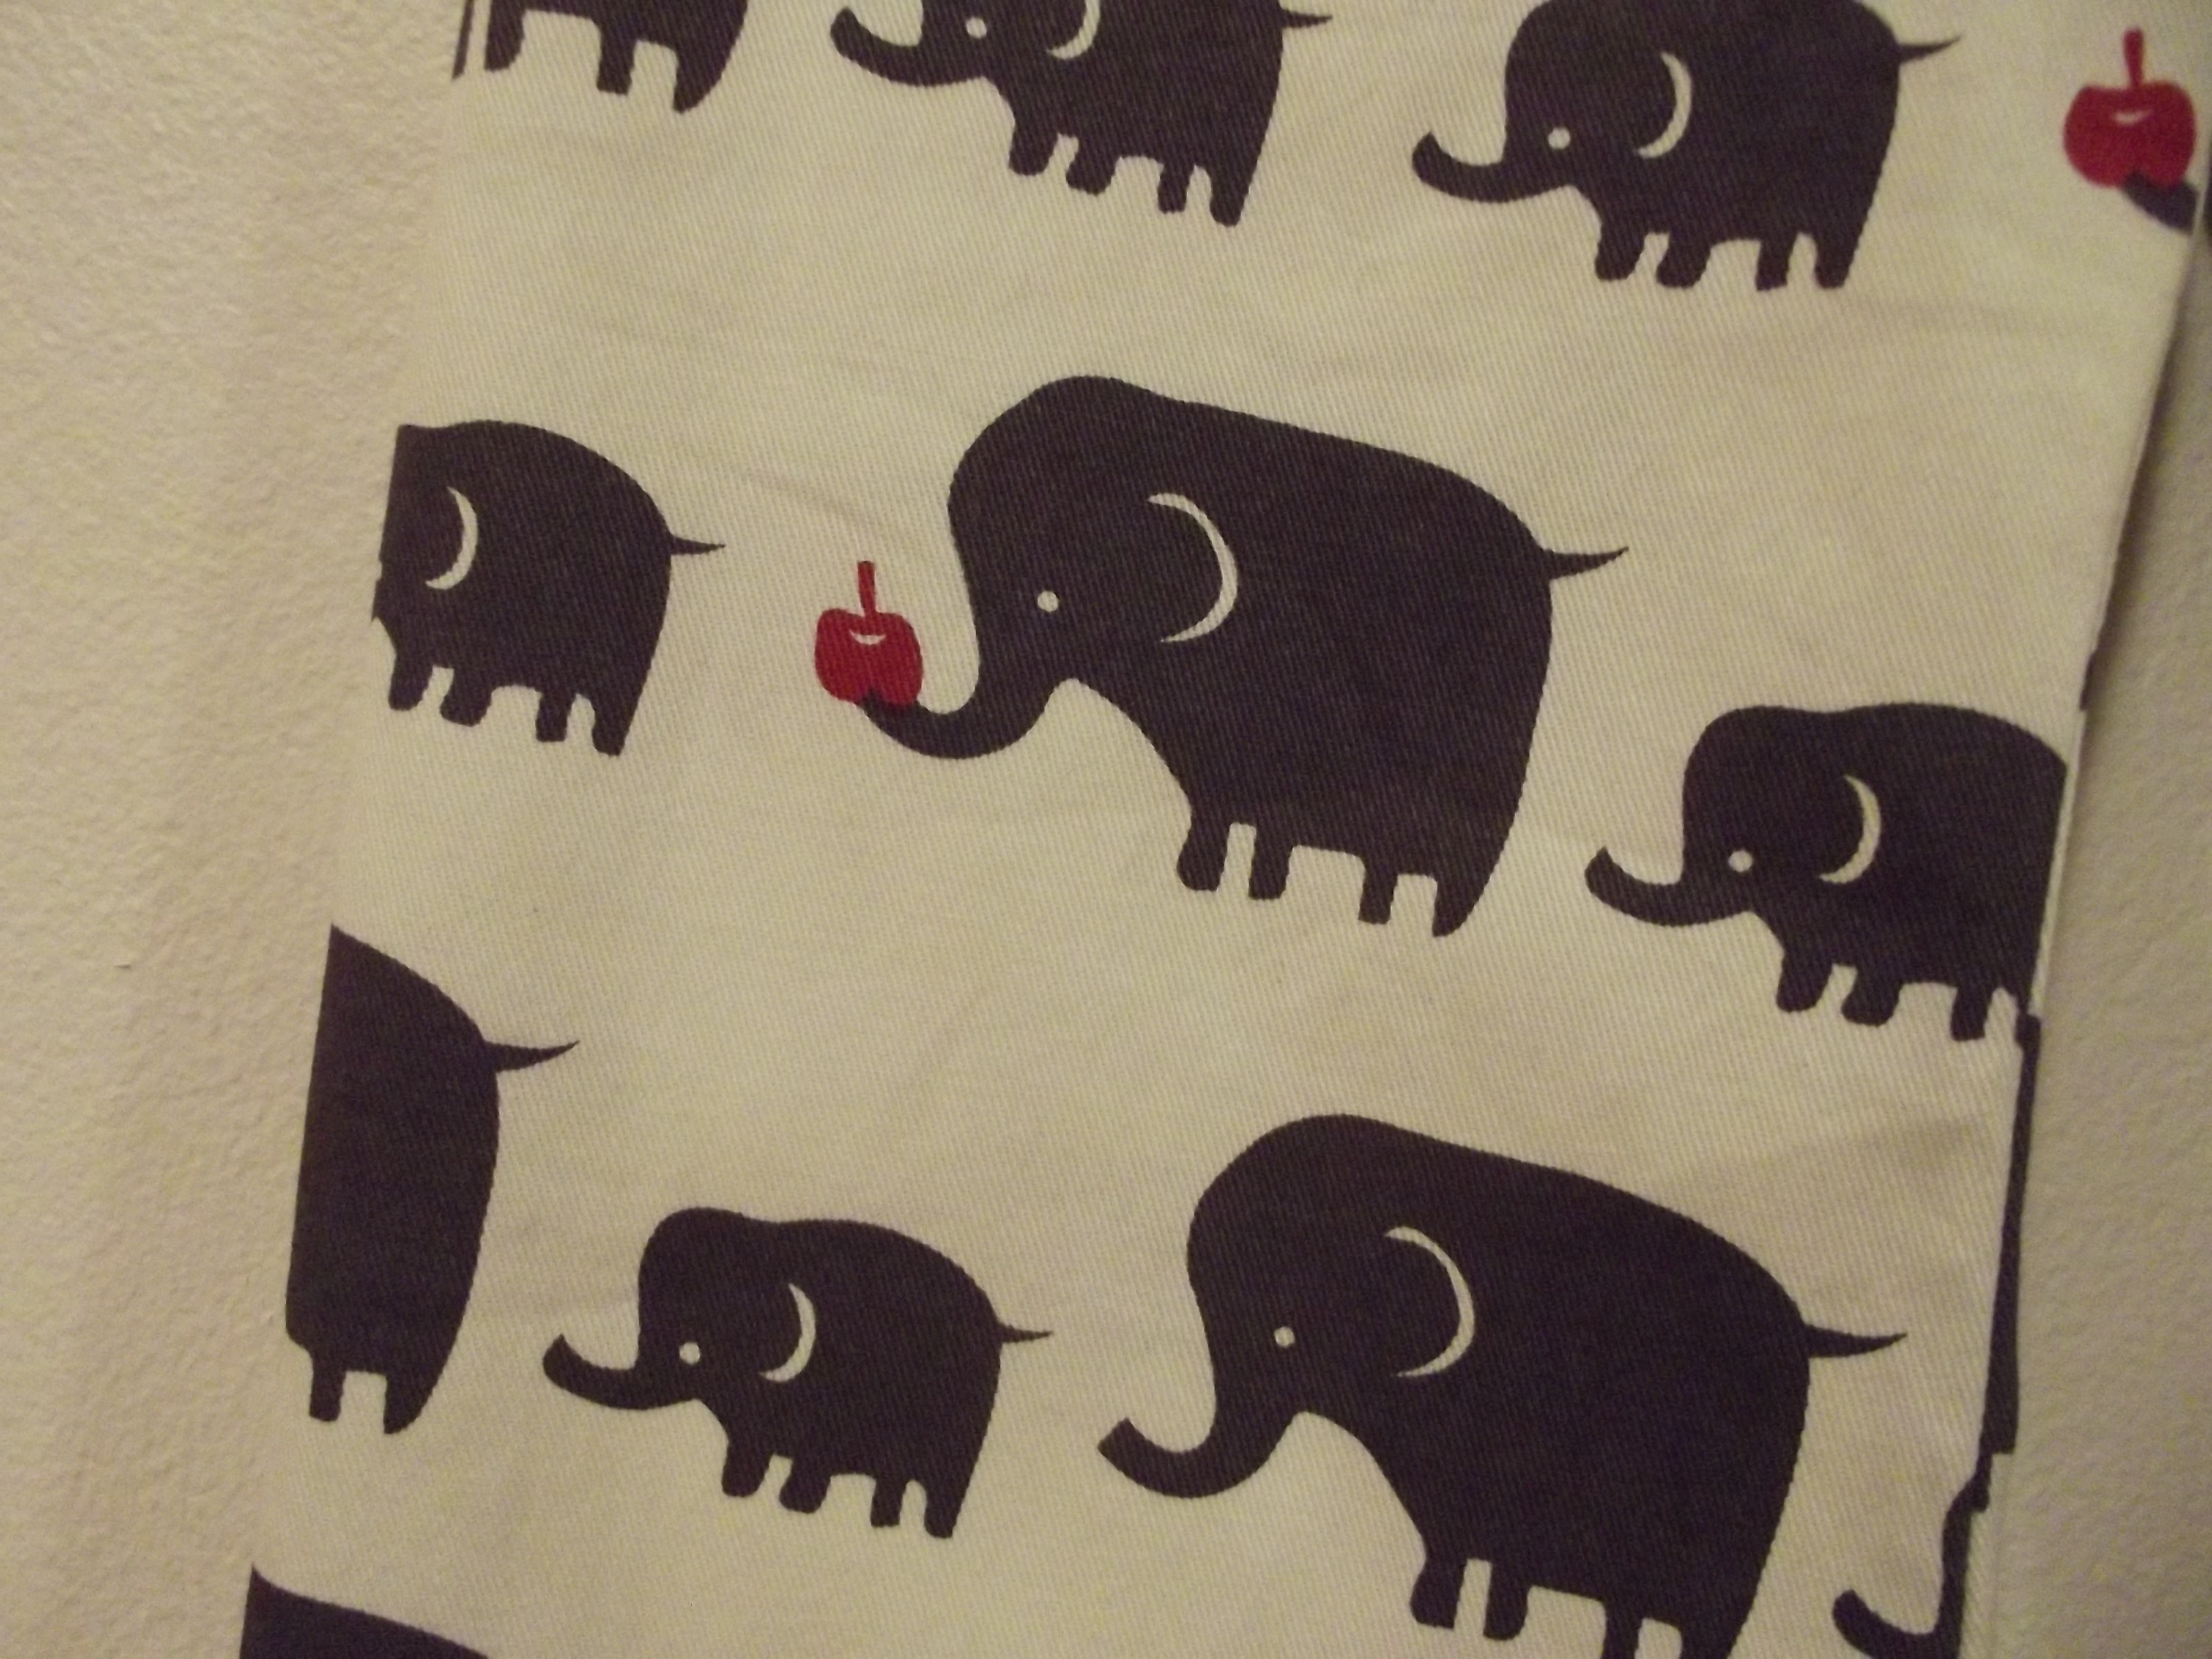
 I made the outside with lime green spotty drill. The end pockets are a contrasting fabric – an elephant drill. The pockets are edged with piping. This was my first ever attempt at piping. I had some red ribbon that matched the apple the elephant is holding perfectly, and used that to do the piping. Using something other than satin ribbon for your first attempt at piping would probably be a good idea – but after much fiddling and complaining, it is nice and shiny now it’s done!
 The pocket on the other end is elasticated. I expected this pocket to be tricky but it was actually really easy to do – after doing that piping everything seemed easy though!
 Inside the fabrics are the other way around. The sides are the elephants and the pockets are the lime green spots. Between the outer and lining there is also a layer of sew-in interfacing which helps the bag keep its shape. One of the long sides inside has a big pocket split in two.
 There is a hook/key fob on one end inside so you don’t lose your keys amongst everything you put into the bag.
 The other long side has a smaller pocket split into two, and also a zipped pocket above.
 This is the point that I started to diverge from the pattern instructions. The pattern shows you how to add a magnetic clasp to close it, but we wanted it to have a zip so when it inevitably gets knocked over or falls off the sofa everything doesn’t fall out. You’d be amazed at how few changing bag patterns there are out there that have a zip and one long strap from end to end (as that was the other requirement). There really aren’t any. But apart from lacking a zip, the Peek-a-Boo pattern had everything we wanted, so I just had to figure out the zip part on my own! You can also see the square rings I added to the strap so that I could make the strap adjustable.
 This little slider is the thing that makes the strap adjustable. If you have a cross-body bag or backpack you probably have a similar little thing that does the same job. Because if you’re hanging the bag over a single handlebar pram you’re going to want it longer than if you’re carrying it over your shoulder.(I know I’ve used this picture twice, but I don’t have another good one of the whole bag)
And it’s finished, and posted, hooray 🙂
This post contains affiliate links.

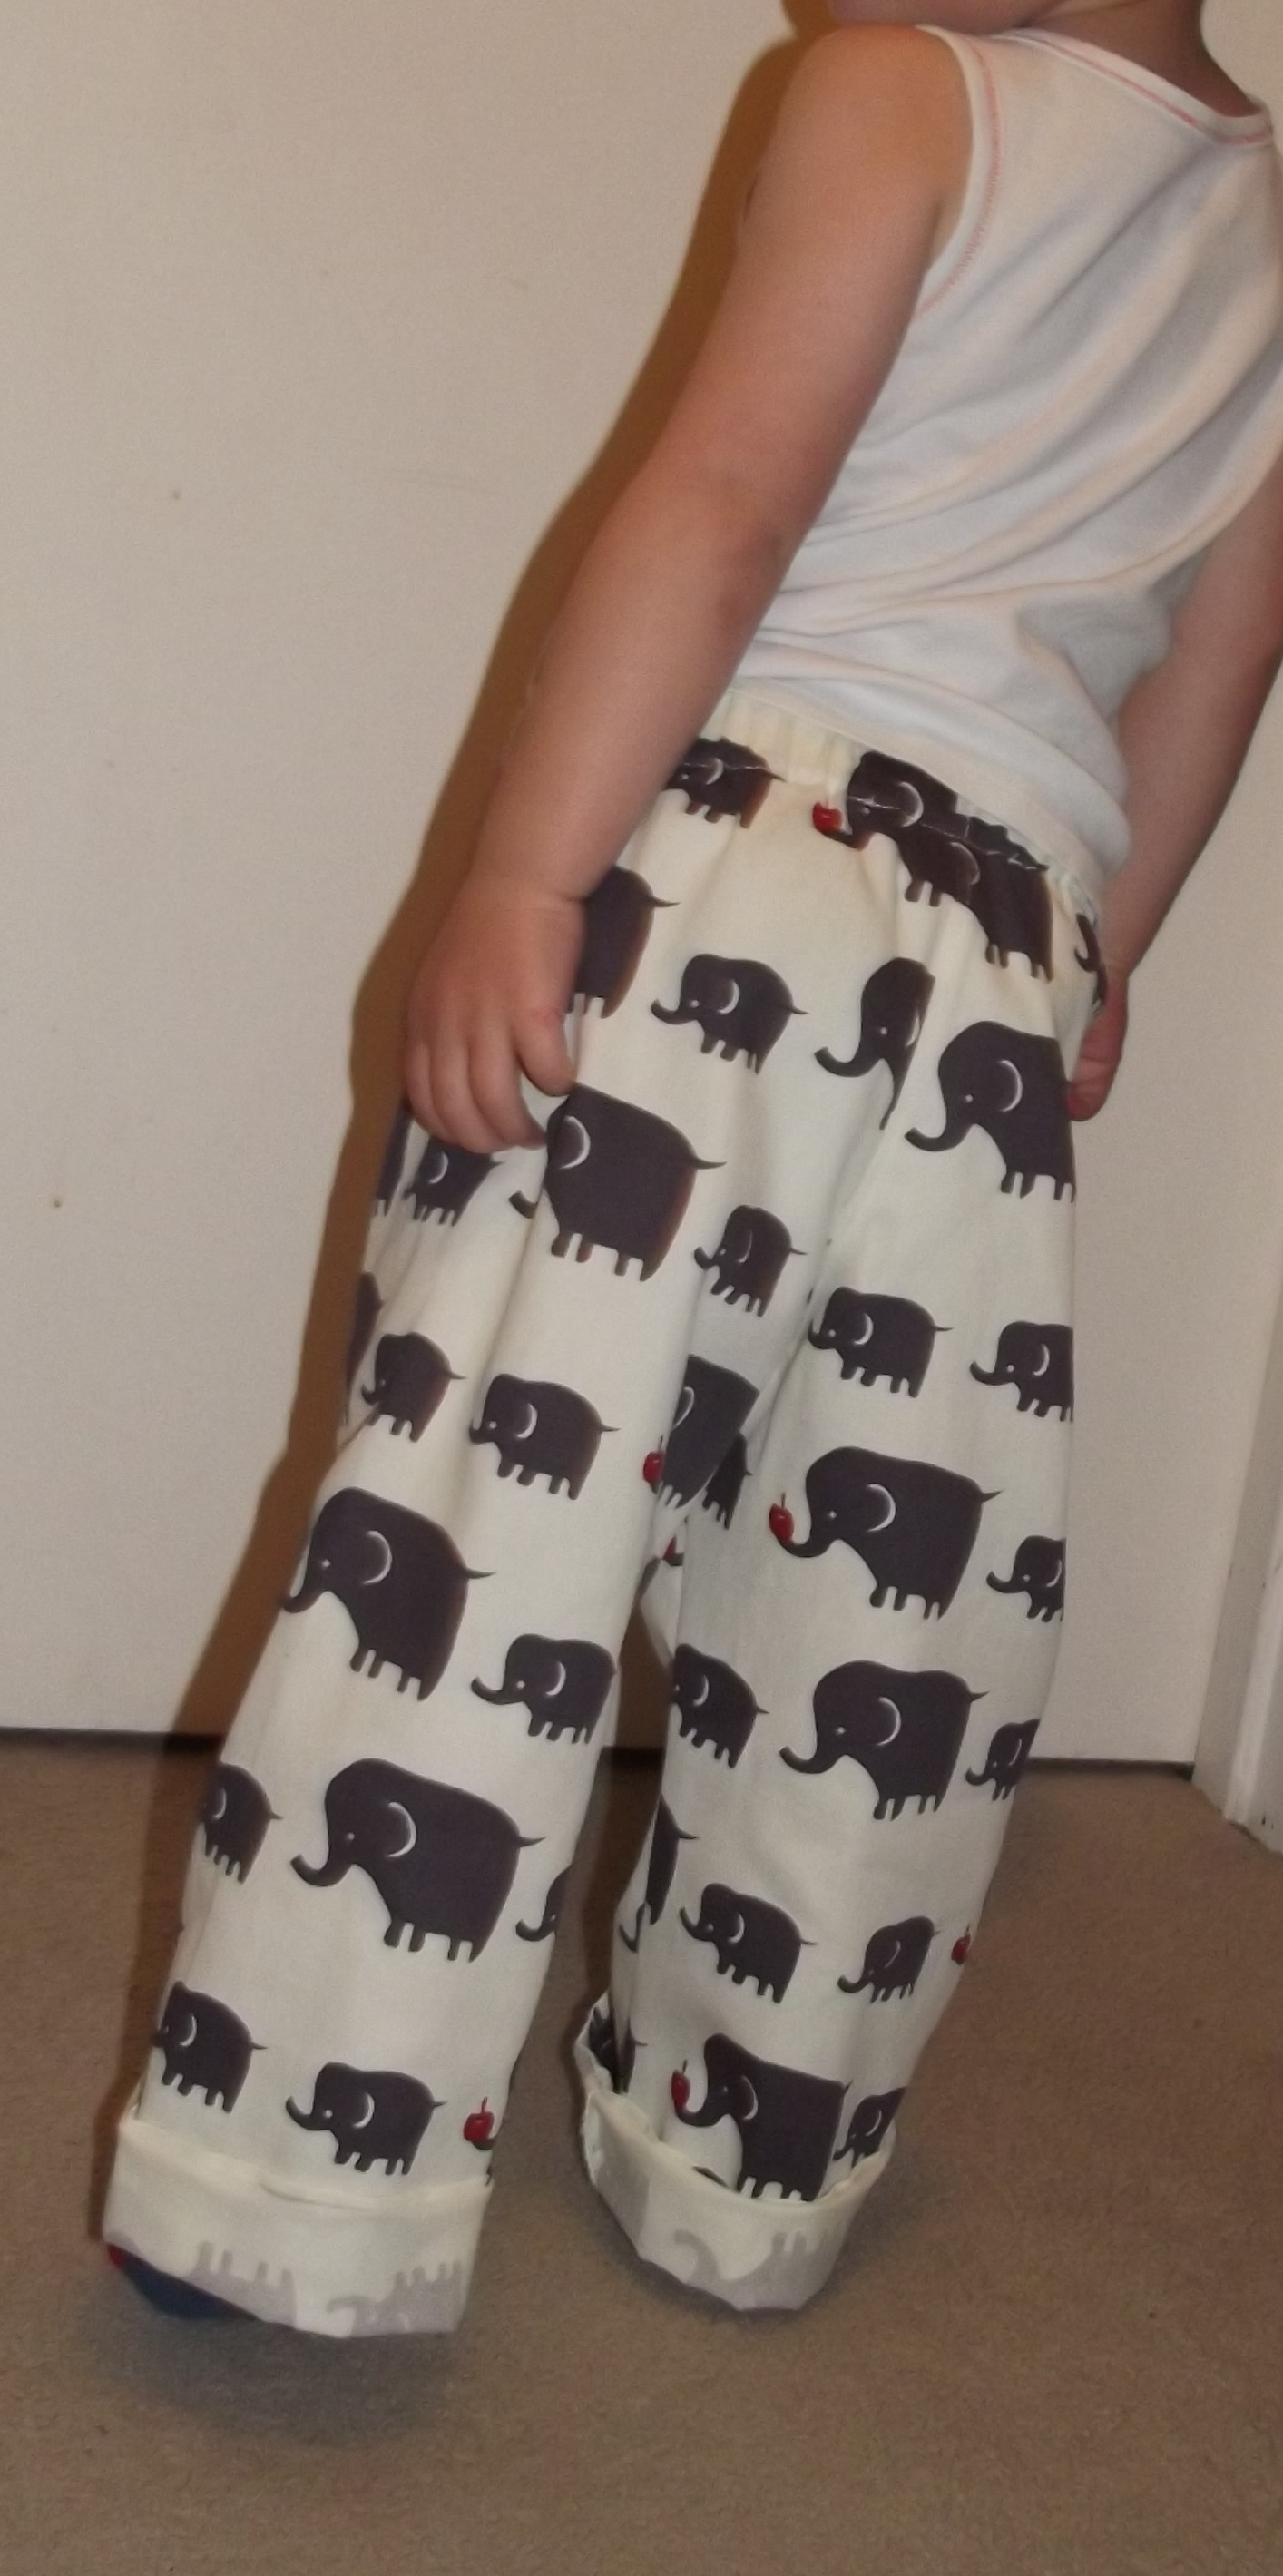
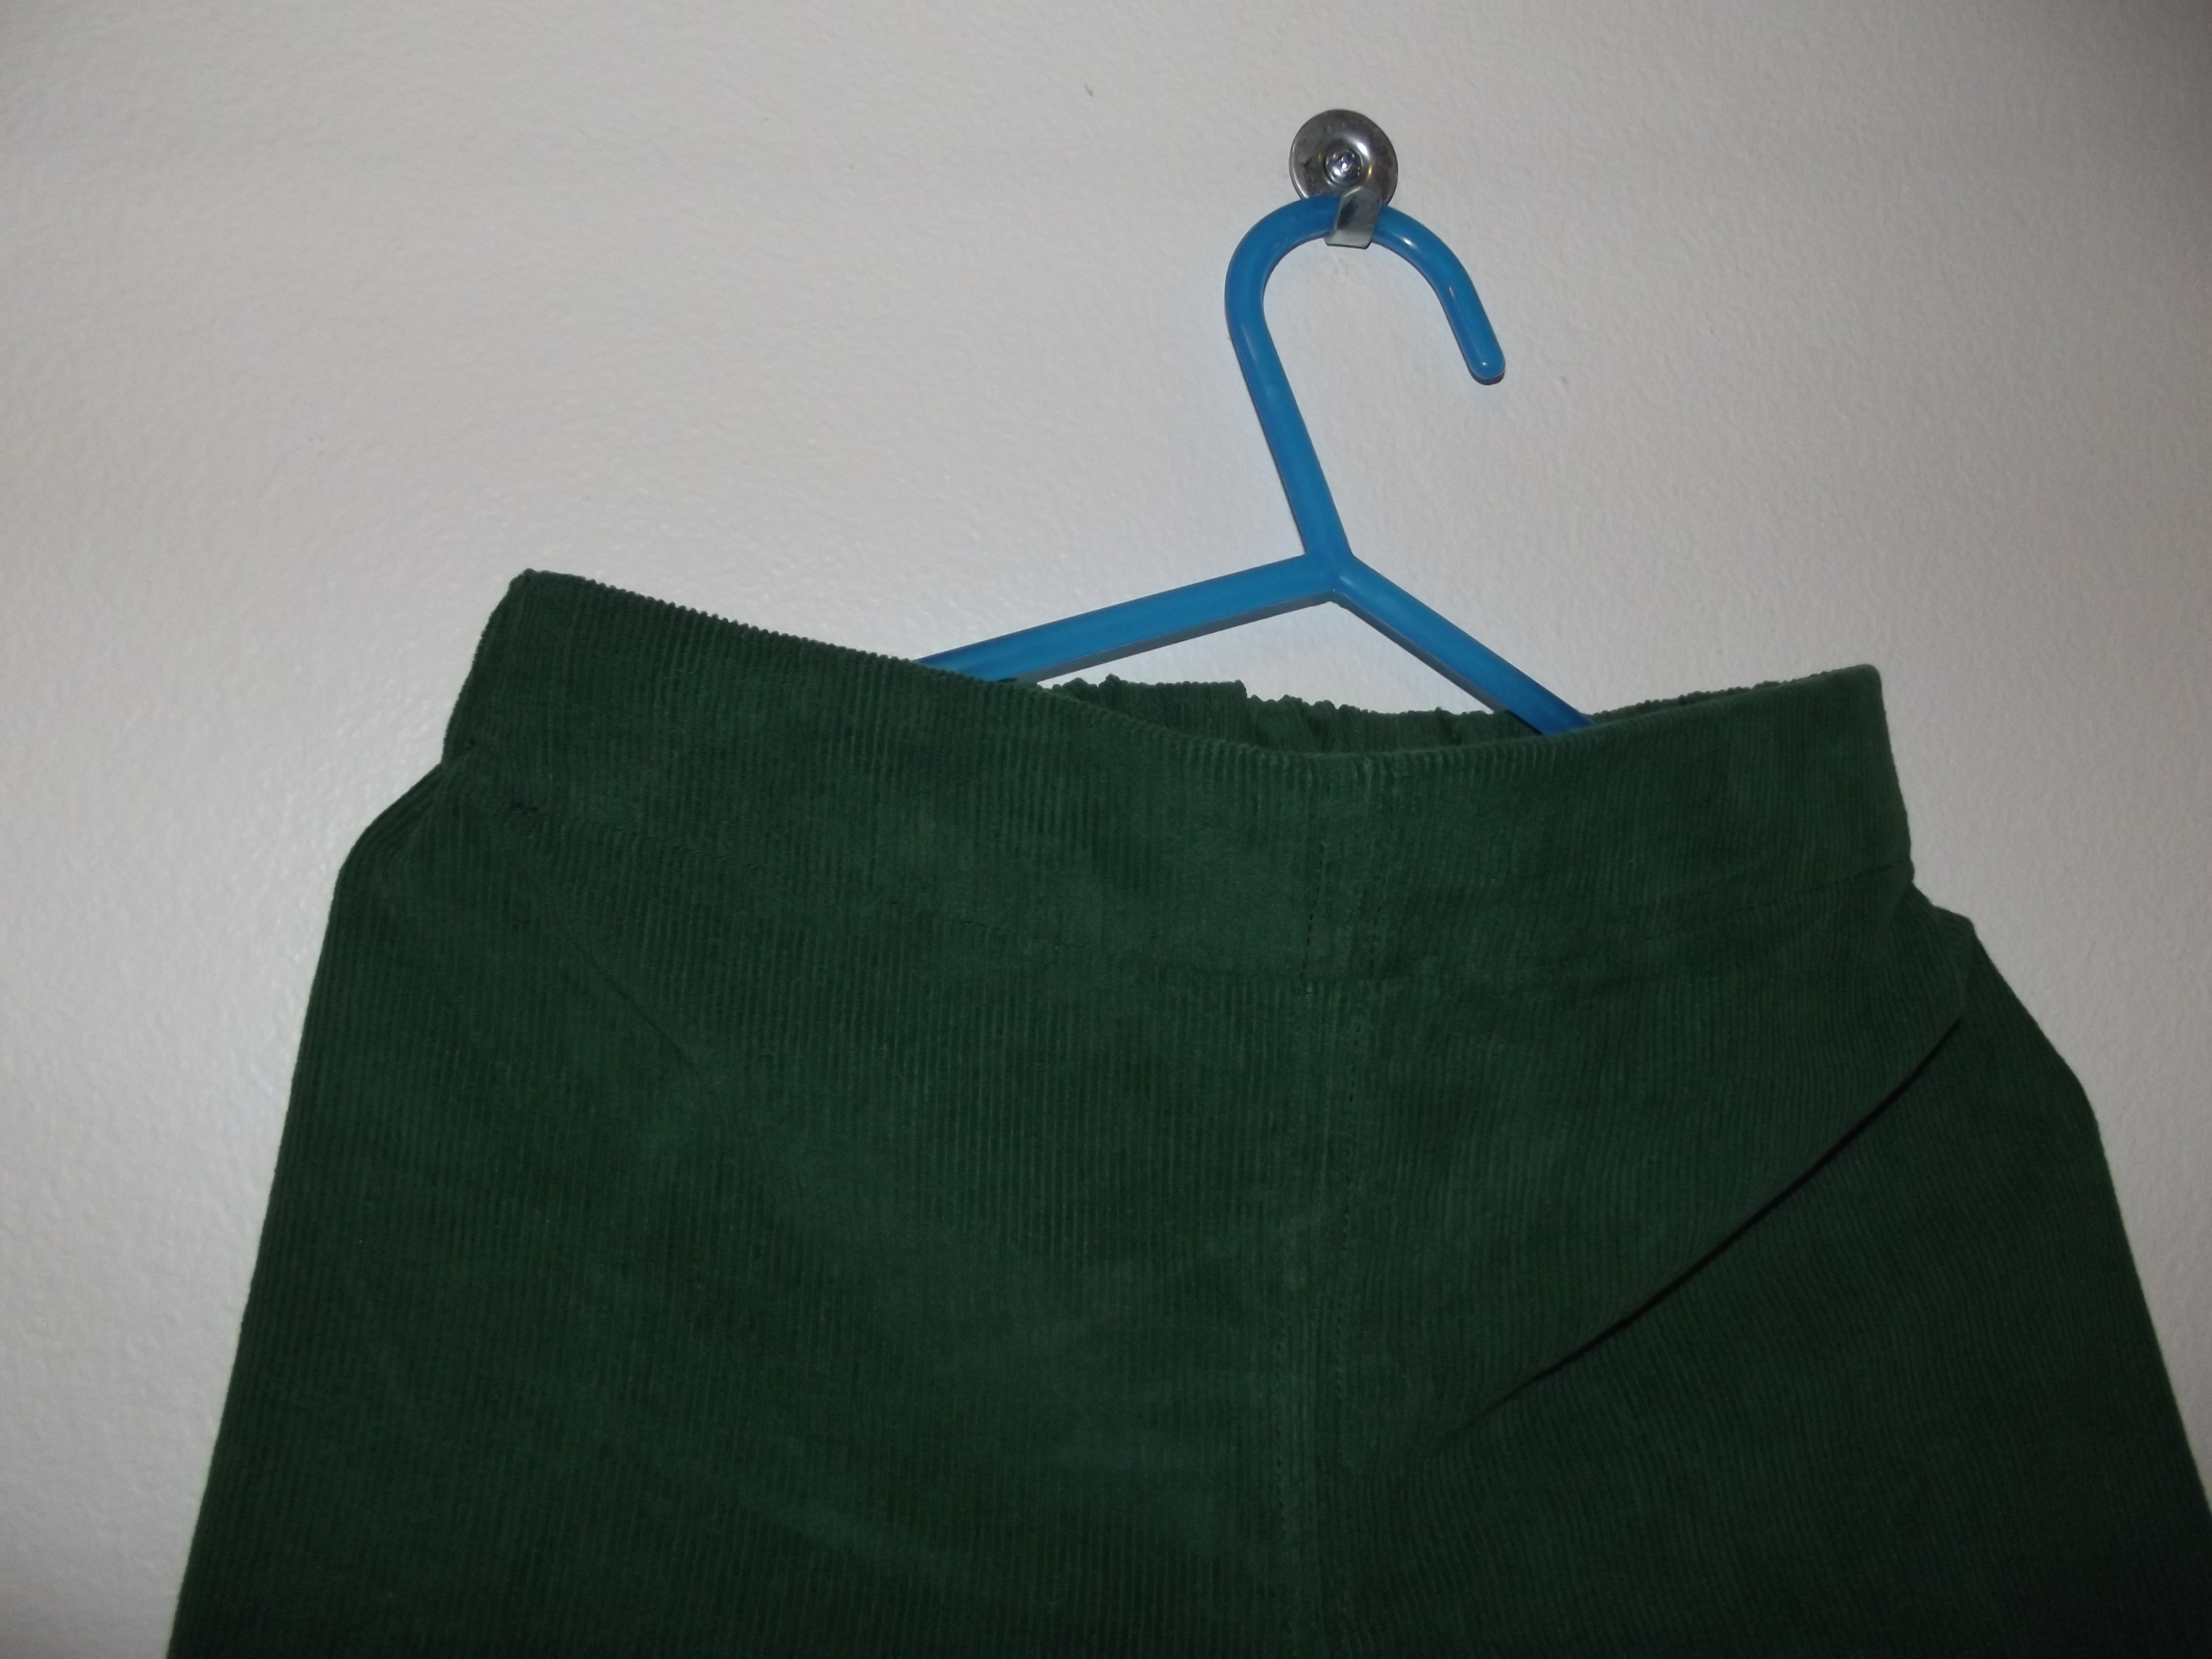 I chopped a big chunk off the bottom of the pattern this time as the elephant trousers turned out quite long. So these ones once on are a much better length and don’t need turning up several times.
 They turned out well 🙂
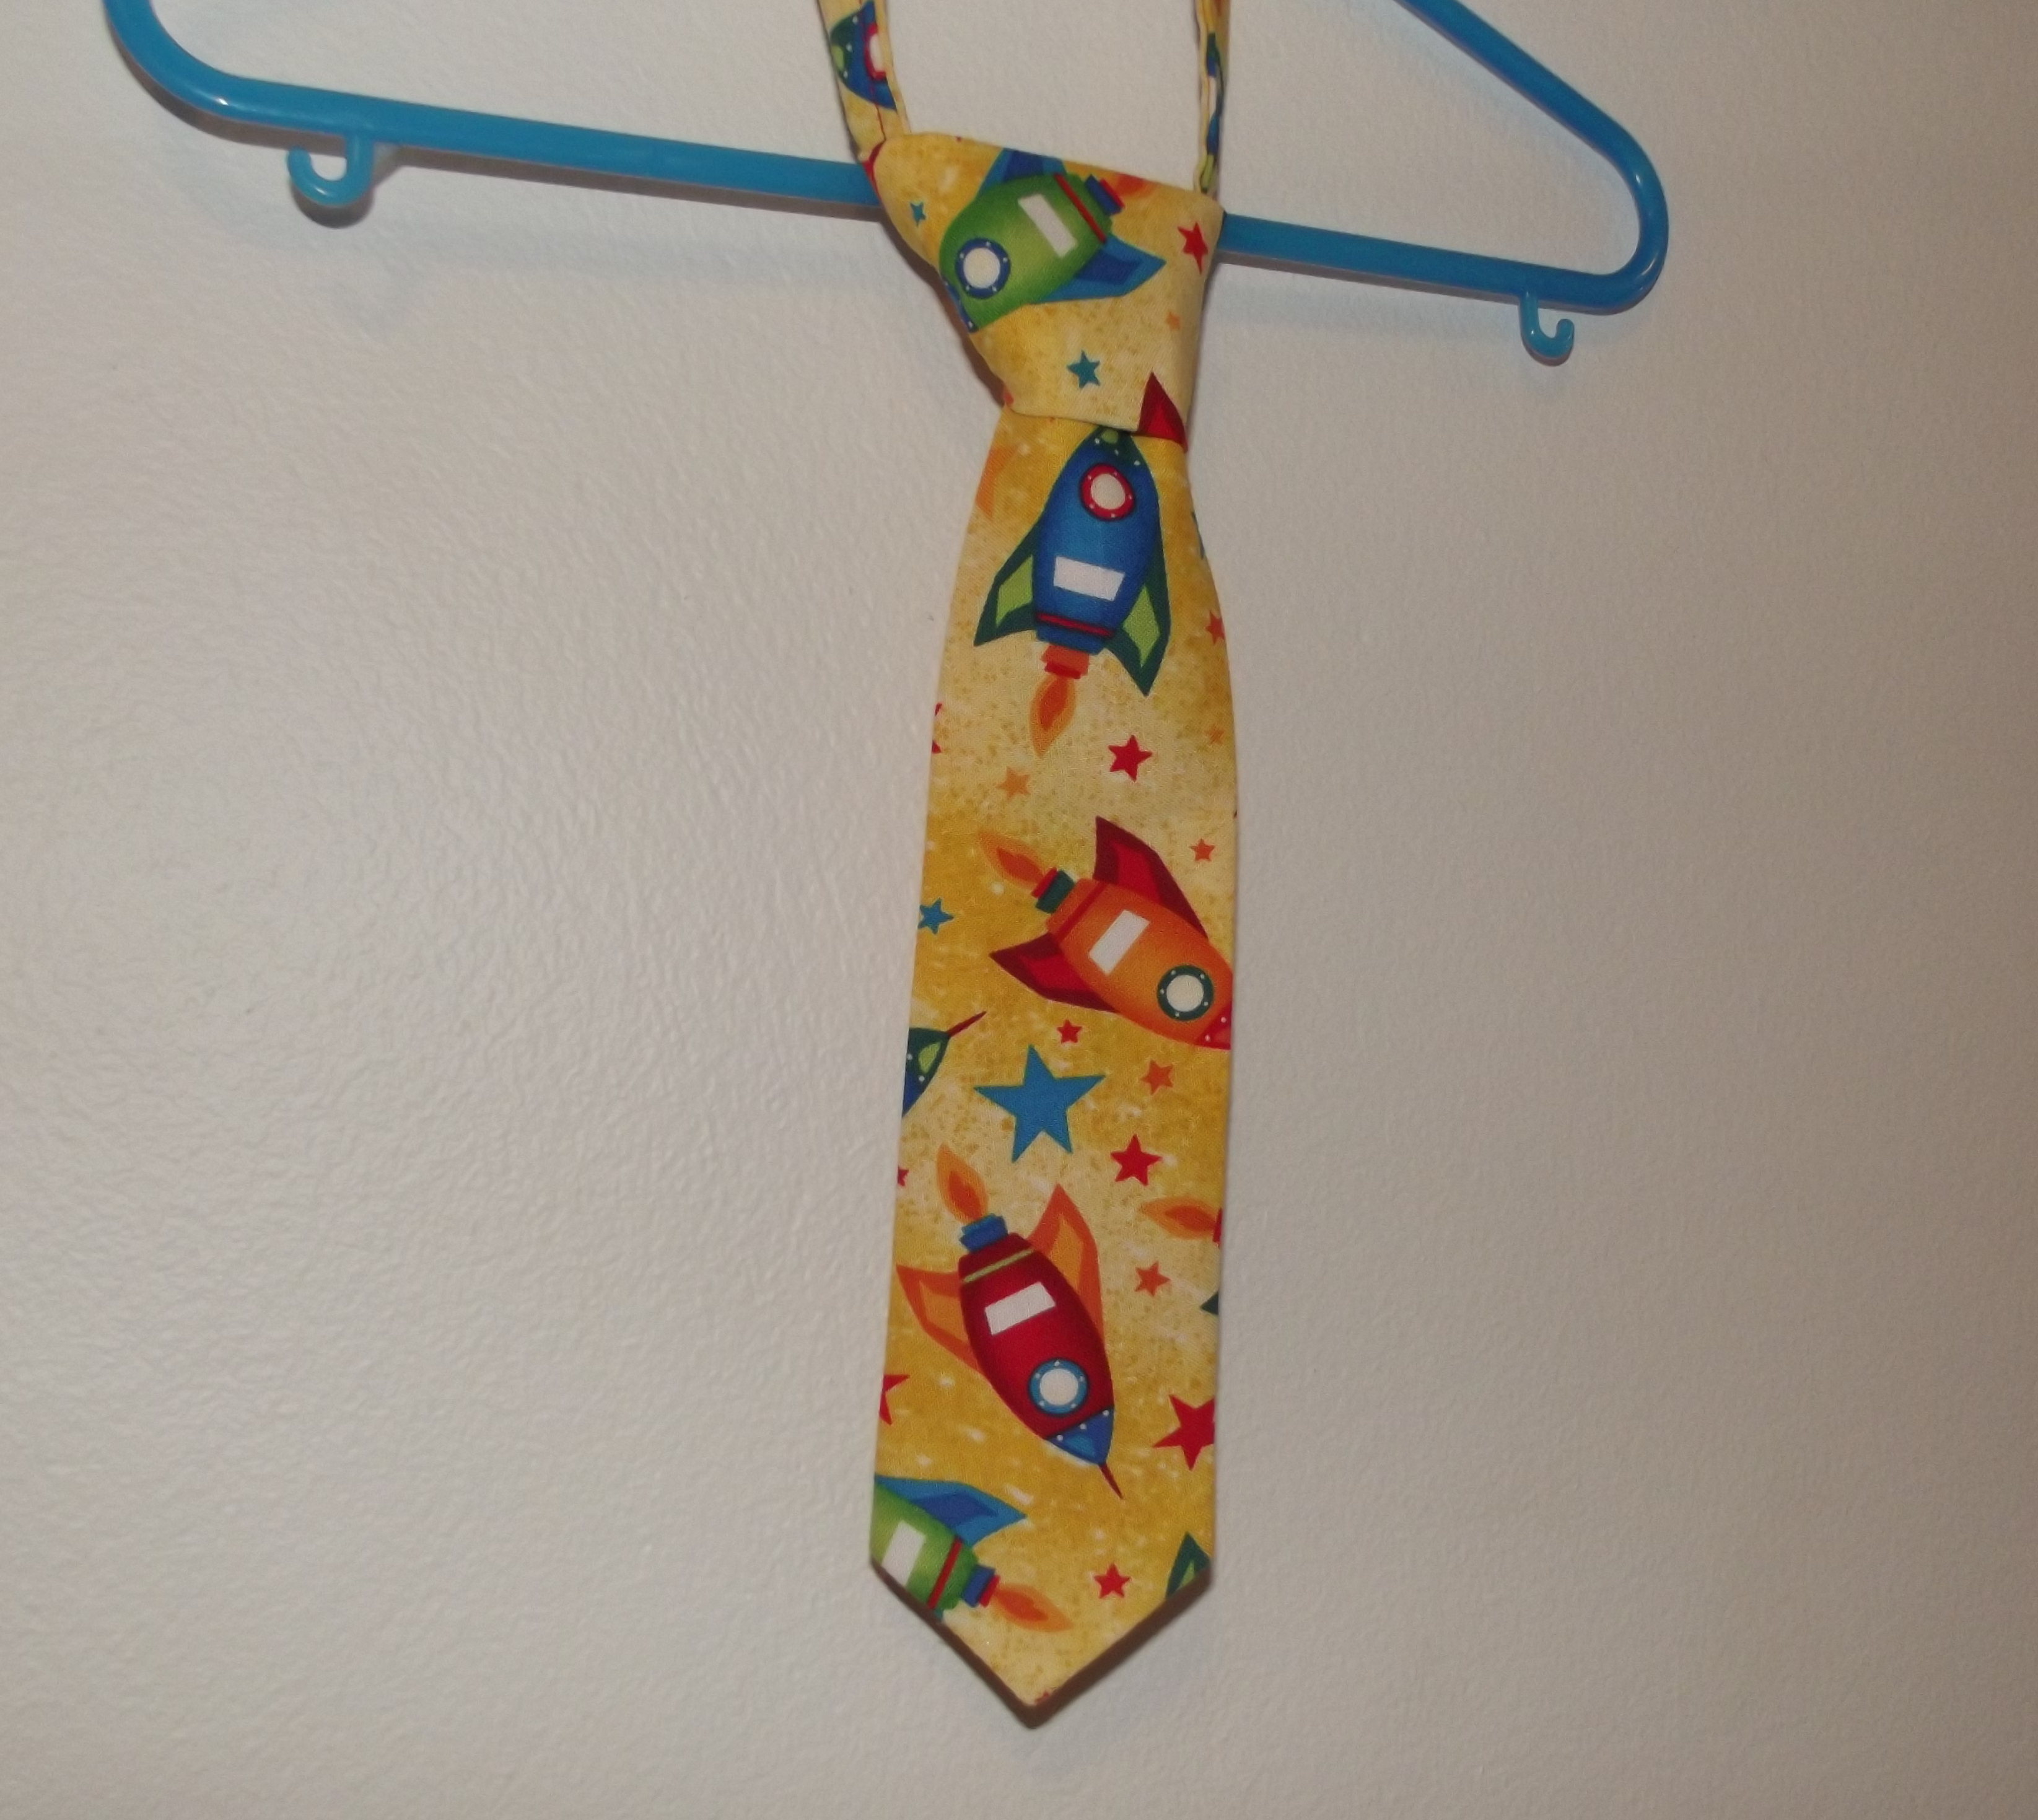 The rocket fabric was left over from making the
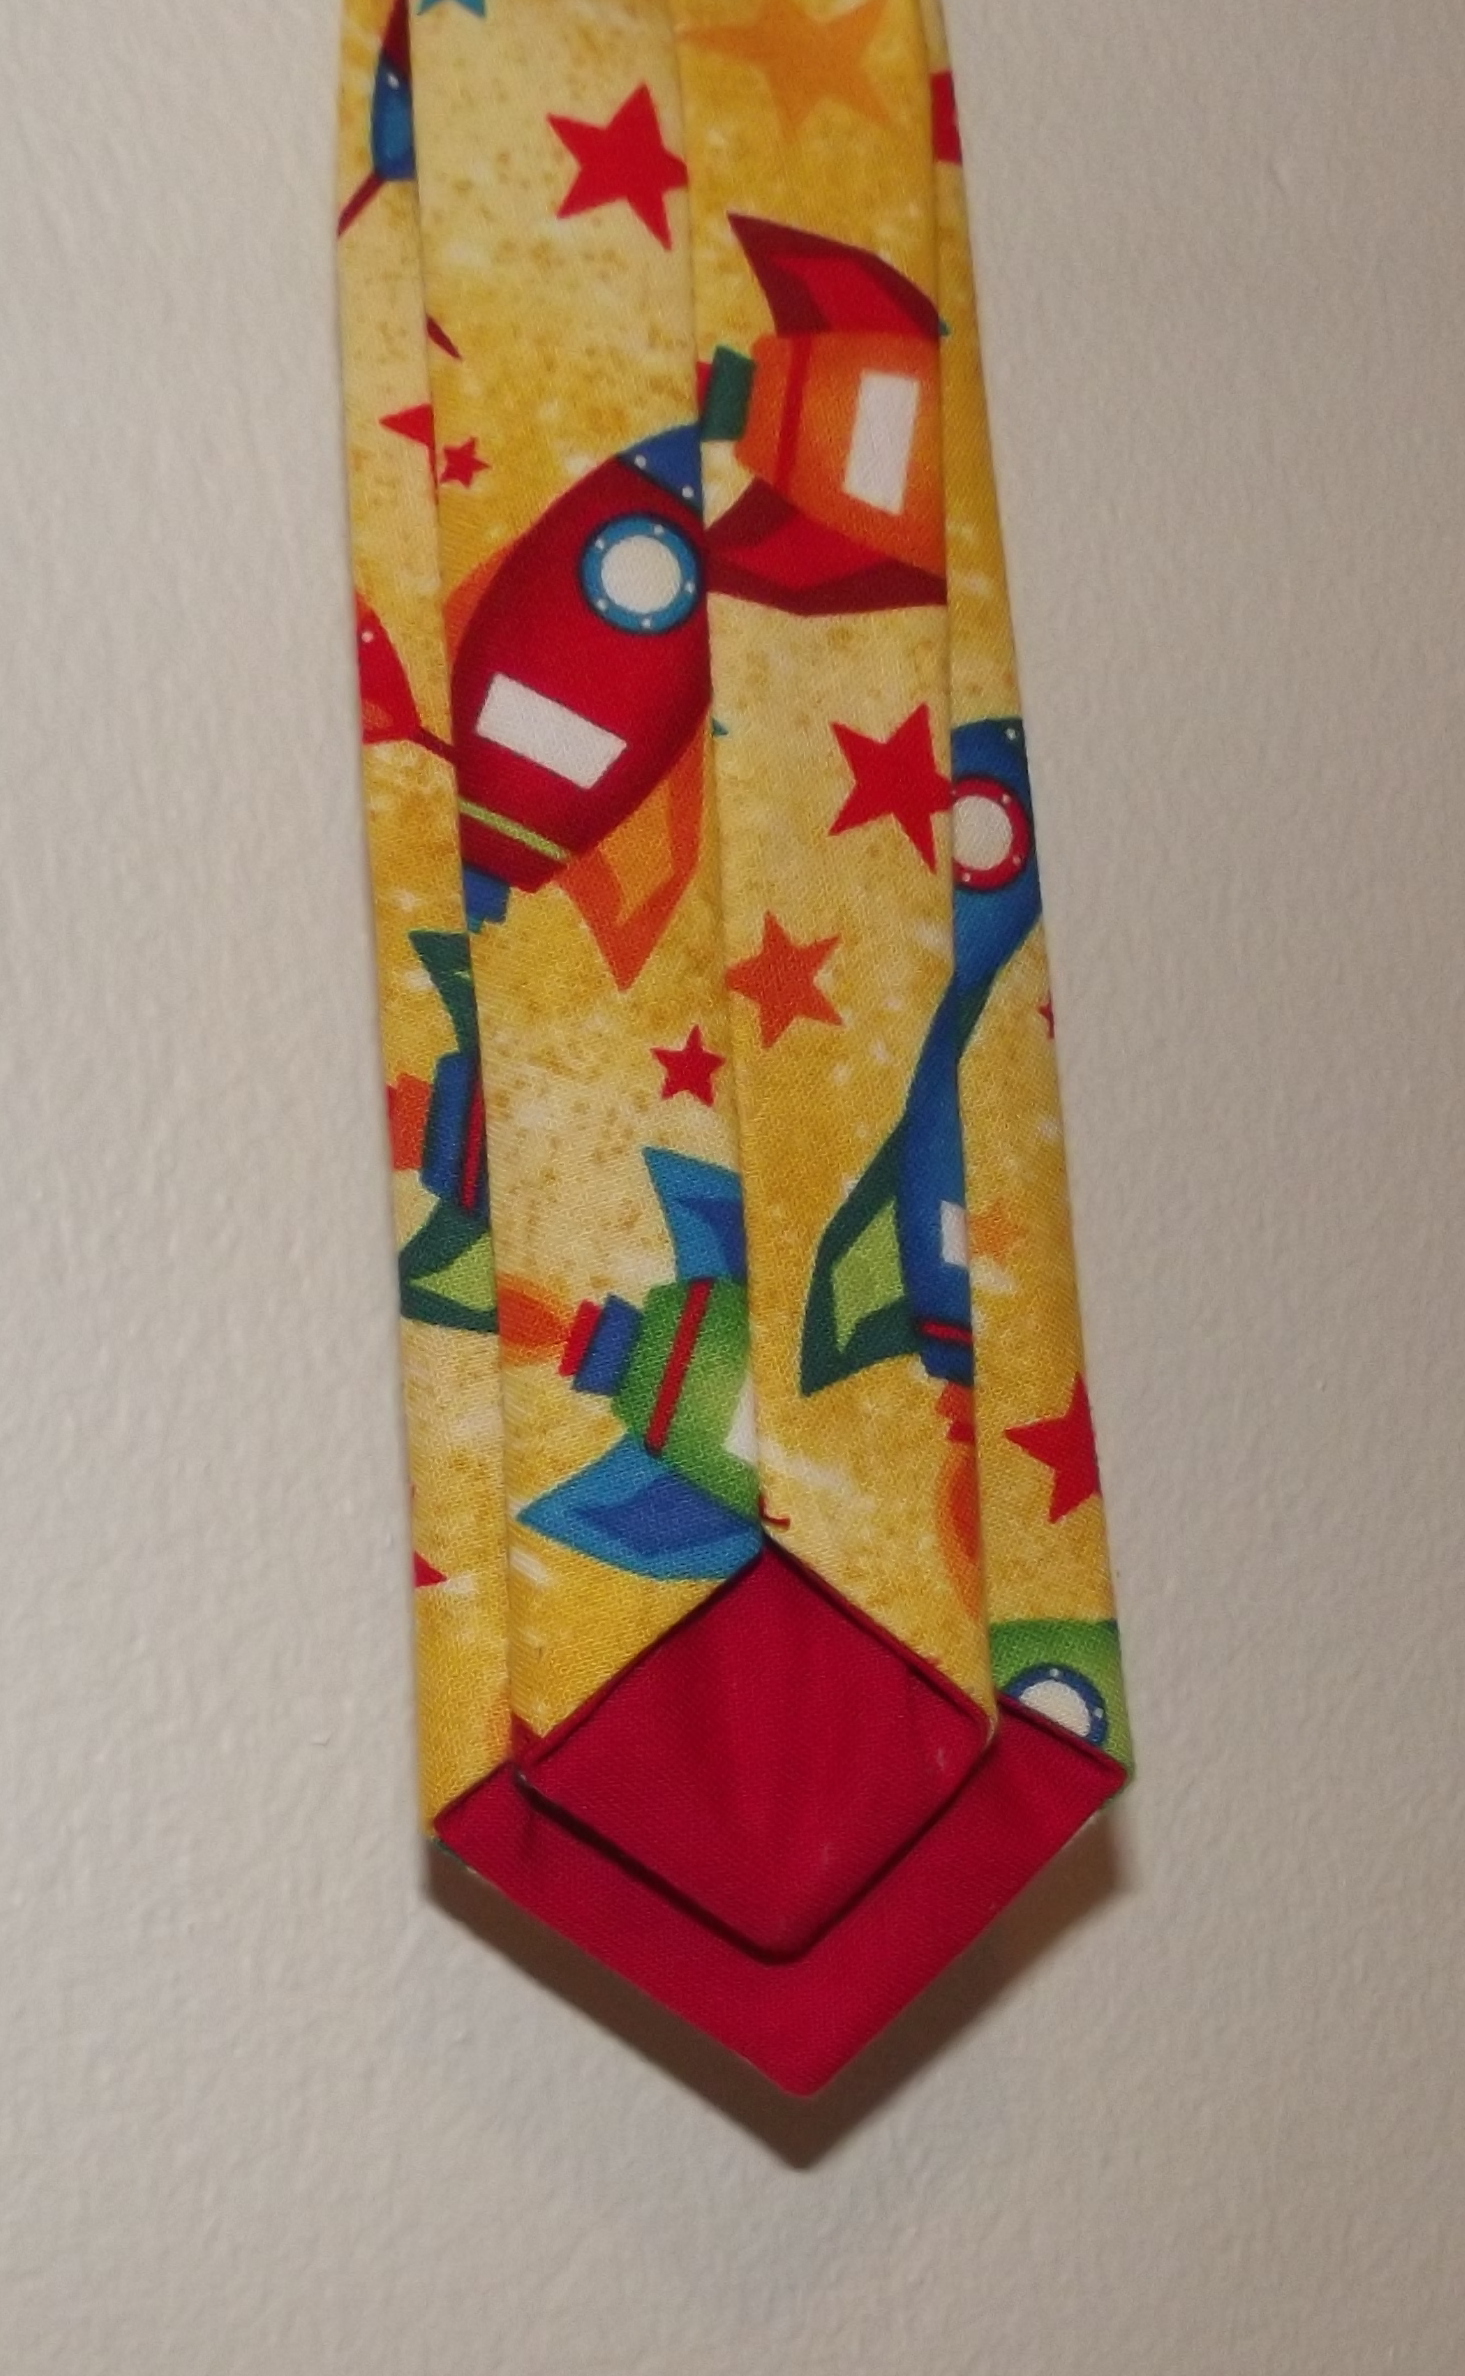 The ends are lined with the leftover red cotton from the waistcoat lining. It makes it look like a proper tie!
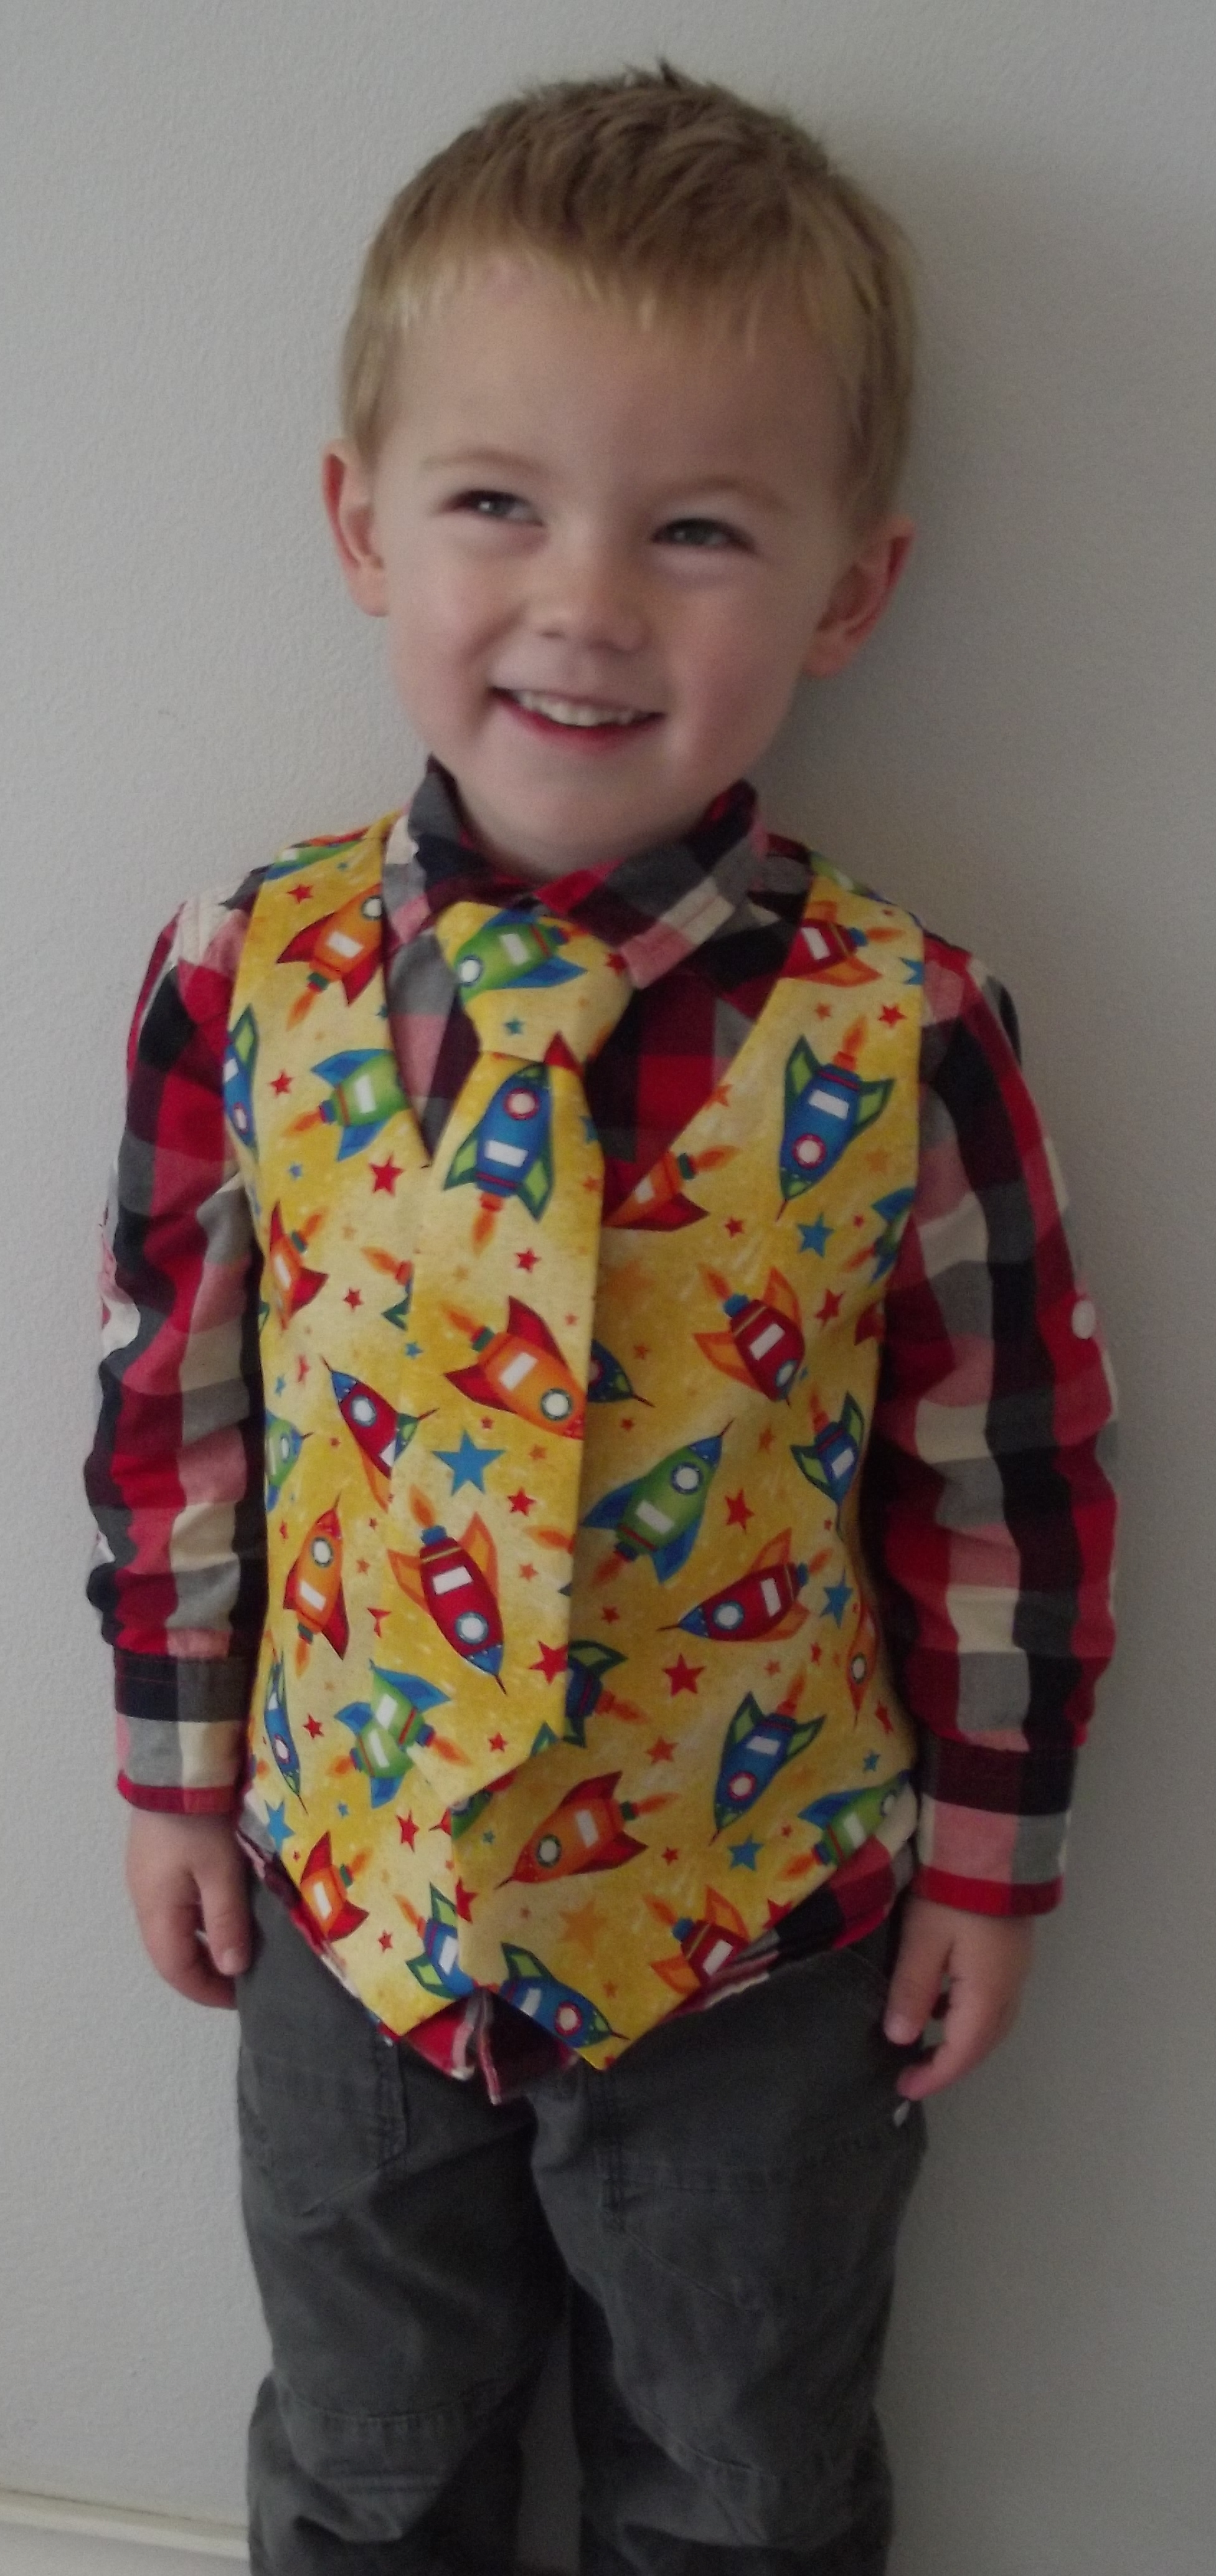 There’s only the waistcoat and tie completed so far, which looks a little odd over the top of a checked shirt, but you get the general idea!
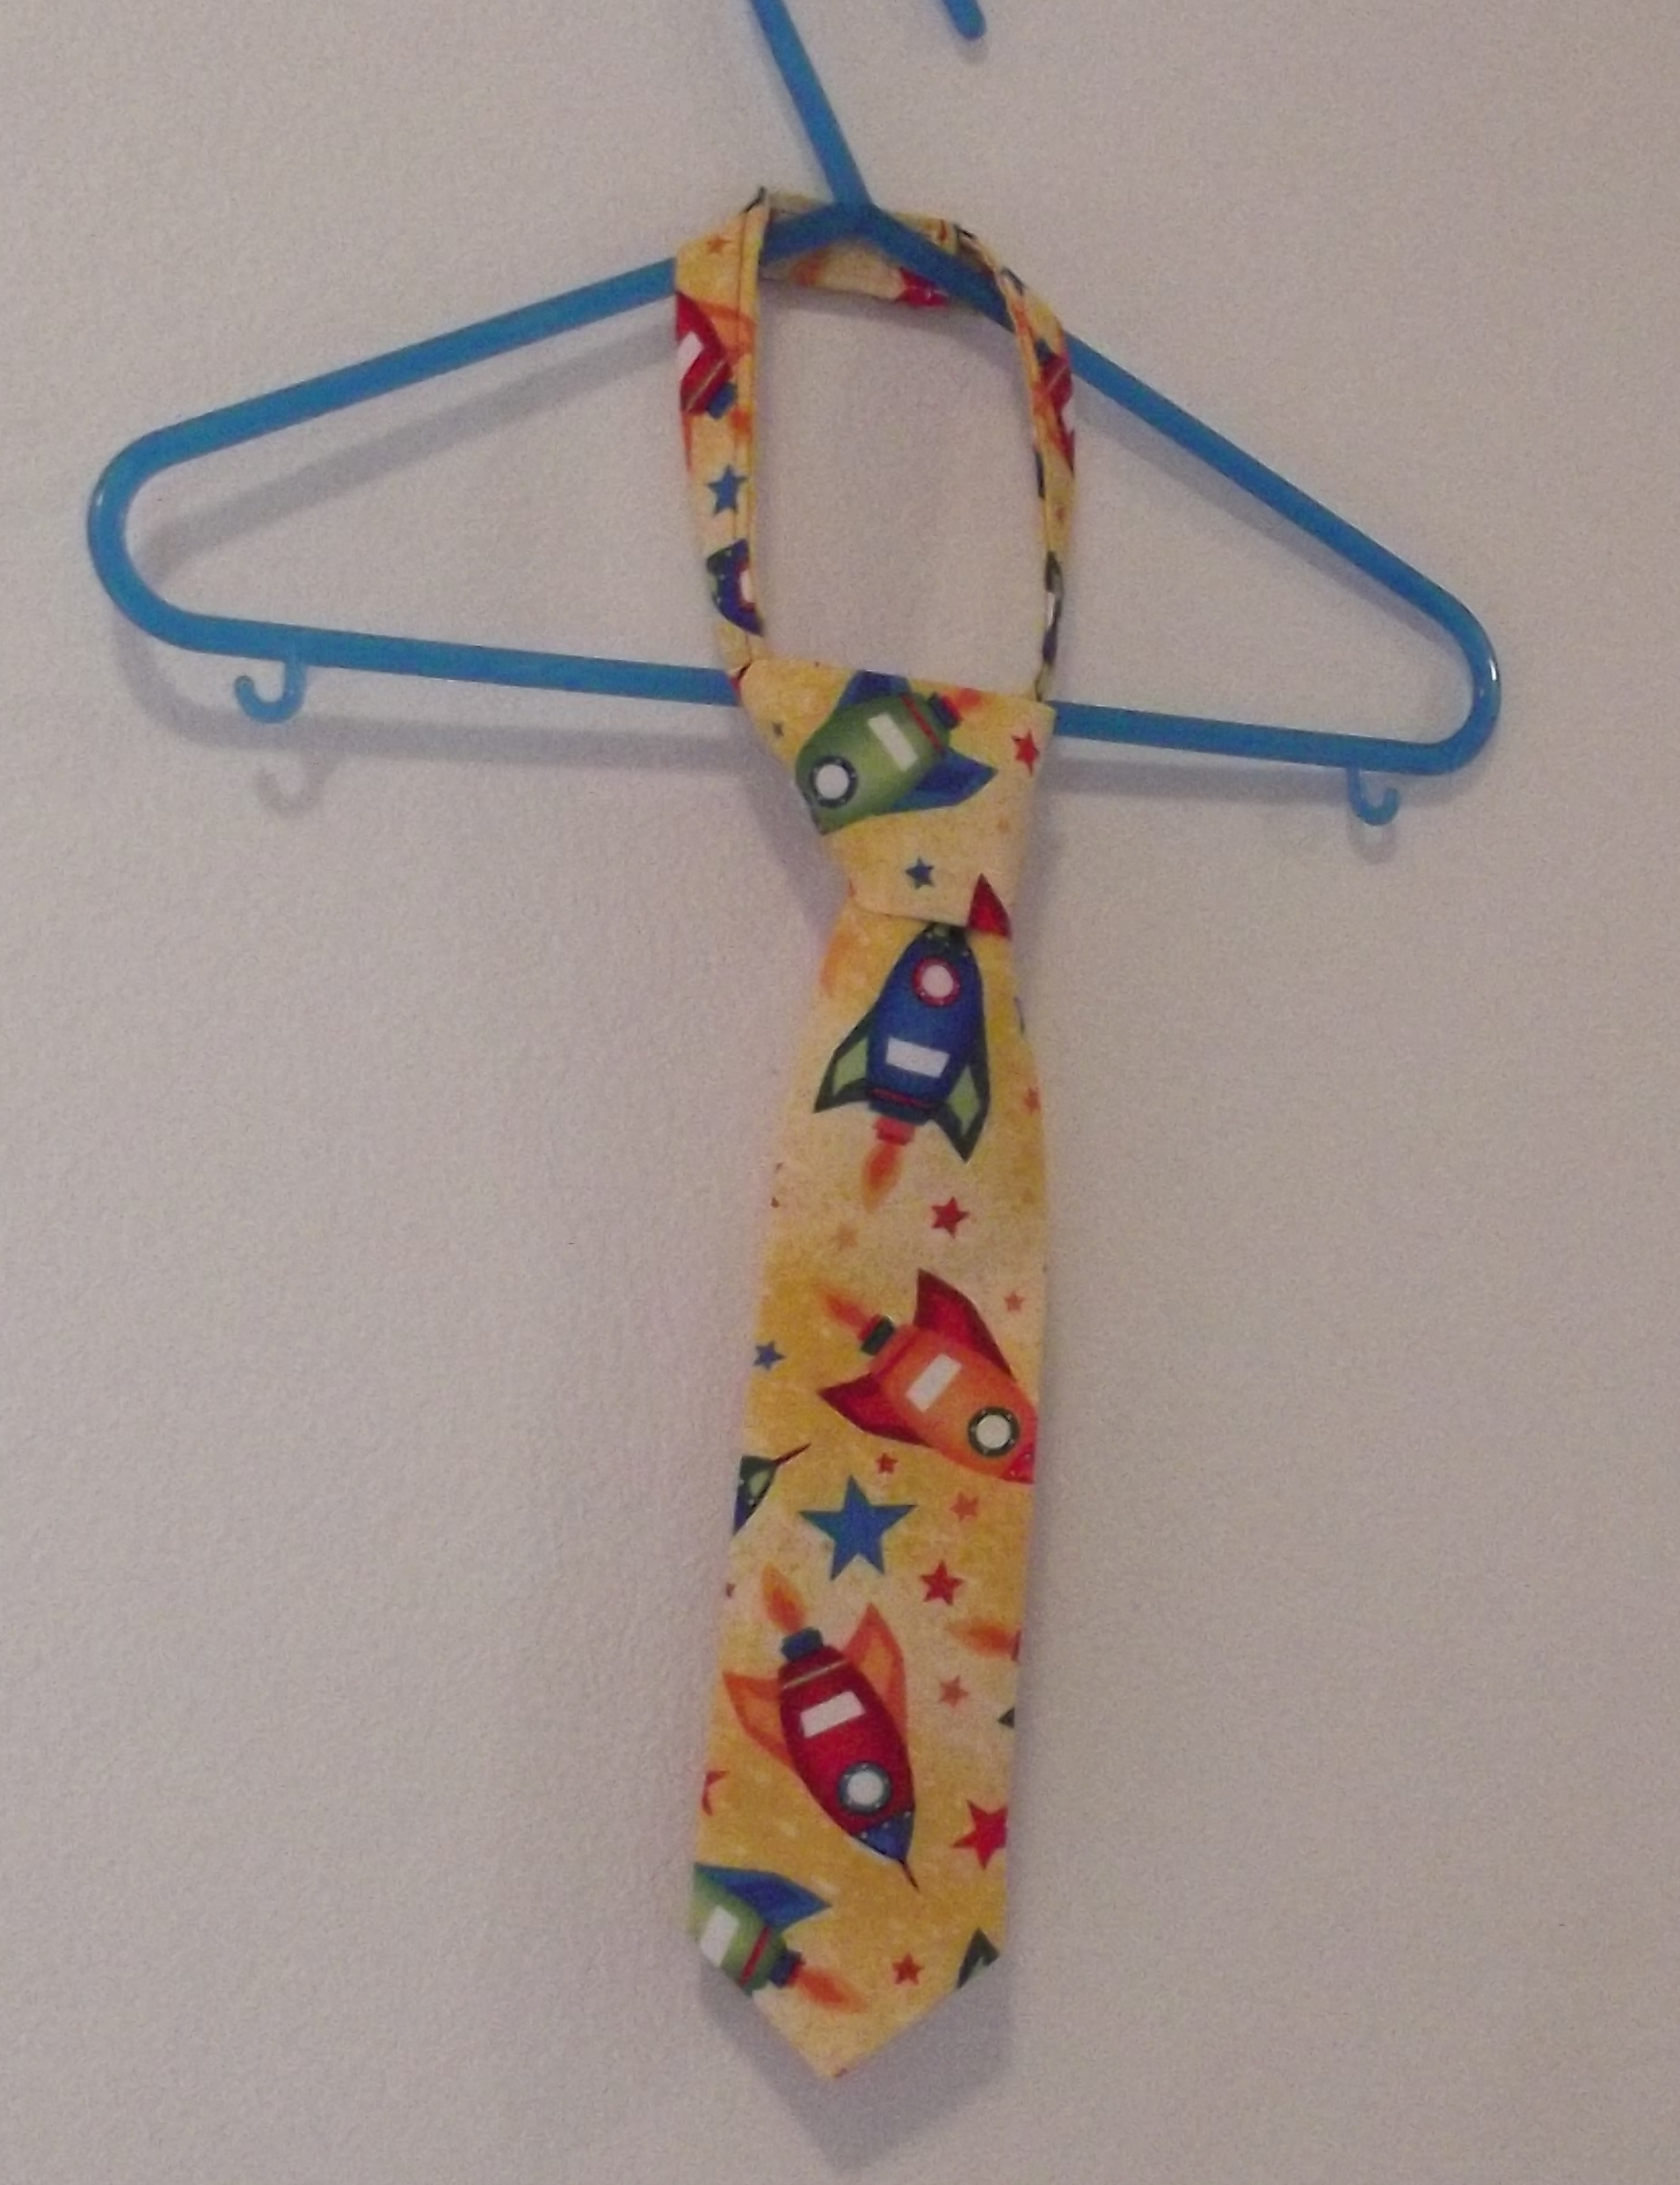 Next up on the wedding clothes list is smart trousers!
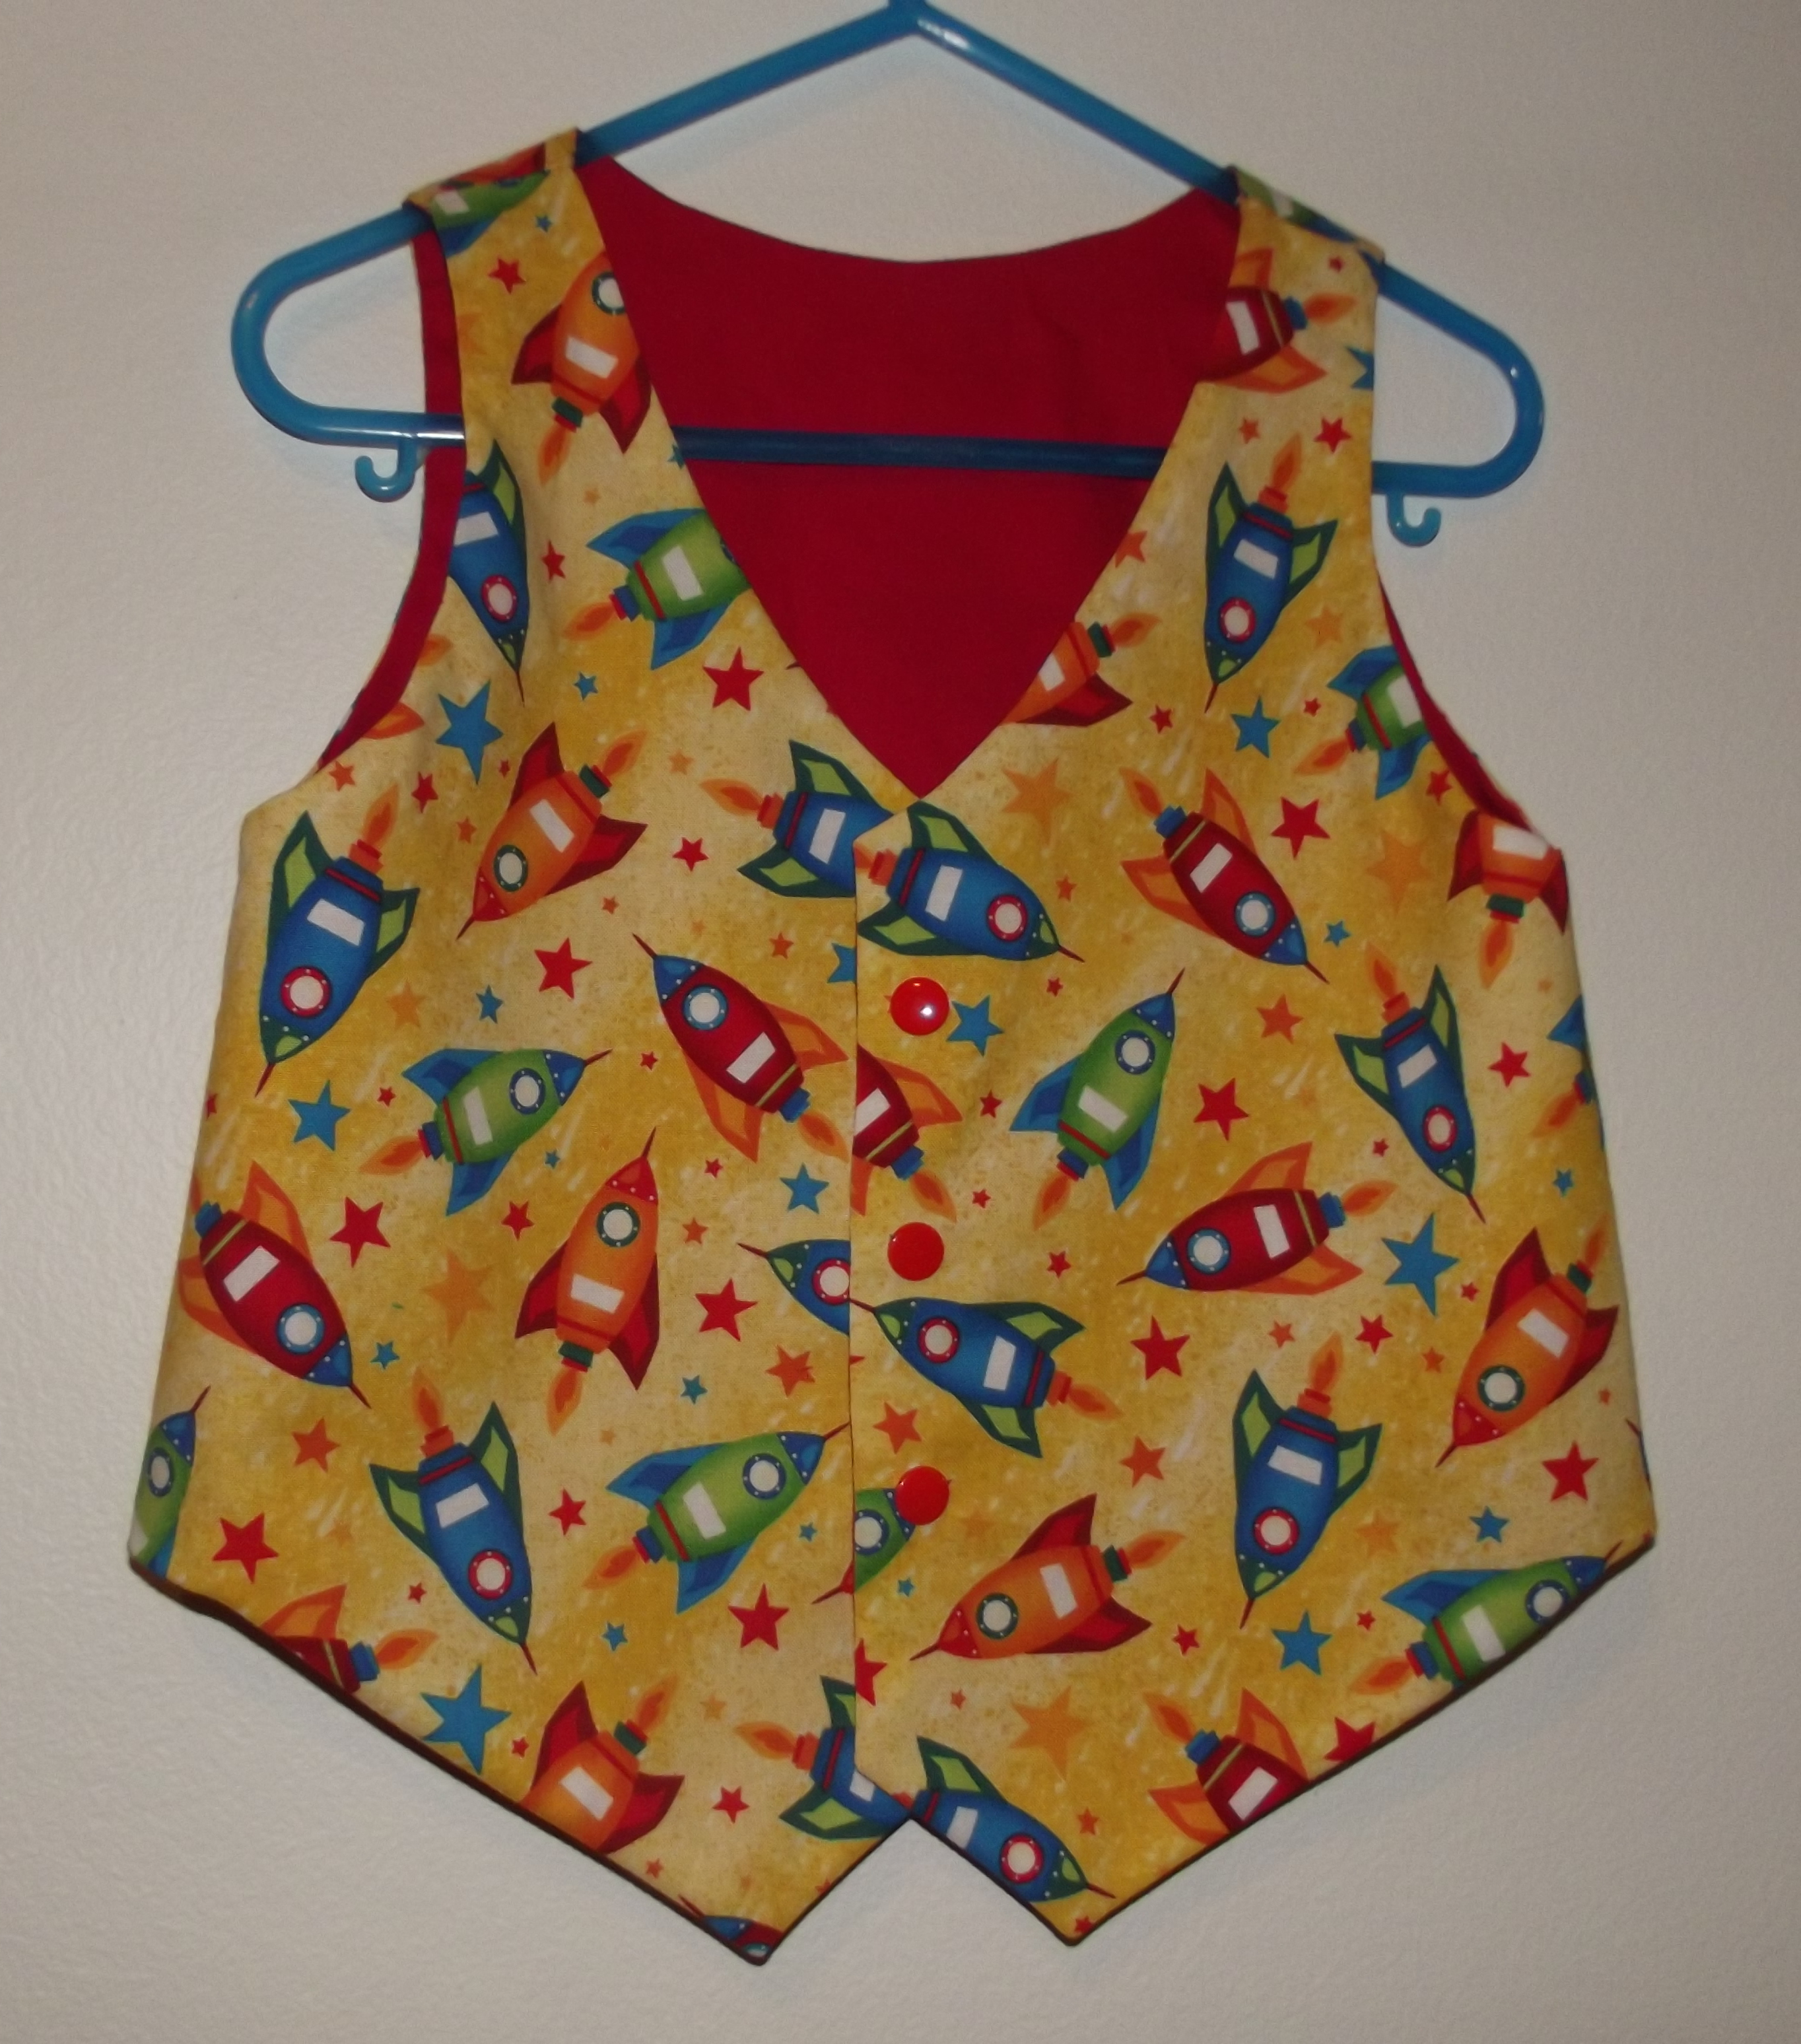
 The pattern was really easy to follow and because I wasn’t adding pockets to these they were quick to make. The rainbow ribbon at the back was attached to a balloon we brought home from a birthday party a couple of weeks ago.
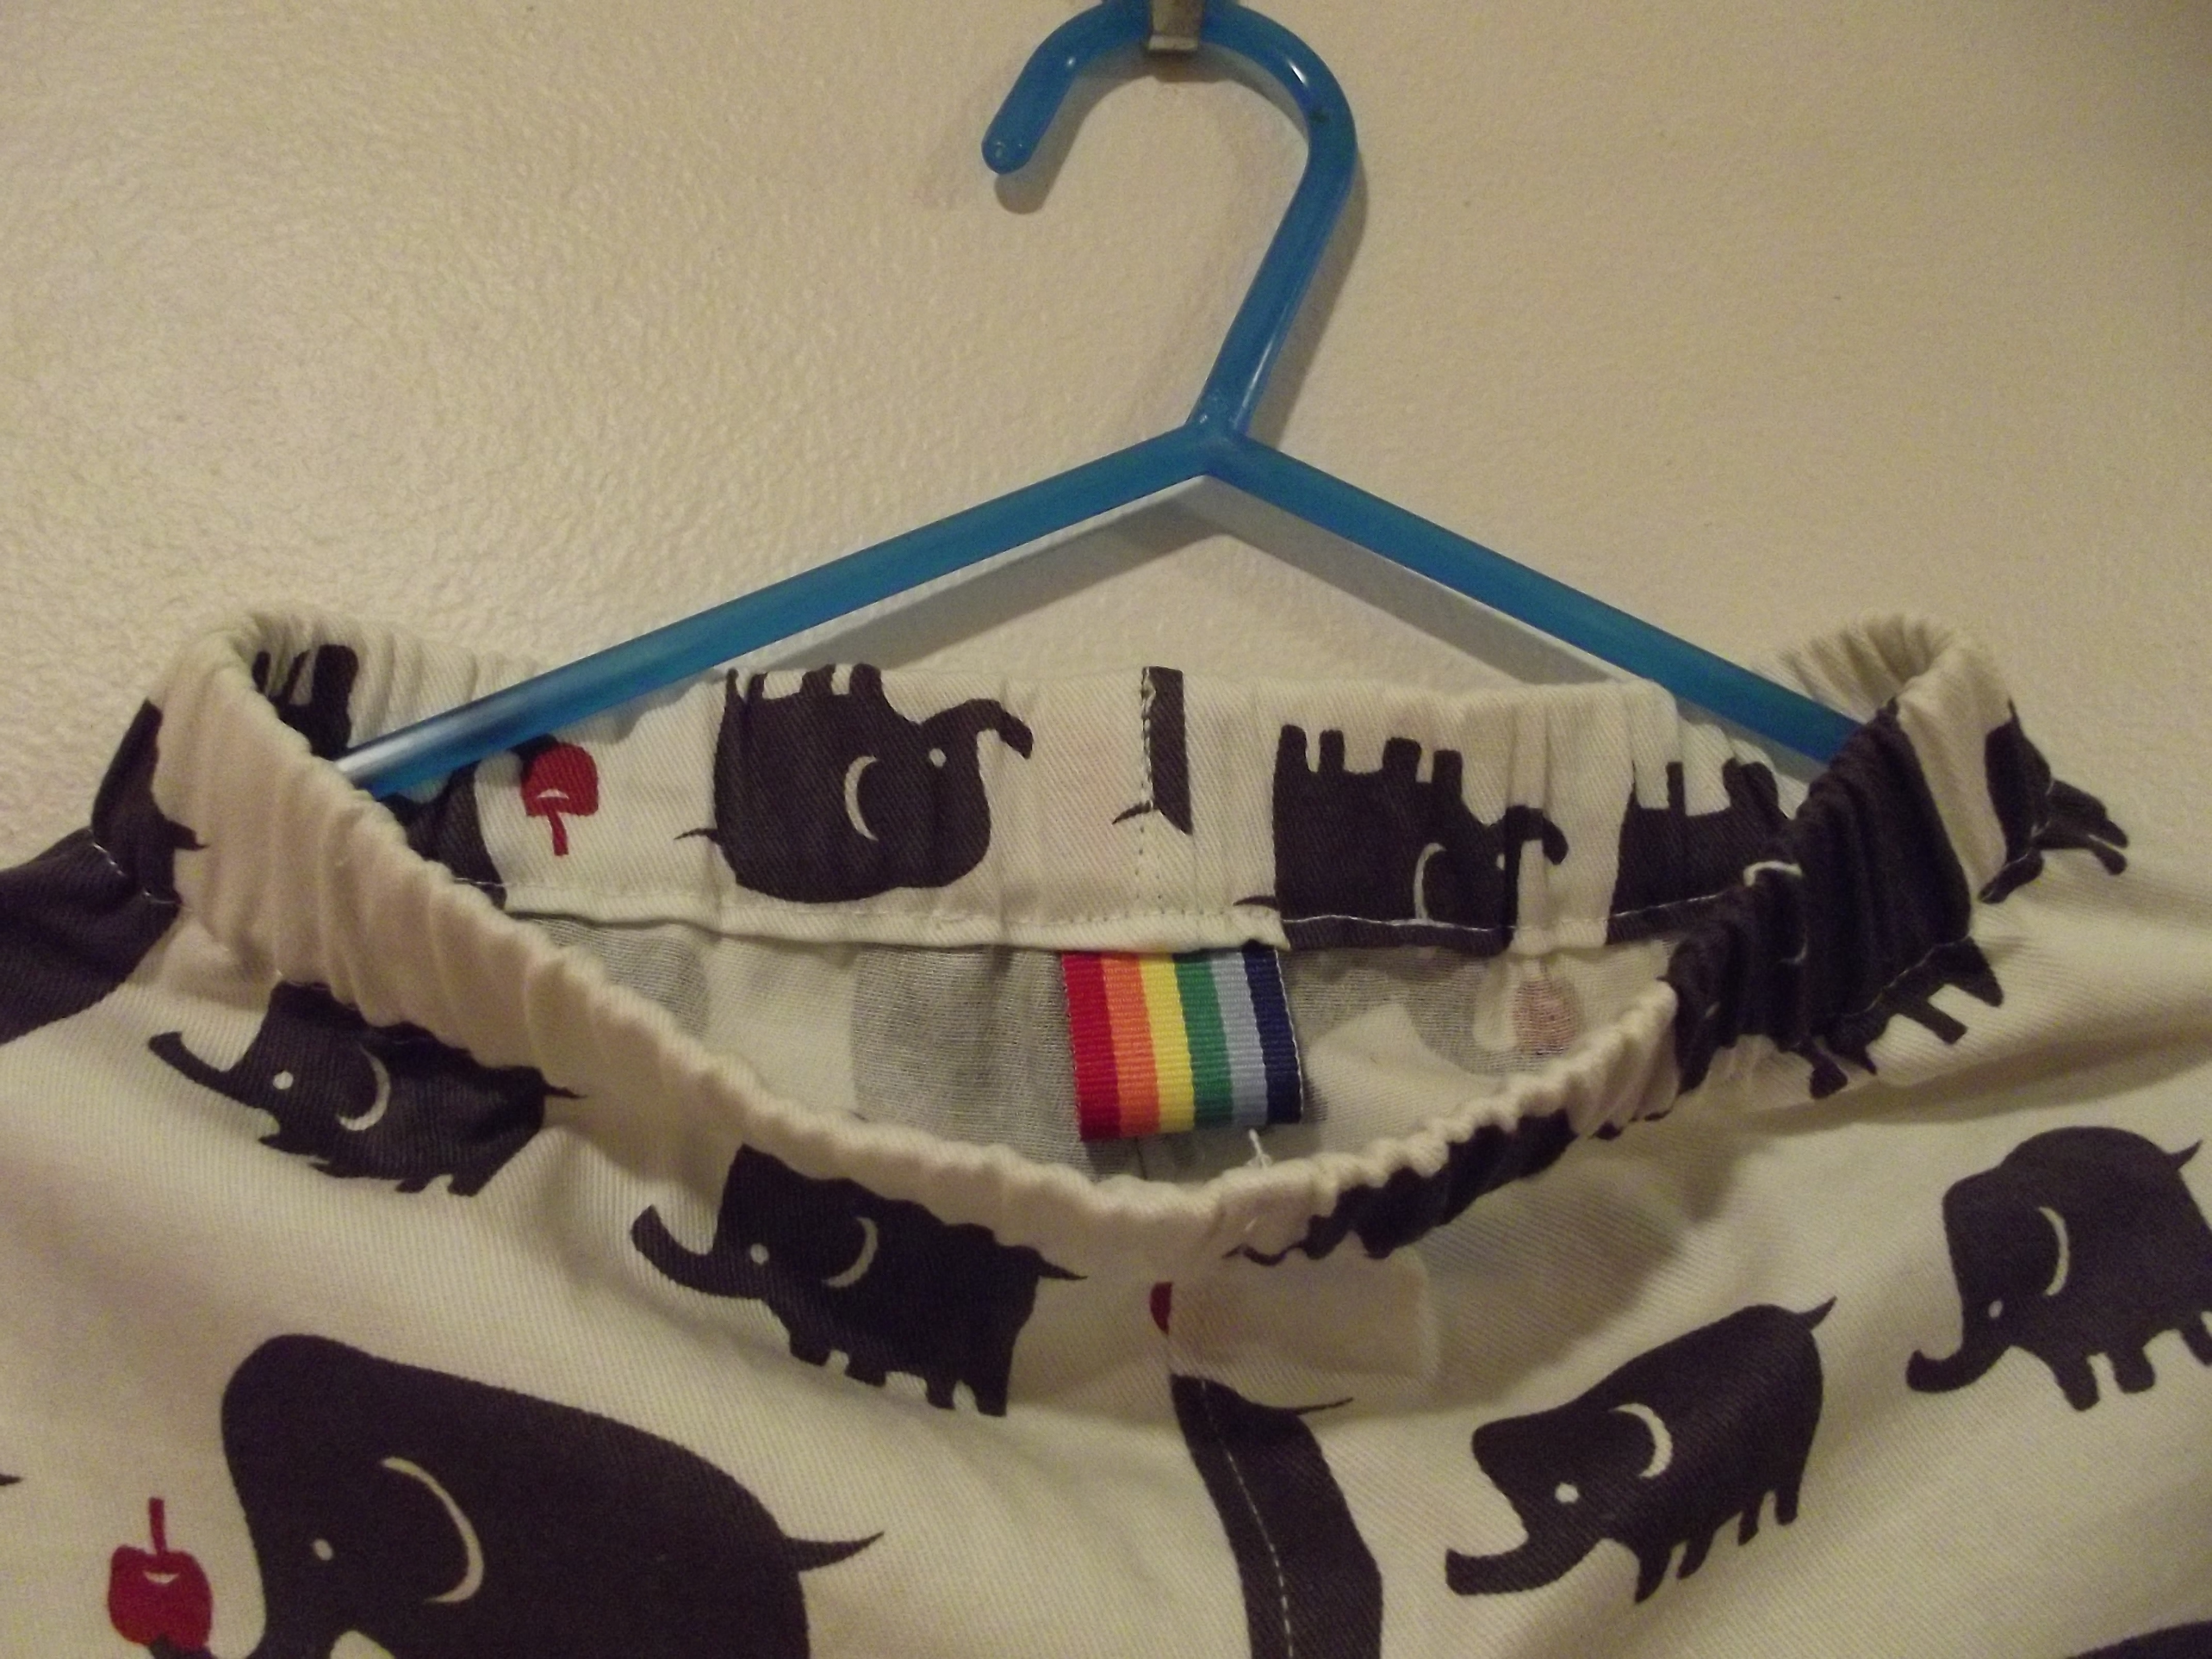 They are very cool looking trousers!
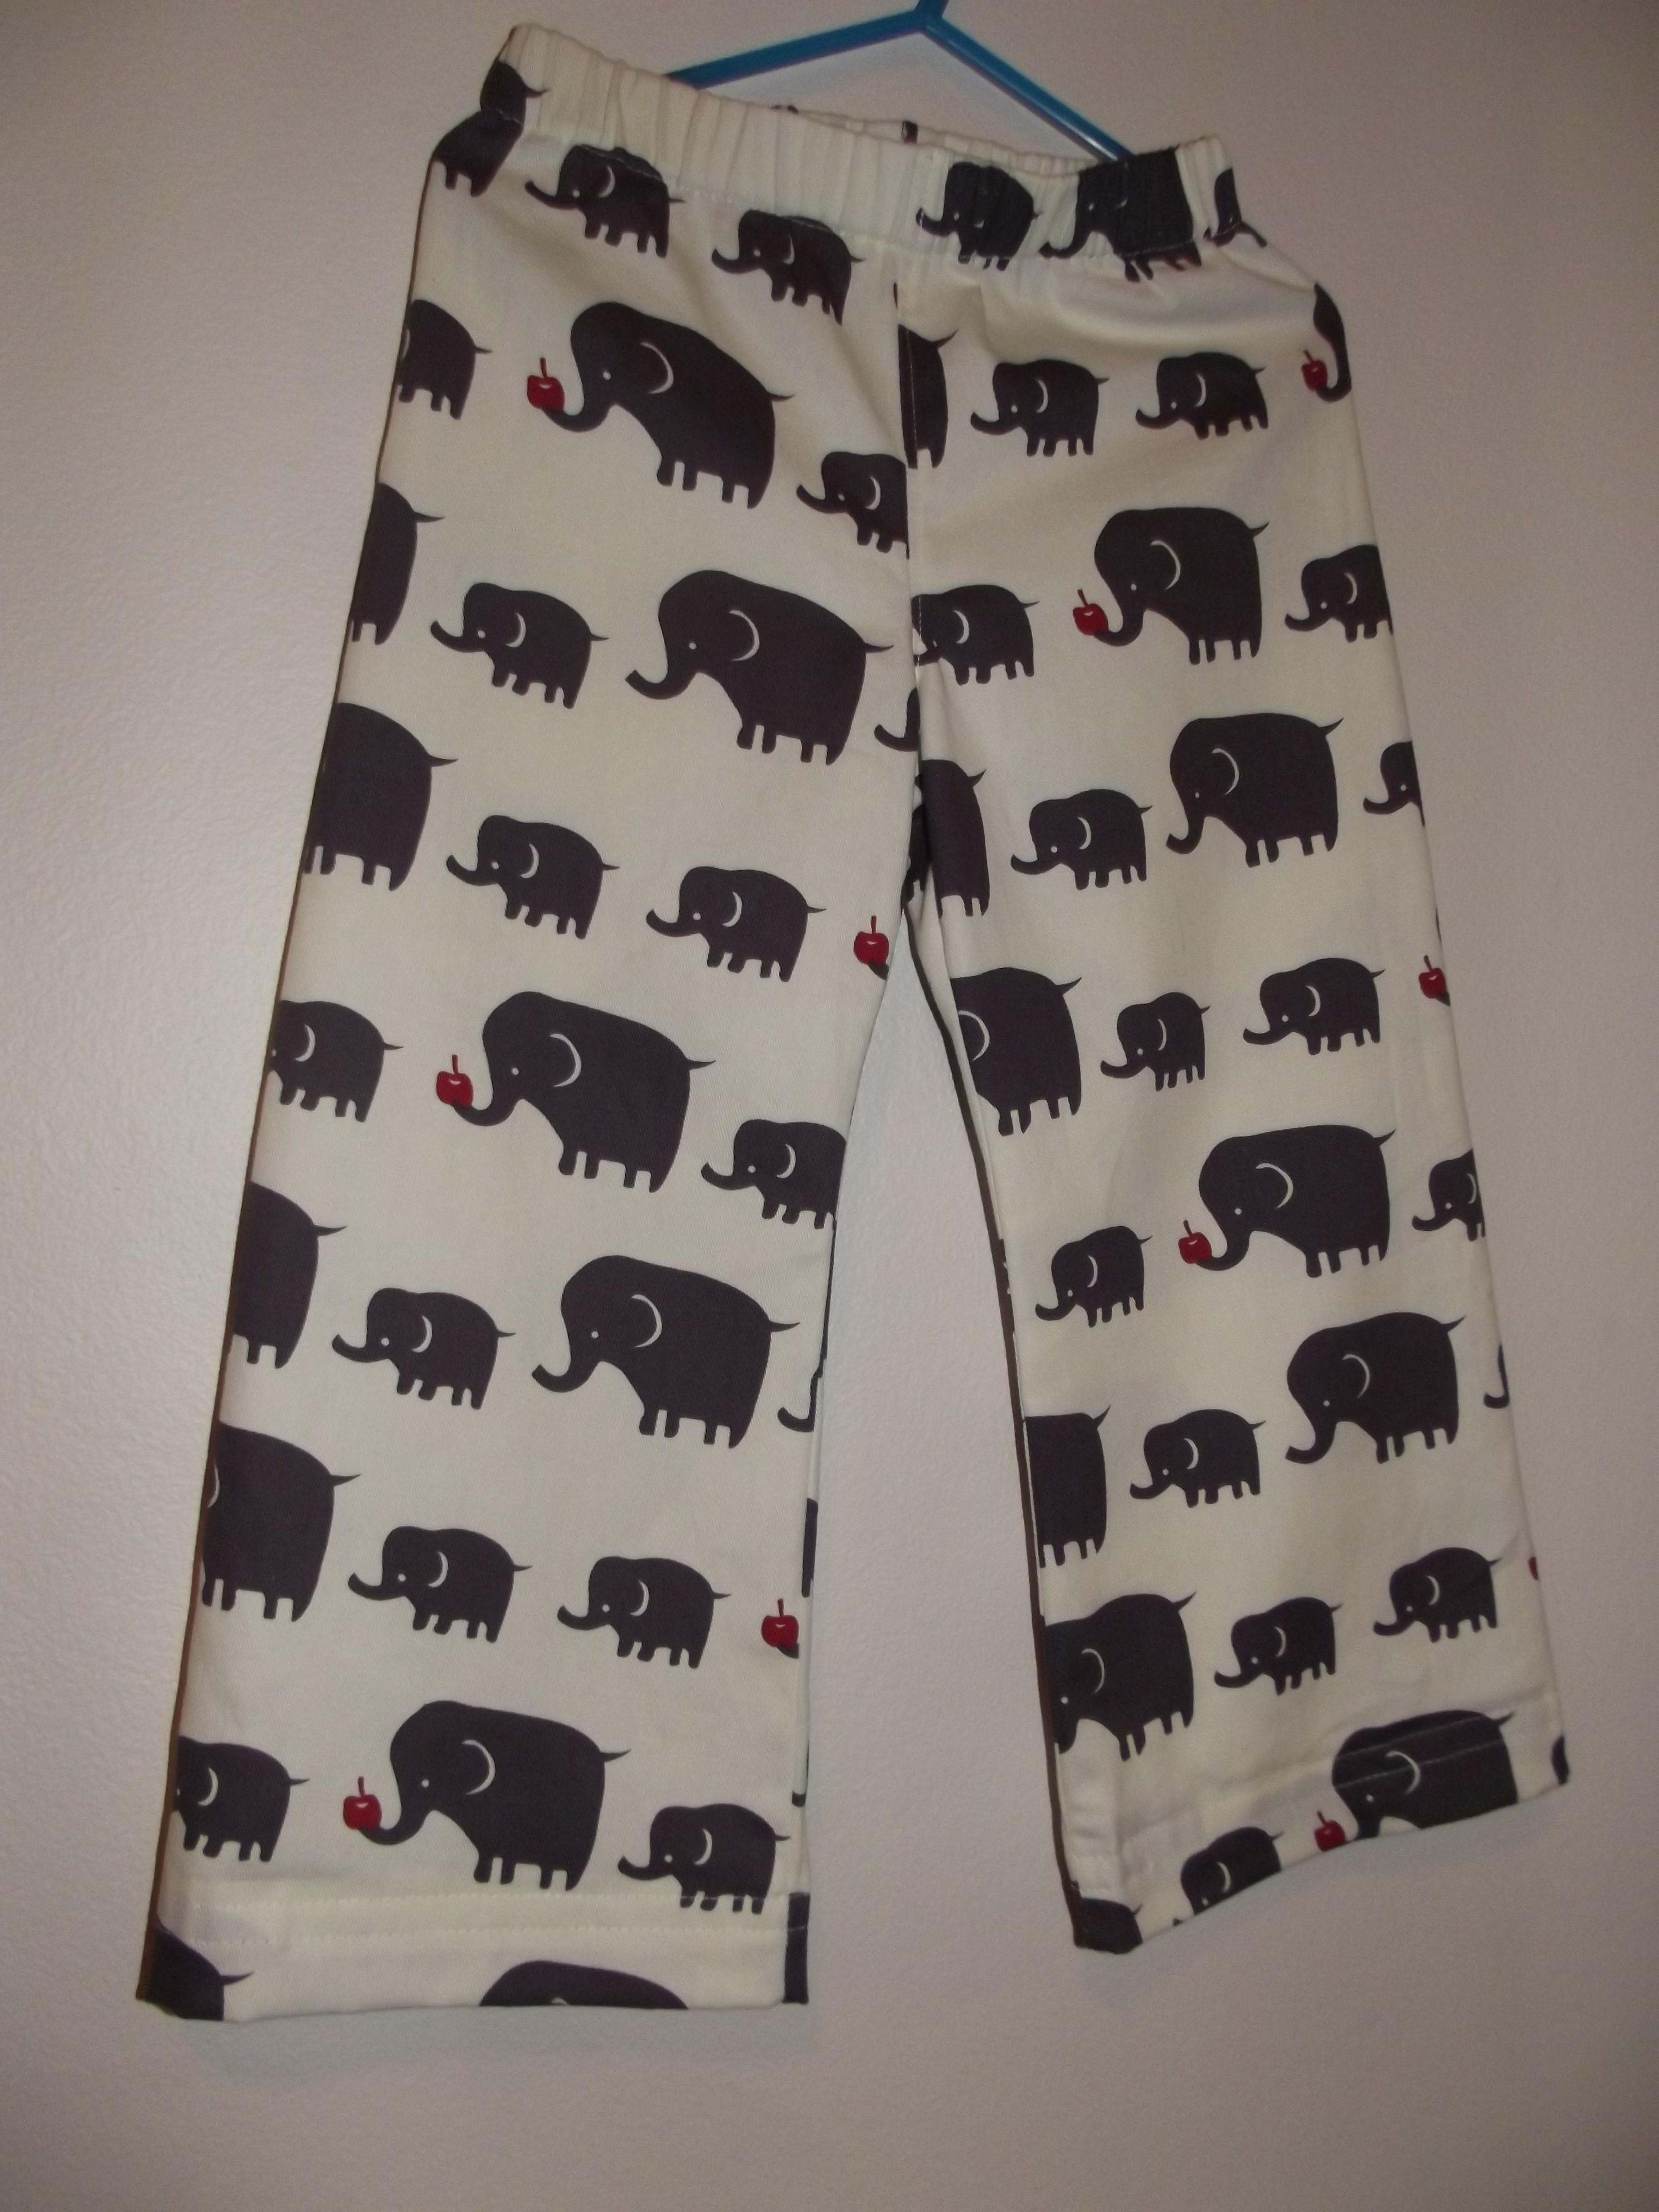
 It’s made from the same lime green spotty material as the big bag, and closed with a red snap (there’s two actually, as I realised when it’s full it needs to fasten in a different place to when it’s more empty)
 The inside is lined with the elephant drill the same as the bag. One side holds a travel case of wipes while the other hold nappies.
 This was a really quick thing to make. I can see me making more of these for new baby gifts 🙂
 The bodice and straps are also in the plain blue, and it had a blue snap to fasten it at the back (rather than the buttonhole in the pattern).
 Here is the finished dress 🙂
 I let him loose in the fabric cupboard to choose which colour he would like for his – he chose the blue cord.
 Inside it is lined with giraffe cotton that he also chose in the shop a while back when we talked about making him his own bag.
 At the same time I also made this pink one for his friend whose birthday party we were going to at the weekend. I had a little helper ‘helping’ me sew parts of this one – having a child press the foot pedal of the sewing machine for you really isn’t helpful at all, but he was very excited about doing it!
 Hers is lined with brown and pink owl cotton.
 The pattern is from a seller called
  I think the smiley face says I wasn’t the only one please with it! 🙂
 The edging that I’ve been putting off is a shell shape, alternating between each of the three colours.
 I was following the
  Here it is spread out to see the whole thing 🙂