I can’t resist a sew-along, and especially not one that has competitions and prizes along the way, so I’ve signed up to do the Modern Blocks Quilt- Along (QAL) over on And Sew We Craft!
The plan is to make one block a month to put together to make a quilt, so by this time next year we’ll have 12 blocks. The blocks are all taken from this book:


There’s a tutorial for the block each month but we were also recommended to get ourselves a copy of the book. Being somewhat impulsive and impatient I wanted it NOW and didn’t want to wait a few weeks for it to arrive from overseas so I opted to get the kindle version! (If you click the book above you can actually see several of the blocks using the ‘Click to look inside’ feature if you fancy checking some of the blocks out) It is also available as a kindle version from the amazon.co.uk site.
This month’s block is called Follow the Leader. The tutorial is here. It’s a very pretty looking block, but when I first looked at it my initial reaction was ‘it looks a bit hard!’
In reality though, taking it one step at a time, it was perfectly do-able. You make lots of rectangly triangle pieces called geese and then position them so it looks like they’re flying in a circle following one another.
I’ve decided to use some multicoloured spotty material that I have as a jelly roll and FQ pack to make my blocks with white as the background. This month I’m using the red, blue, green and purple to make my geese.
Here is my finished block:


You can see all the other blocks that people have made by visiting the Block One Linky Party page.
(Disclaimer: this post contains affiliate links as part of the amazon.com and amazon.co.uk associates programs)
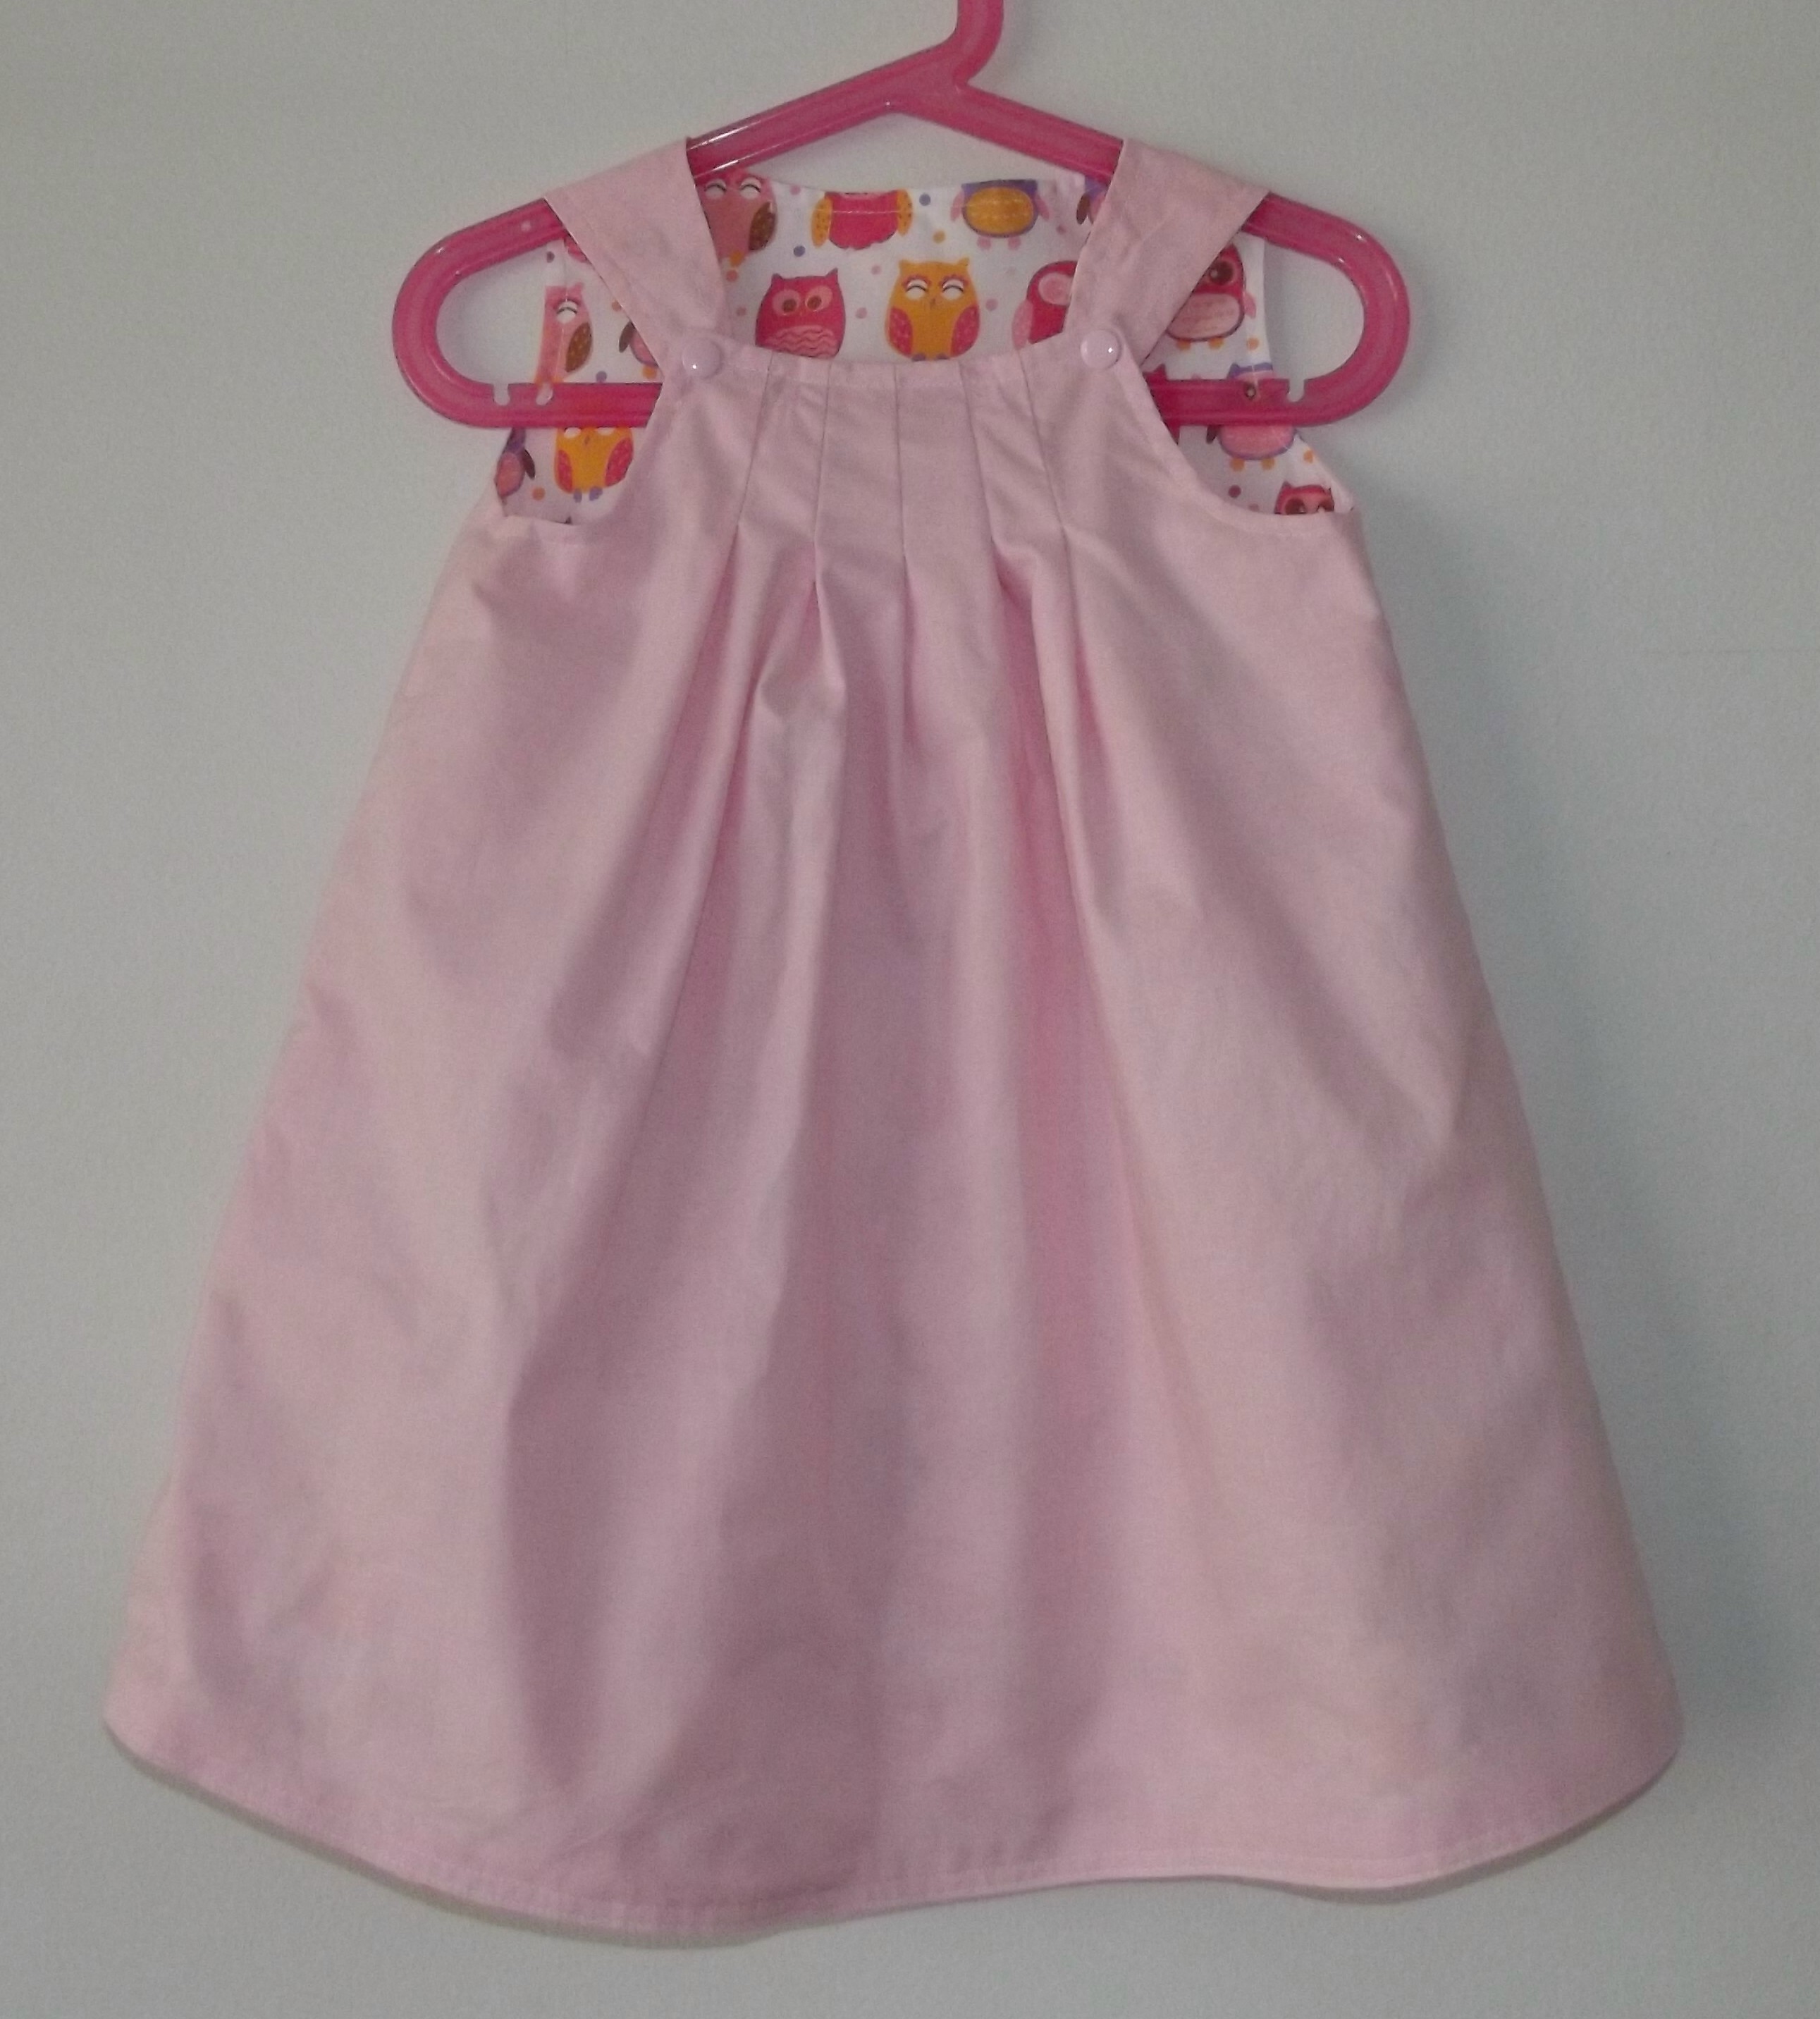
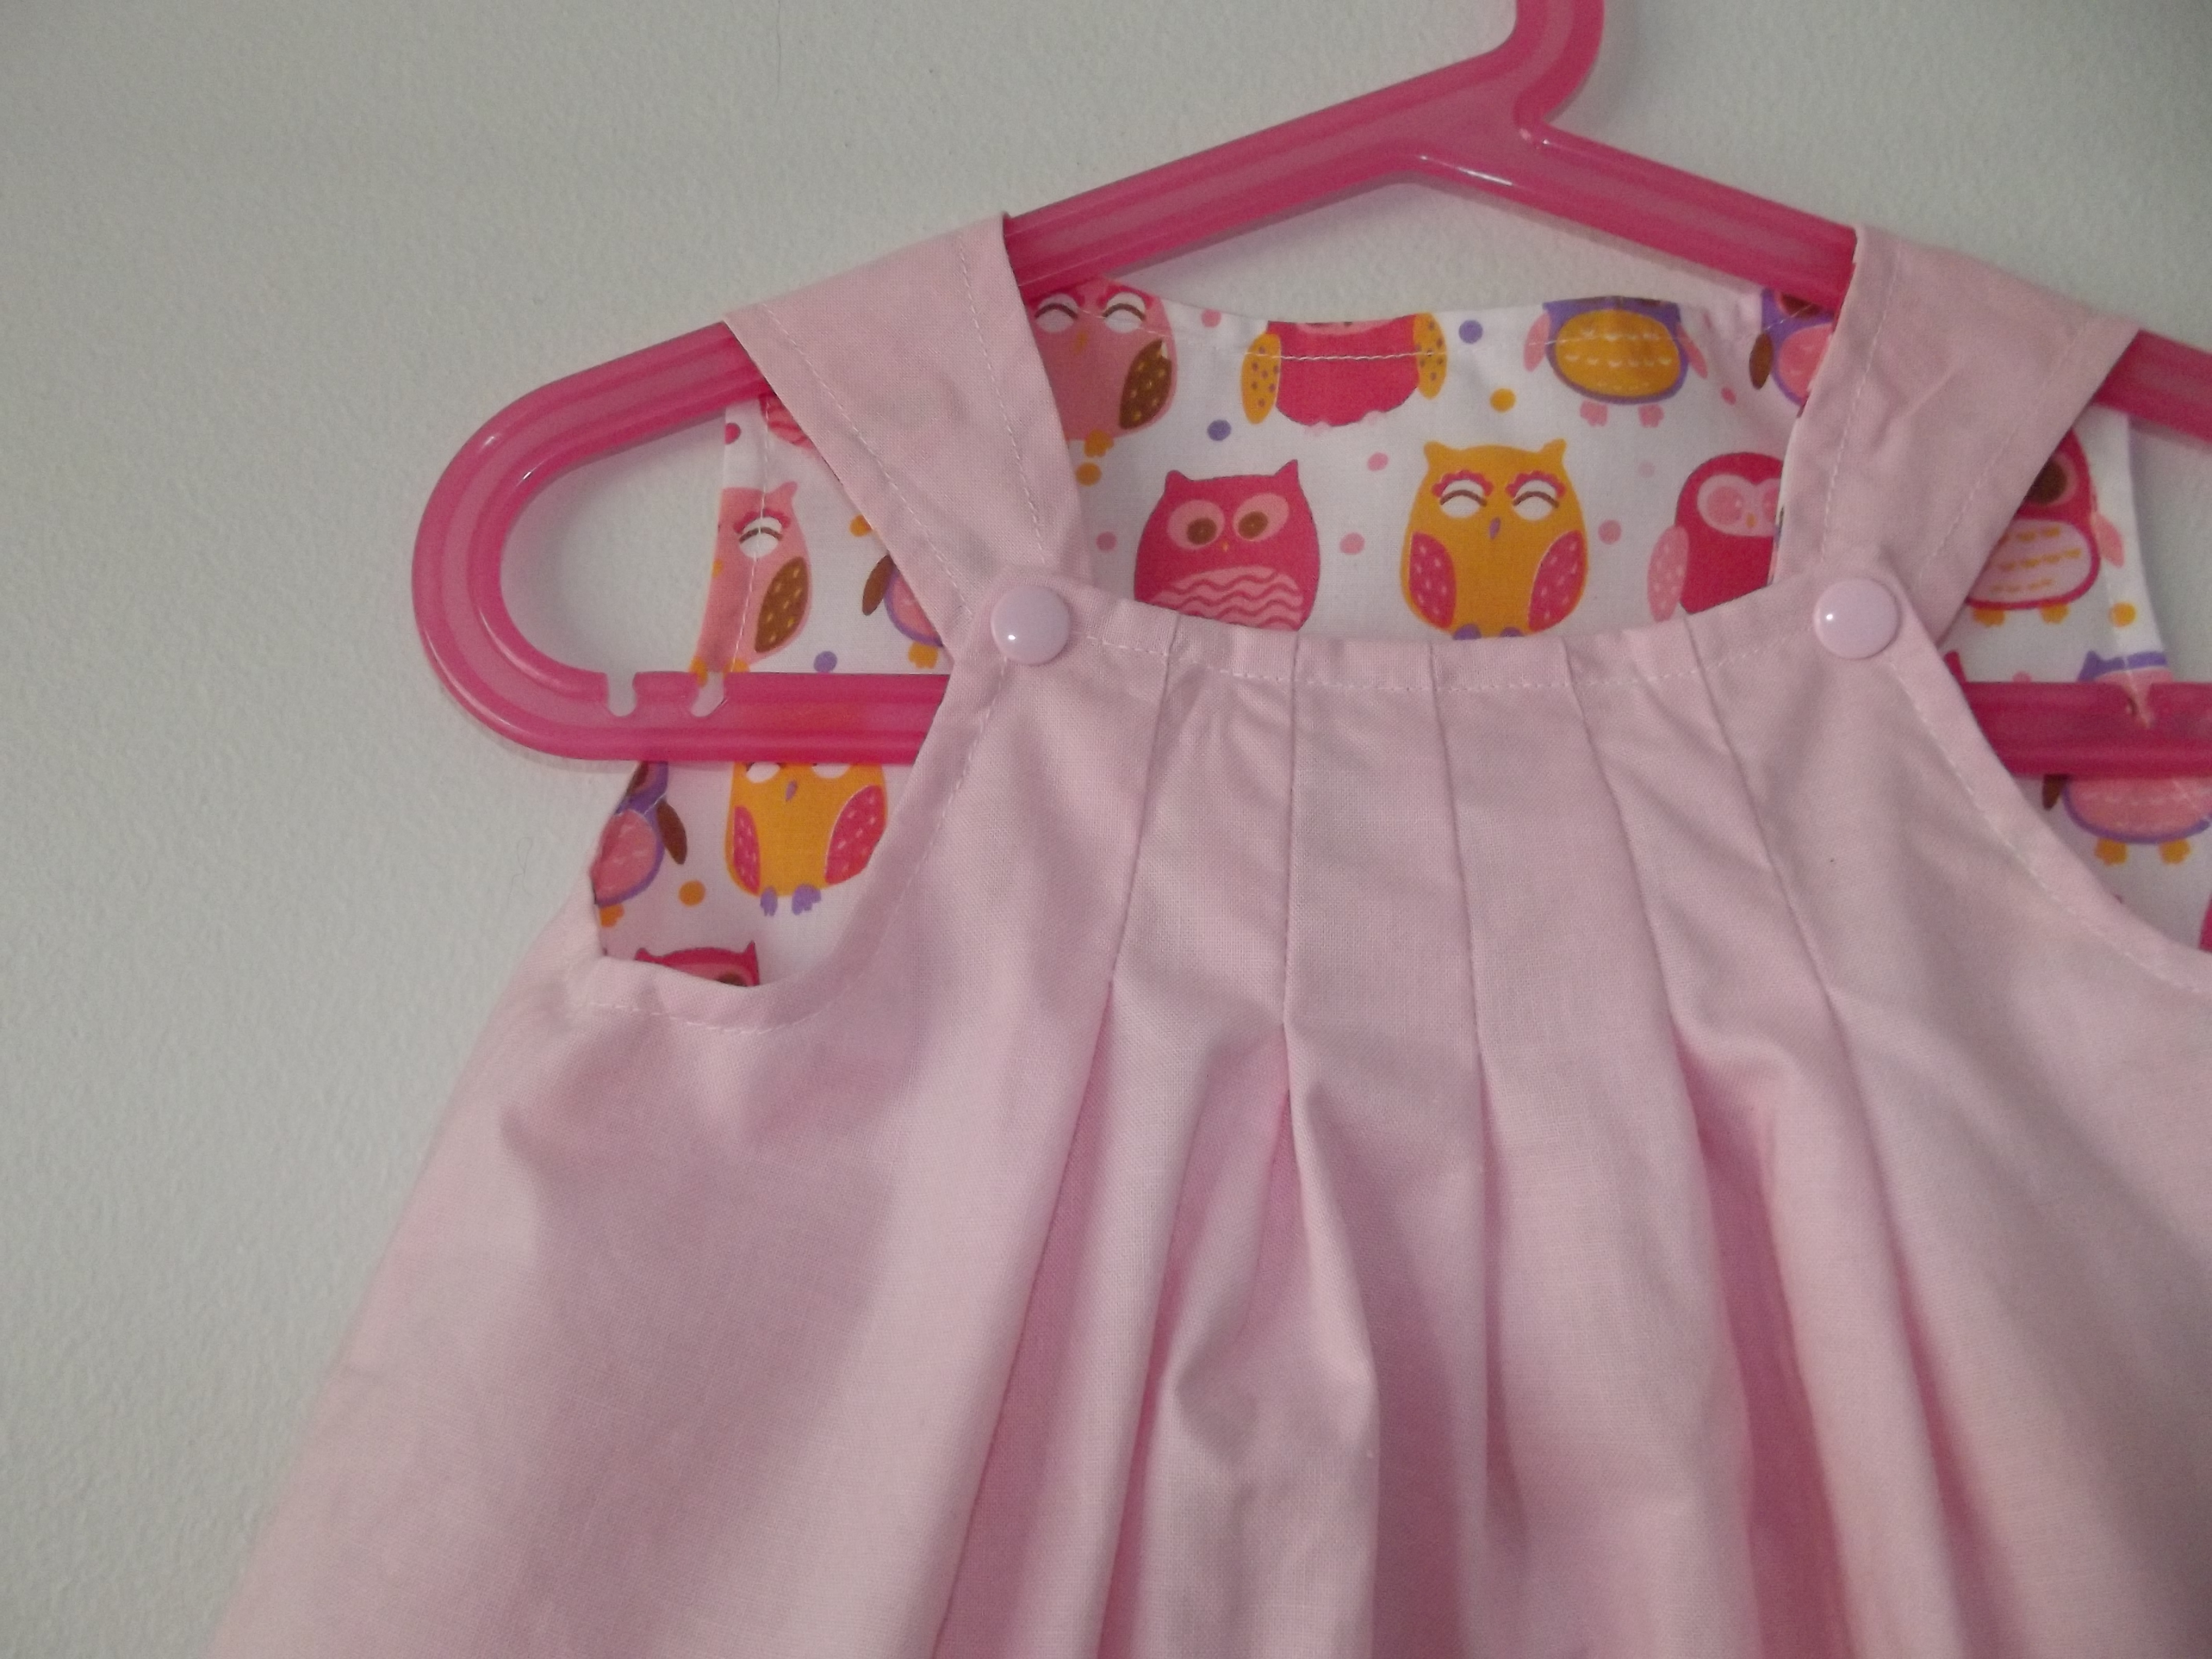
 The bodice and straps are also in the plain blue, and it had a blue snap to fasten it at the back (rather than the buttonhole in the pattern).
 Here is the finished dress 🙂
 I let him loose in the fabric cupboard to choose which colour he would like for his – he chose the blue cord.
 Inside it is lined with giraffe cotton that he also chose in the shop a while back when we talked about making him his own bag.
 At the same time I also made this pink one for his friend whose birthday party we were going to at the weekend. I had a little helper ‘helping’ me sew parts of this one – having a child press the foot pedal of the sewing machine for you really isn’t helpful at all, but he was very excited about doing it!
 Hers is lined with brown and pink owl cotton.
 The pattern is from a seller called
  I think the smiley face says I wasn’t the only one please with it! 🙂
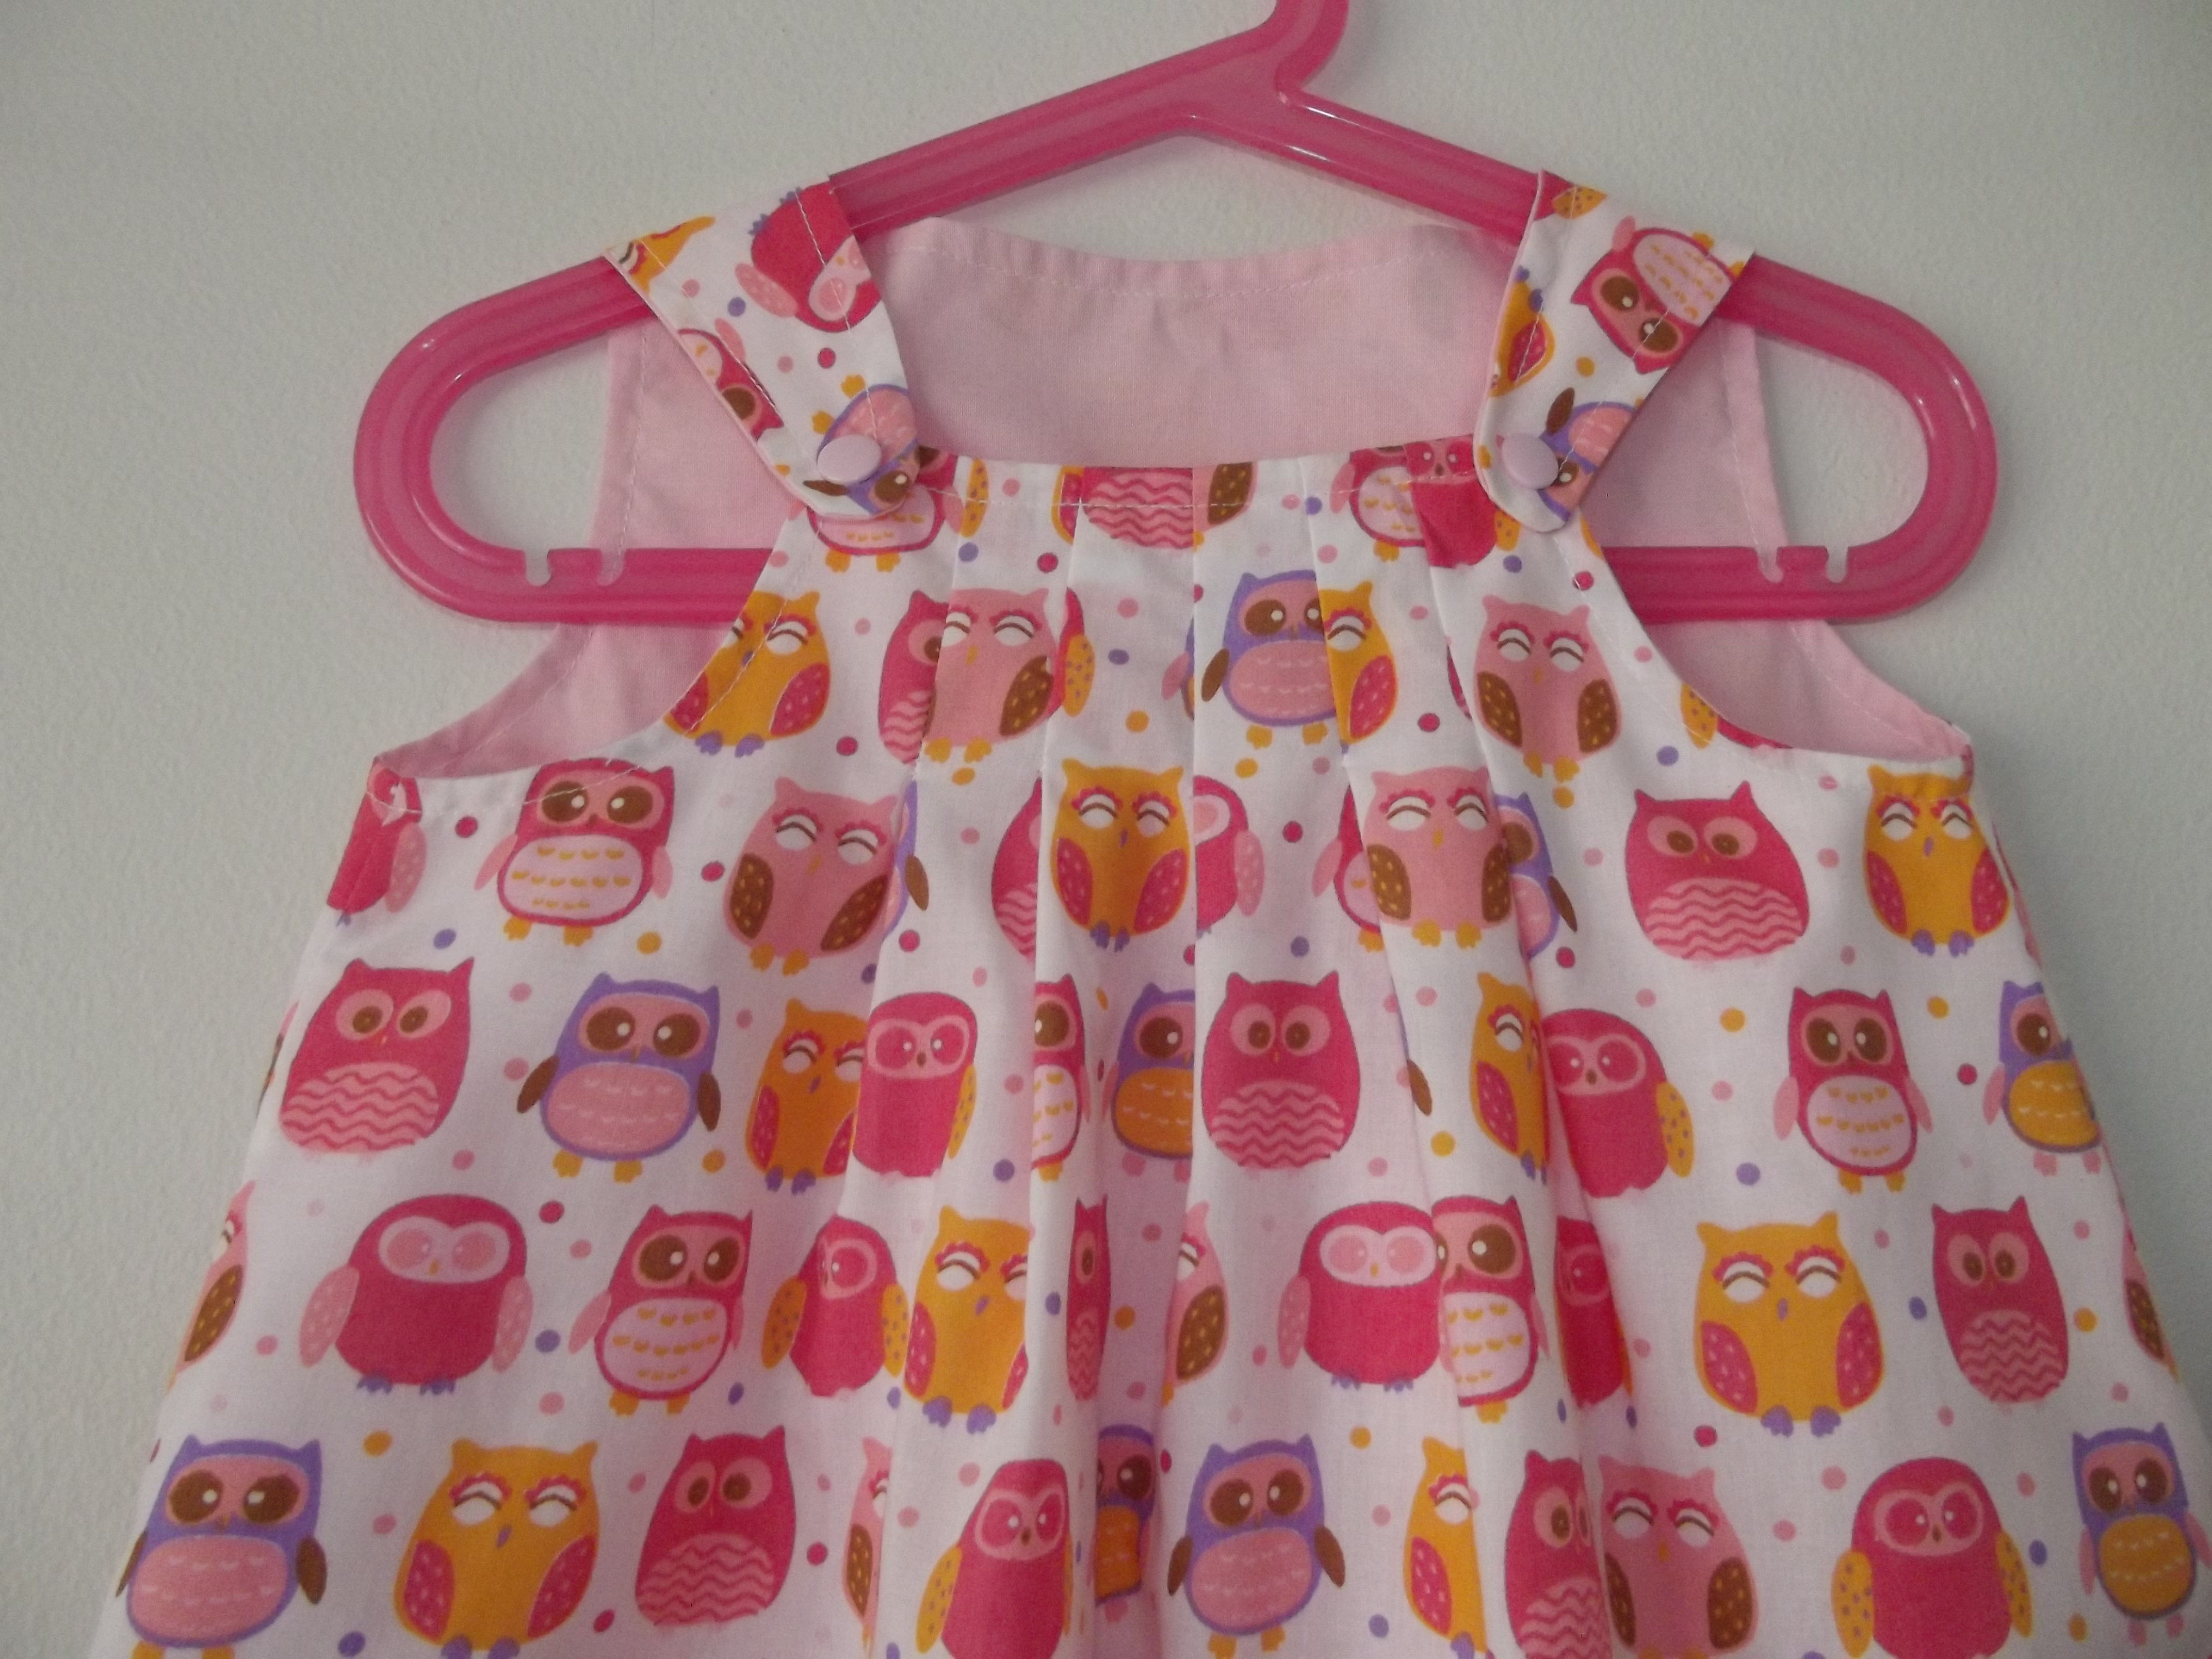
 They are all different coloured owl prints with pink fleece backing and pink snap fasteners.
 I also tried out a new design of bib. It has a wider top and ties to fasten it, making it better maybe for slightly older babies for mealtimes. This one has pink fabric leftover from
  It is part of another set of three bibs I made for another lady with a little girl.


 One end has lots of smaller pockets to fit things like scissors, knitting needles and the like.
 And the two long sides both have one big pocket each.
 I made the bias to go on the top of the pockets and around the top of the bag. I was impressed with how well I’d done my measuring when it lined up perfectly along the sides 🙂
 It’s a nice little bag – I might have to make one for myself!
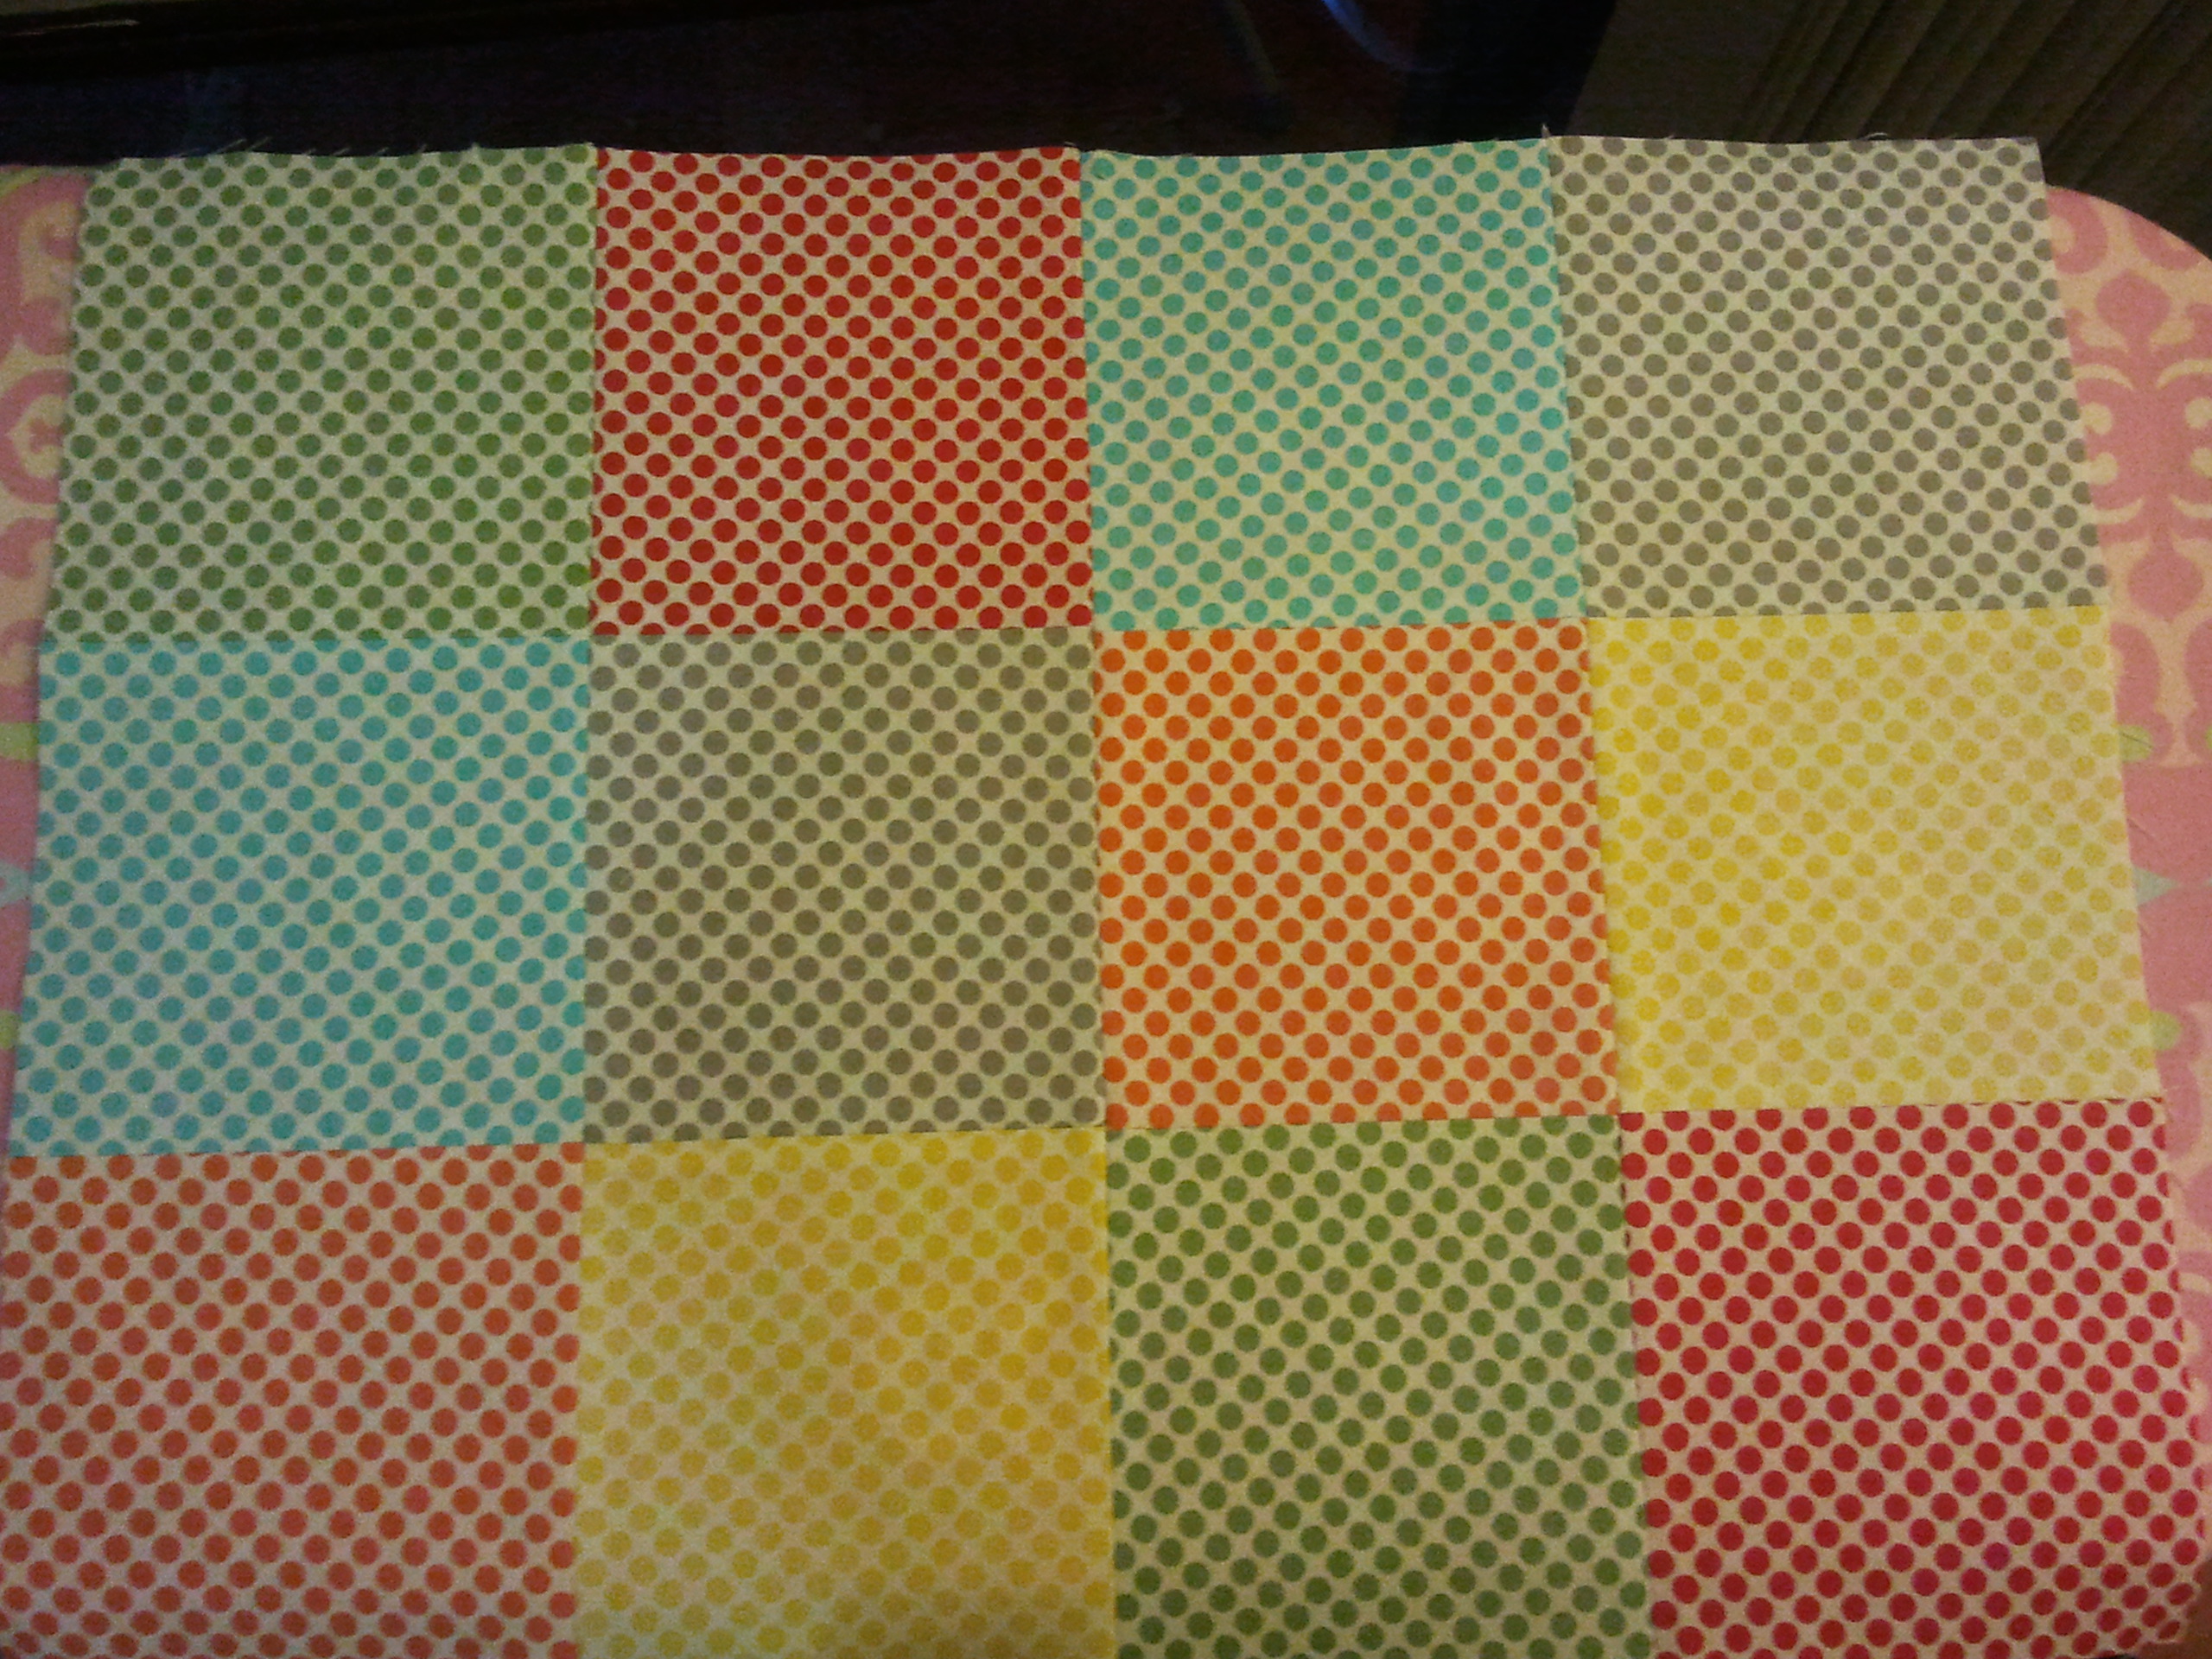 I was really pleased with my mat after the first tutorial, when all the top was sewn as my lines were nice and straight 🙂 I’d spent a long time measuring and matching corners, so was happy that my hard work had paid off.
 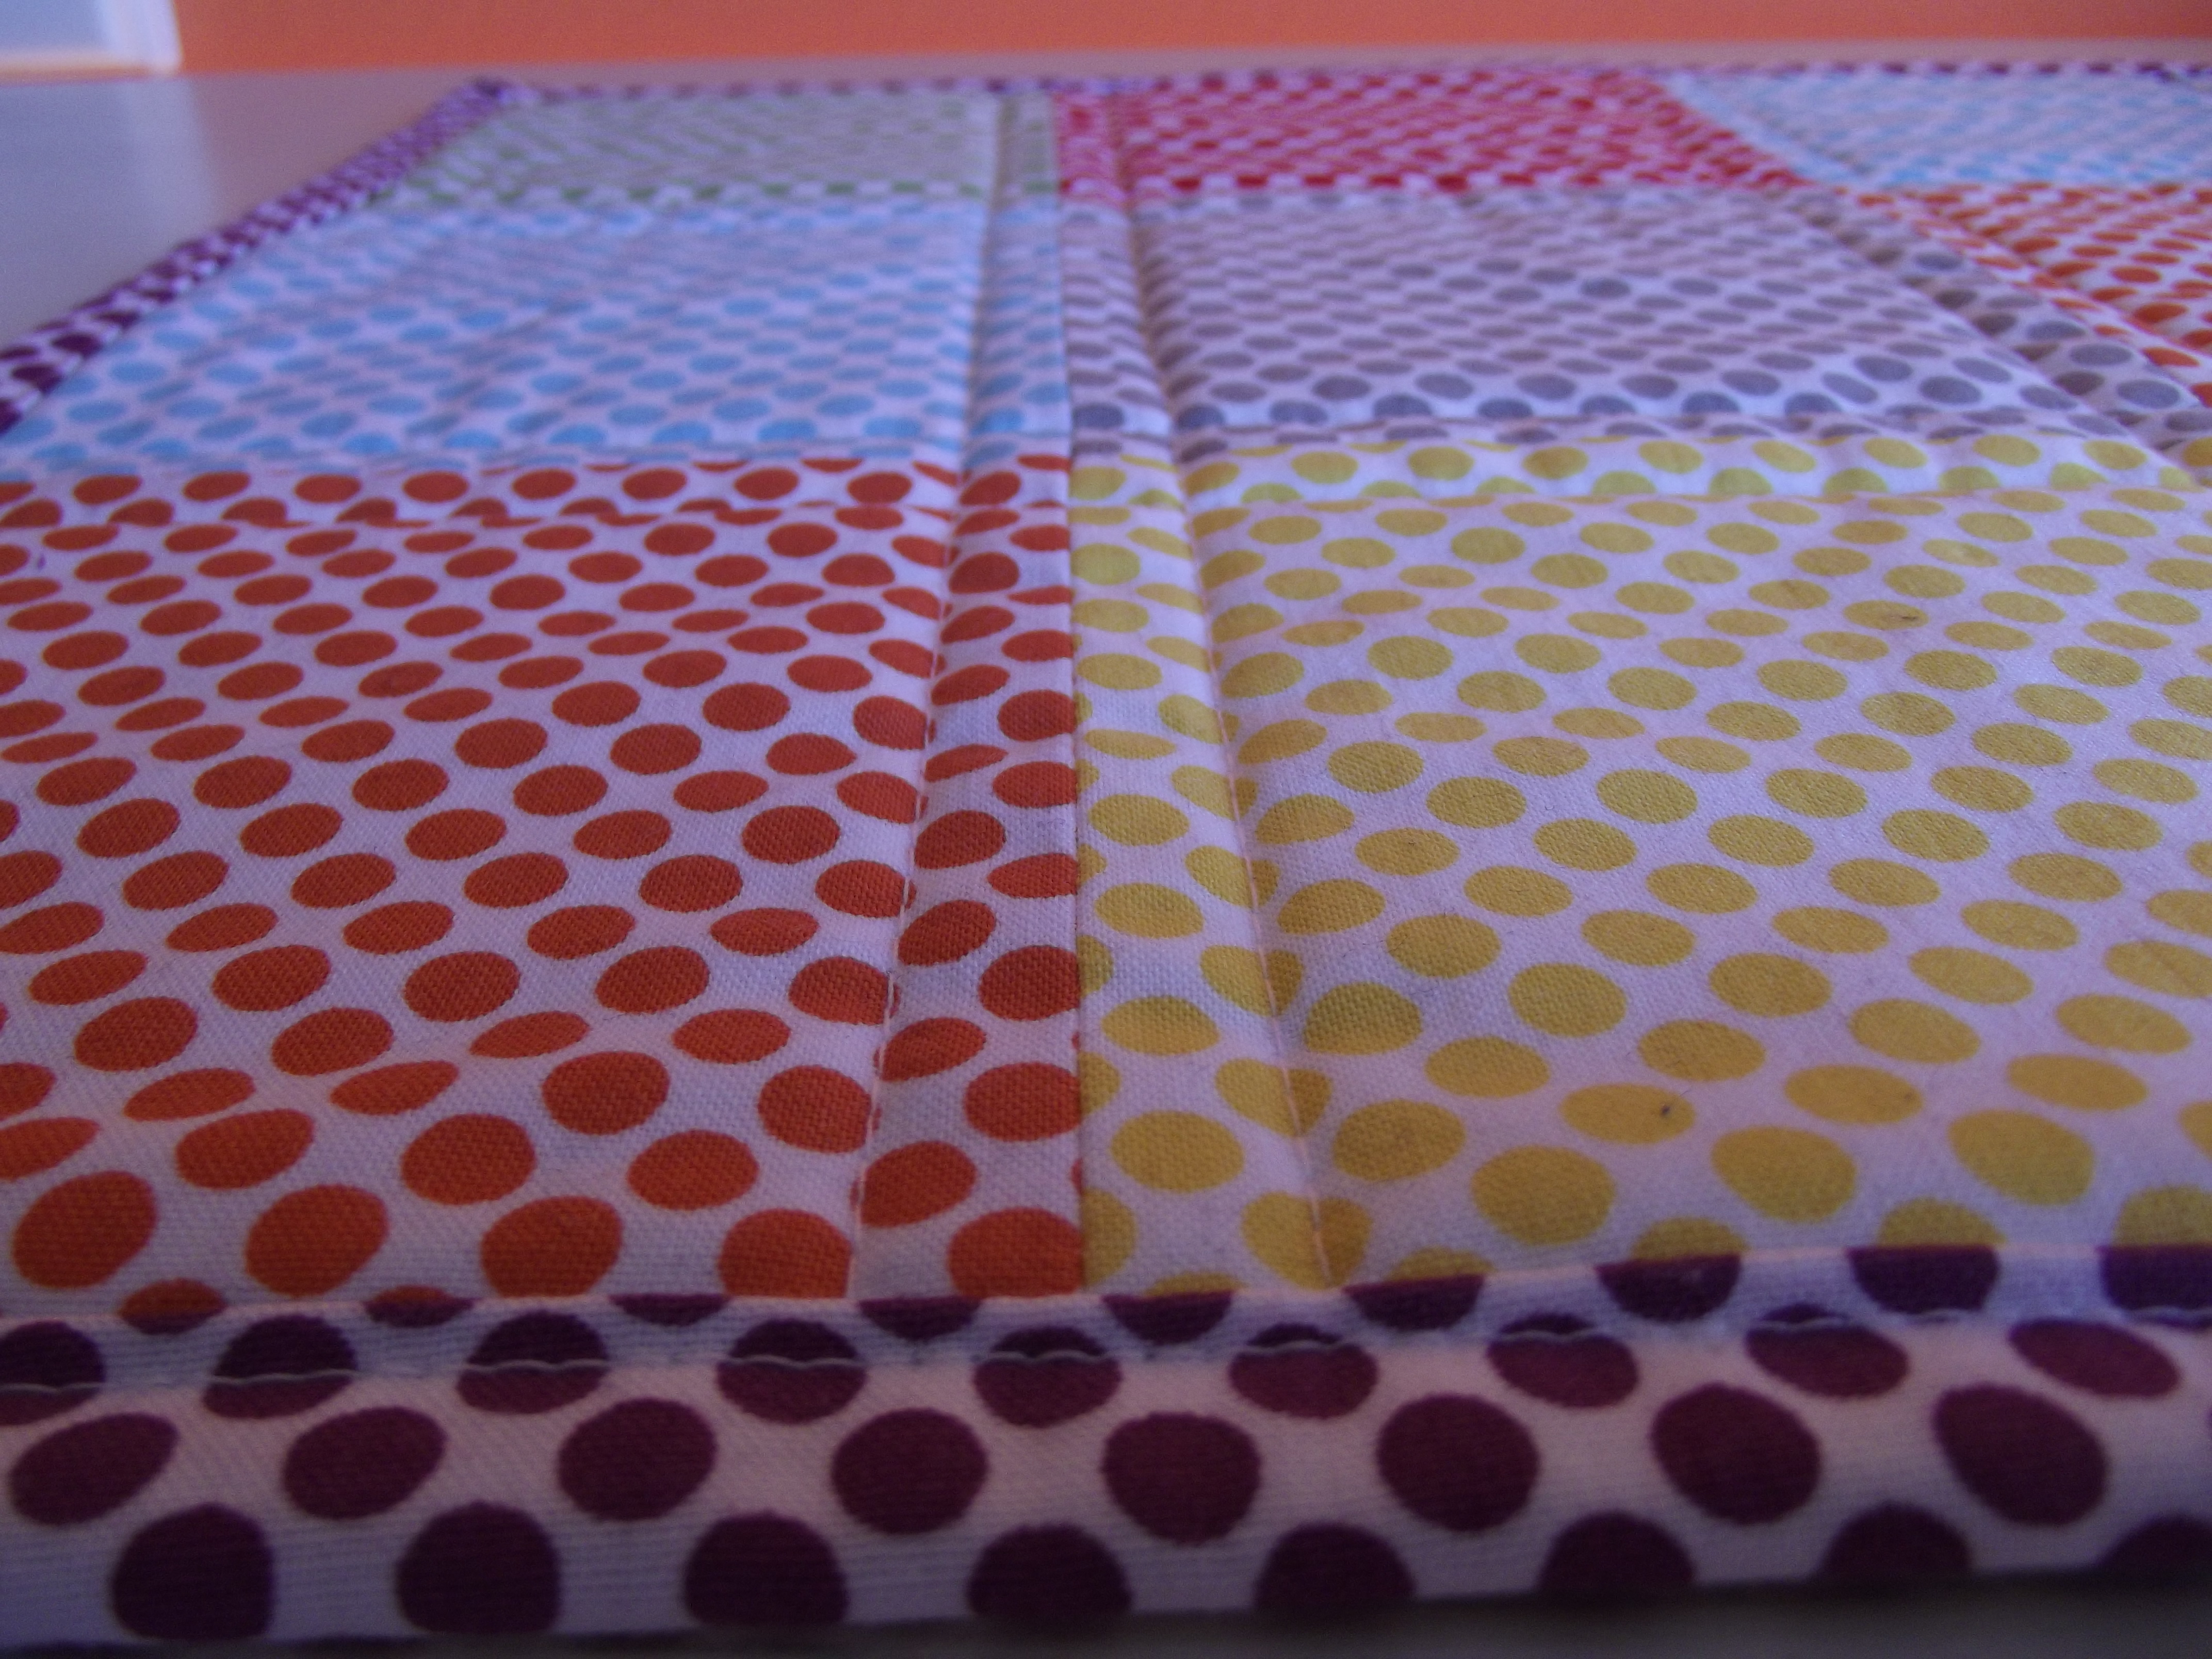 The second step was the quilting which was nice and easy using my walking foot. It’s the first time I’ve quilted anything!
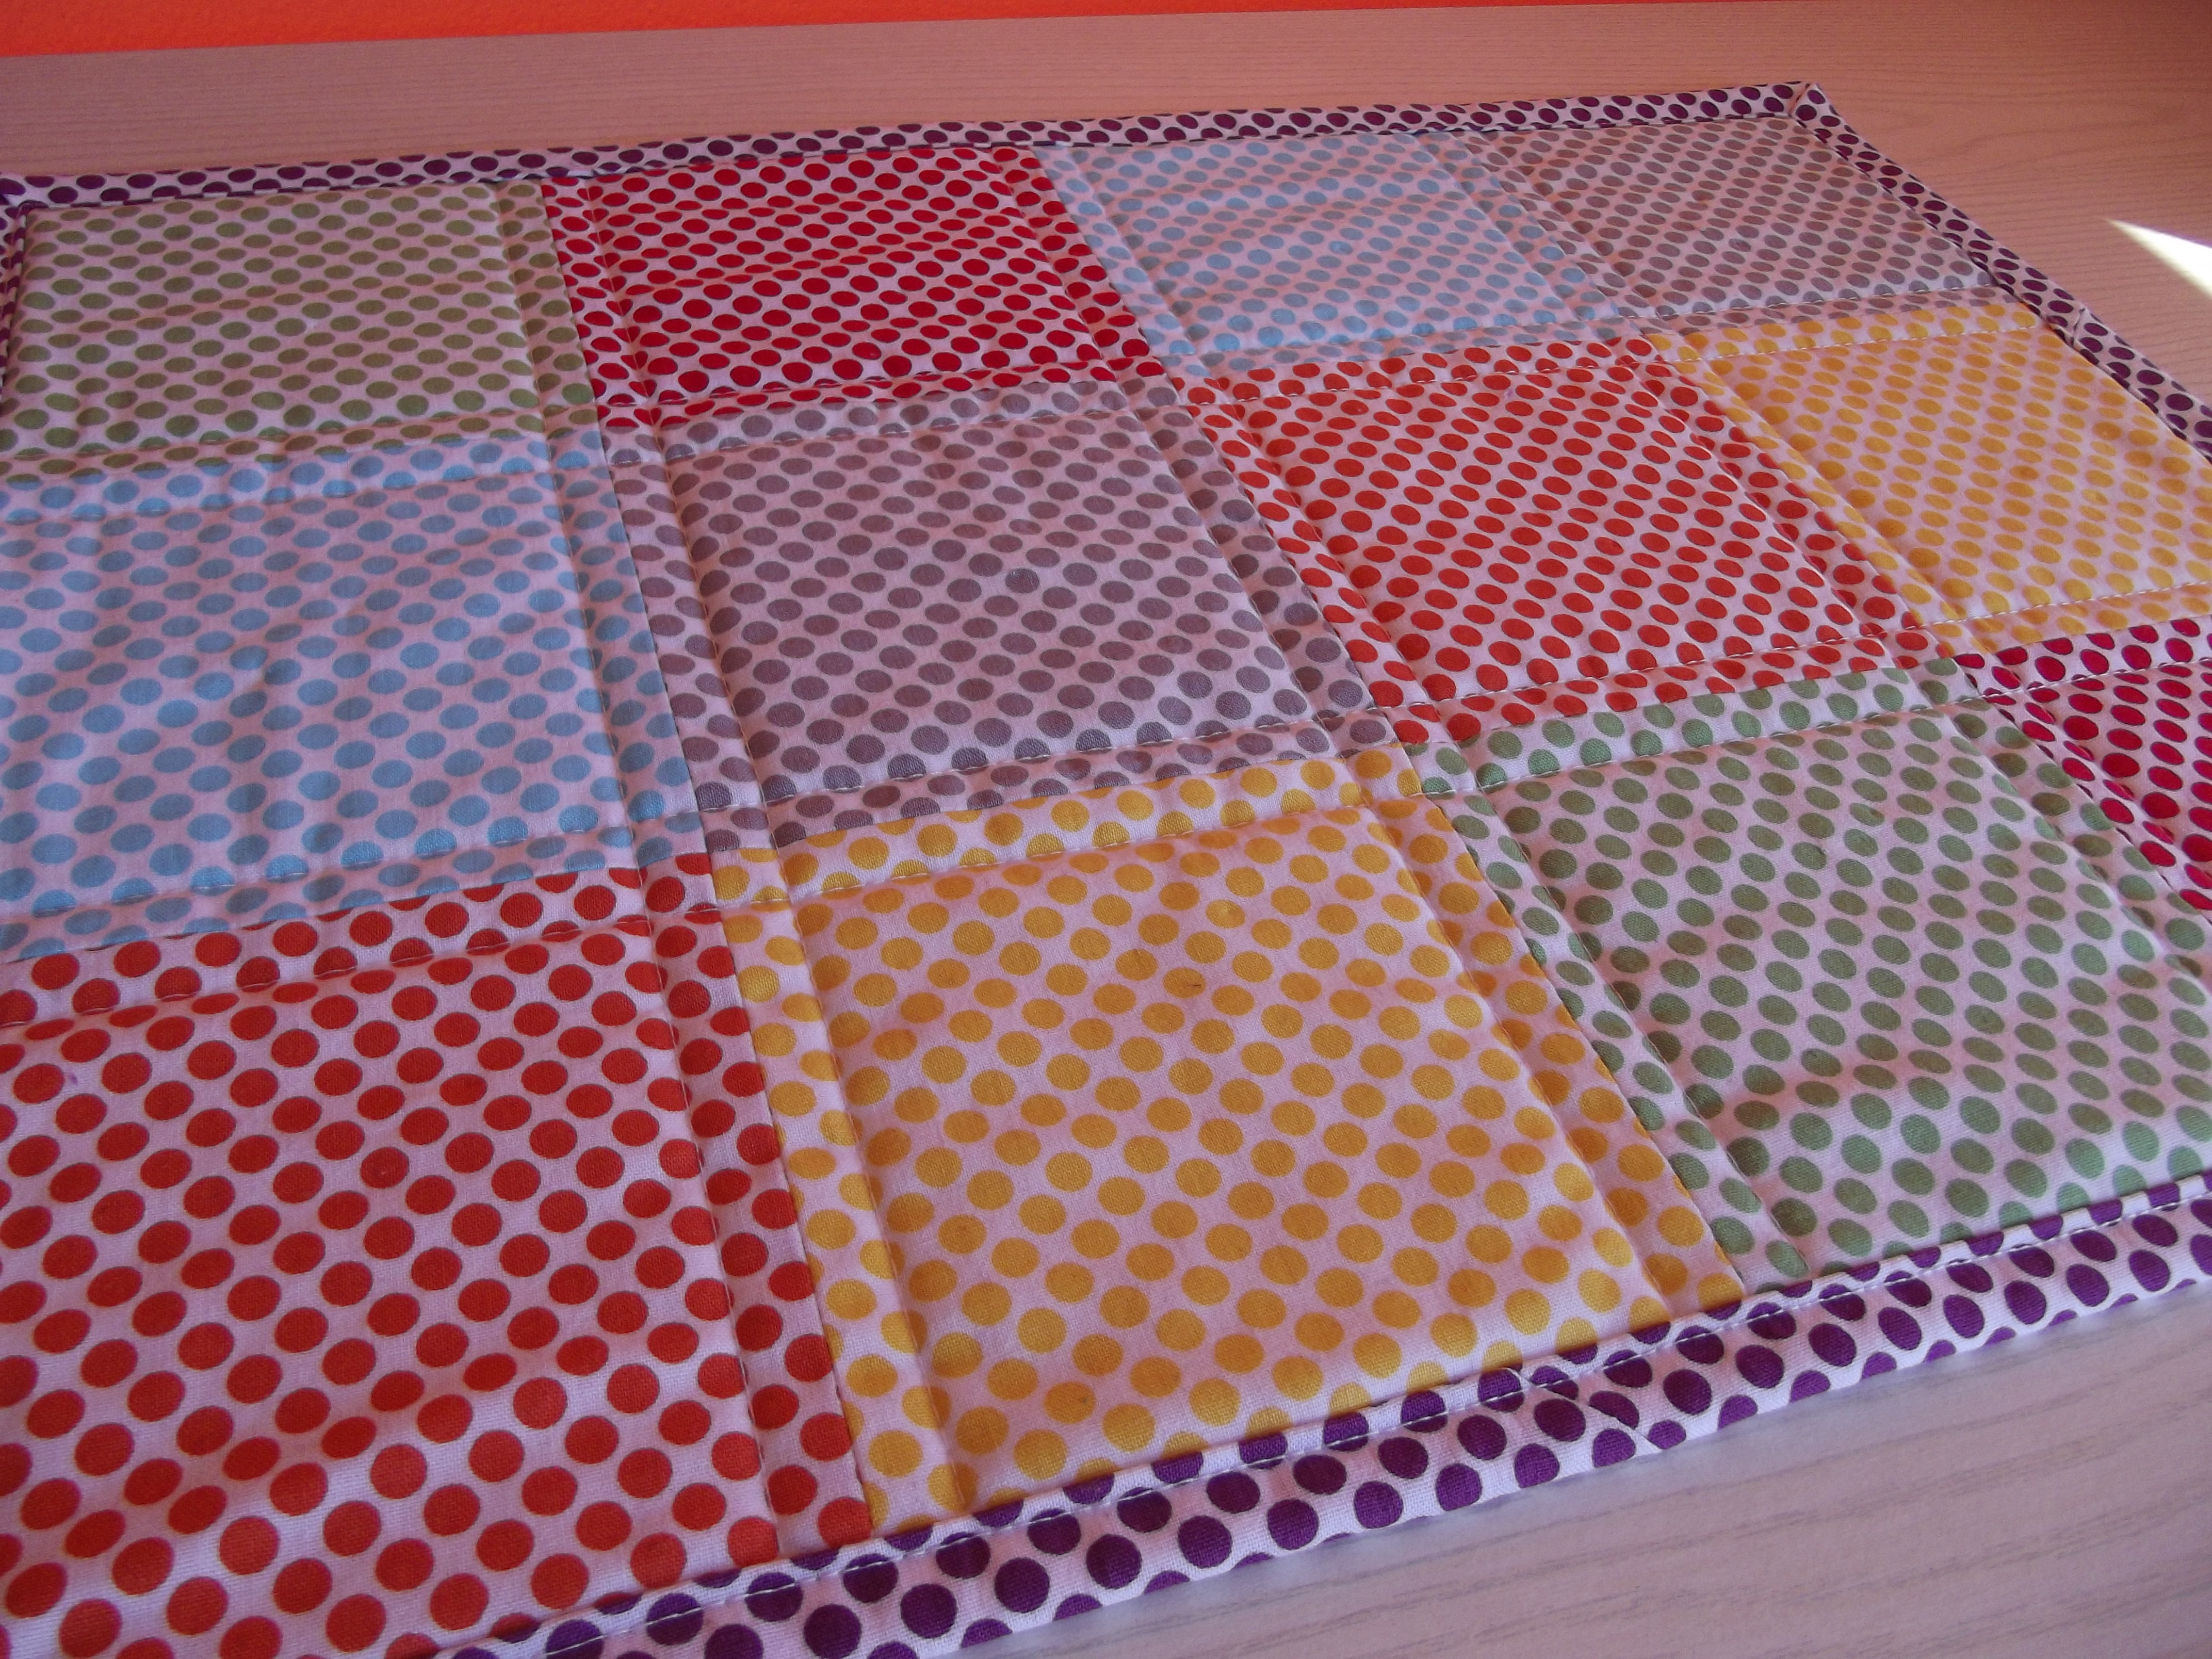
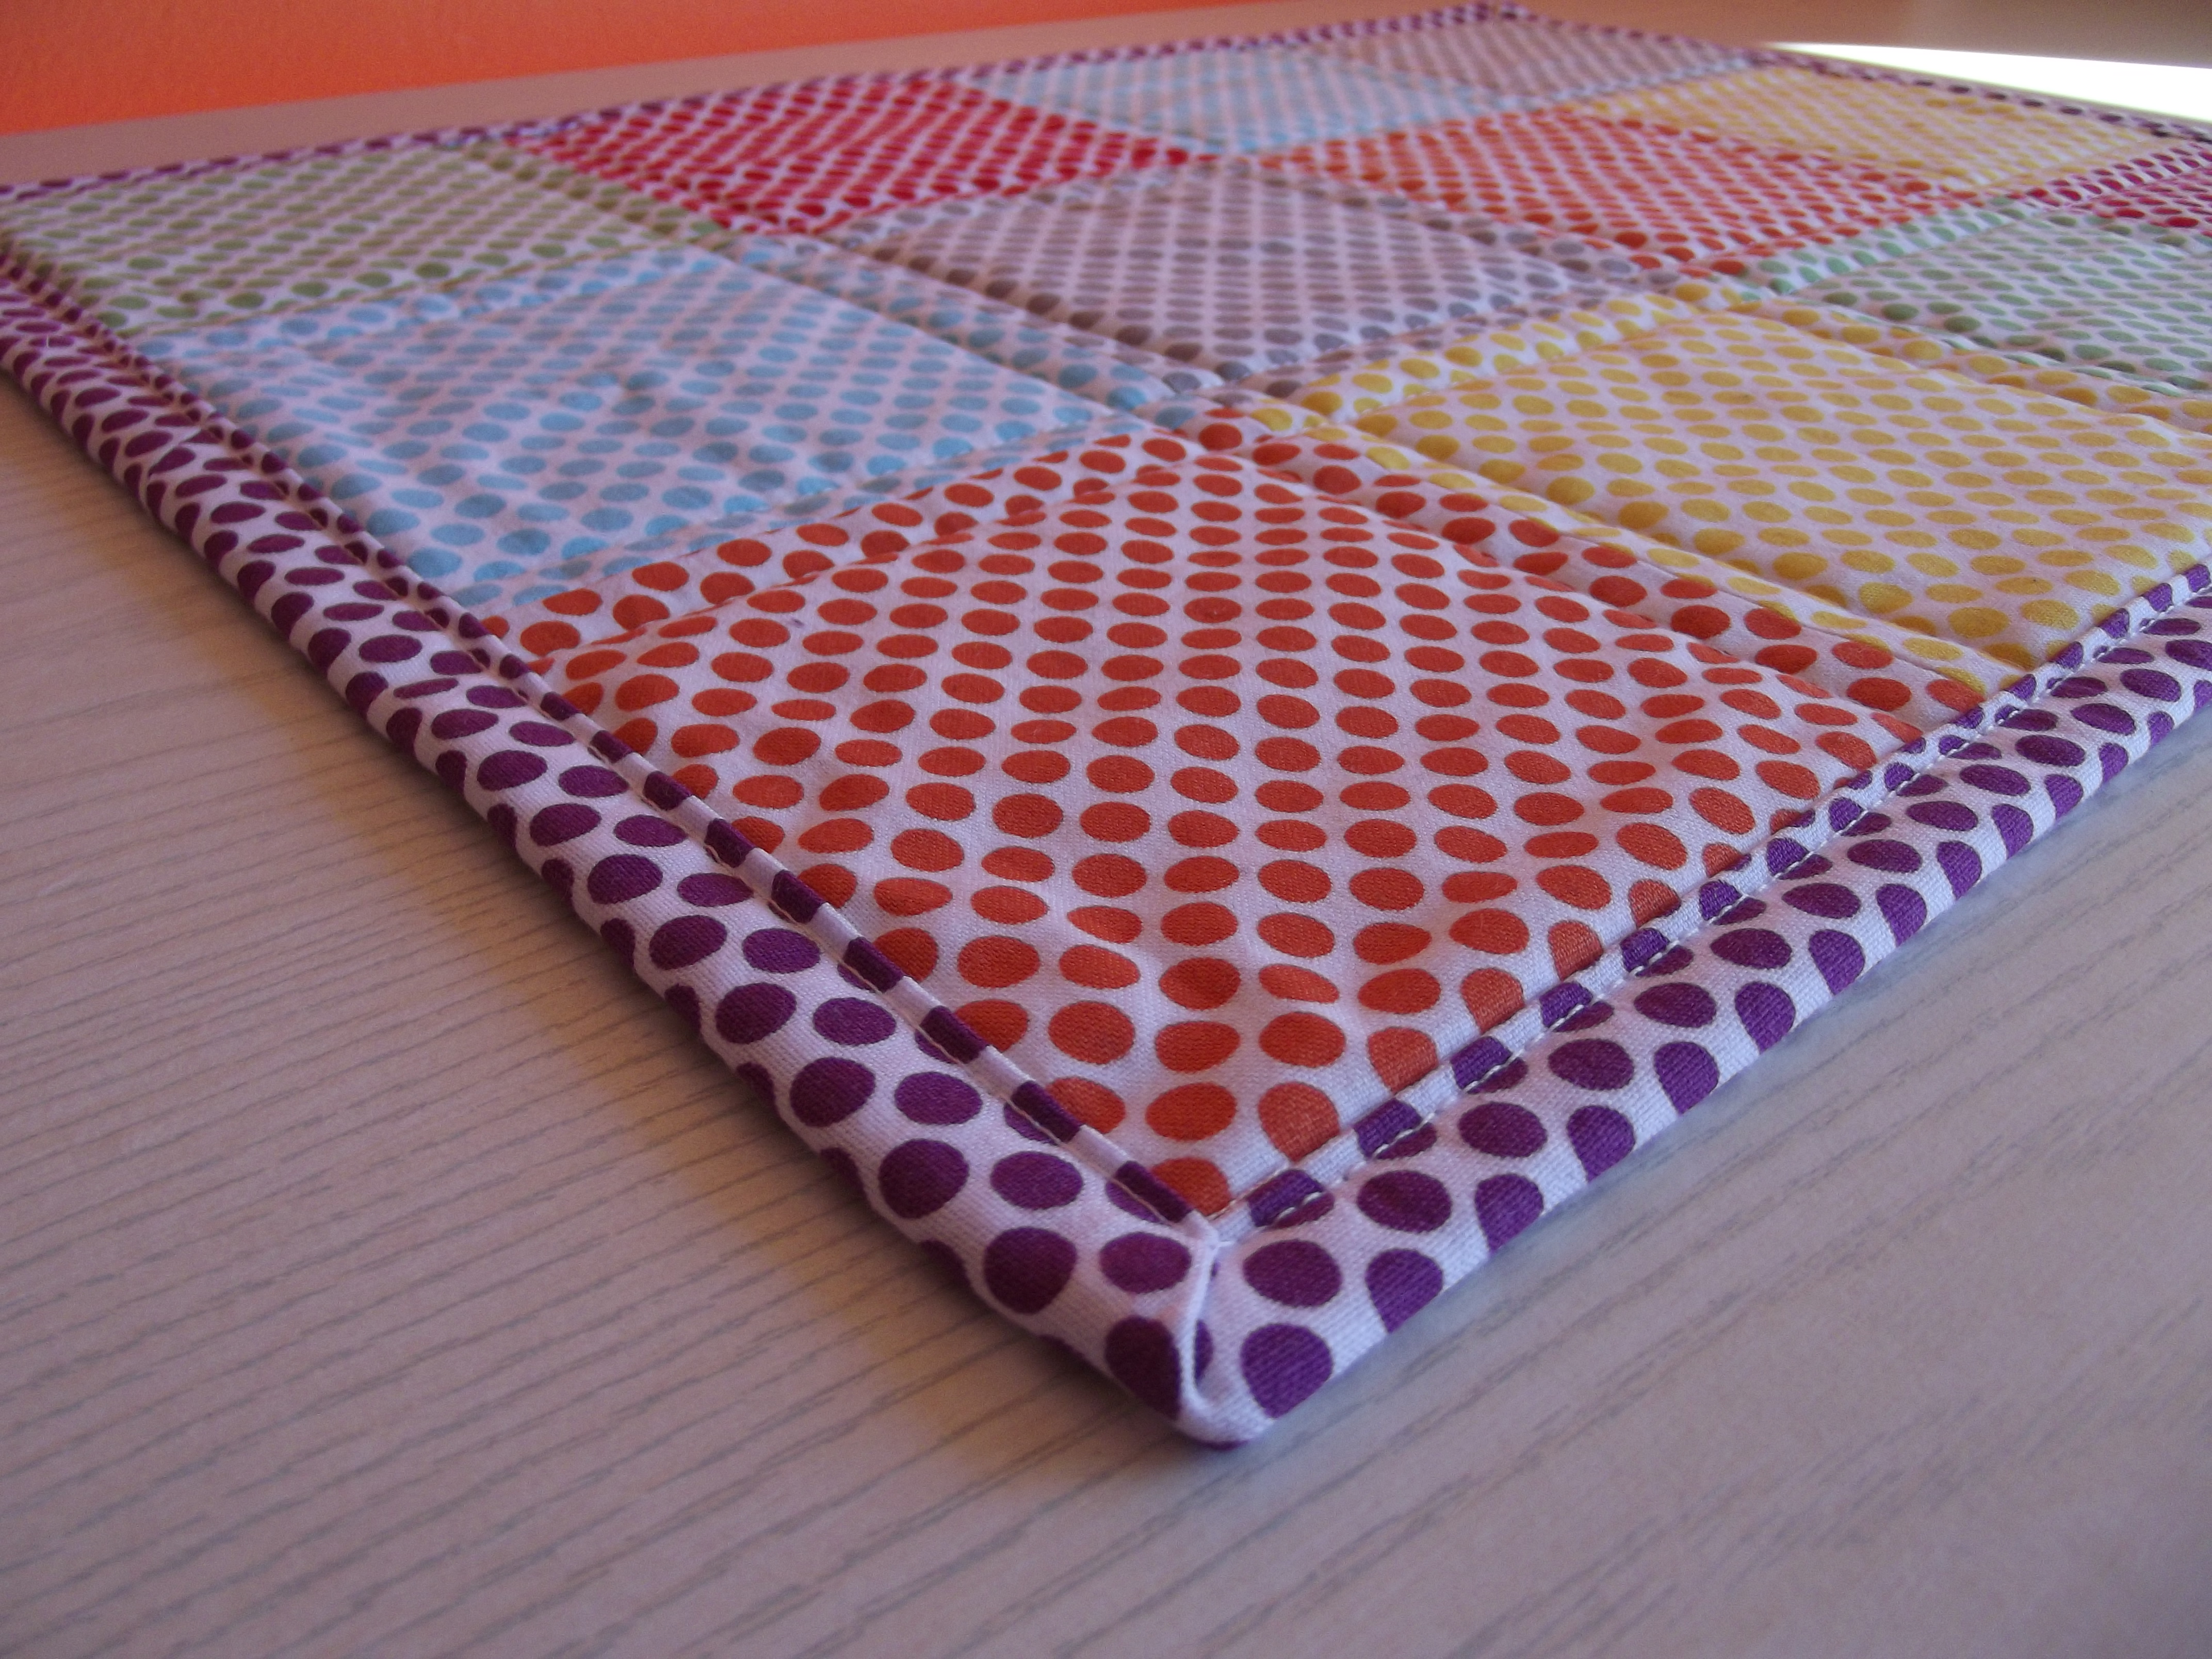 Finally came the binding. I made my own, using of course another colour of polka dot fabric – purple! I’ve also never binded anything before, and this was the bit I was most nervous about. I joined my strips (because even though the mat is small, as I was using FQs I had several strips to join) on the diagonal, and found examples online of fastening the beginning and end together the same way, making it hard to tell now it’s finished where it was I began.
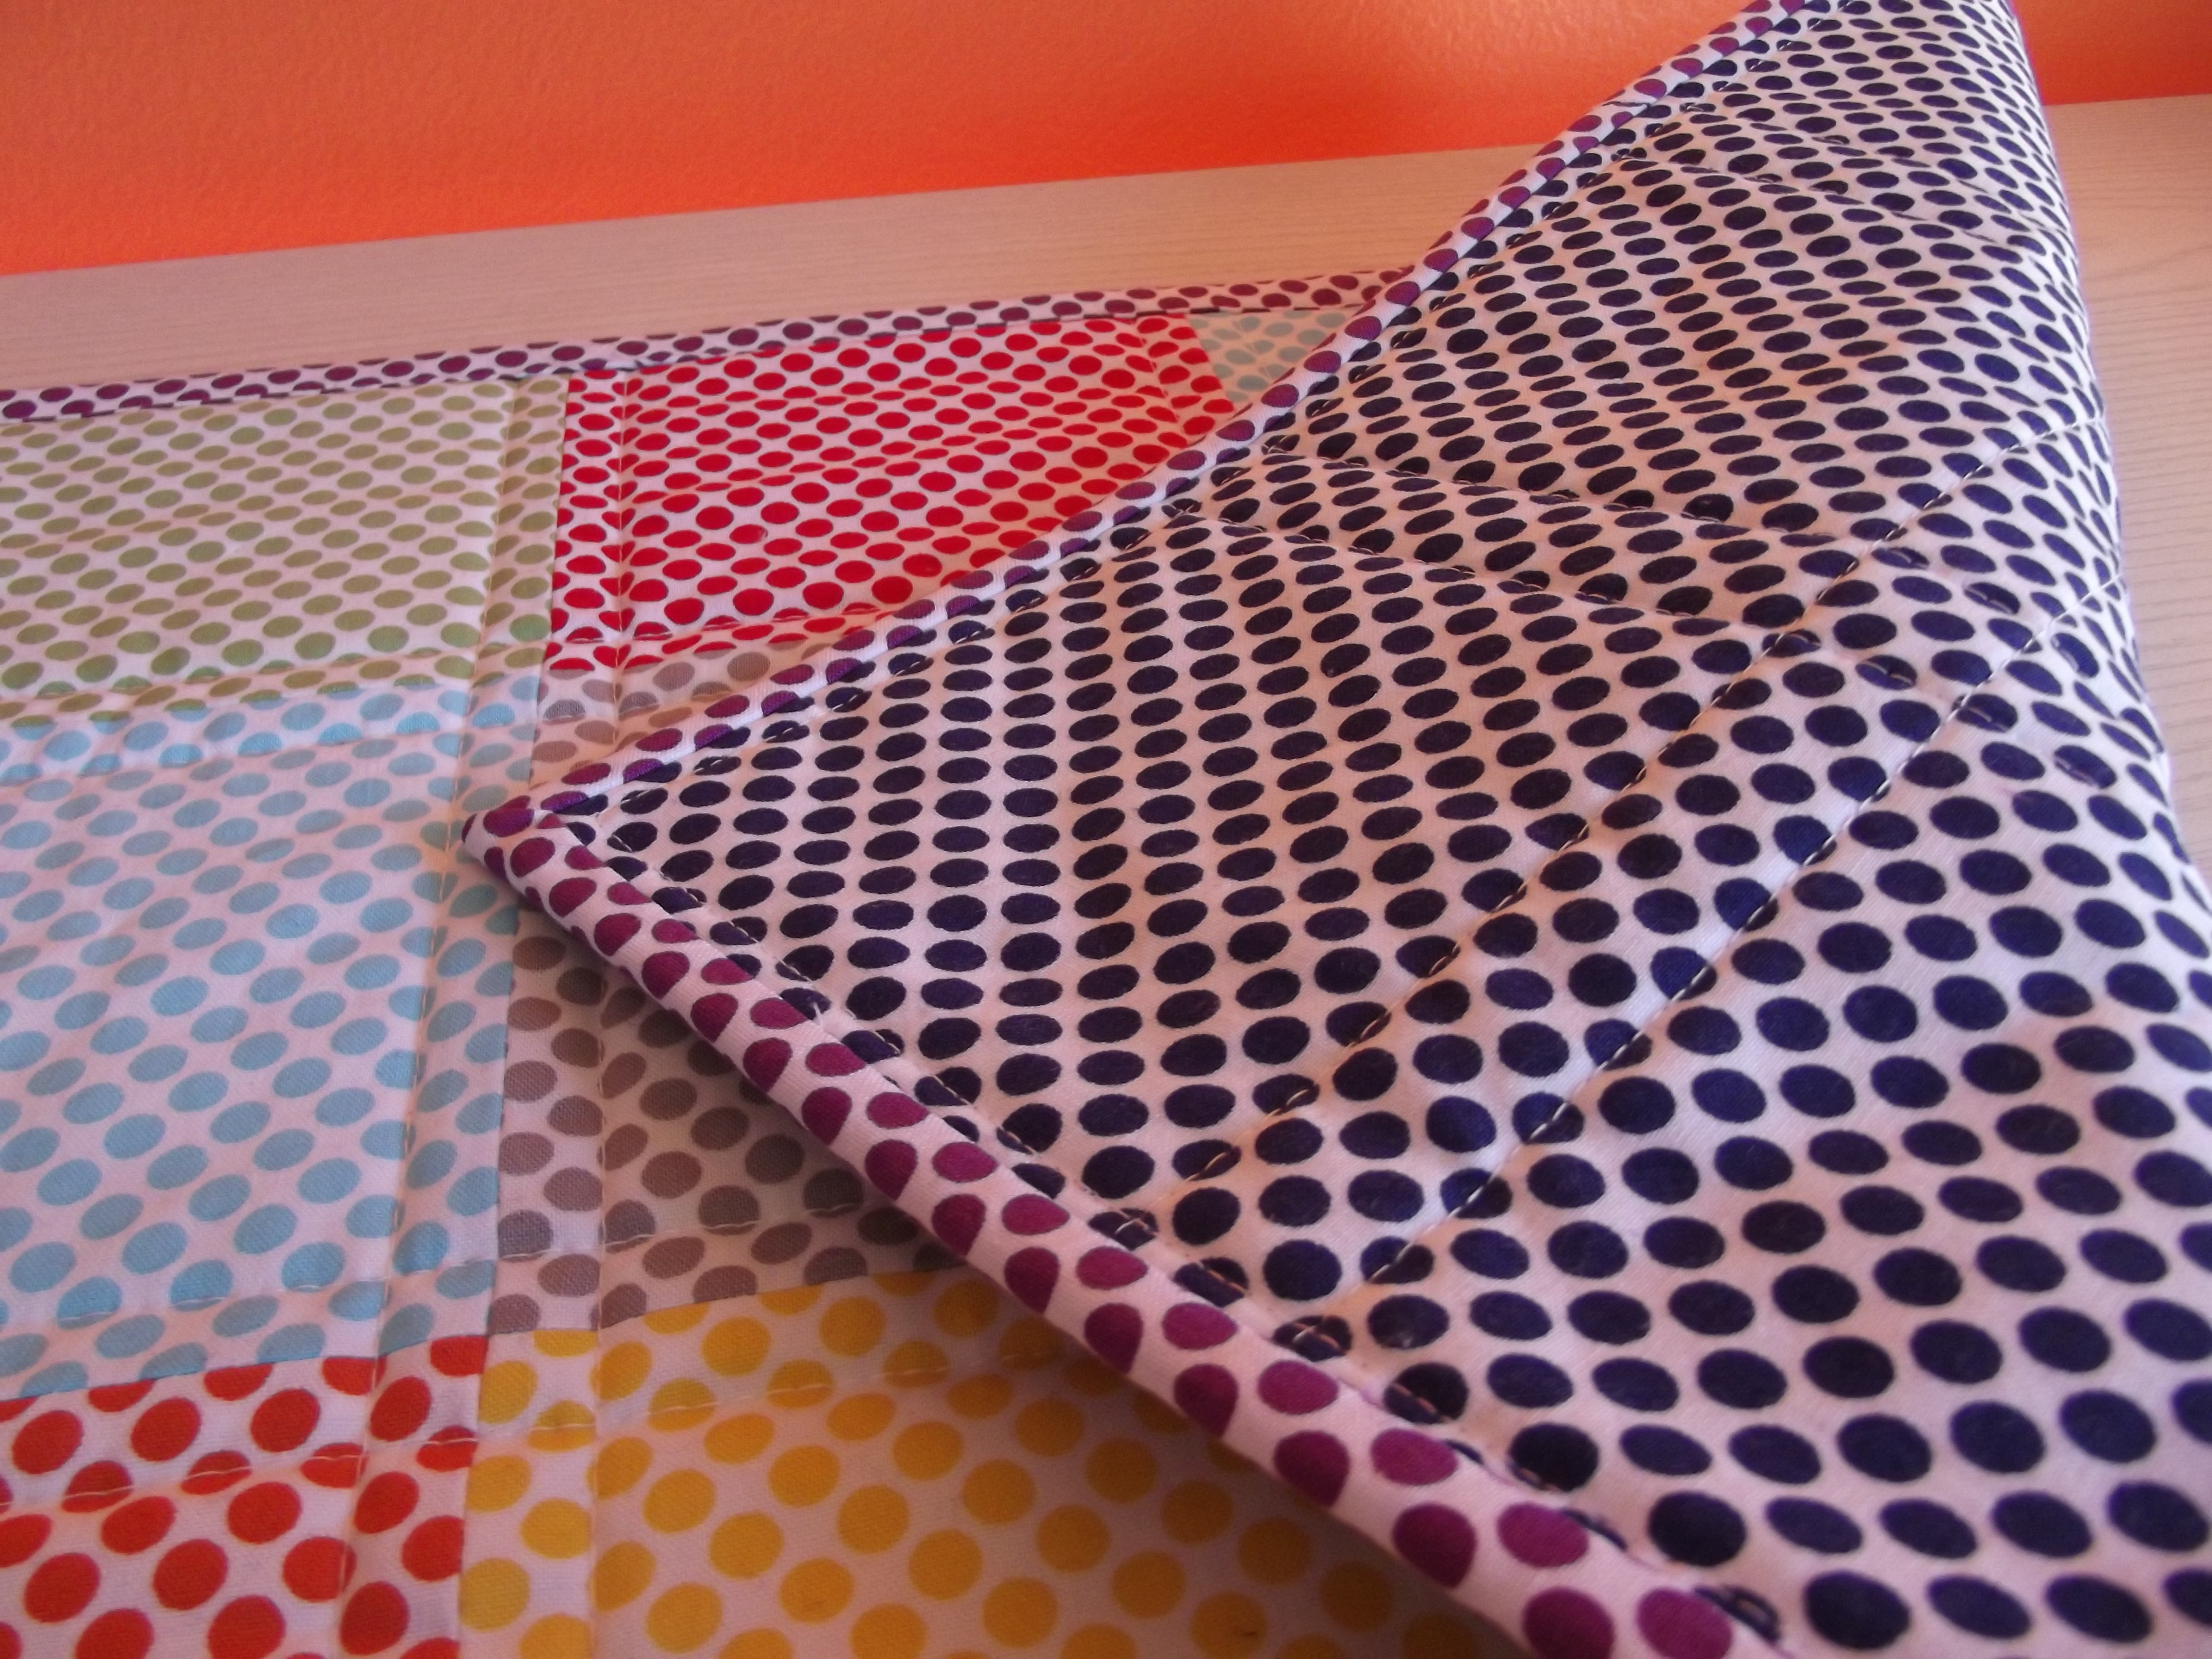

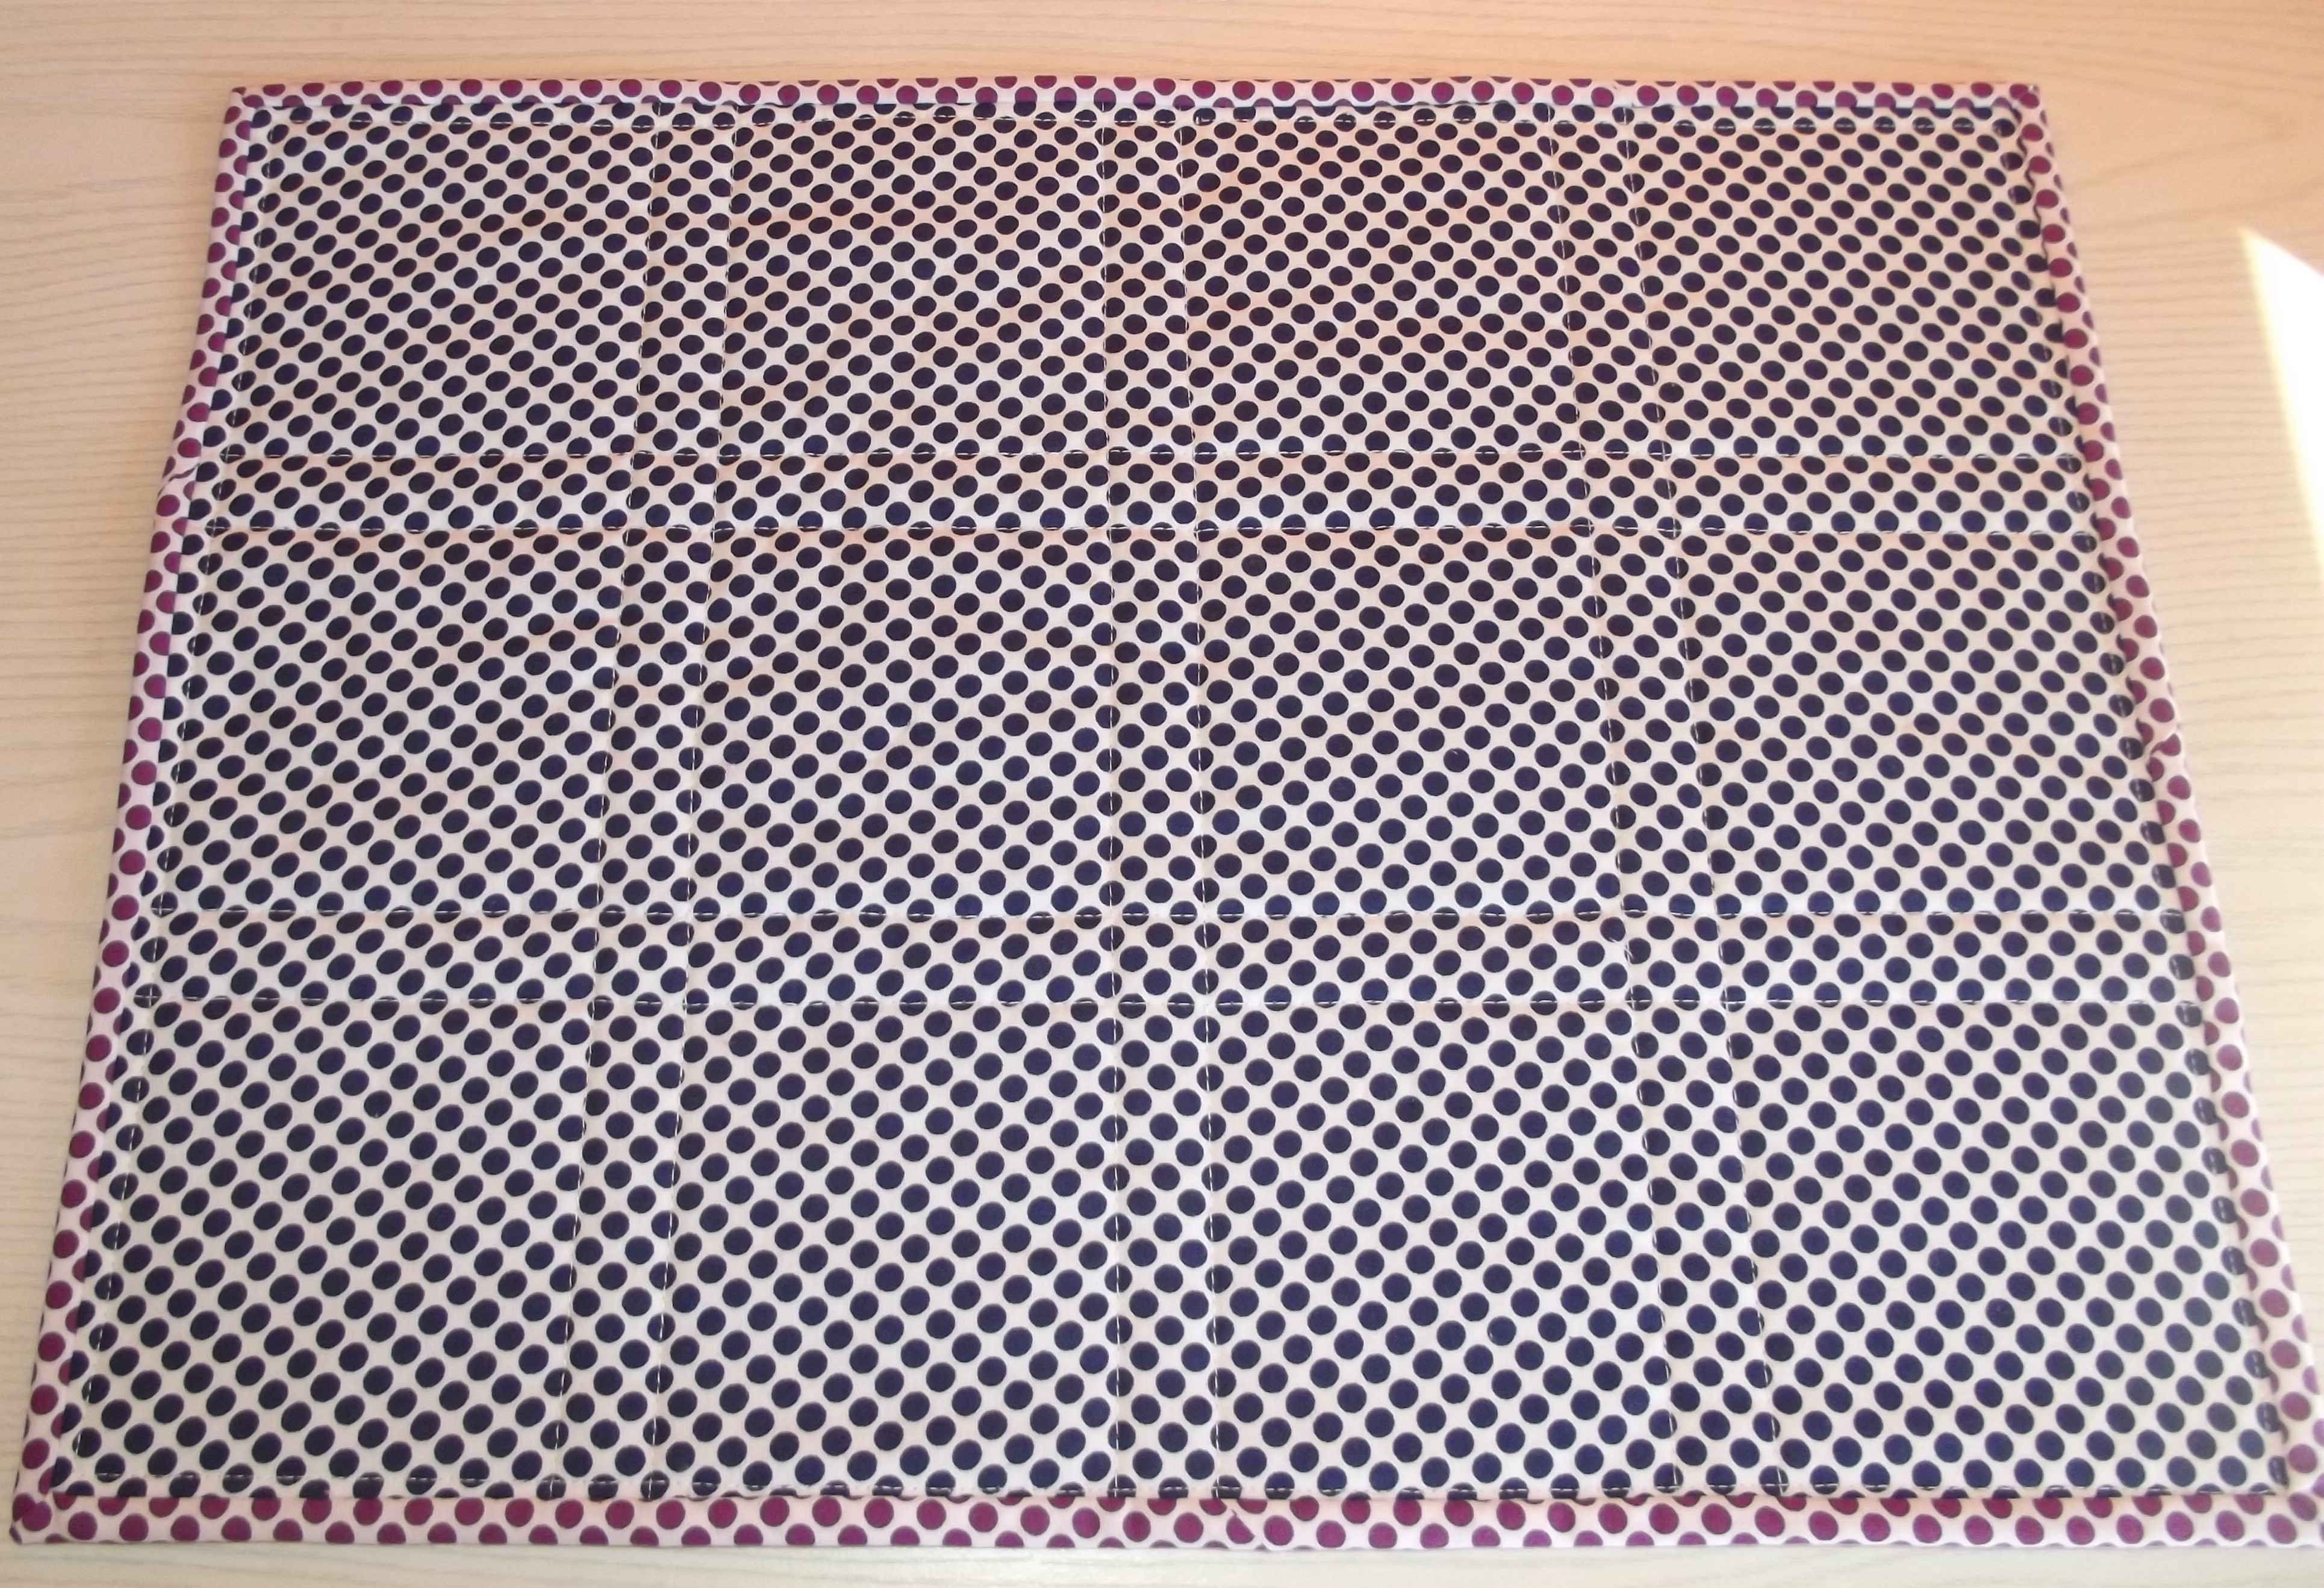 The back of my mat is navy polka dots. If I look at the back for too long it makes my eyes go funny like one of those optical illusions!
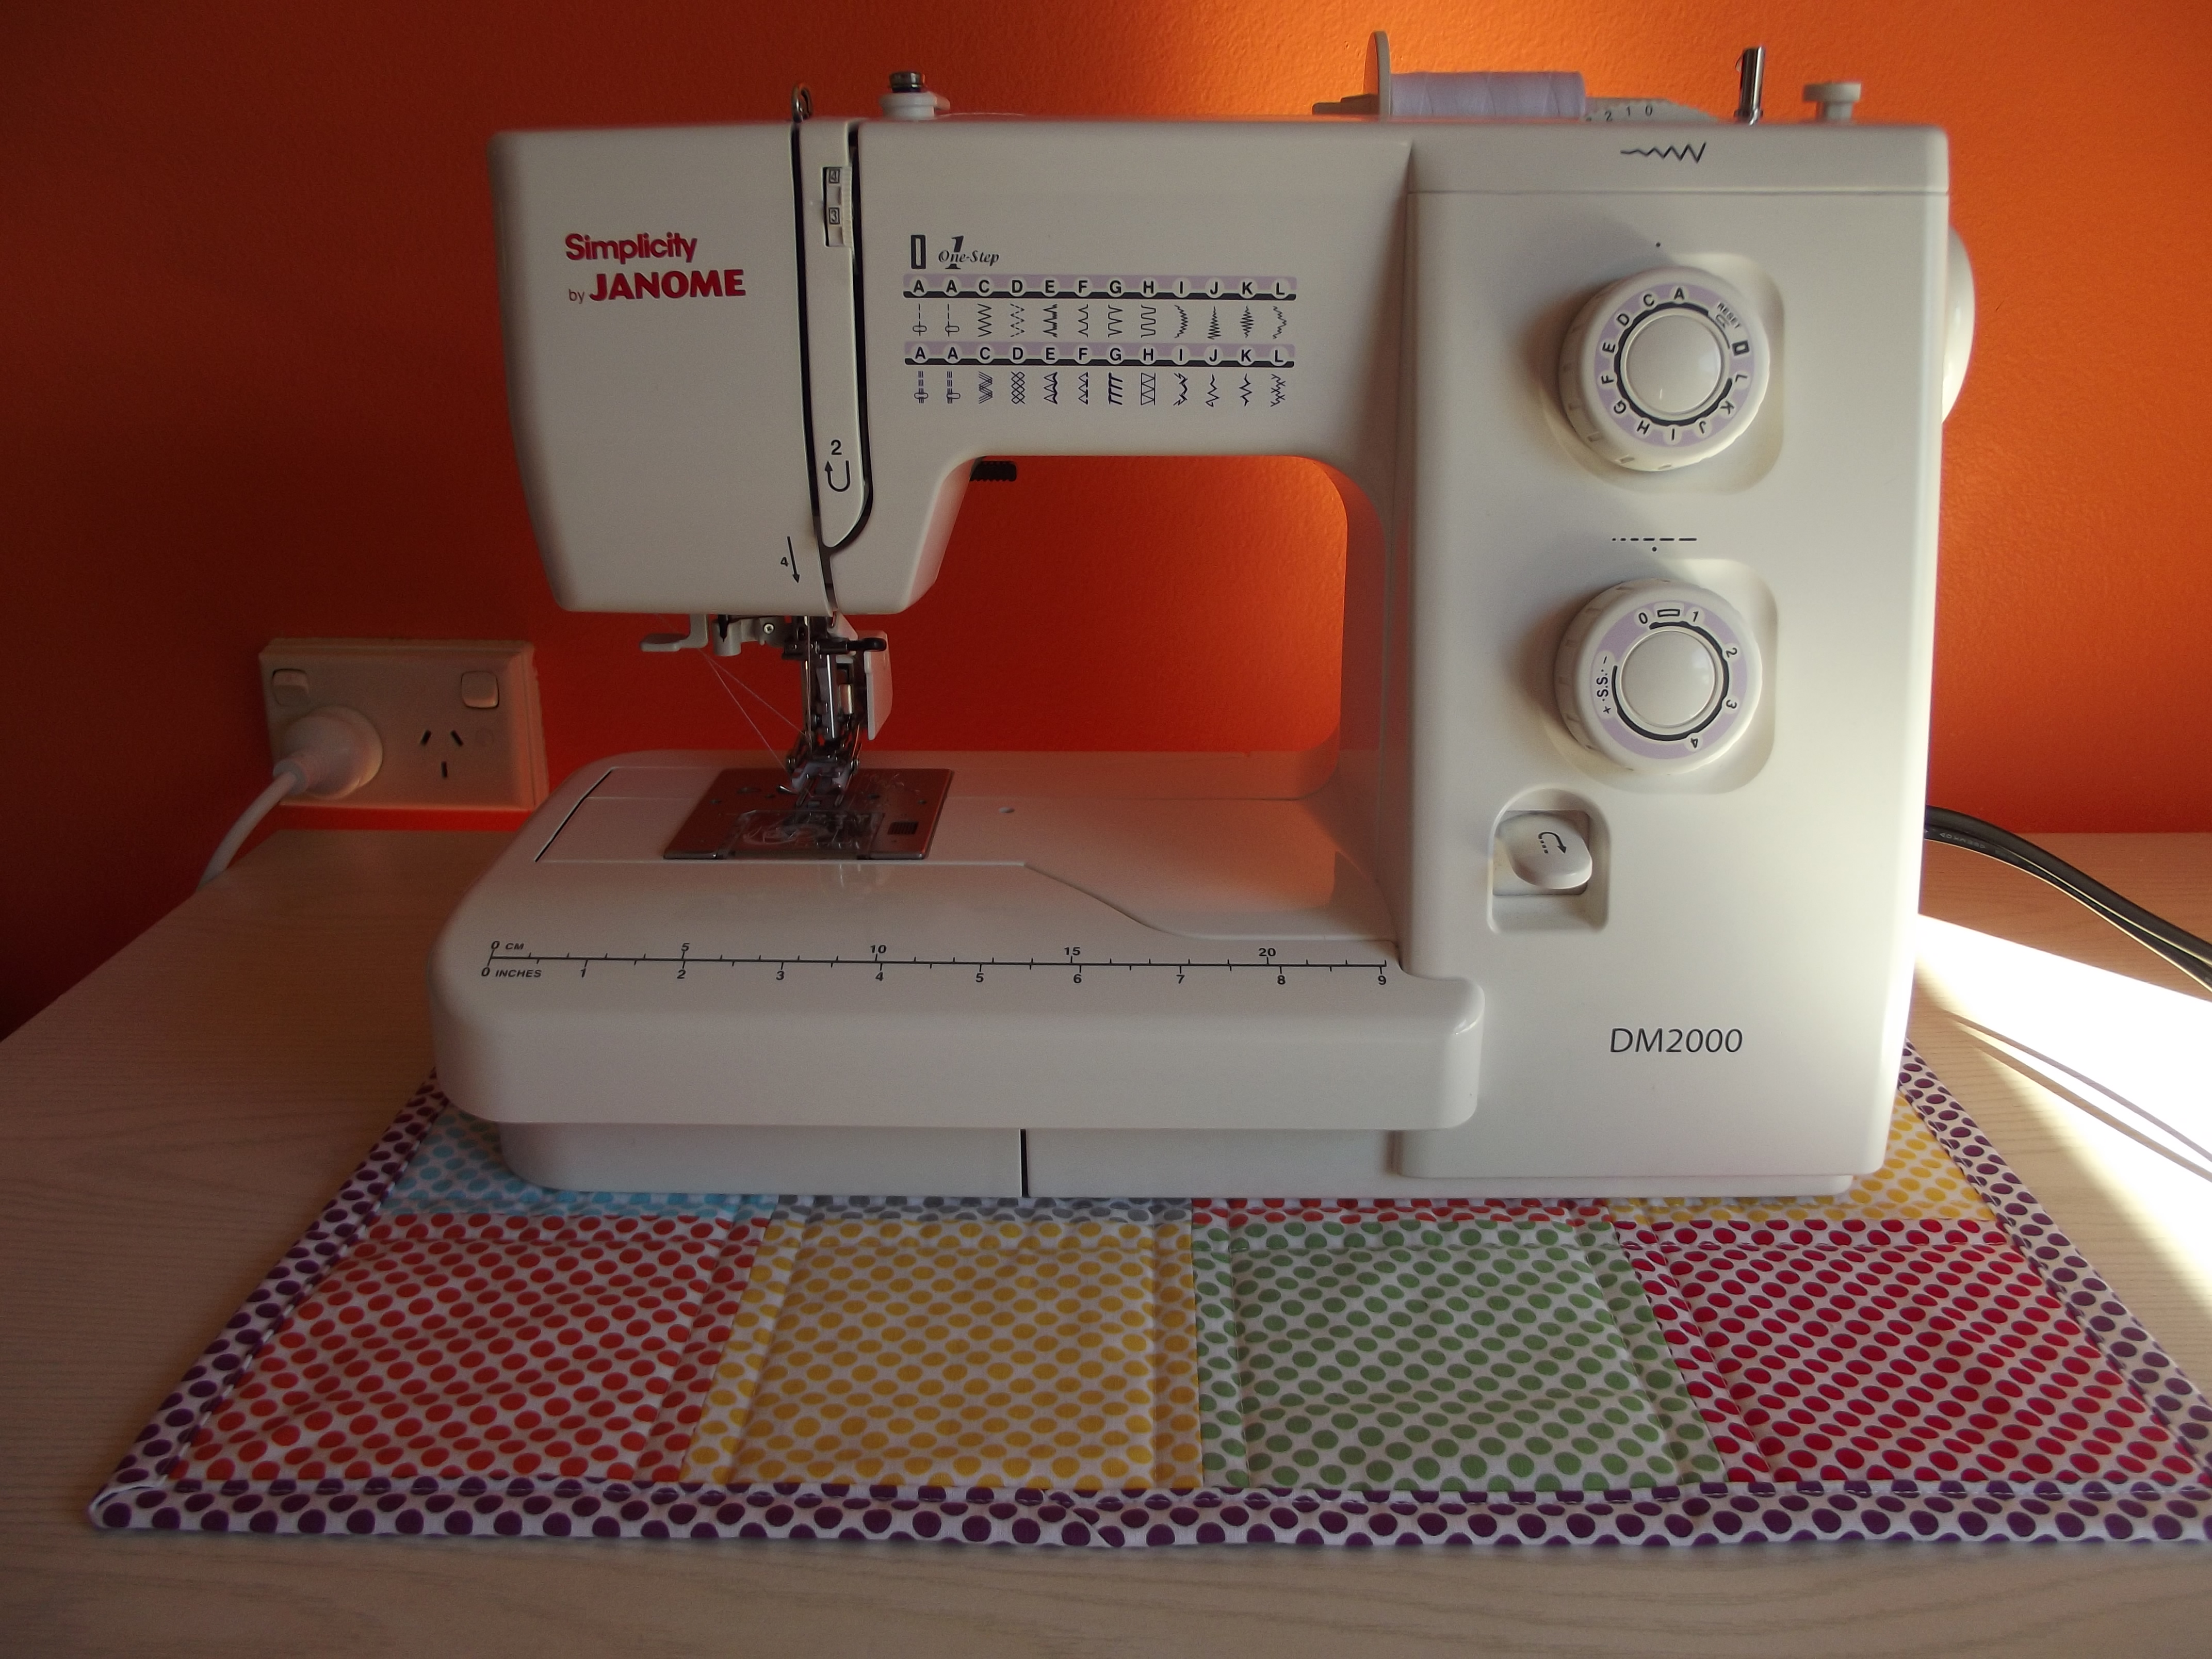 It’s just the right size for sitting under my sewing machine. I love it because it’s bright and cheerful, and I’m so pleased with how it turned out.
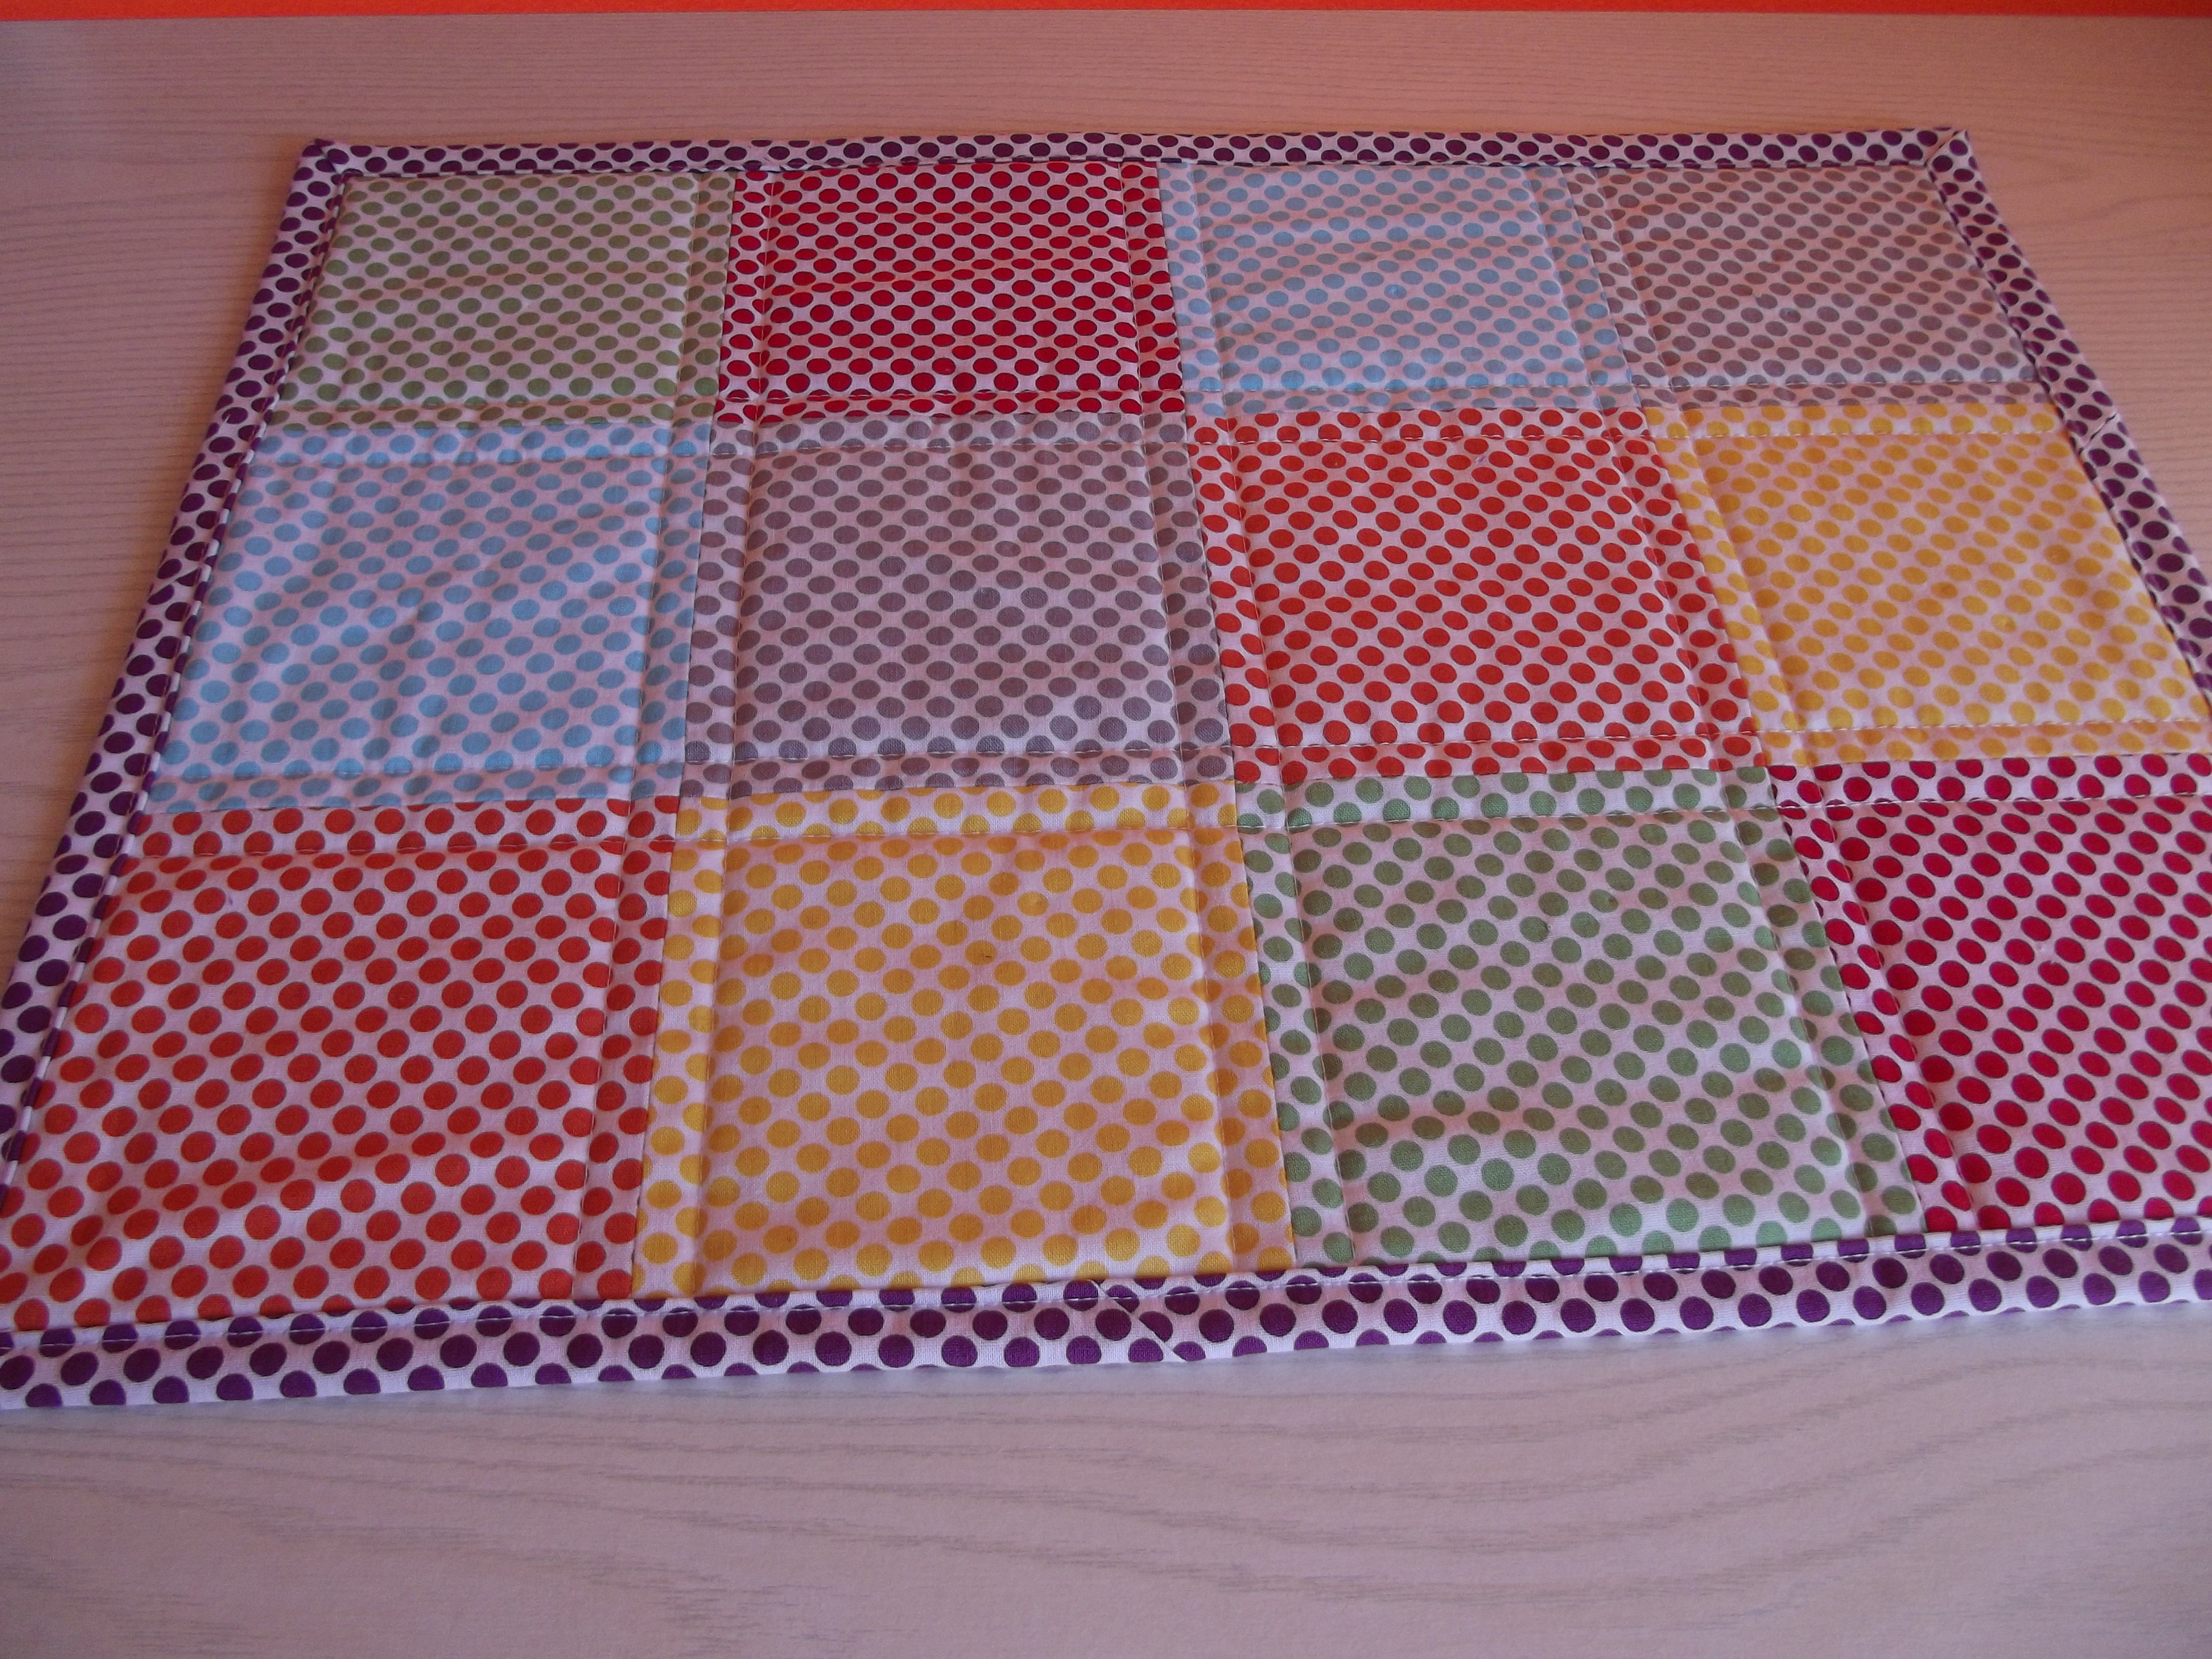
 And here is the finished dress – two dresses in one!