This is an affiliate post.
I have been a member of Craftsy for a few years now. I am signed up to quite a few of their classes, and love that there’s no time limit on when I have to watch them – they’ll always be there when I have the time to learn a bit more. I’ve also recently discovered lots of lovely patterns in their pattern store, and just this week they announced international shipping on their fabric section (but I’ve been good and not looked so I’ve not yet been tempted!)
Here is a bit more information to tell you all about Craftsy. If you’re not already a member, why not head over and sign up – it’s free!
What is Craftsy?
Craftsy is a worldwide craft community offering online classes. It also has a patterns marketplace where independent designers can sell their patterns; a supplies shop with great deals on yarn, fabric, and class kits; and a projects section where members share pictures of their latest craft successes. With over two million members and counting, Craftsy has something for just about everyone, in categories ranging from quilting, sewing, knitting, painting, photography, cooking, and more.

Behind the Scenes: The Making of a Craftsy Class
Before filming even begins, hours and hours are spent determining what content will be covered in each class, and how to best teach specific techniques to the camera. Instructors work with an instructional designer to create an in-depth outline of each lesson, and decide how to best prepare props or “step-outs” that show what your project should like at different steps. Instead of a scripted class, instructors follow their outlines on camera to create an authentic and engaging teaching experience.
Most Craftsy classes are filmed in one of five Craftsy studios in Denver, CO, assuring that every part of the production process goes off without a hitch. They fly in instructors from all over the world to spend several days filming, then spend several weeks turning hours of footage into a two to three hour class experience that has been watched, rewatched, and reviewed by industry experts. The final result is an HD-quality video that takes you in-depth into specific topics in any given craft category- from cooking and fine art to sewing and knitting.

What IS the Craftsy experience?
Craftsy classes are designed to have all the benefits of an in-person class, with none of the drawbacks. Available online and on-demand, you always have world-class instructors at the tip of your fingers. You can retake the class as many times as you want, and the 30-second repeat feature allows you to watch the same section over and over again until you get every technique just right.
Watching a Craftsy class is like having a first-row seat with some of the best instructors in the world. Even better, classes have a 100% money-back guarantee.
Try online learning today with a free mini-class from Craftsy! Choose from 23 Free Craftsy Classes ranging from drawing and painting to sewing and quilting, from knitting to cake decorating and more.


 It is made from 4.5 inch squares using a variety of Christmassy fabrics, including some Christmas koalas and kangaroos!
 I quilted it using a wiggly stippling pattern.

 I bound it using red cotton and hand stitched the binding onto the back. The tutorials that say that is quick and easy lie! But is does look good once it’s finished.


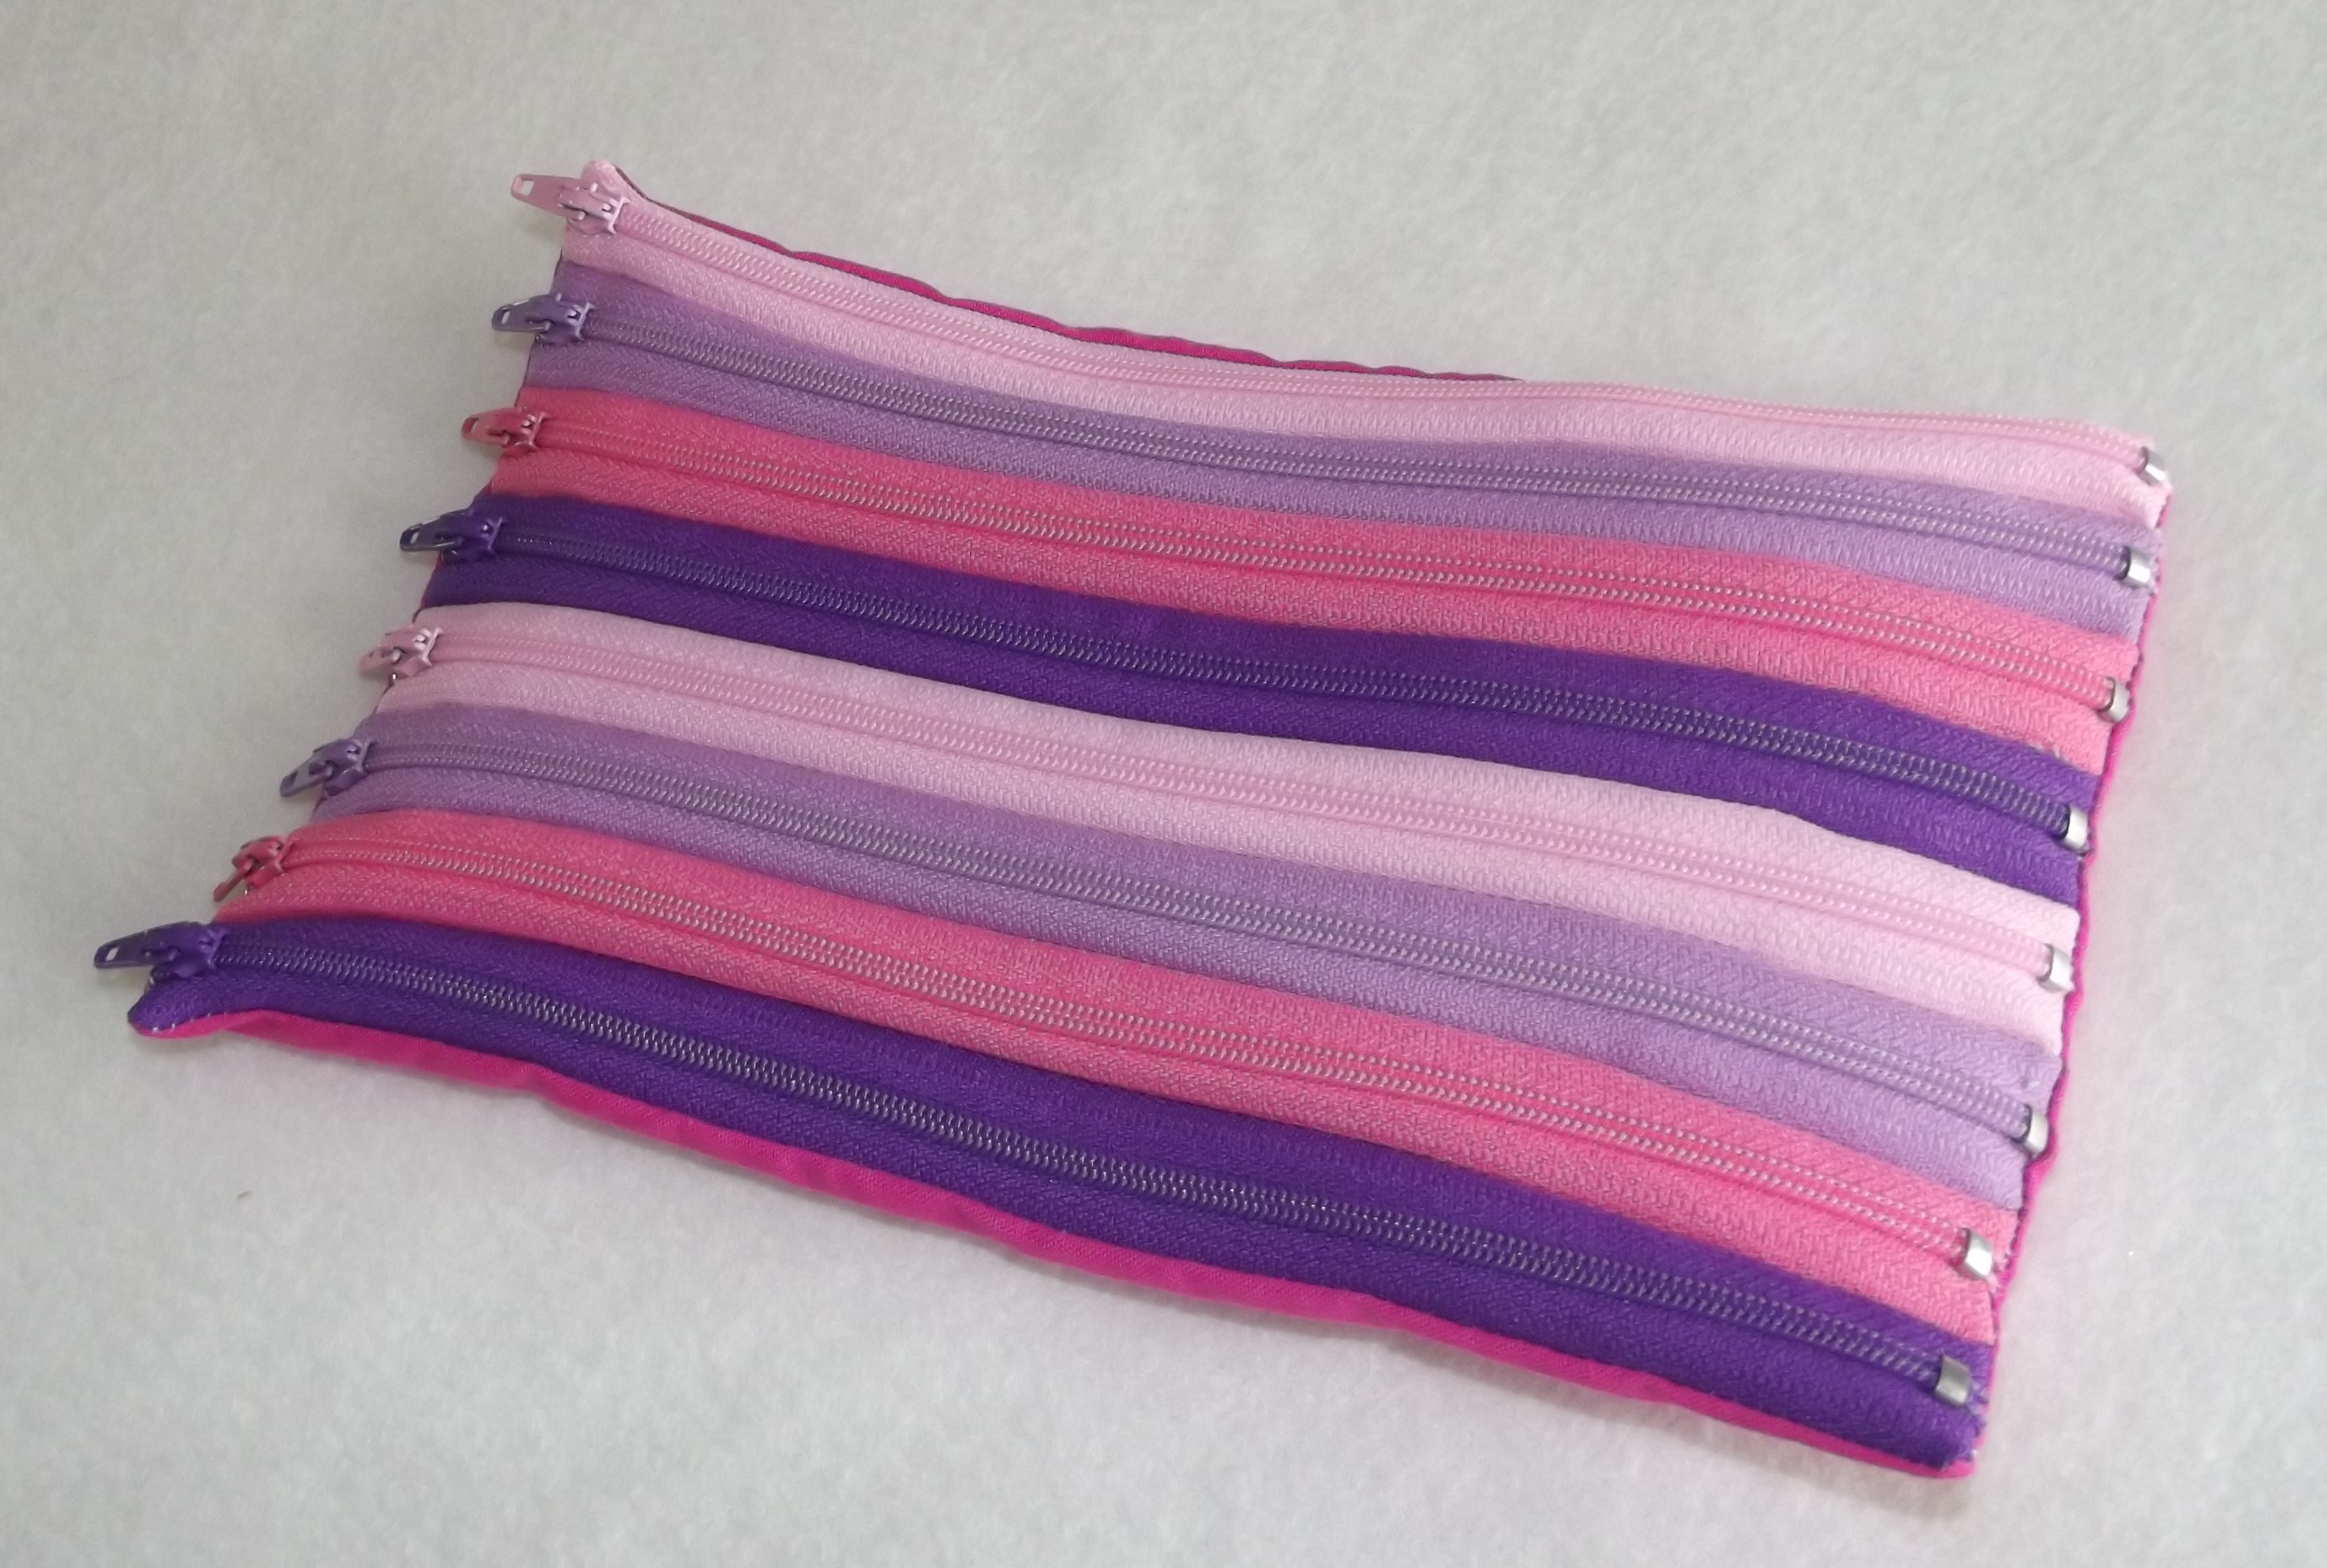
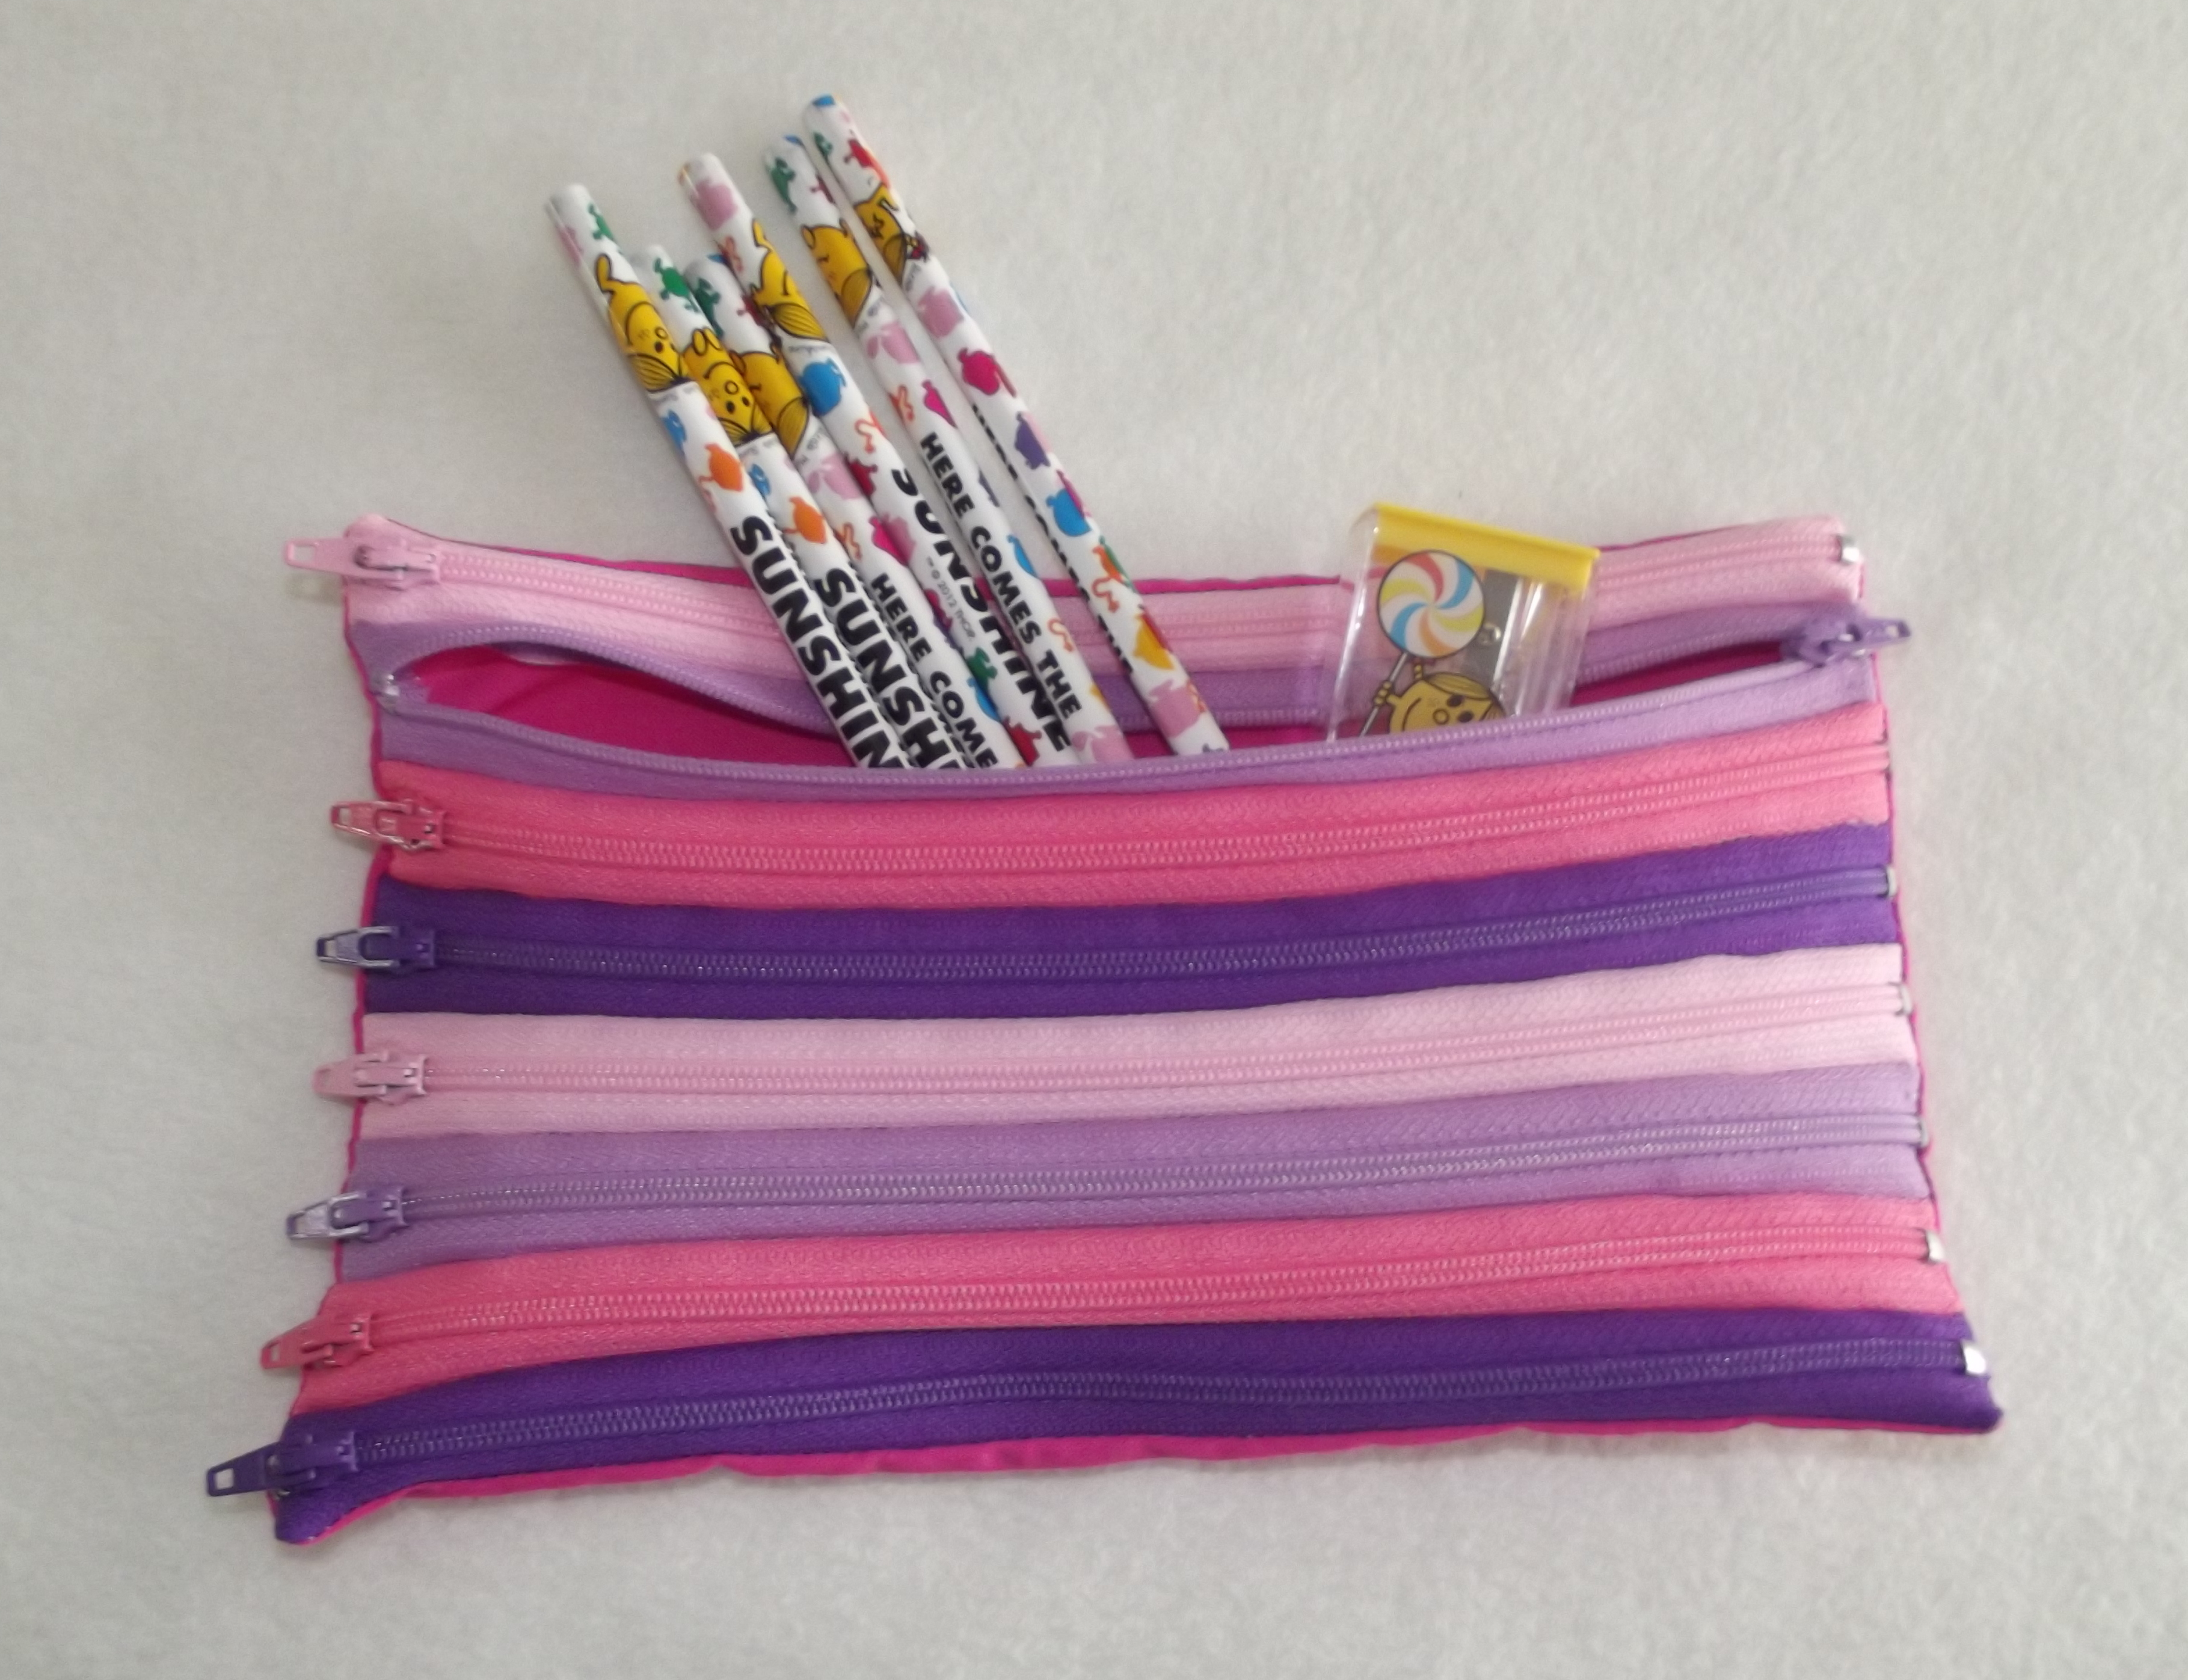
 This bag is made from the
  The handles and the lining are yellow cotton, and there is a layer of yellow fleece inside to give the bag some structure. (It didn’t need to be yellow fleece, but there was a piece the right size and it matched the lining so I thought why not!)
 The zip pocket runs the entire length of the bag. The pocket is lined in grey cotton (see how all the colours from the digger are used somewhere else as well!)
 I’m really pleased with how it turned out. I think it looks great 🙂
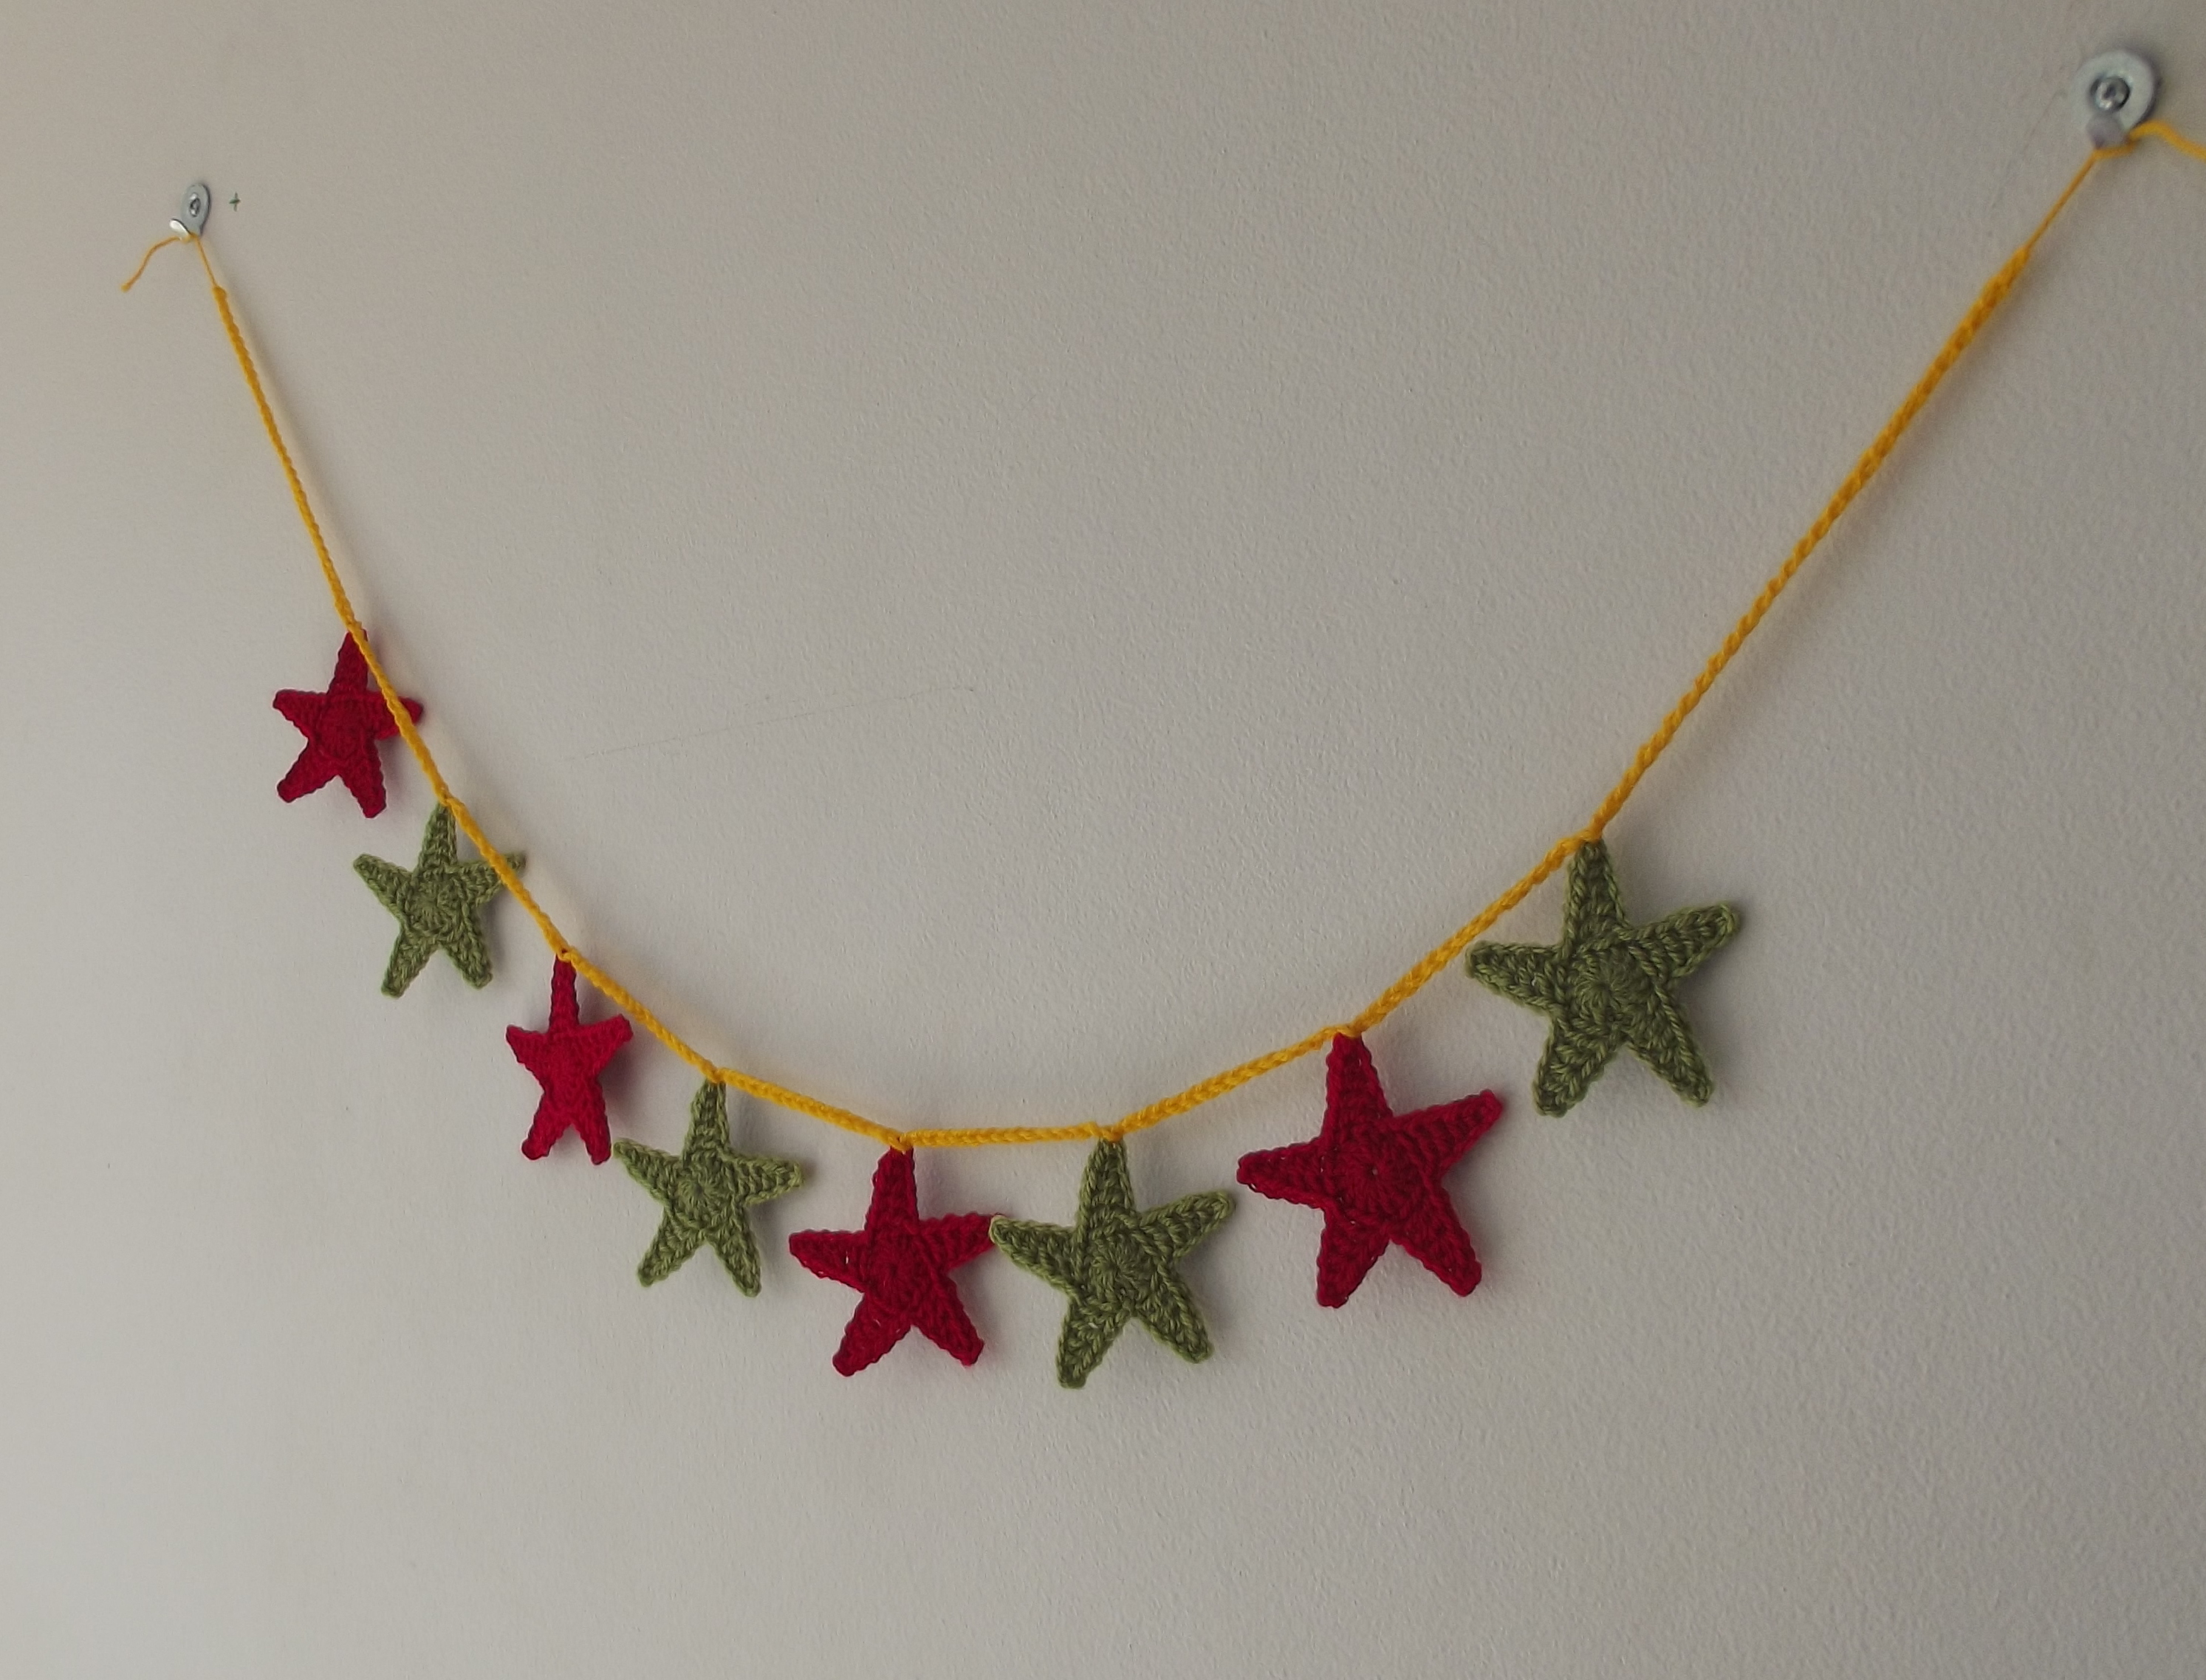 I chose red and green to make the stars so they’re nice and Christmassy, and a yellowy gold colour for the string to hold them all together, which is just a string of chain stitches that are slip stitched through the top of each star.
 When I had finished making my stars they were very curly, so I knew I would need to do something to them to keep them straight. I pinned them wrong side up to the ironing board and painted them with a water/pva glue mixture several times.
 Pretty Christmassy stars 🙂
 And since it’s 1st December, they’ll be joined later today by the Christmas tree!
 Ha! Well it wasn’t!
 … and then I turned it over:
 Oh bum! I’ve sewn the fabric on wrong side out 🙁
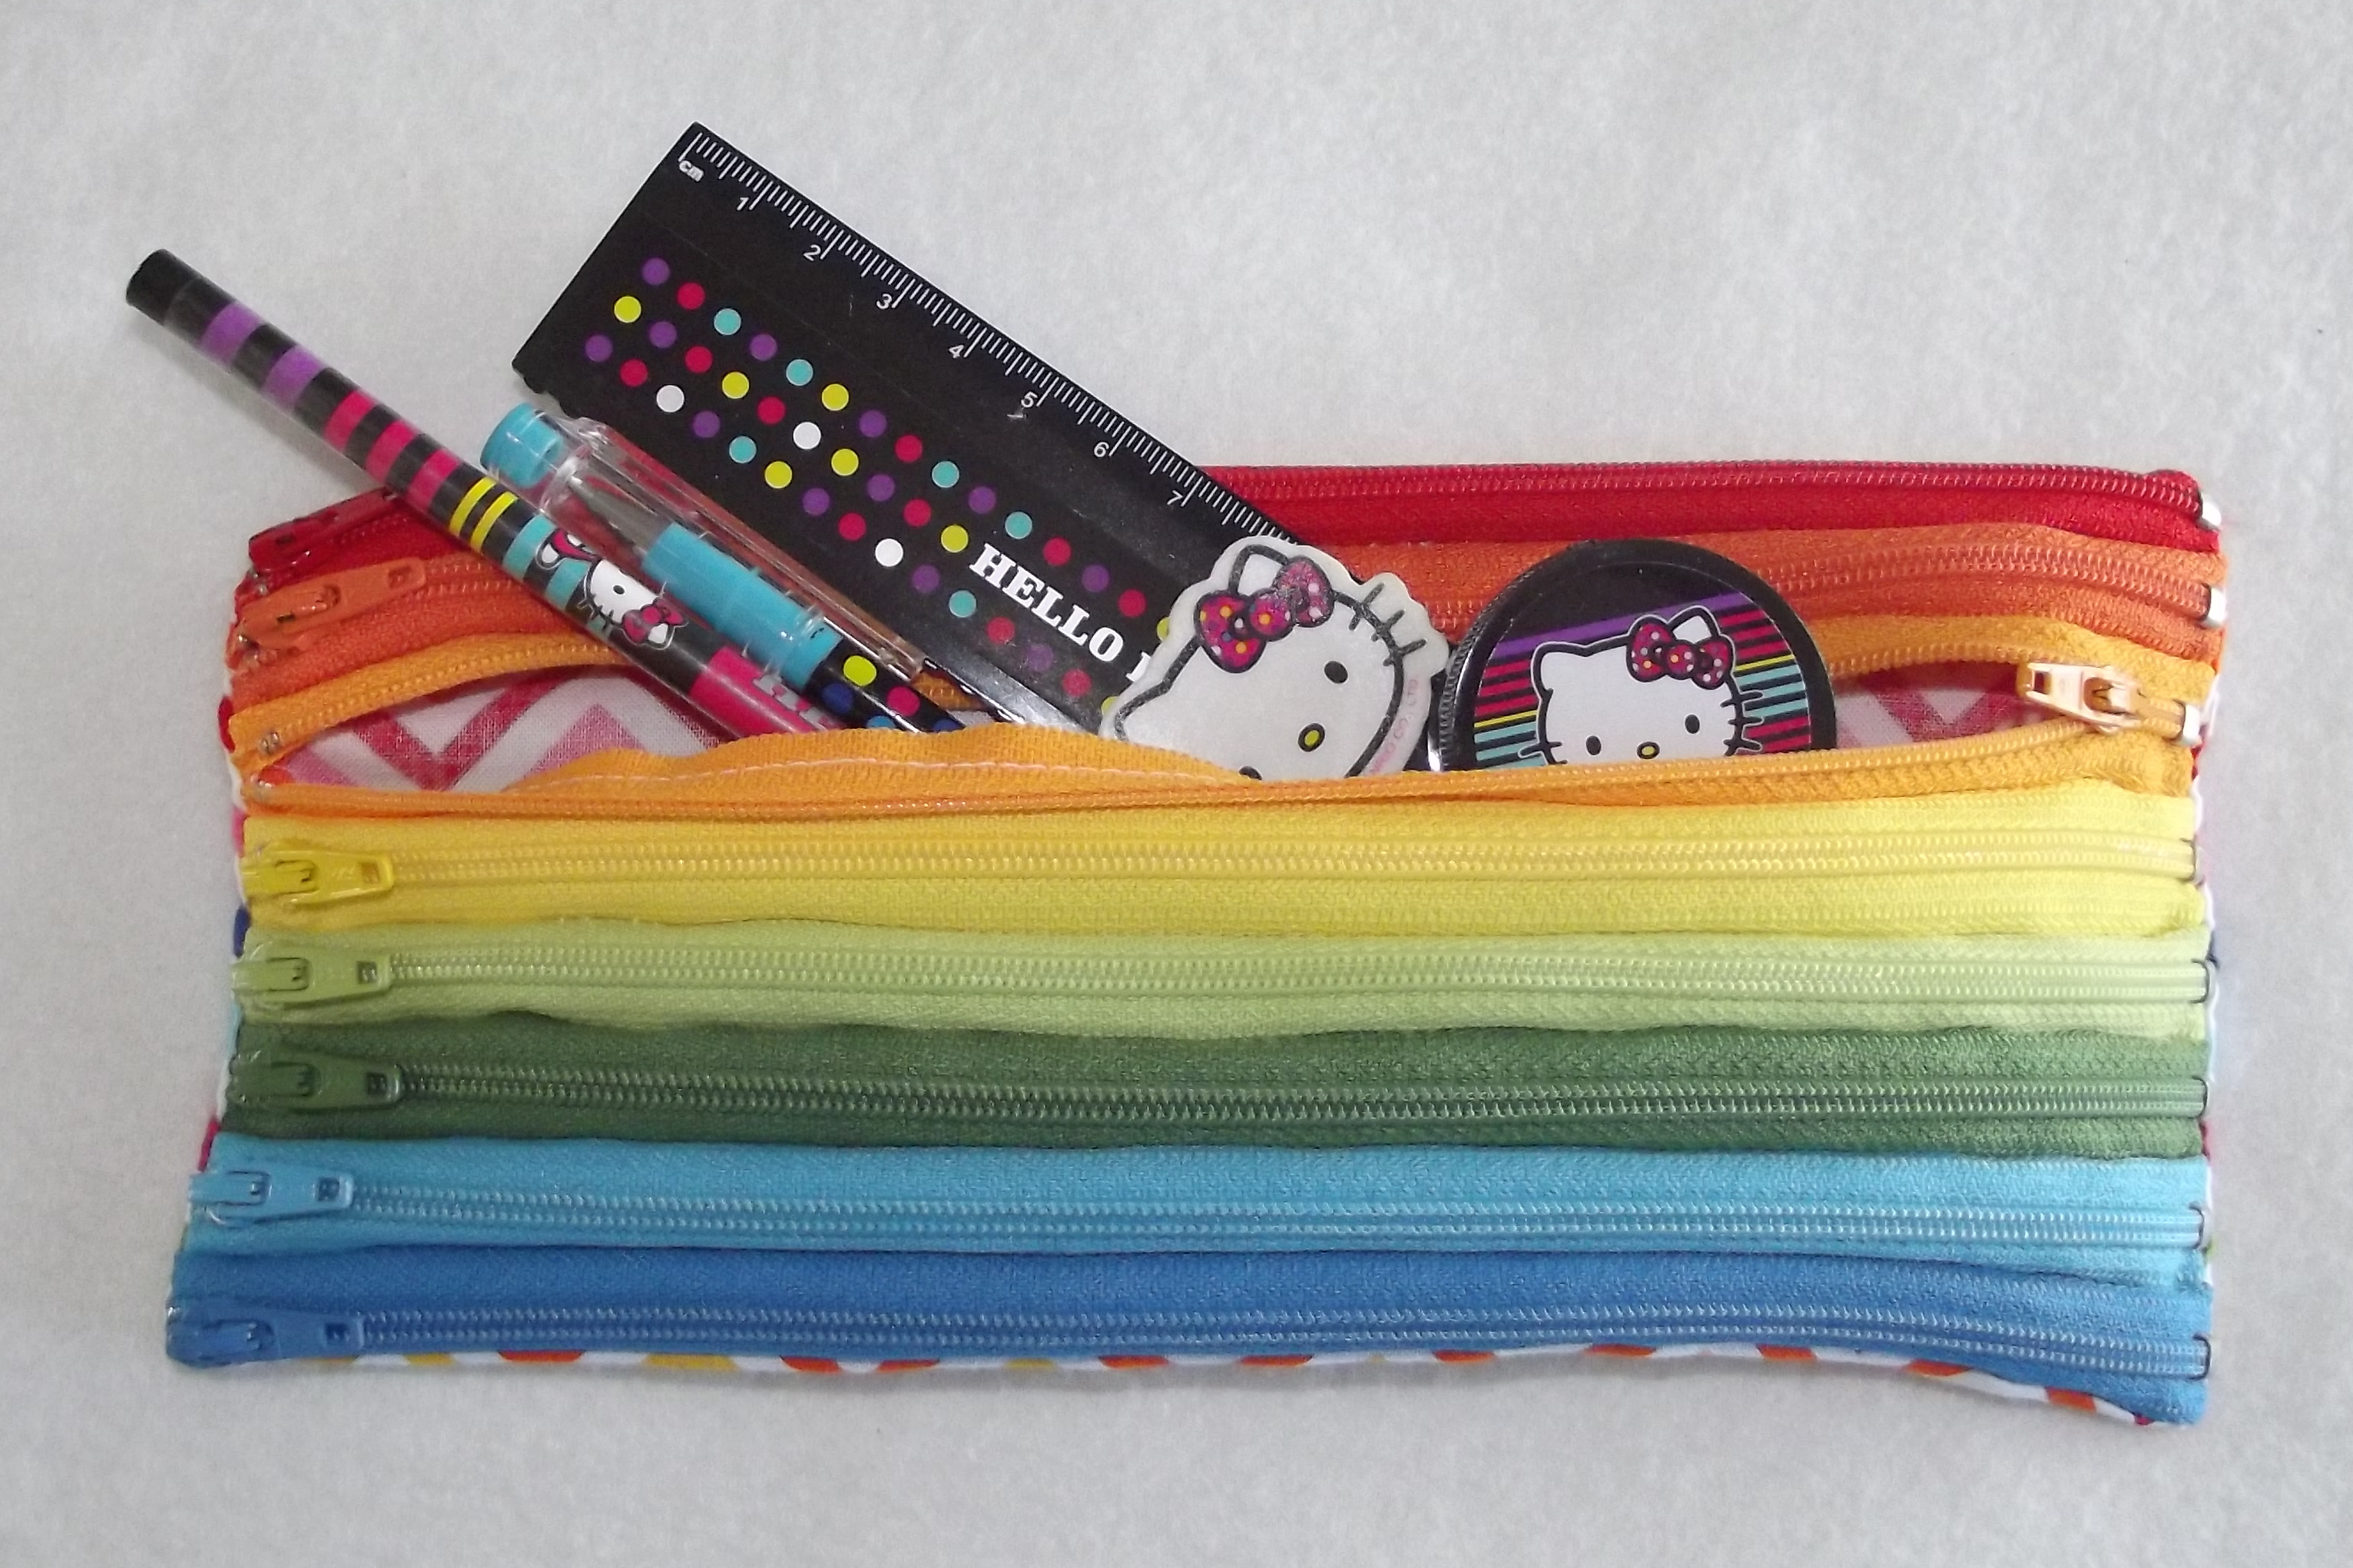
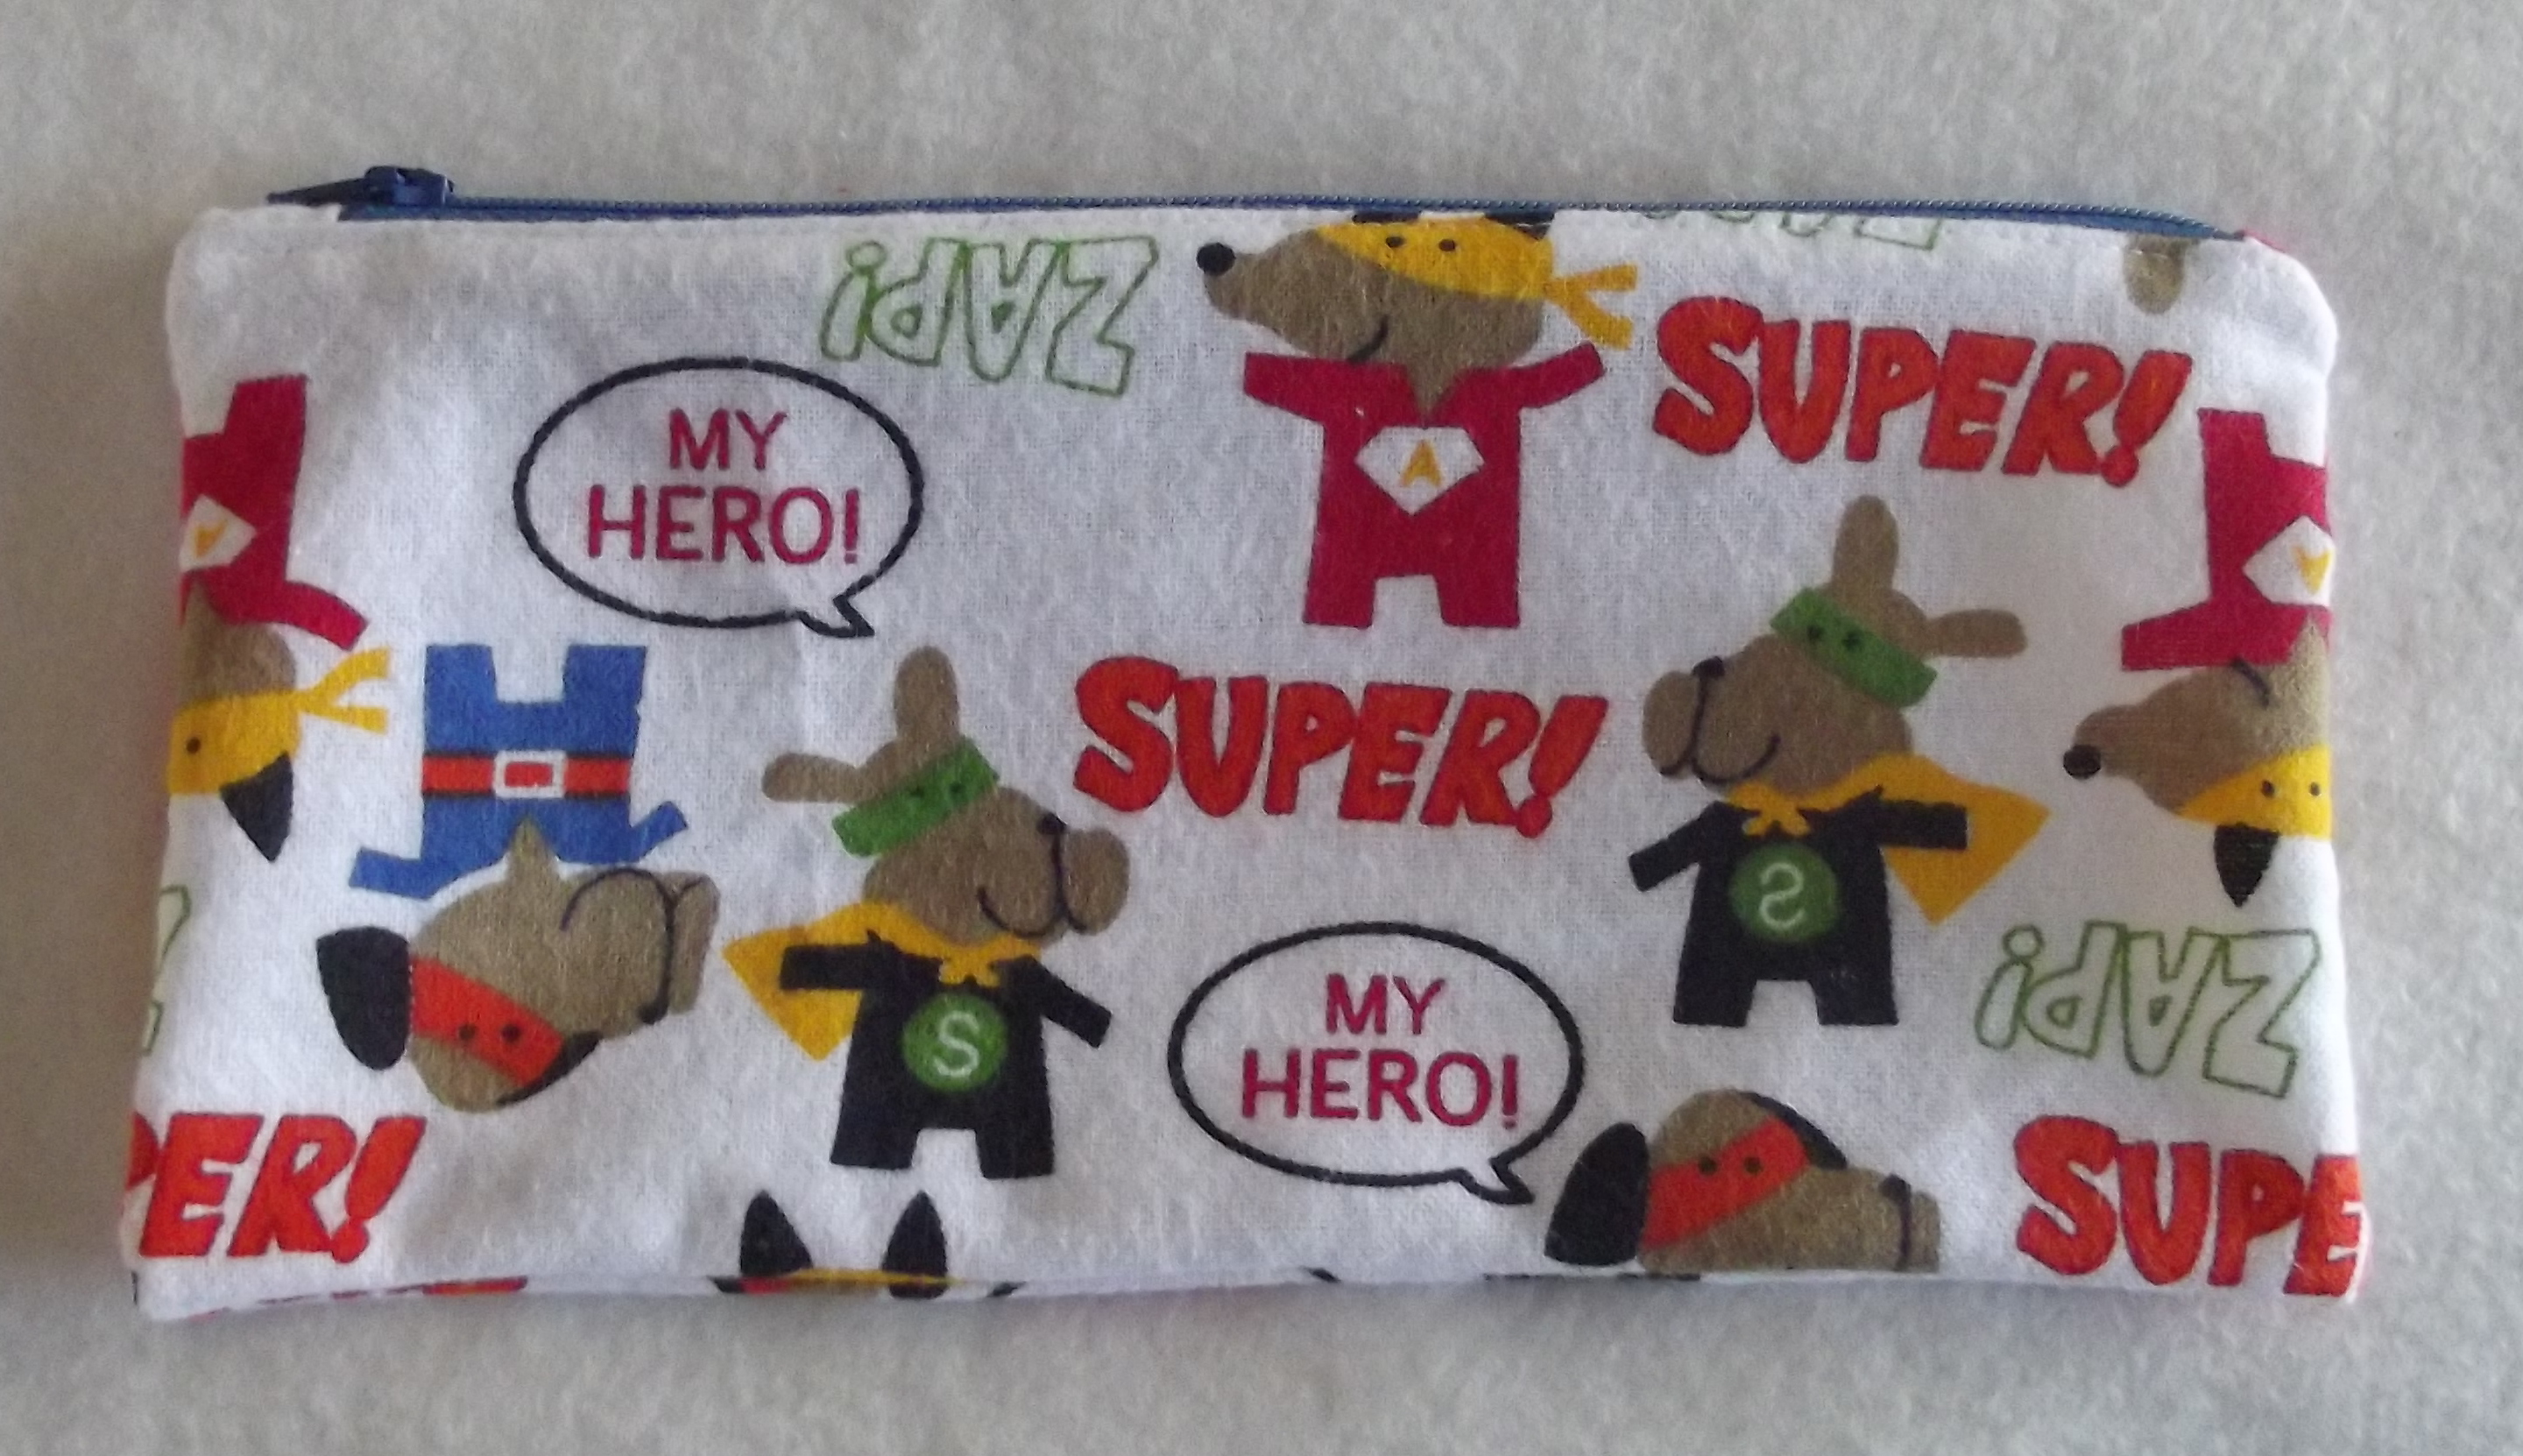
 I can cross one present off my Christmas list!
 The pattern is one I found on Etsy. It’s called Tutti Frutti designed by
  I hope she likes it 🙂