Kids Clothes Week Feb 2015

kid's clothes week


I’ve missed out on the last few KCWs, but am back in time for the first of this year!

I didn’t quite manage an hour every day, but caught up with some extra time at the end. I always overestimate how much I will get done in a week, and this time was no exception. I started making 5 pairs of trousers, but only completely finished the first pair during the week, and have been finishing off bits on the others for the past week. But now they’re all done and the mini one has a whole load of extra clothes added to his wardrobe!


All were made using the Big Butt Baby Pants pattern by Made by Rae.

The first pair I made was the simplest version with plain green cotton drill, with an elephant print for the bum panel.

The next two pairs I made with cuffs that match the bum panel. One is green and blue corduroy…

… and the other is orange with owl print corduroy.

The last two pairs are made with a single material each, and with elasticated ankle cuffs.

One is in red sweatshirting to make joggers …

… and the other is in vehicle flannelette. I think I like the elasticated ankles best as they help them stay put and keep his little legs warmer.

Five new pairs of trousers 🙂


I’m linking up with And Sew We Craft Together

And Sew We Craft

A Lovely Year of Finishes 2015 – February Plans

A Lovely Year of Finishes

In a bid to get things finished and reduce my pile of things half done, I’m joining in with this year’s ‘A Lovely Year of Finishes’.

The idea is that during the first week of the month we make our plans for what we intend to finish, and during the last week of the month we show off our finished items.

I missed January as I didn’t find out about it until a couple of weeks ago, so am starting with February, but am looking forward to joining in and getting things finished 🙂


In February, I plan to finish this baby patchwork blanket. I started cutting out the squares and got more than halfway, but haven’t got any further since Christmas, and want it sewn up and in use by the end of the month!

Comfort Blankets

It’s been quite a while since I last made comfort blankets. They were the first thing I started making on my sewing machine. I made some for my niece and my son, and then for friends before making and selling them for a time. It was quite nice to go back and make some more.

The first I made in an owl print, with owls and words on the reverse: 

The second I made in a dino print, with plain navy on the reverse: 

And the third one I made with a monkey print on both sides, smaller than the others with a strap to attach to a buggy or pram:

They’re all ready to be snuggled 🙂

Nursing Cover

The day before N was born I finished off making a nursing cover, to keep in my changing bag to use whilst feeding out and about. He’s now getting on for four months, and I’m only now taking photos and uploading them – a bit behind!

I searched the internet and used a couple of free tutorials to help make it.

It’s the most awkward thing to photograph as you can’t see the shape of it when you lay it flat, but I used a lovely elephant print that I’d been saving for something baby related: 

It has a piece of boning material across the top to hold it’s shape so you can see the baby. This is the stuff they use in corsets or around big skirts.

The strap has a pair of rings to thread through so that you can adjust the length.

And this is the finished cover:

Teacher Christmas Gifts

Last August W started P1 at our local Primary School. So this Christmas was the first that I needed to find a gift for him to take for his teacher.

I decided to make a pouch. I used this tutorial from Noodlehead, and followed the medium sizing for the pattern.

I think it looks quite Christmassy in dark red and cream cotton:

And then I filled it with chocolates and other goodies!

Hashtag Quilt Blocks

Molli Sparkles is making quilts for the families of the victims of the Sydney siege last week.

He shared the tutorial for this block and will make several rainbow hashtag quilts from all the blocks sent in.

These are the blocks that I have made and are on their long journey off to Australia.

We can make. And our makes can show people we care and are thinking of them, even when there’s very little else we can do to help. To find out more, read the FAQ over on Molli Sparkle’s blog

Fabric Advent Calendar

Earlier this year I went to a sewing show at the NEC, Birmingham. A day trip there and back from Scotland – lots of time spent on the train that day!

Whilst there I bought a fabric panel to make an advent calendar. My Mum has one that she made a long time ago, and I have always wanted to make one too.

There were two pieces to it. One section was the front panel, and the other contained five sections to make the rows of pockets.

Each row contains five pockets, so to make the calendar you had to fold and press and sew them down onto the front panel.

Once I got started the front was very easy to make. There was actually a lot more ironing and folding and matching up than there was actual sewing.

Once the front was finished I then needed to back it to make it a finished calendar. It suggested putting a layer of wadding in the middle to give it strength once items are put in the pockets.

So I made a quilt sandwich of the front panel, wadding and a backing piece of plain fabric, and sewed them together, adding straight lines of quilting around each rectangle of pockets.

You can see the quilting more easily on the back.

Since I’d made it like a quilt, rather than putting wrong sides together and turning and topstitching, I needed to add binding to finish the edges.

I made my own binding using a plain red fabric. It really finishes it off and makes it look good 🙂

My advent calendar is now in use, with chocolate in each of the pockets. It is still flat for now though, rather than hung on the wall.

The last step will be to add a pole to the top to hang it from. I do have the pole. It just hasn’t made it onto the calendar just yet! Never mind though, once it is finally finished it will have plenty more advents to be hung on the wall in years to come!

Name Bunting

I was asked to make this bunting about six months ago – it’s taken me a while to get round to it!

I’ve made several before, and they’re not my favourite thing to make, which is probably half the reason it takes me so long as I keep putting it off. However, I finally forced myself to finish it off so I could make something else and it’s finished: It’s not so clear from the photos, but the flags are alternate plain and checked cotton with a dark pink felt for the lettering. The lettering is sewn on by hand as I can do it neater that way with all the turns and curves. The flags are then sewn onto white bias binding to create the string.

The bunting  is for a friend to hang in her daughter’s bedroom, so we took the photos up against our bedroom wall to see how it would look. I had to draft in my two assistants to help me while I took the photo:

I hope it’s now hanging happily in its new home 🙂

Overlocking Circles

For the second item to make using my overlocker, perhaps circles was a little bit adventurous!

Add to that two of the materials that lots of people avoid sewing with even on a normal machine because of their ‘slide all over the place-ness’, minky and PUL, and it’s not surprising that it wasn’t smooth sailing from the start!

I did ask some friends with overlockers if they had any tips for sewing curves. The words “with difficulty”, “carefully” and “slowly” were the best advice they could offer.

But after a few false starts – four to be precise that ended up in the bin – I can say ta-da! I’ve done it. A pile of overlocked circle-ness:

Even more impressive, I had to rethread the machine twice when two of the threads/cones/bobbins/whatever you call the bits on the top ran out at different points! *pats self on back* I think the overlocker and I have now reached an understanding and made friends 🙂


But what are they? They are nursing pads – washable ones, like you can buy from somewhere like Mothercare, but homemade. They have three layers: a minky top layer which is soft and has the ability to wick moisture away from the skin; a bamboo fleece middle layer to give them absorbancy; and a PUL back layer to make them waterproof.

They’re not the kind of thing that’s going to be on show, so although the first few that didn’t end up in the bin weren’t perfect they’ll still do the job. Some of the first ones weren’t quite circular while I figured out how to start and finish off on a curve … 
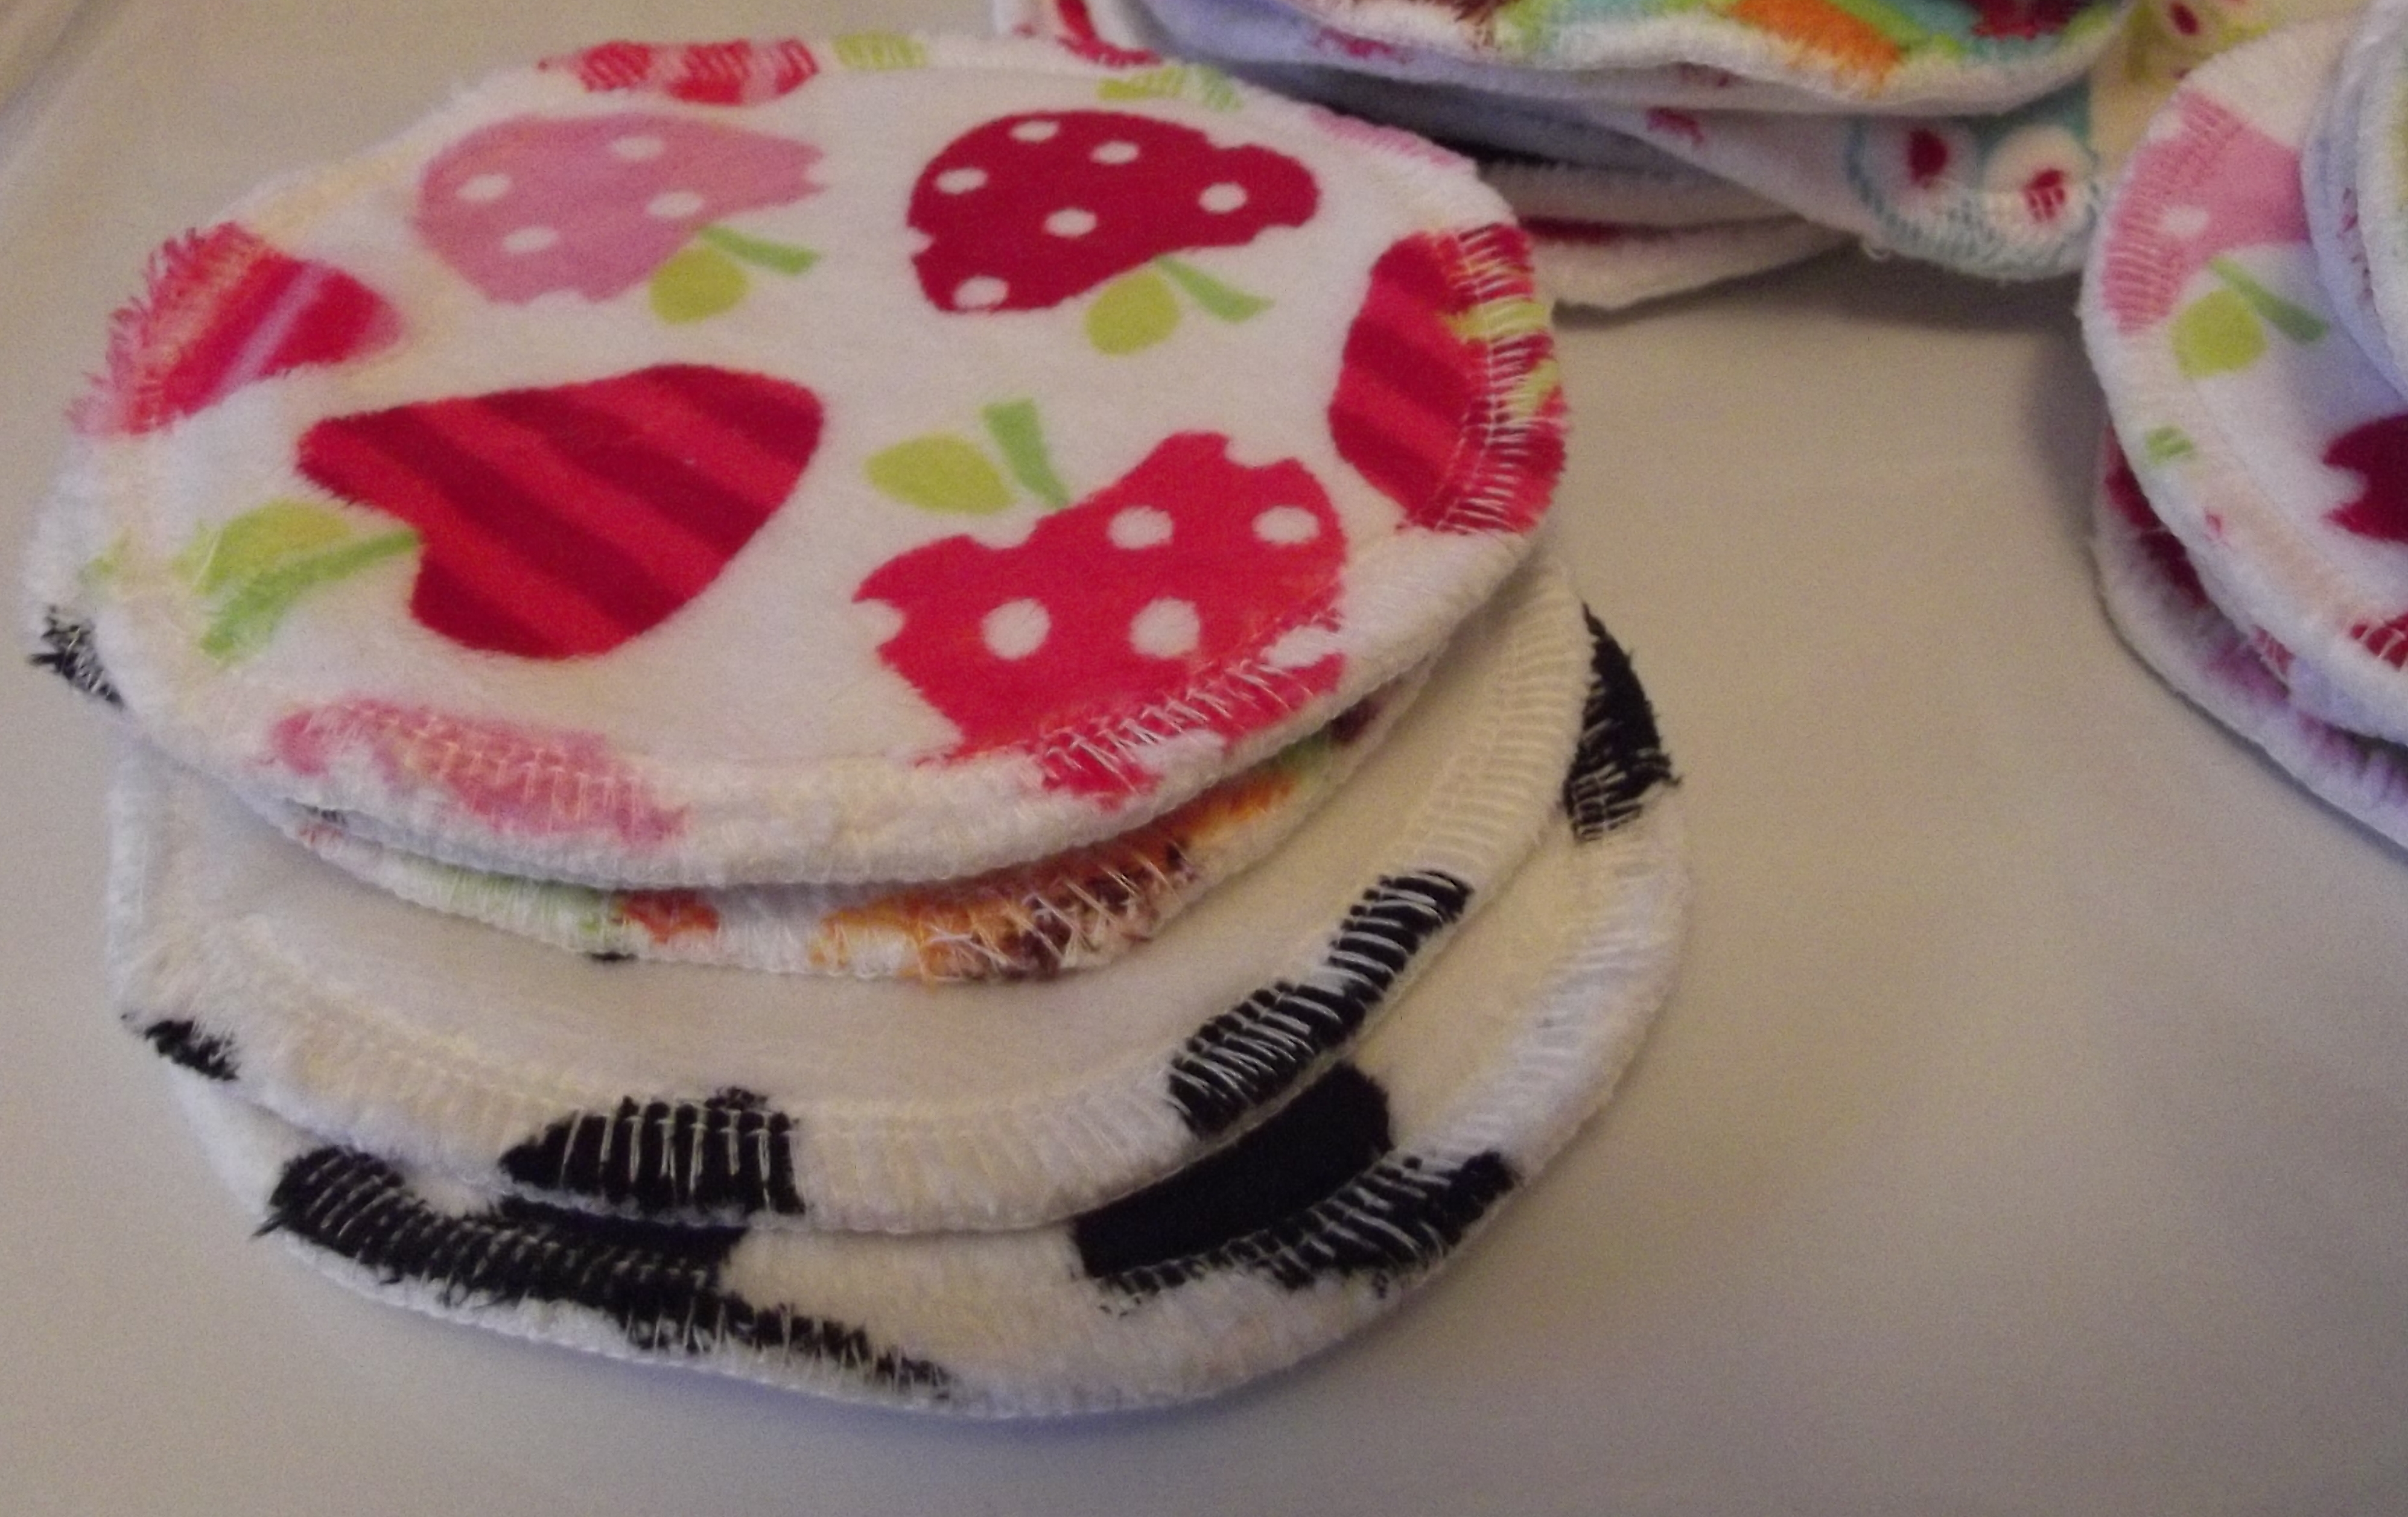
…by the end they were looking pretty good! 
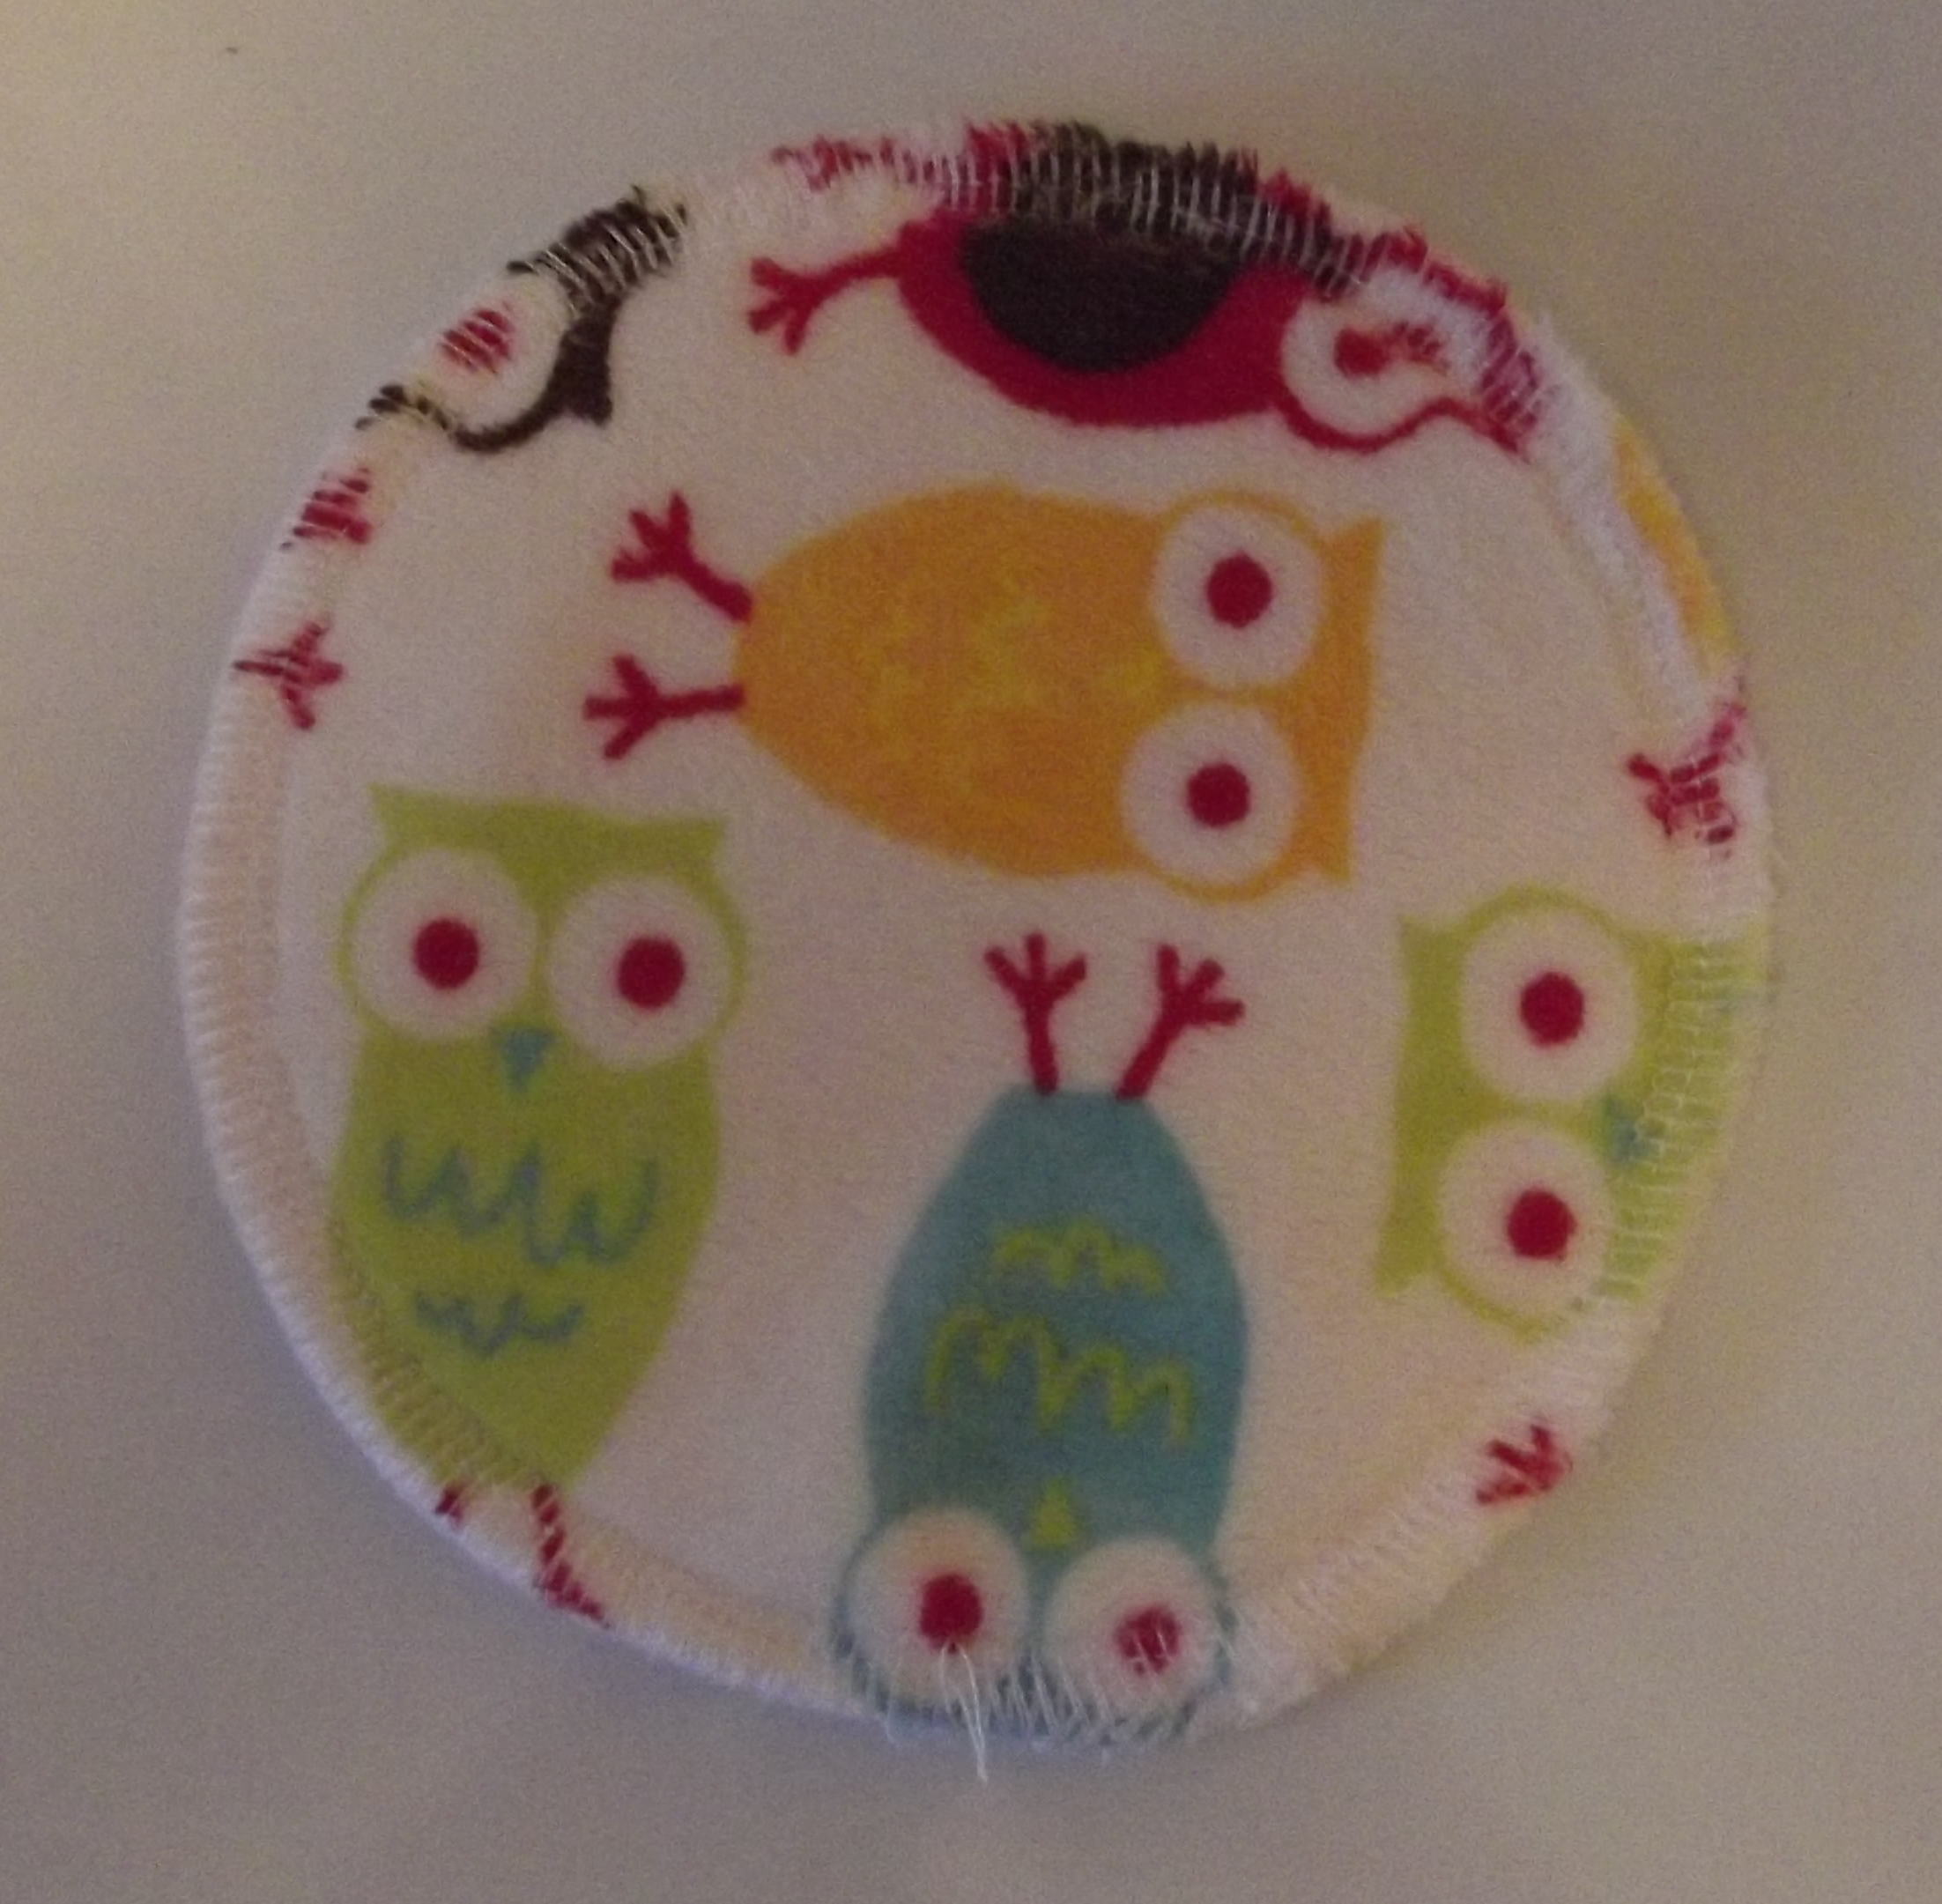
I looked at listings for washable nursing pads online and measured some disposable ones to work out the right size, and drew myself a template on cardboard to cut out all the pieces by drawing around an ikea children’s bowl which happened to be exactly the right size.

I used up lots of small pieces of minky I had to make pairs. They didn’t need to be pretty prints – the patterned side faces the skin so nobody else would ever see it – but I like pretty things, and it made sense to use up what I had instead of buying something plain just to make them.

So I have squares … 
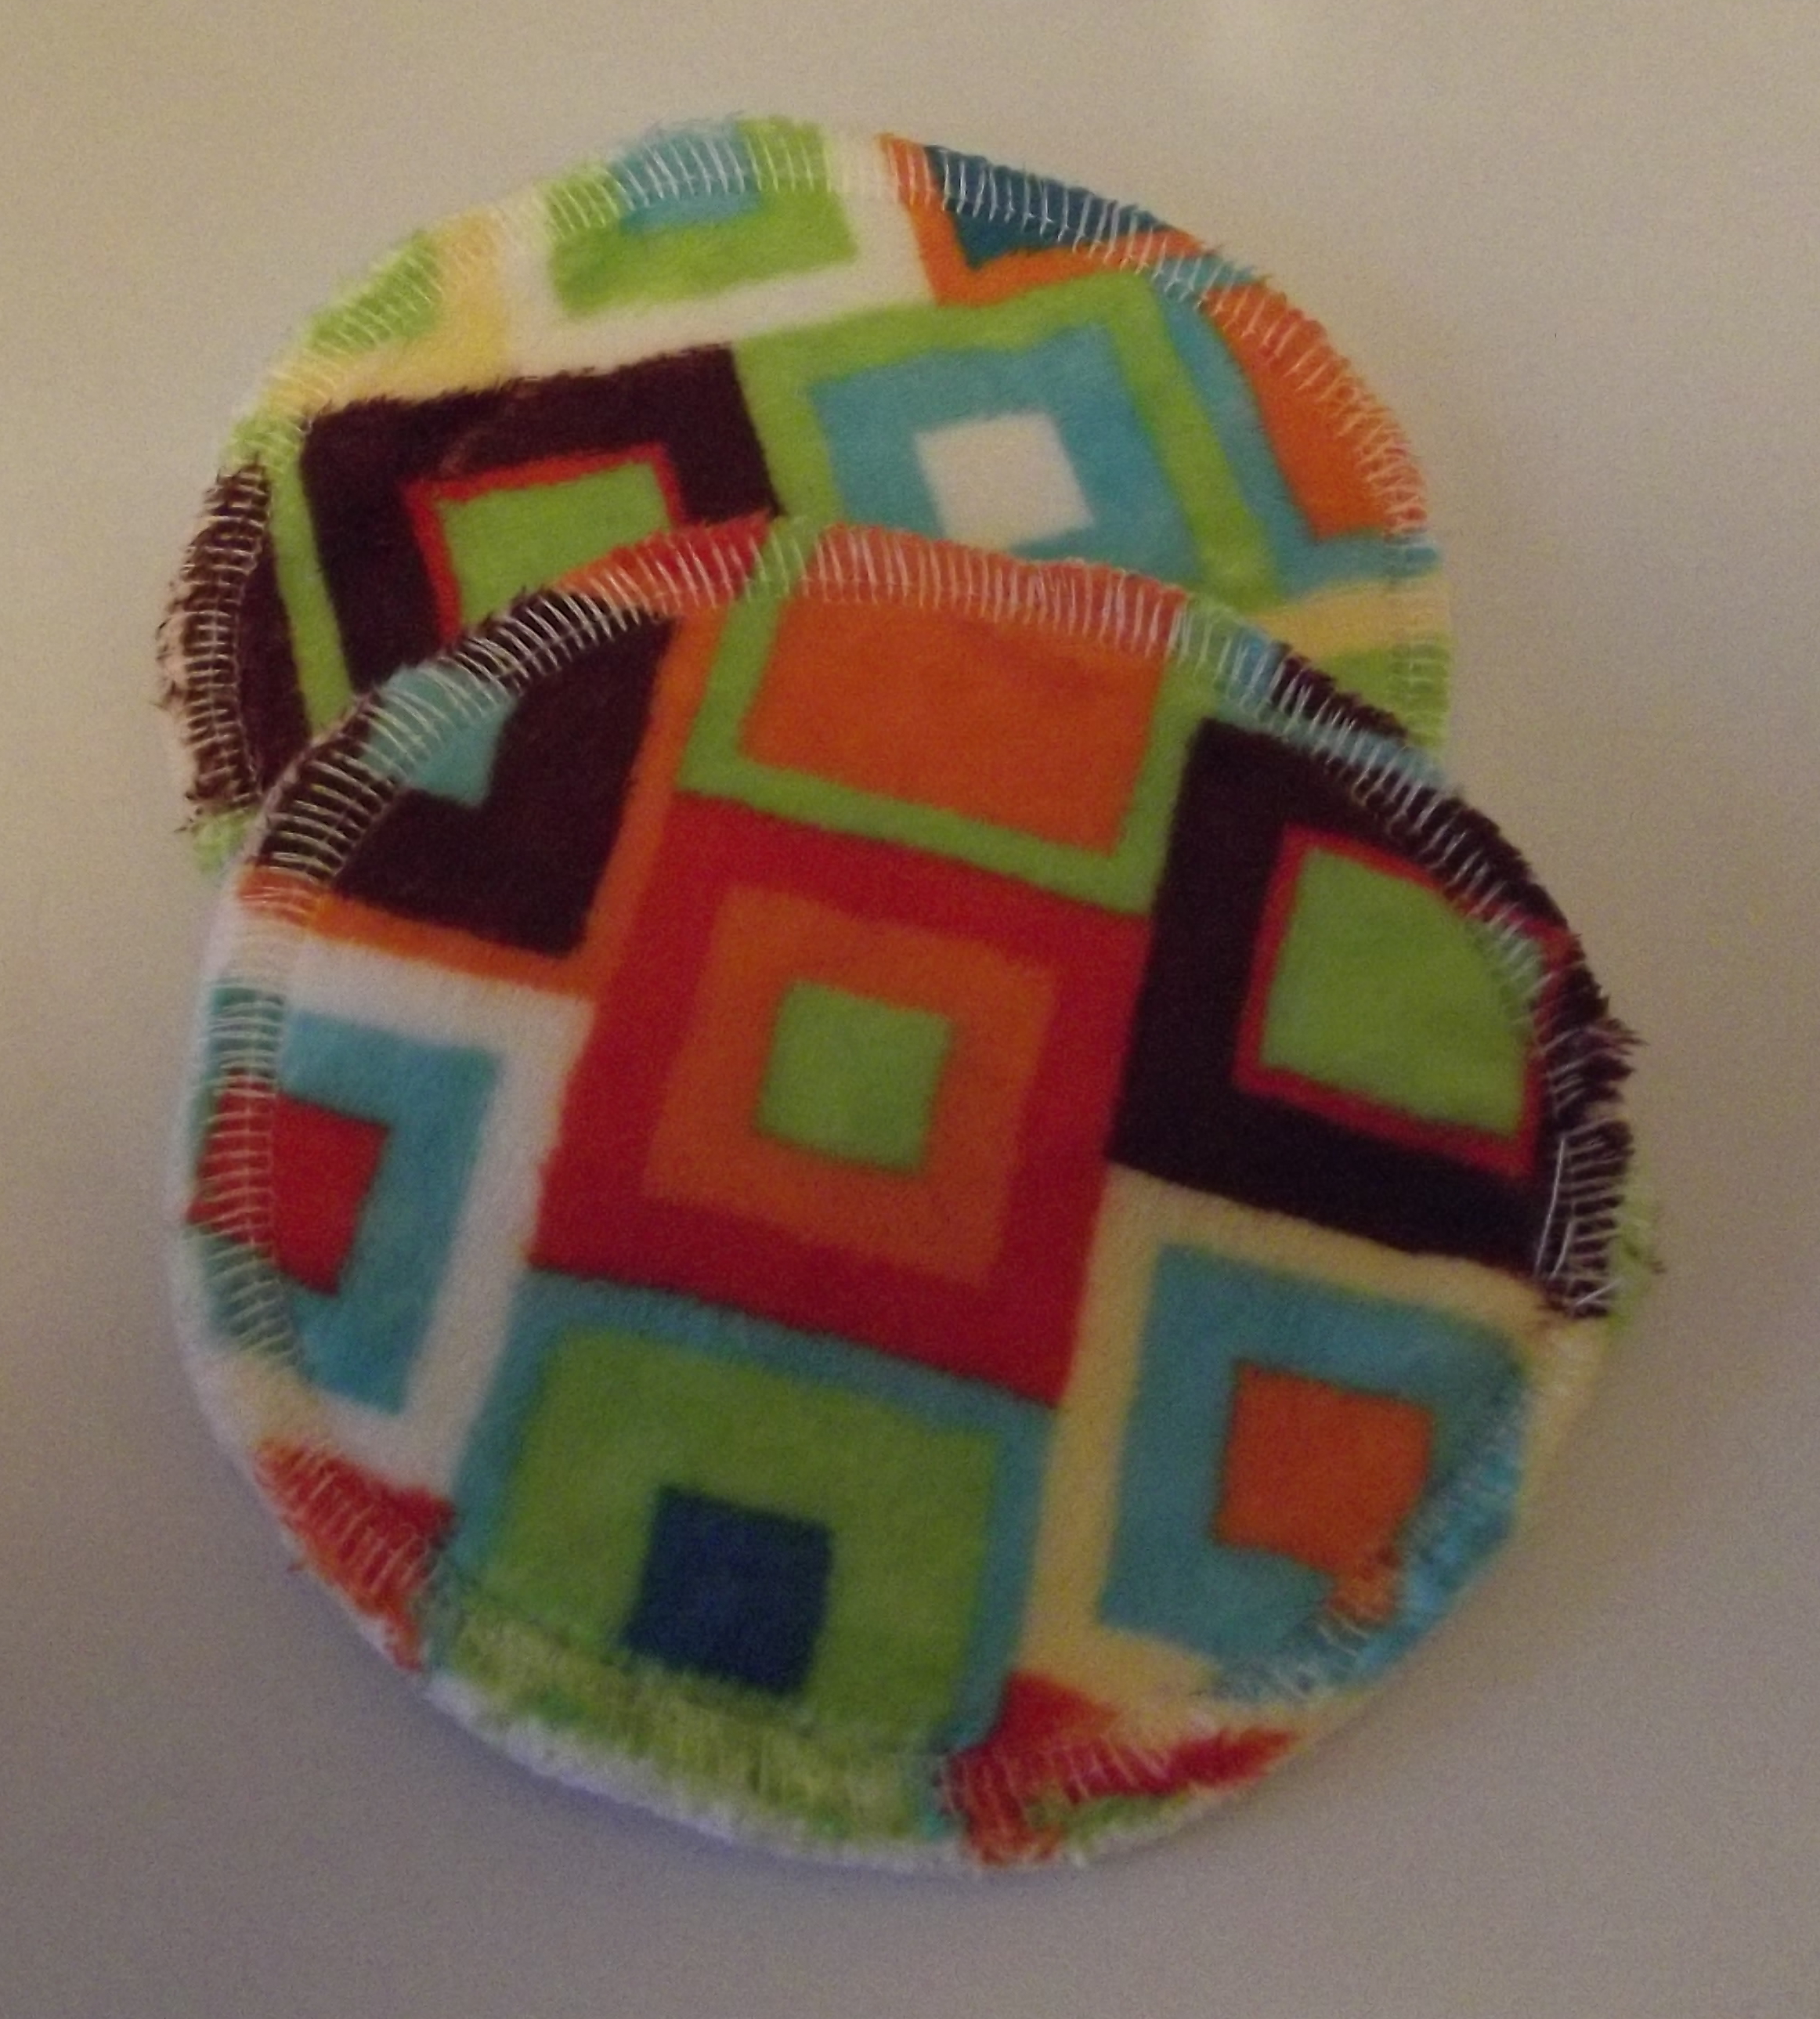
… and strawberries … 
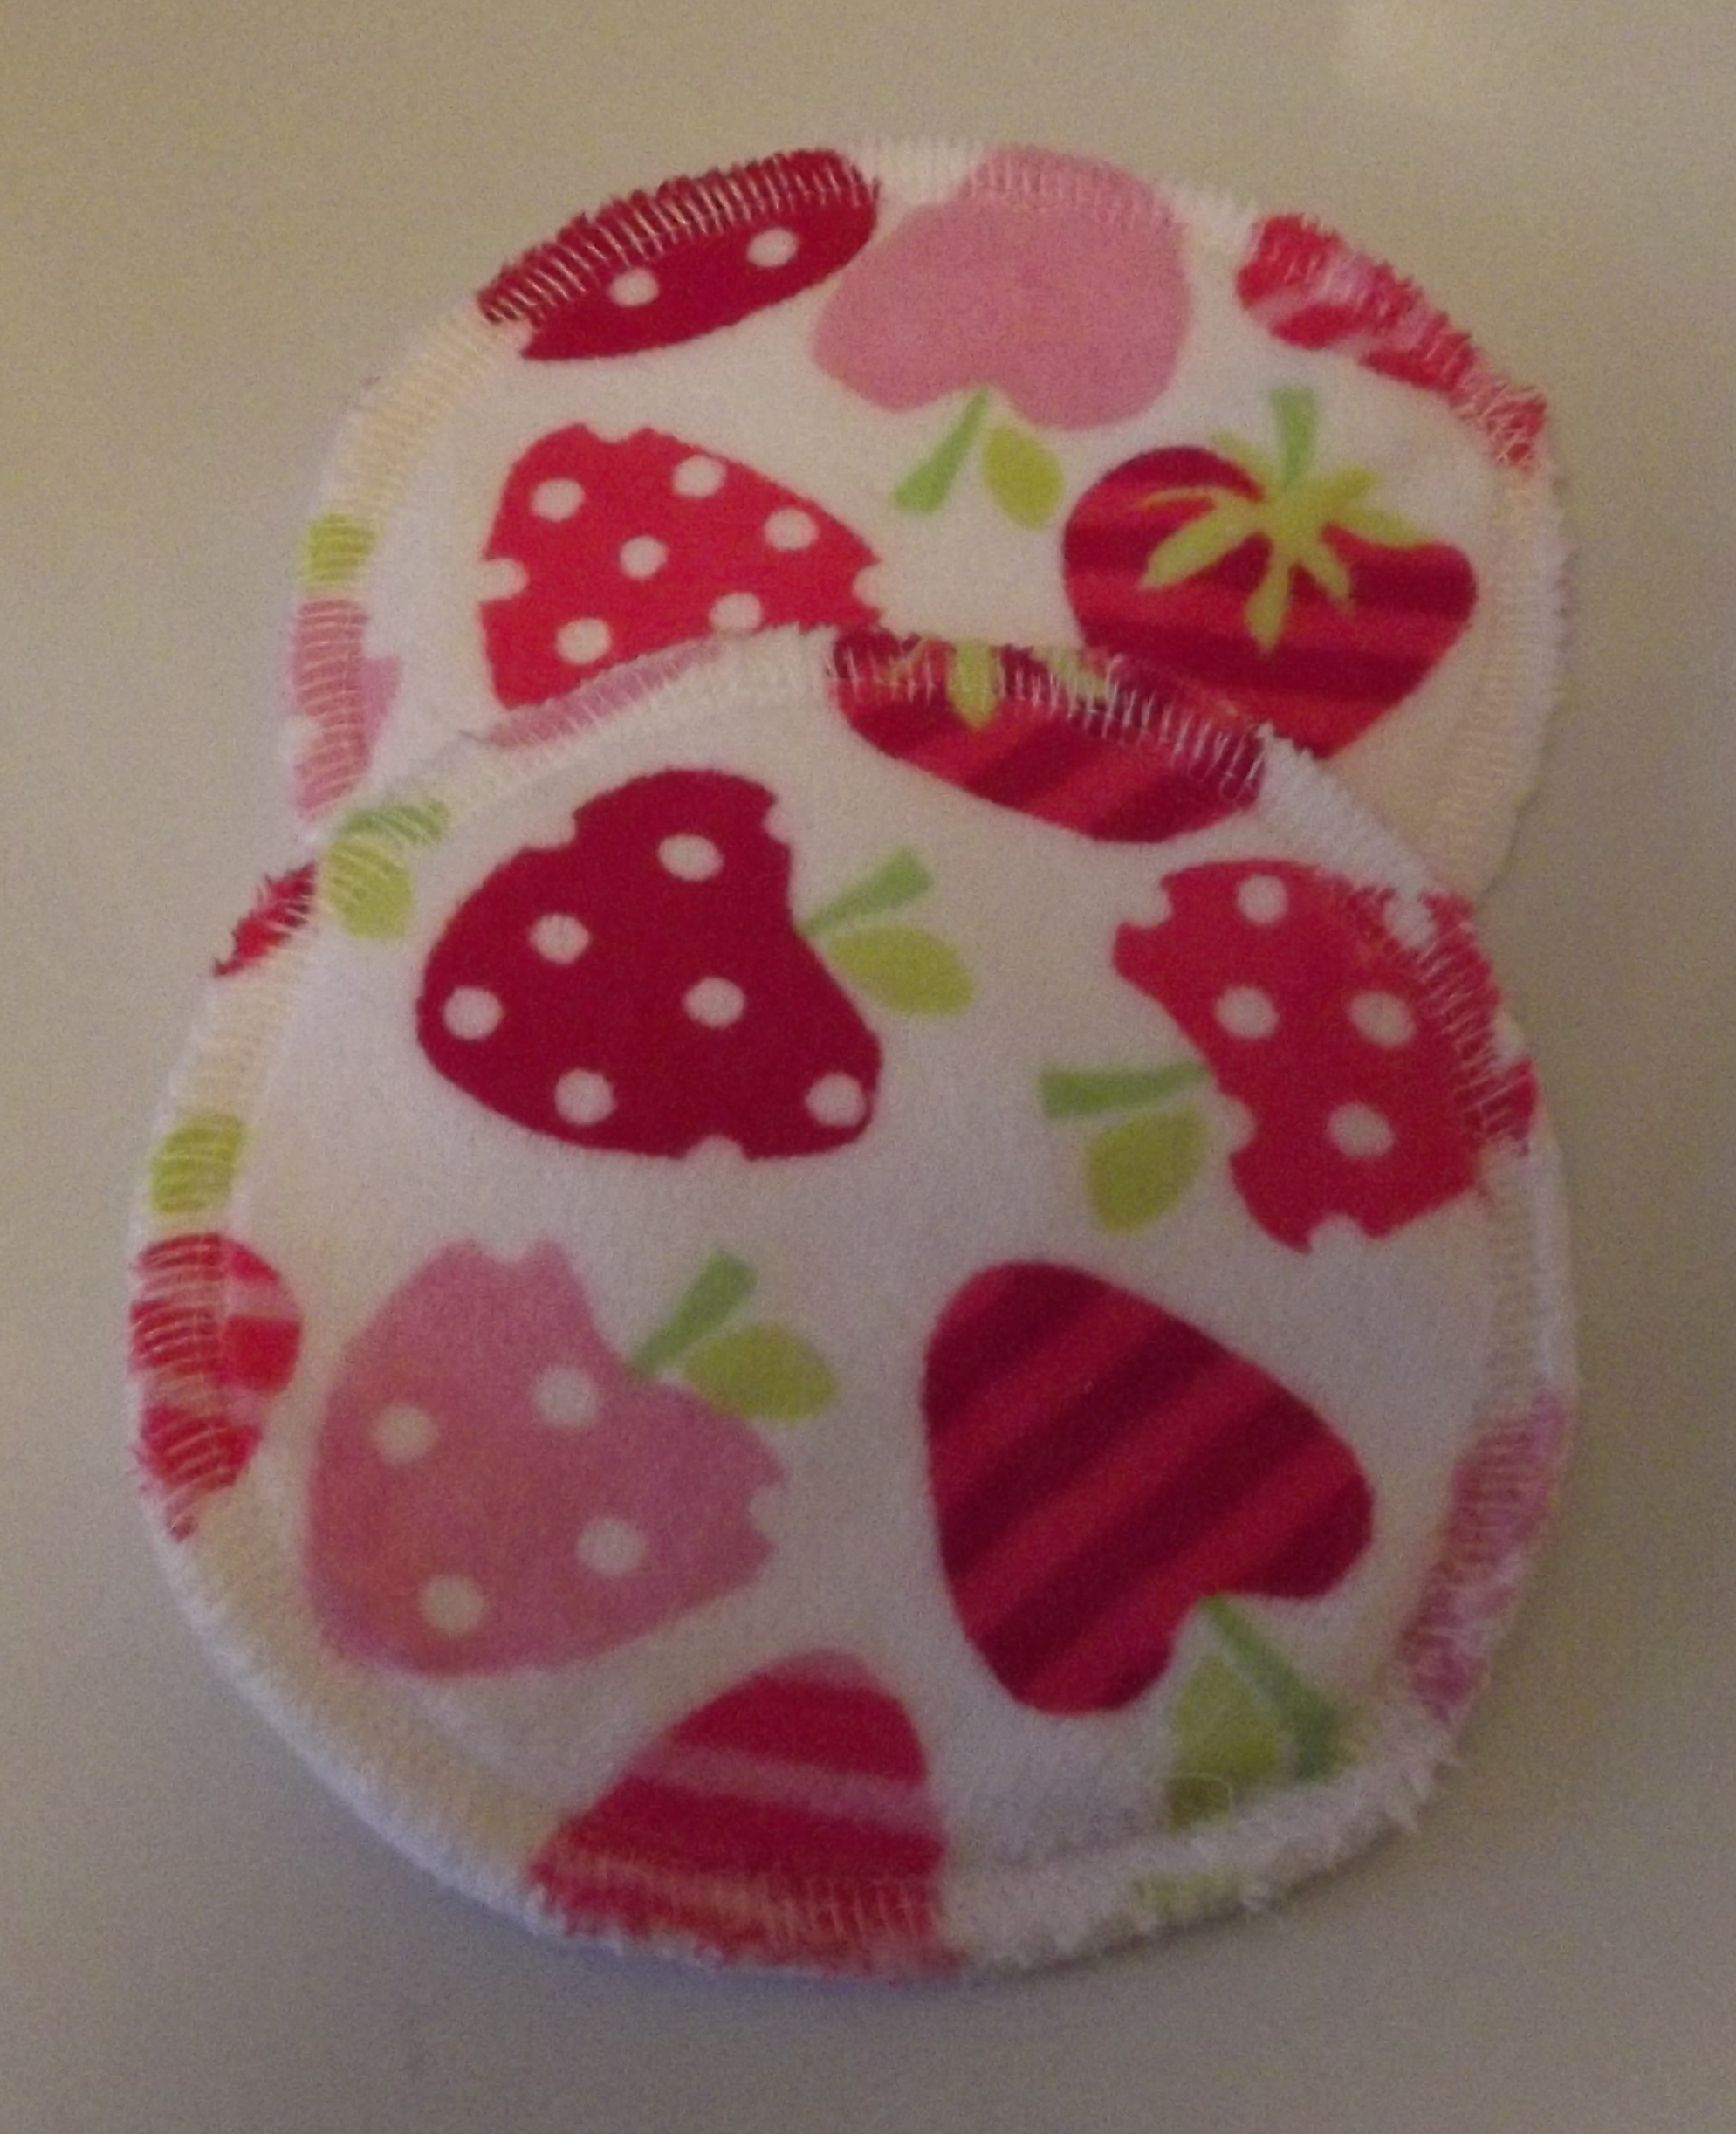
… and even cow print!
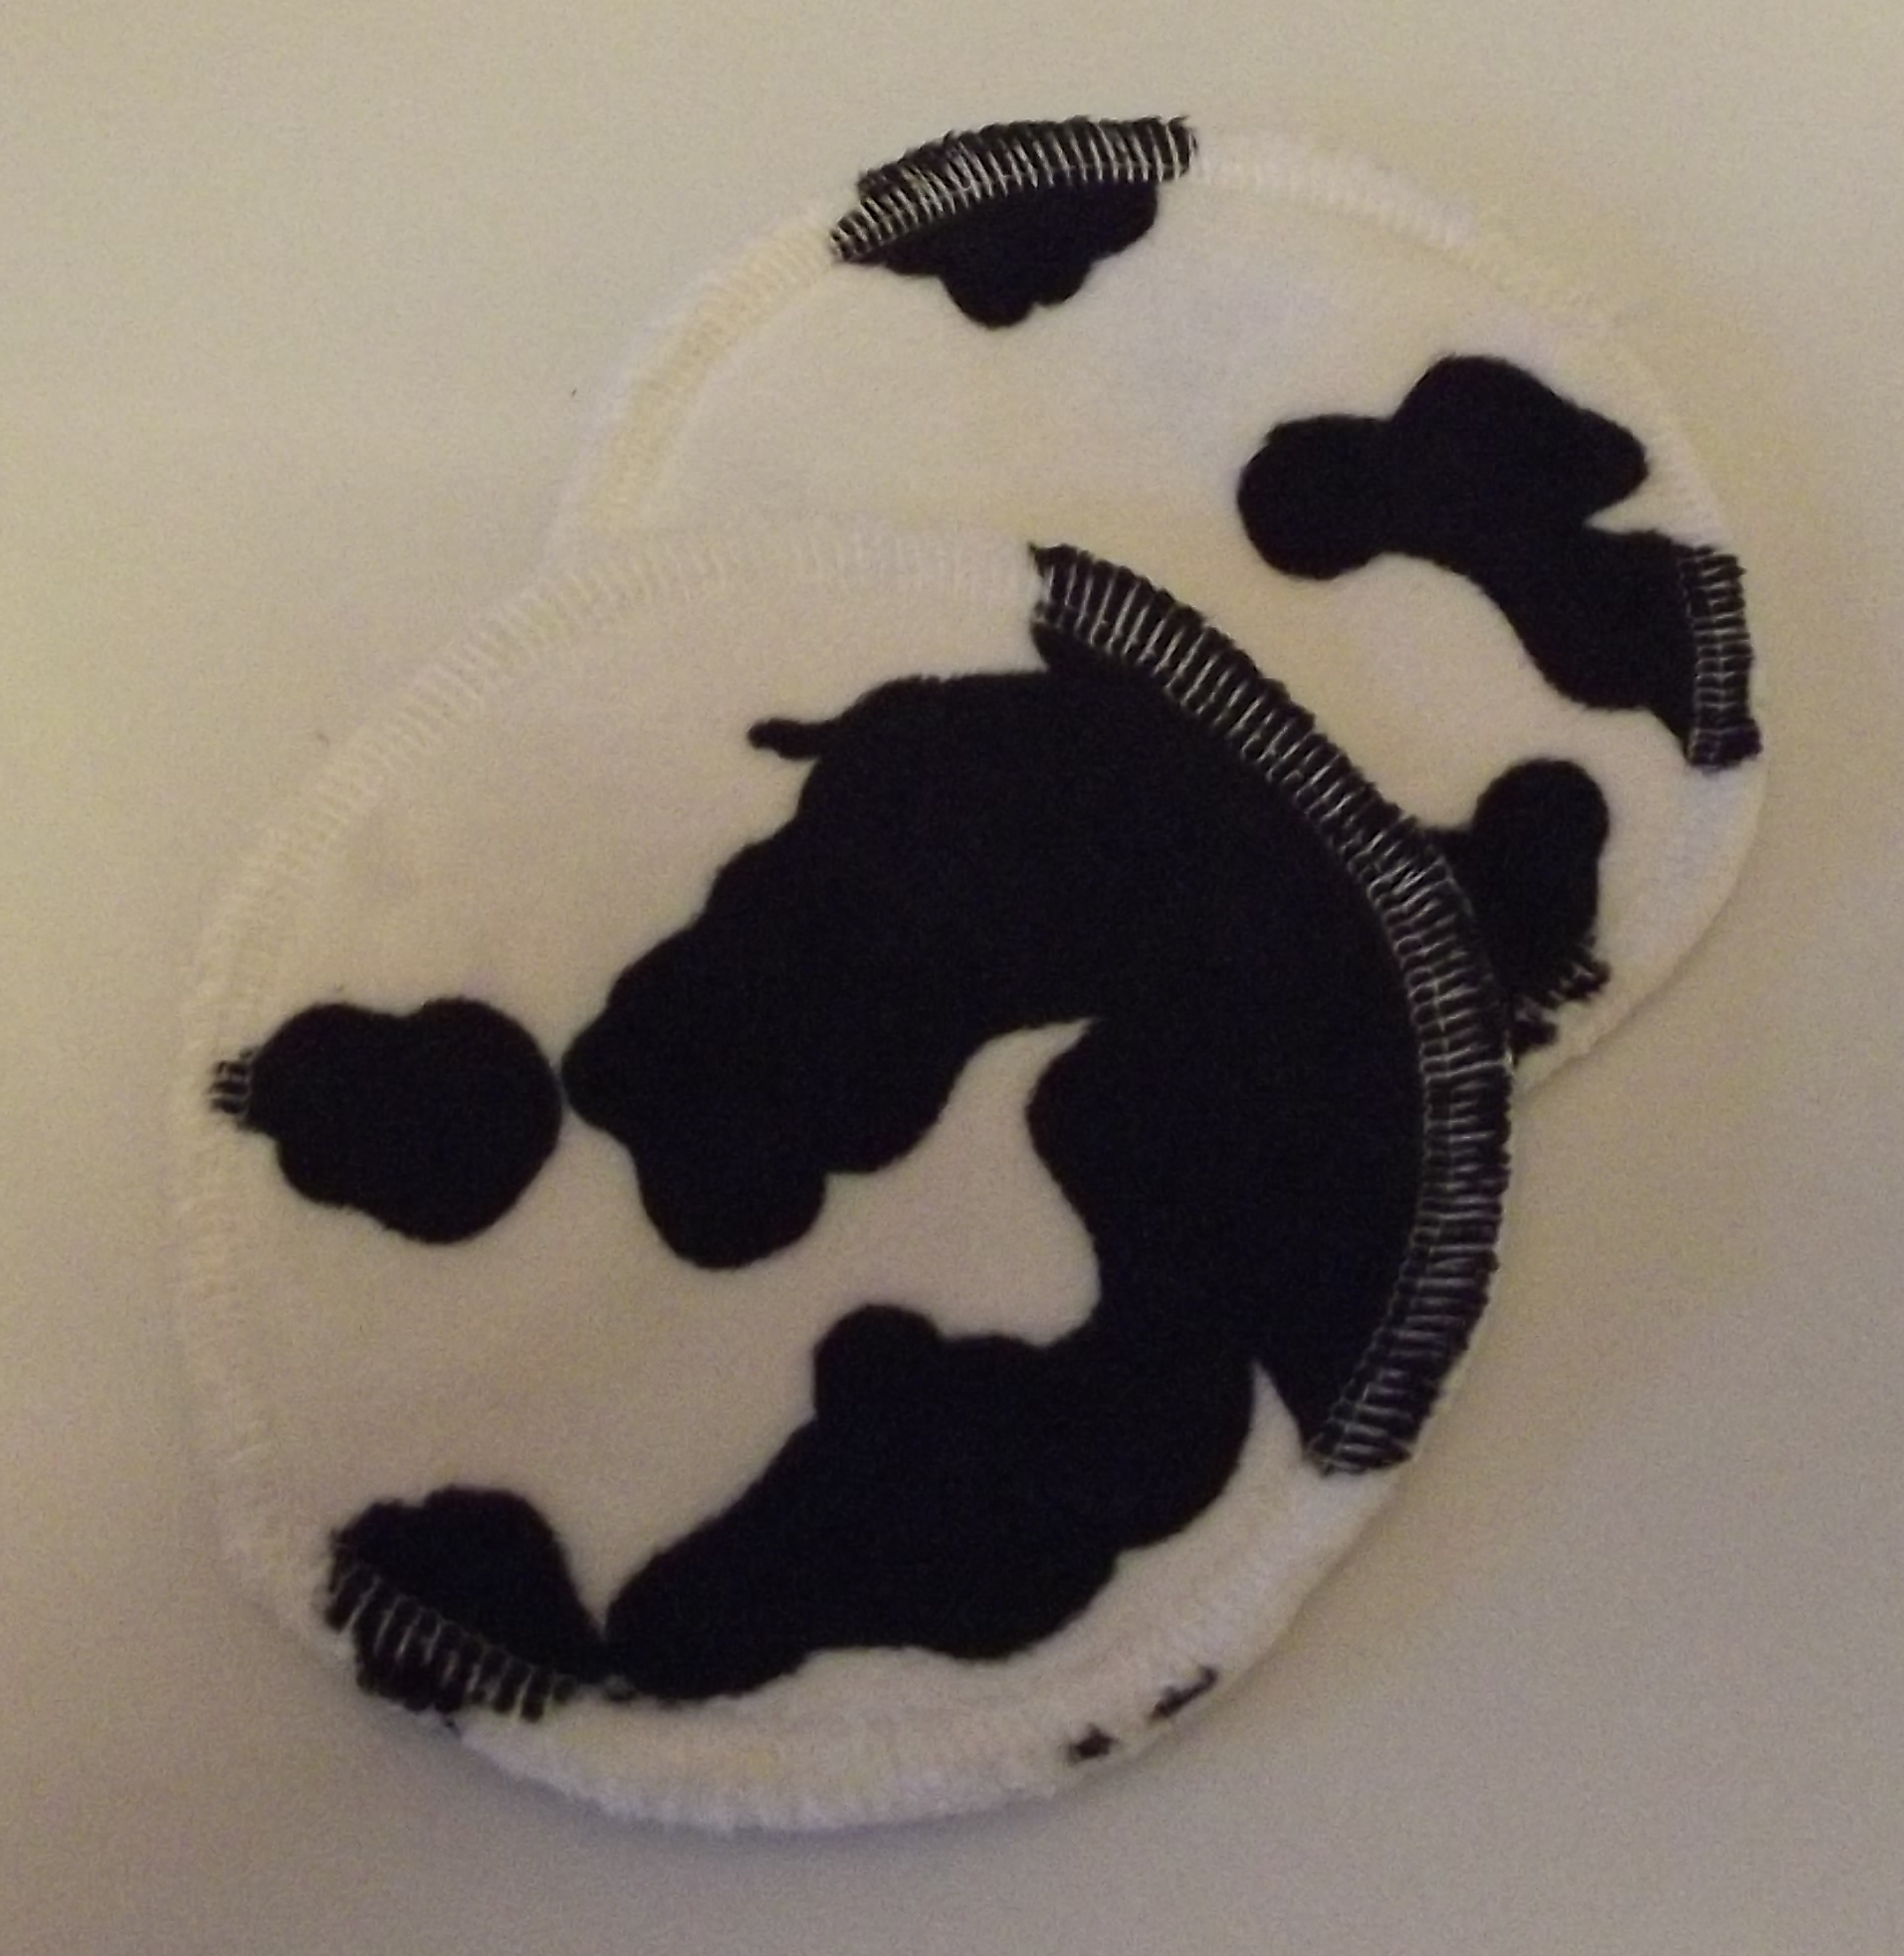
A whole pile of pretty circles, and one less thing to add to the shopping list 🙂