Frankenstein Hat

I haven’t done much crafting lately at all. I did, however, make this Frankenstein crochet hat for Halloween.

I hadn’t planned to make it at all. But on the Monday lunchtime I was accepted into a private Facebook group for the baby group I attend on a Tuesday afternoon, and the top post in the group was to inform us that the following day was a Halloween party and fancy dress was encouraged.

Panic stations! We don’t have Halloween fancy dress at home. We don’t really celebrate Halloween usually. So what could I come up with in 24 hours that didn’t require a trip into town?

My first thought was a pumpkin. Orange sleepsuit, simple orange crochet hat. Easy! Until I discover that I don’t in fact own any orange yarn. Pretty much any other colour you like, but not orange!

So I trawled Halloween hat patterns on the internet and came up with this:

The pattern is from Simply 2 Irresistible on etsy. It was quite easy to follow and make, and I think I finished with about an hour to spare on Tuesday! I could probably have done with making a size larger though, as it’s quite a snug fit.

And just for the ‘ahhh’ factor, here are some photos of the hat in action.

My little monster:

Halloween parties are such hard work!

Name Bunting

I was asked to make this bunting about six months ago – it’s taken me a while to get round to it!

I’ve made several before, and they’re not my favourite thing to make, which is probably half the reason it takes me so long as I keep putting it off. However, I finally forced myself to finish it off so I could make something else and it’s finished:ย It’s not so clear from the photos, but the flags are alternate plain and checked cotton with a dark pink felt for the lettering. The lettering is sewn on by hand as I can do it neater that way with all the turns and curves. The flags are then sewn onto white bias binding to create the string.

The bunting ย is for a friend to hang in her daughter’s bedroom, so we took the photos up against our bedroom wall to see how it would look. I had to draft in my two assistants to help me while I took the photo:

I hope it’s now hanging happily in its new home ๐Ÿ™‚

Overlocking Circles

For the second item to make using my overlocker, perhaps circles was a little bit adventurous!

Add to that two of the materials that lots of people avoid sewing with even on a normal machine because of their ‘slide all over the place-ness’, minky and PUL, and it’s not surprising that it wasn’t smooth sailing from the start!

I did ask some friends with overlockers if they had any tips for sewing curves. The words “with difficulty”, “carefully” and “slowly” were the best advice they could offer.

But after a few false starts – four to be precise that ended up in the bin – I can say ta-da! I’ve done it. A pile of overlocked circle-ness:

Even more impressive, I had to rethread the machine twice when two of the threads/cones/bobbins/whatever you call the bits on the top ran out at different points! *pats self on back* I think the overlocker and I have now reached an understanding and made friends ๐Ÿ™‚


But what are they? They are nursing pads – washable ones, like you can buy from somewhere like Mothercare, but homemade. They have three layers: a minky top layer which is soft and has the ability to wick moisture away from the skin; a bamboo fleece middle layer to give them absorbancy; and a PUL back layer to make them waterproof.

They’re not the kind of thing that’s going to be on show, so although the first few that didn’t end up in the bin weren’t perfect they’ll still do the job. Some of the first ones weren’t quite circular while I figured out how to start and finish off on a curve …ย 
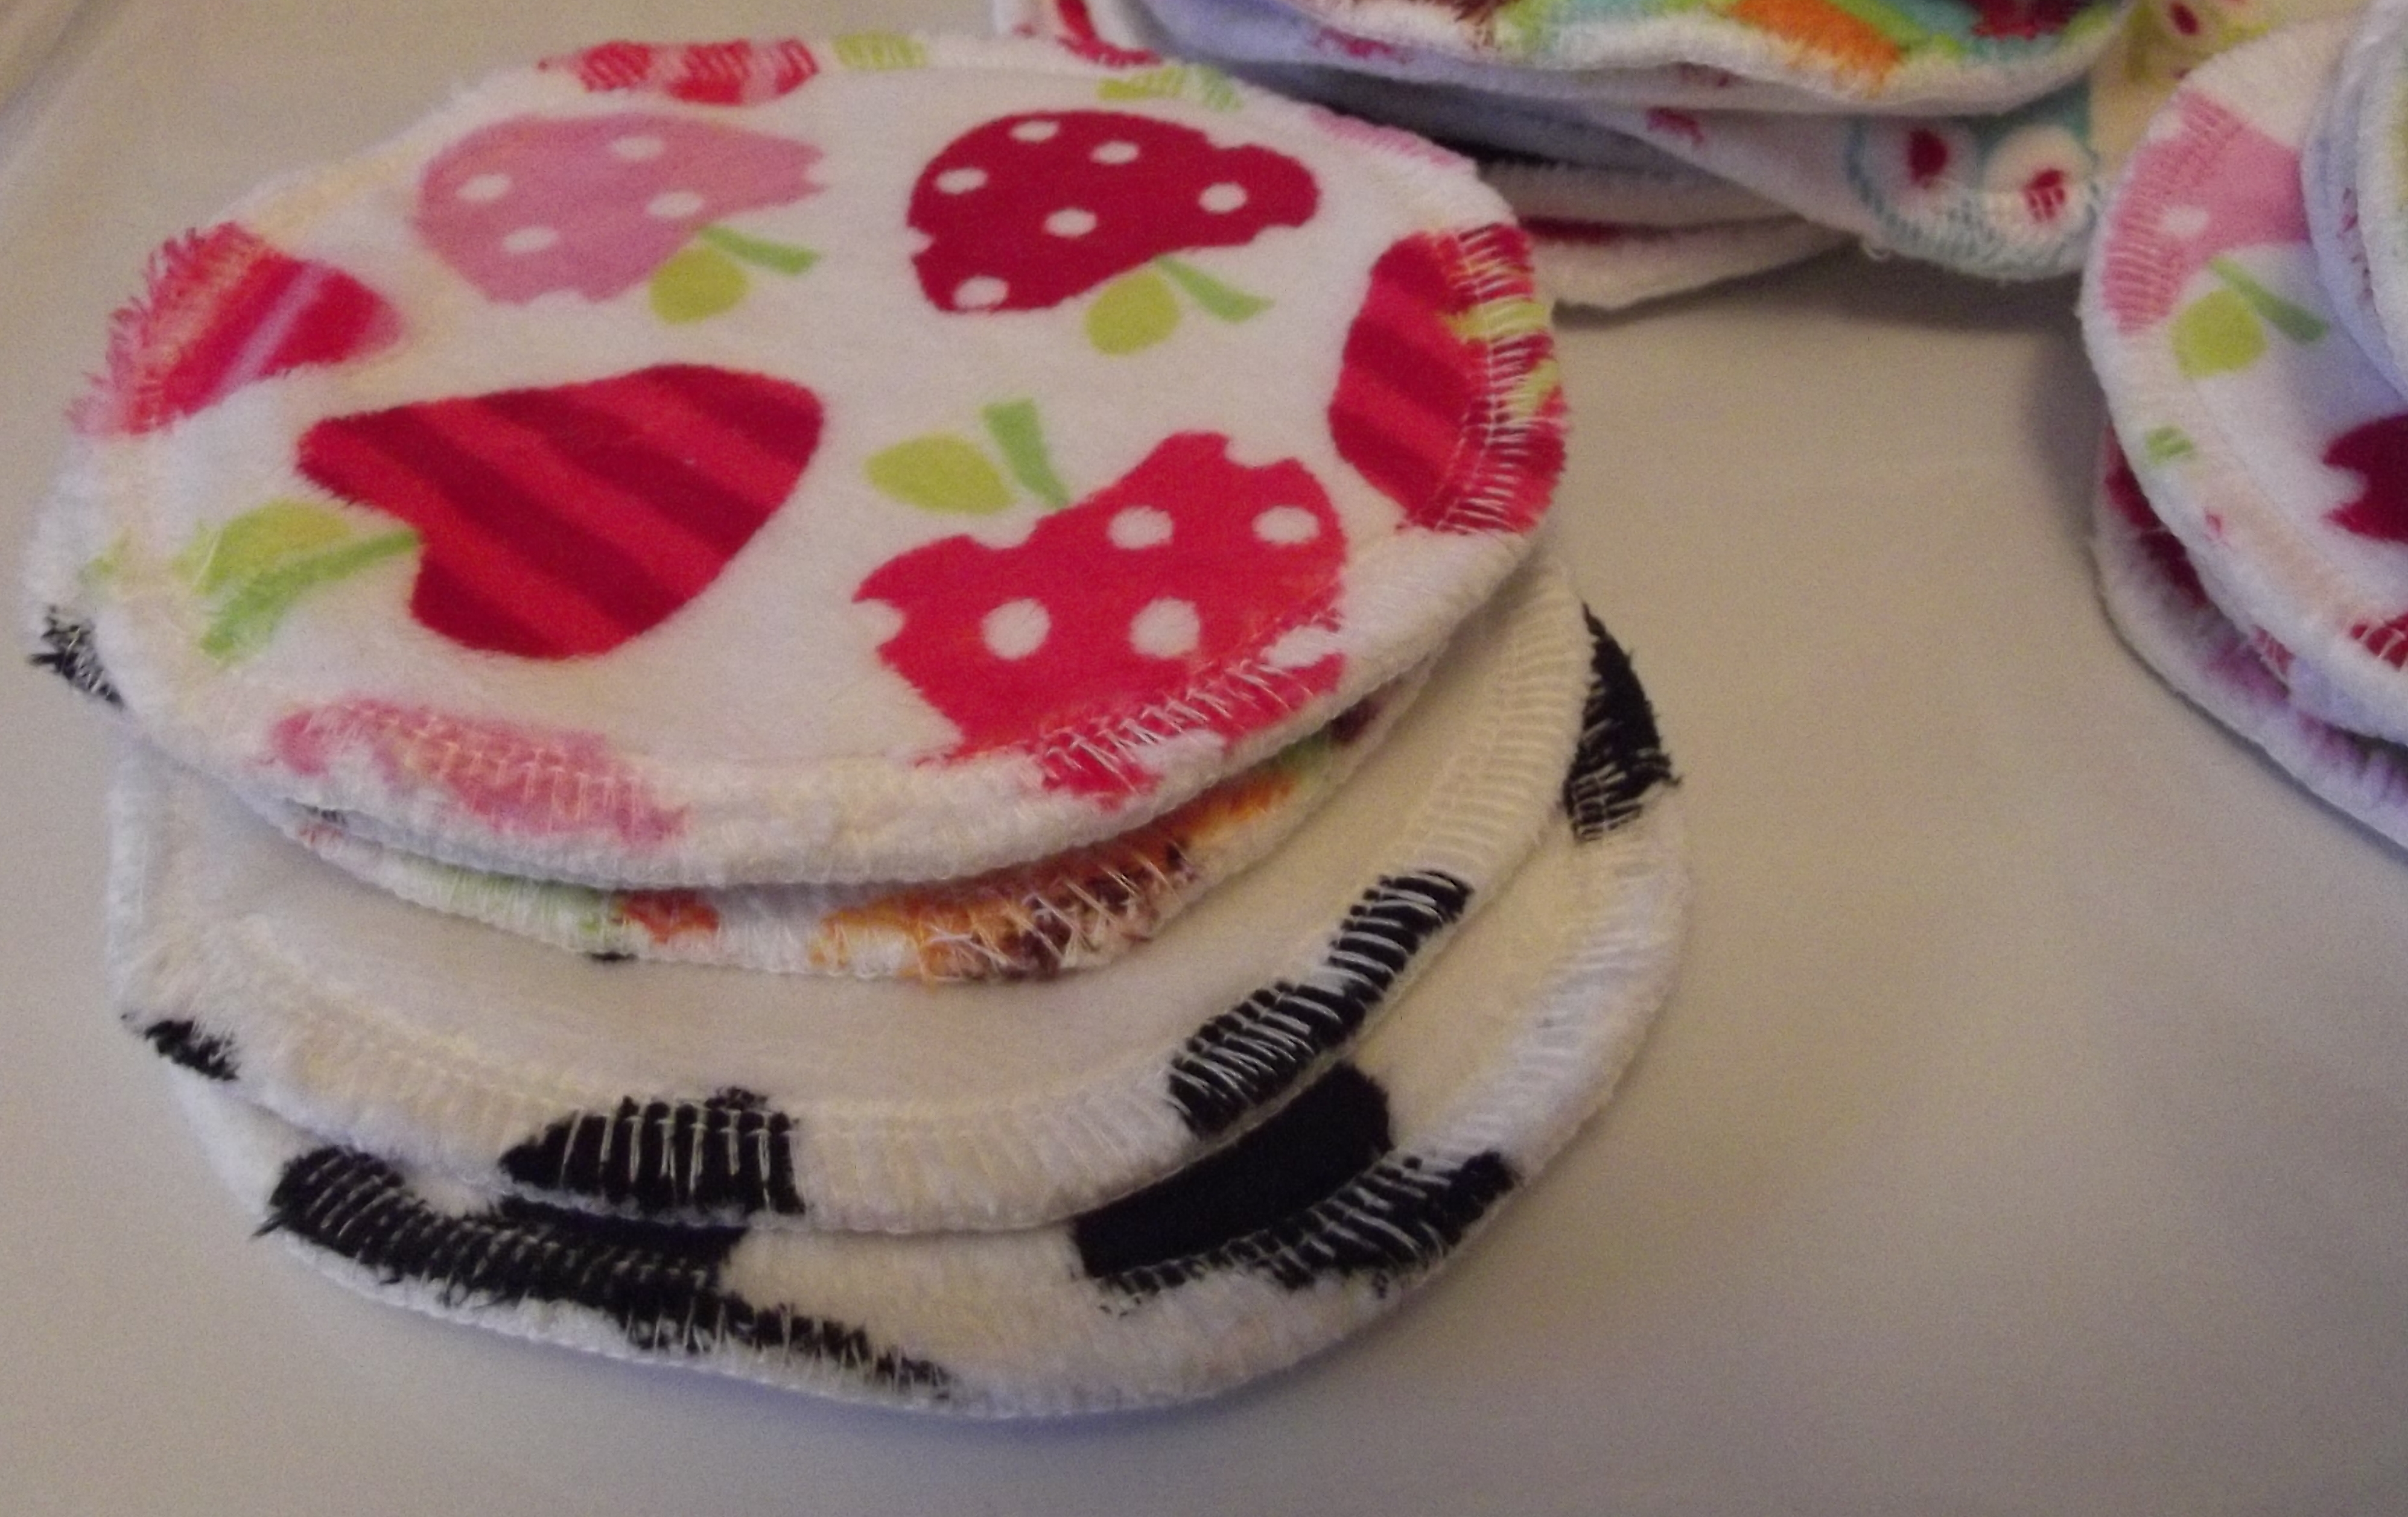
…by the end they were looking pretty good!ย 
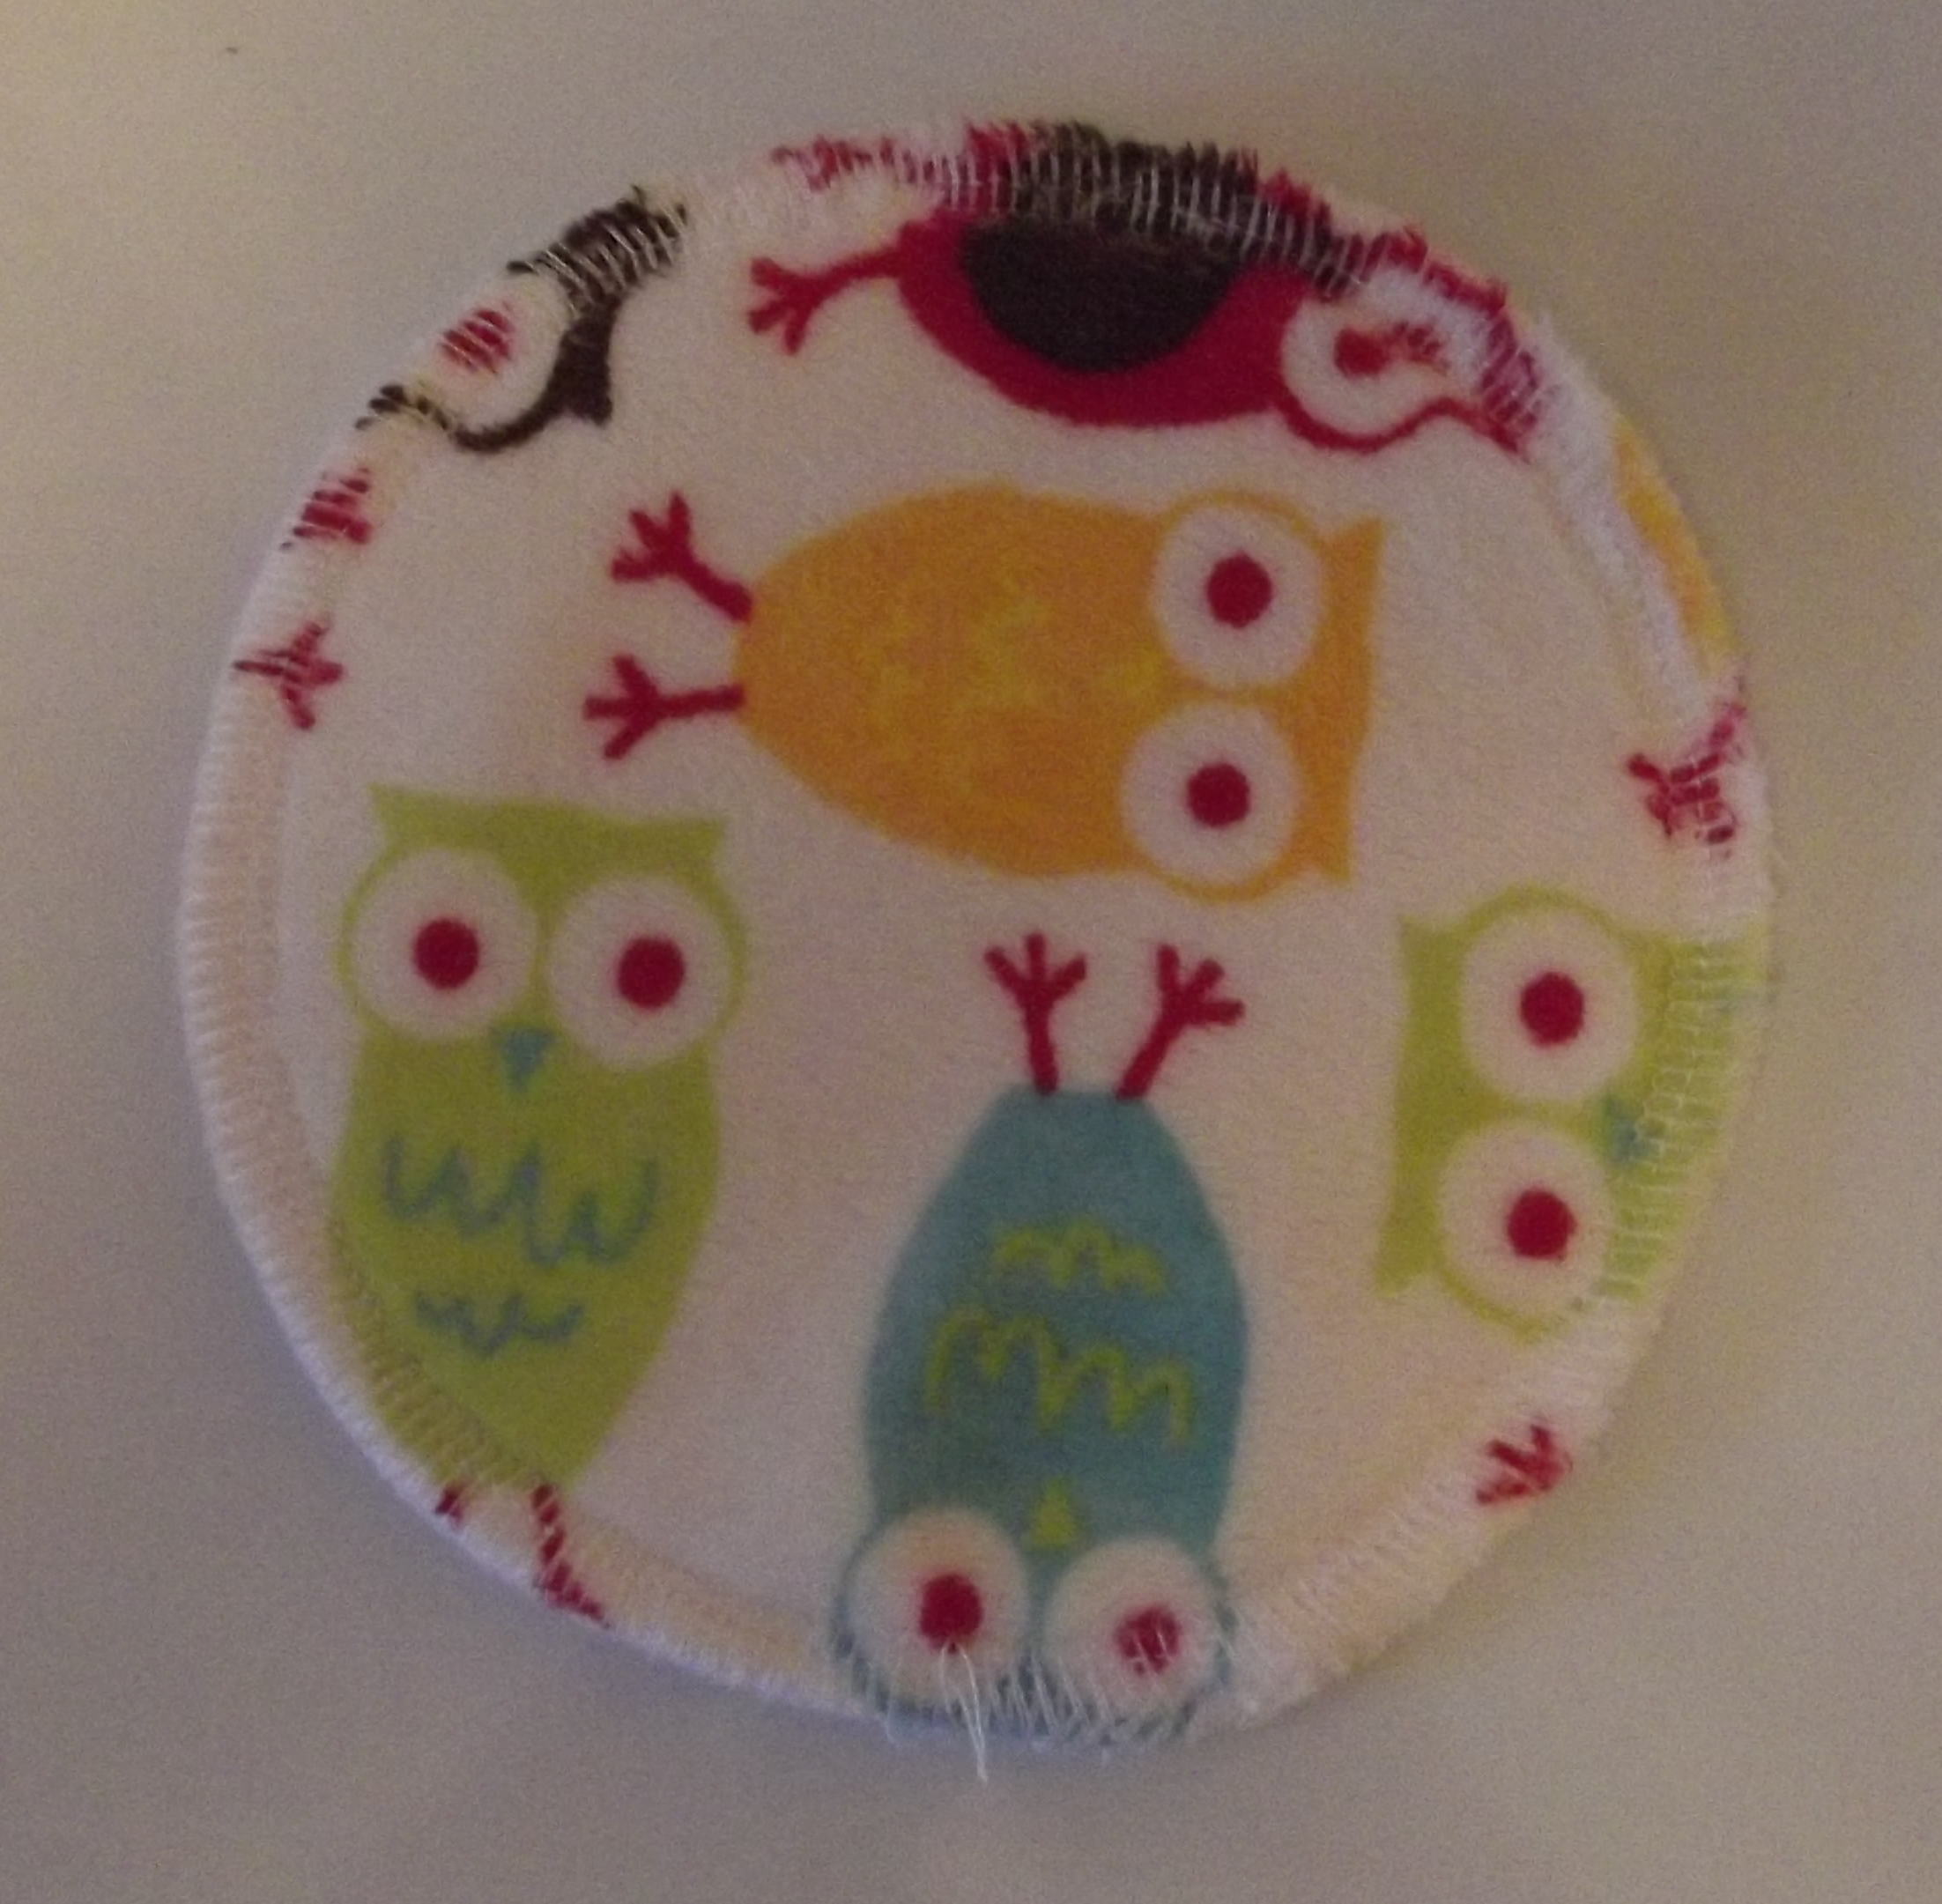
I looked at listings for washable nursing pads online and measured some disposable ones to work out the right size, and drew myself a template on cardboard to cut out all the pieces by drawing around an ikea children’s bowl which happened to be exactly the right size.

I used up lots of small pieces of minky I had to make pairs. They didn’t need to be pretty prints – the patterned side faces the skin so nobody else would ever see it – but I like pretty things, and it made sense to use up what I had instead of buying something plain just to make them.

So I have squares …ย 
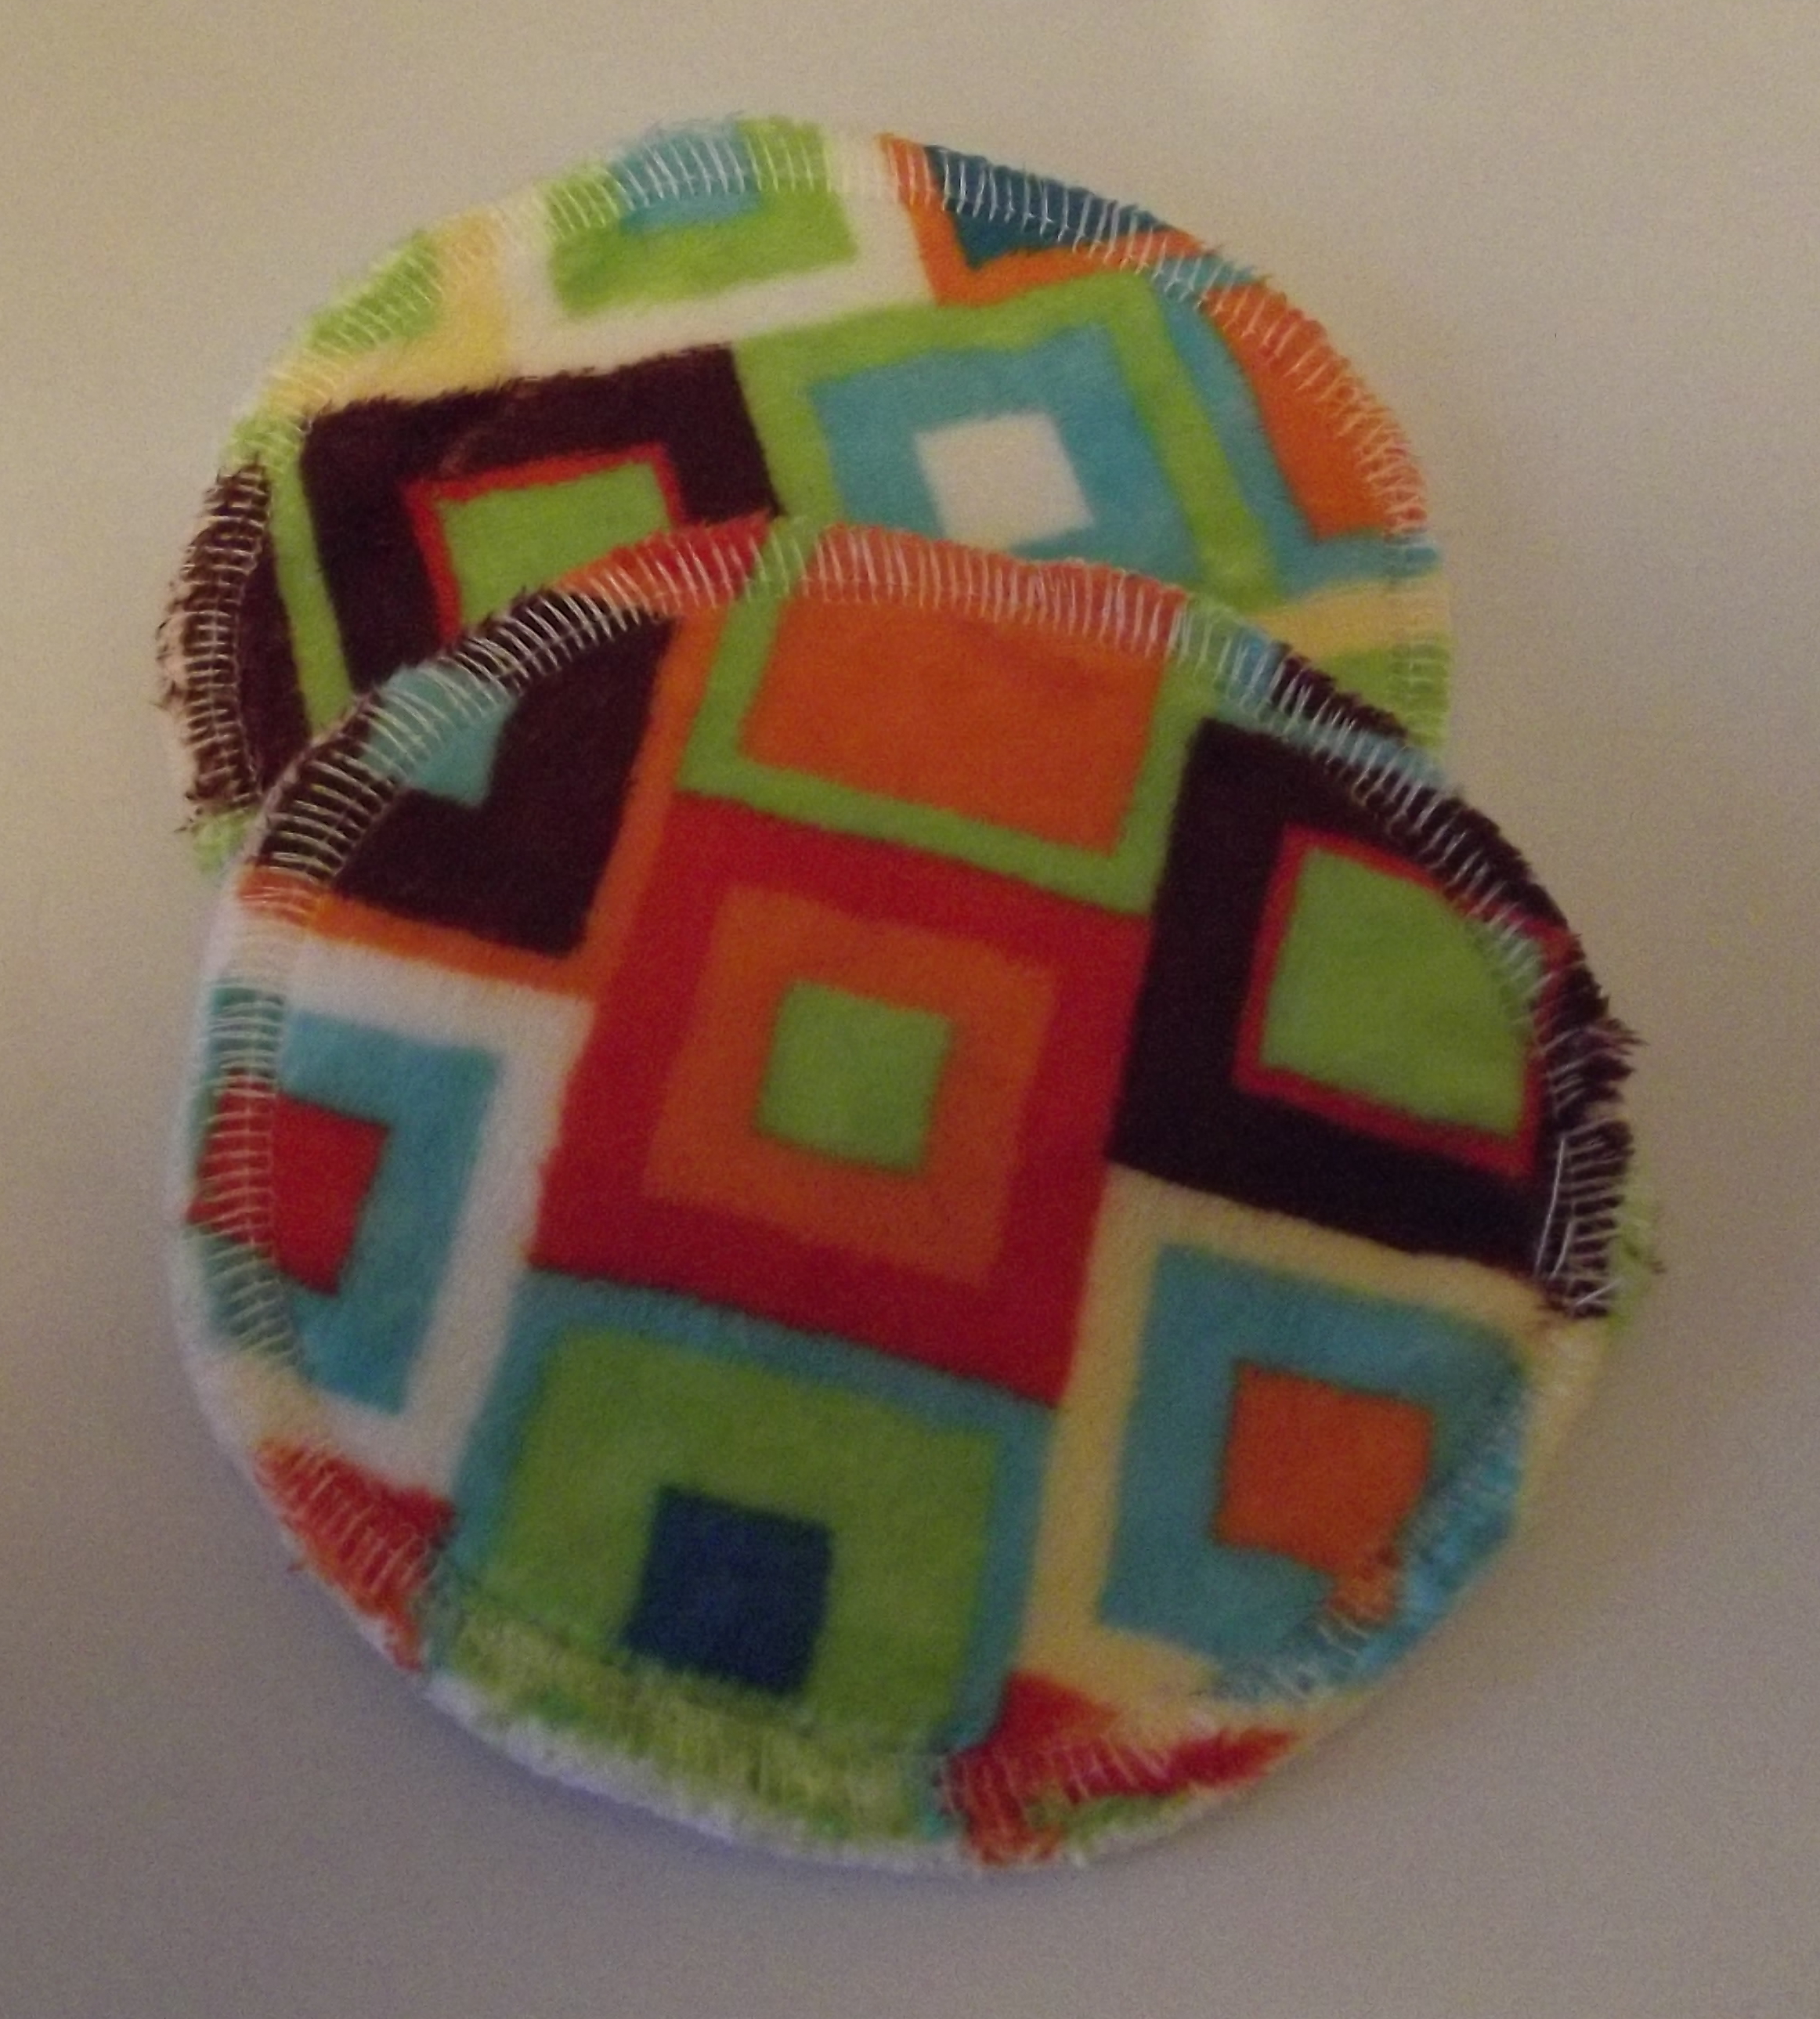
… and strawberries …ย 
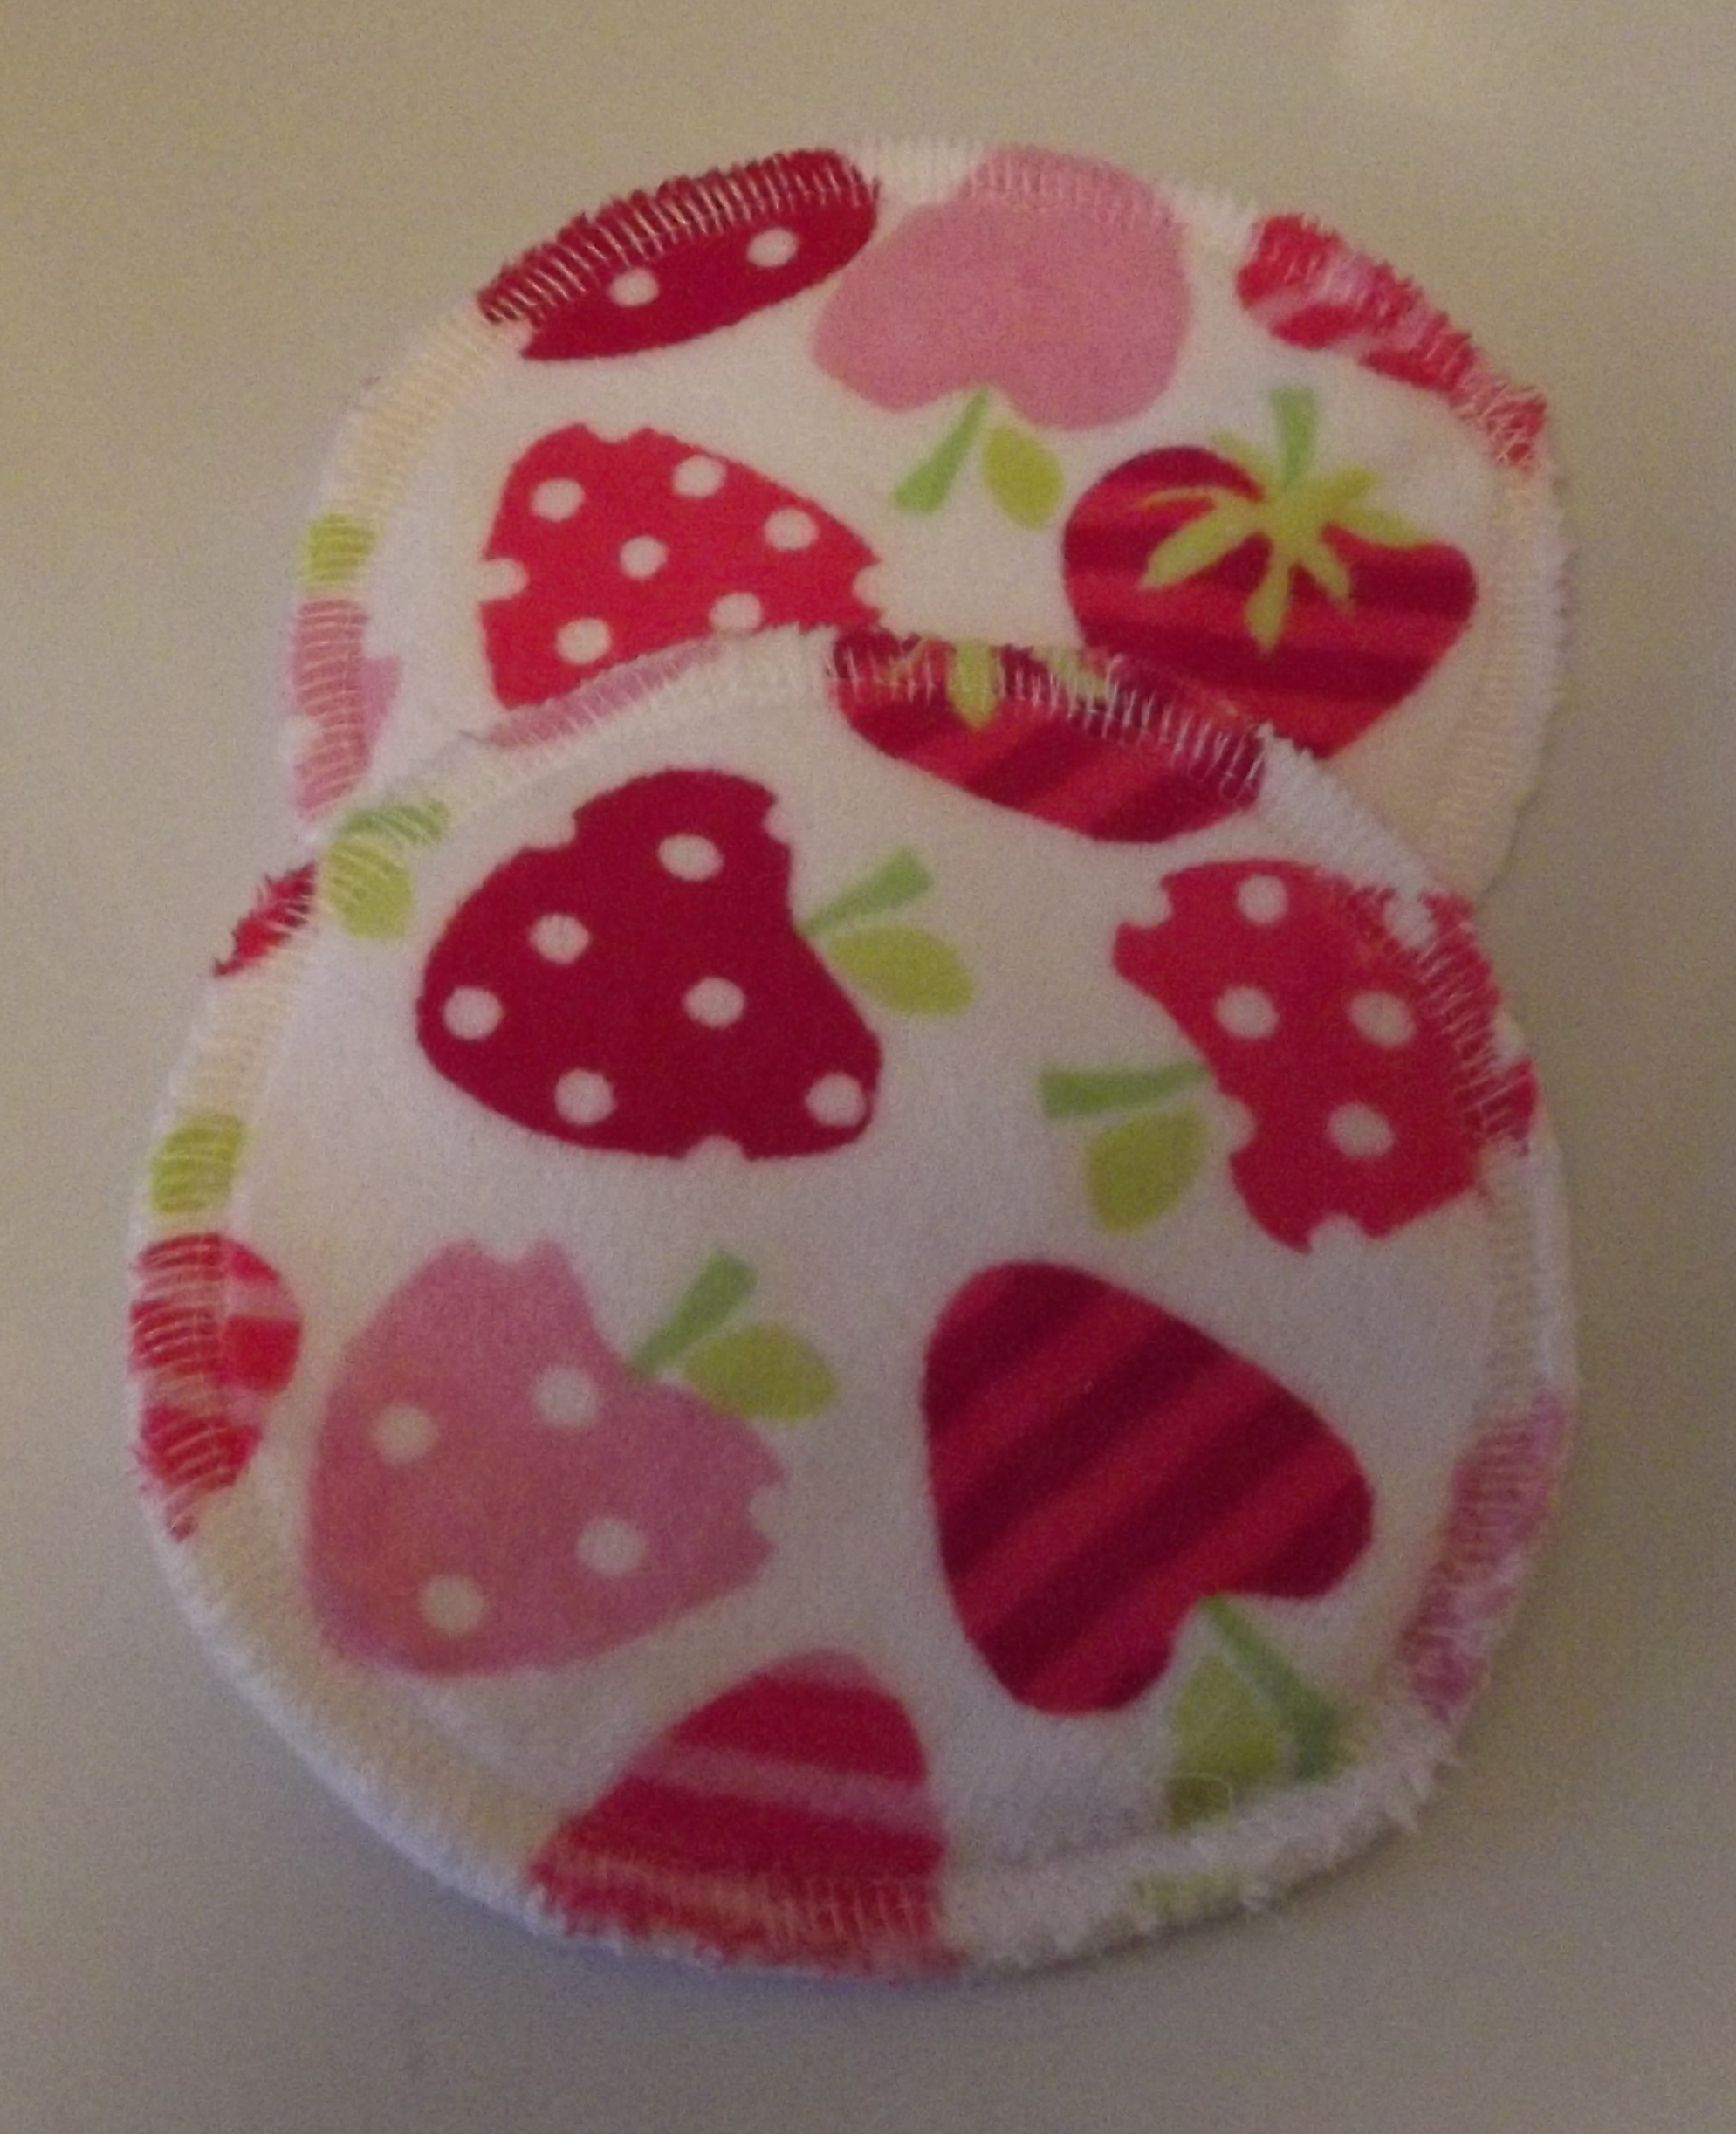
… and even cow print!
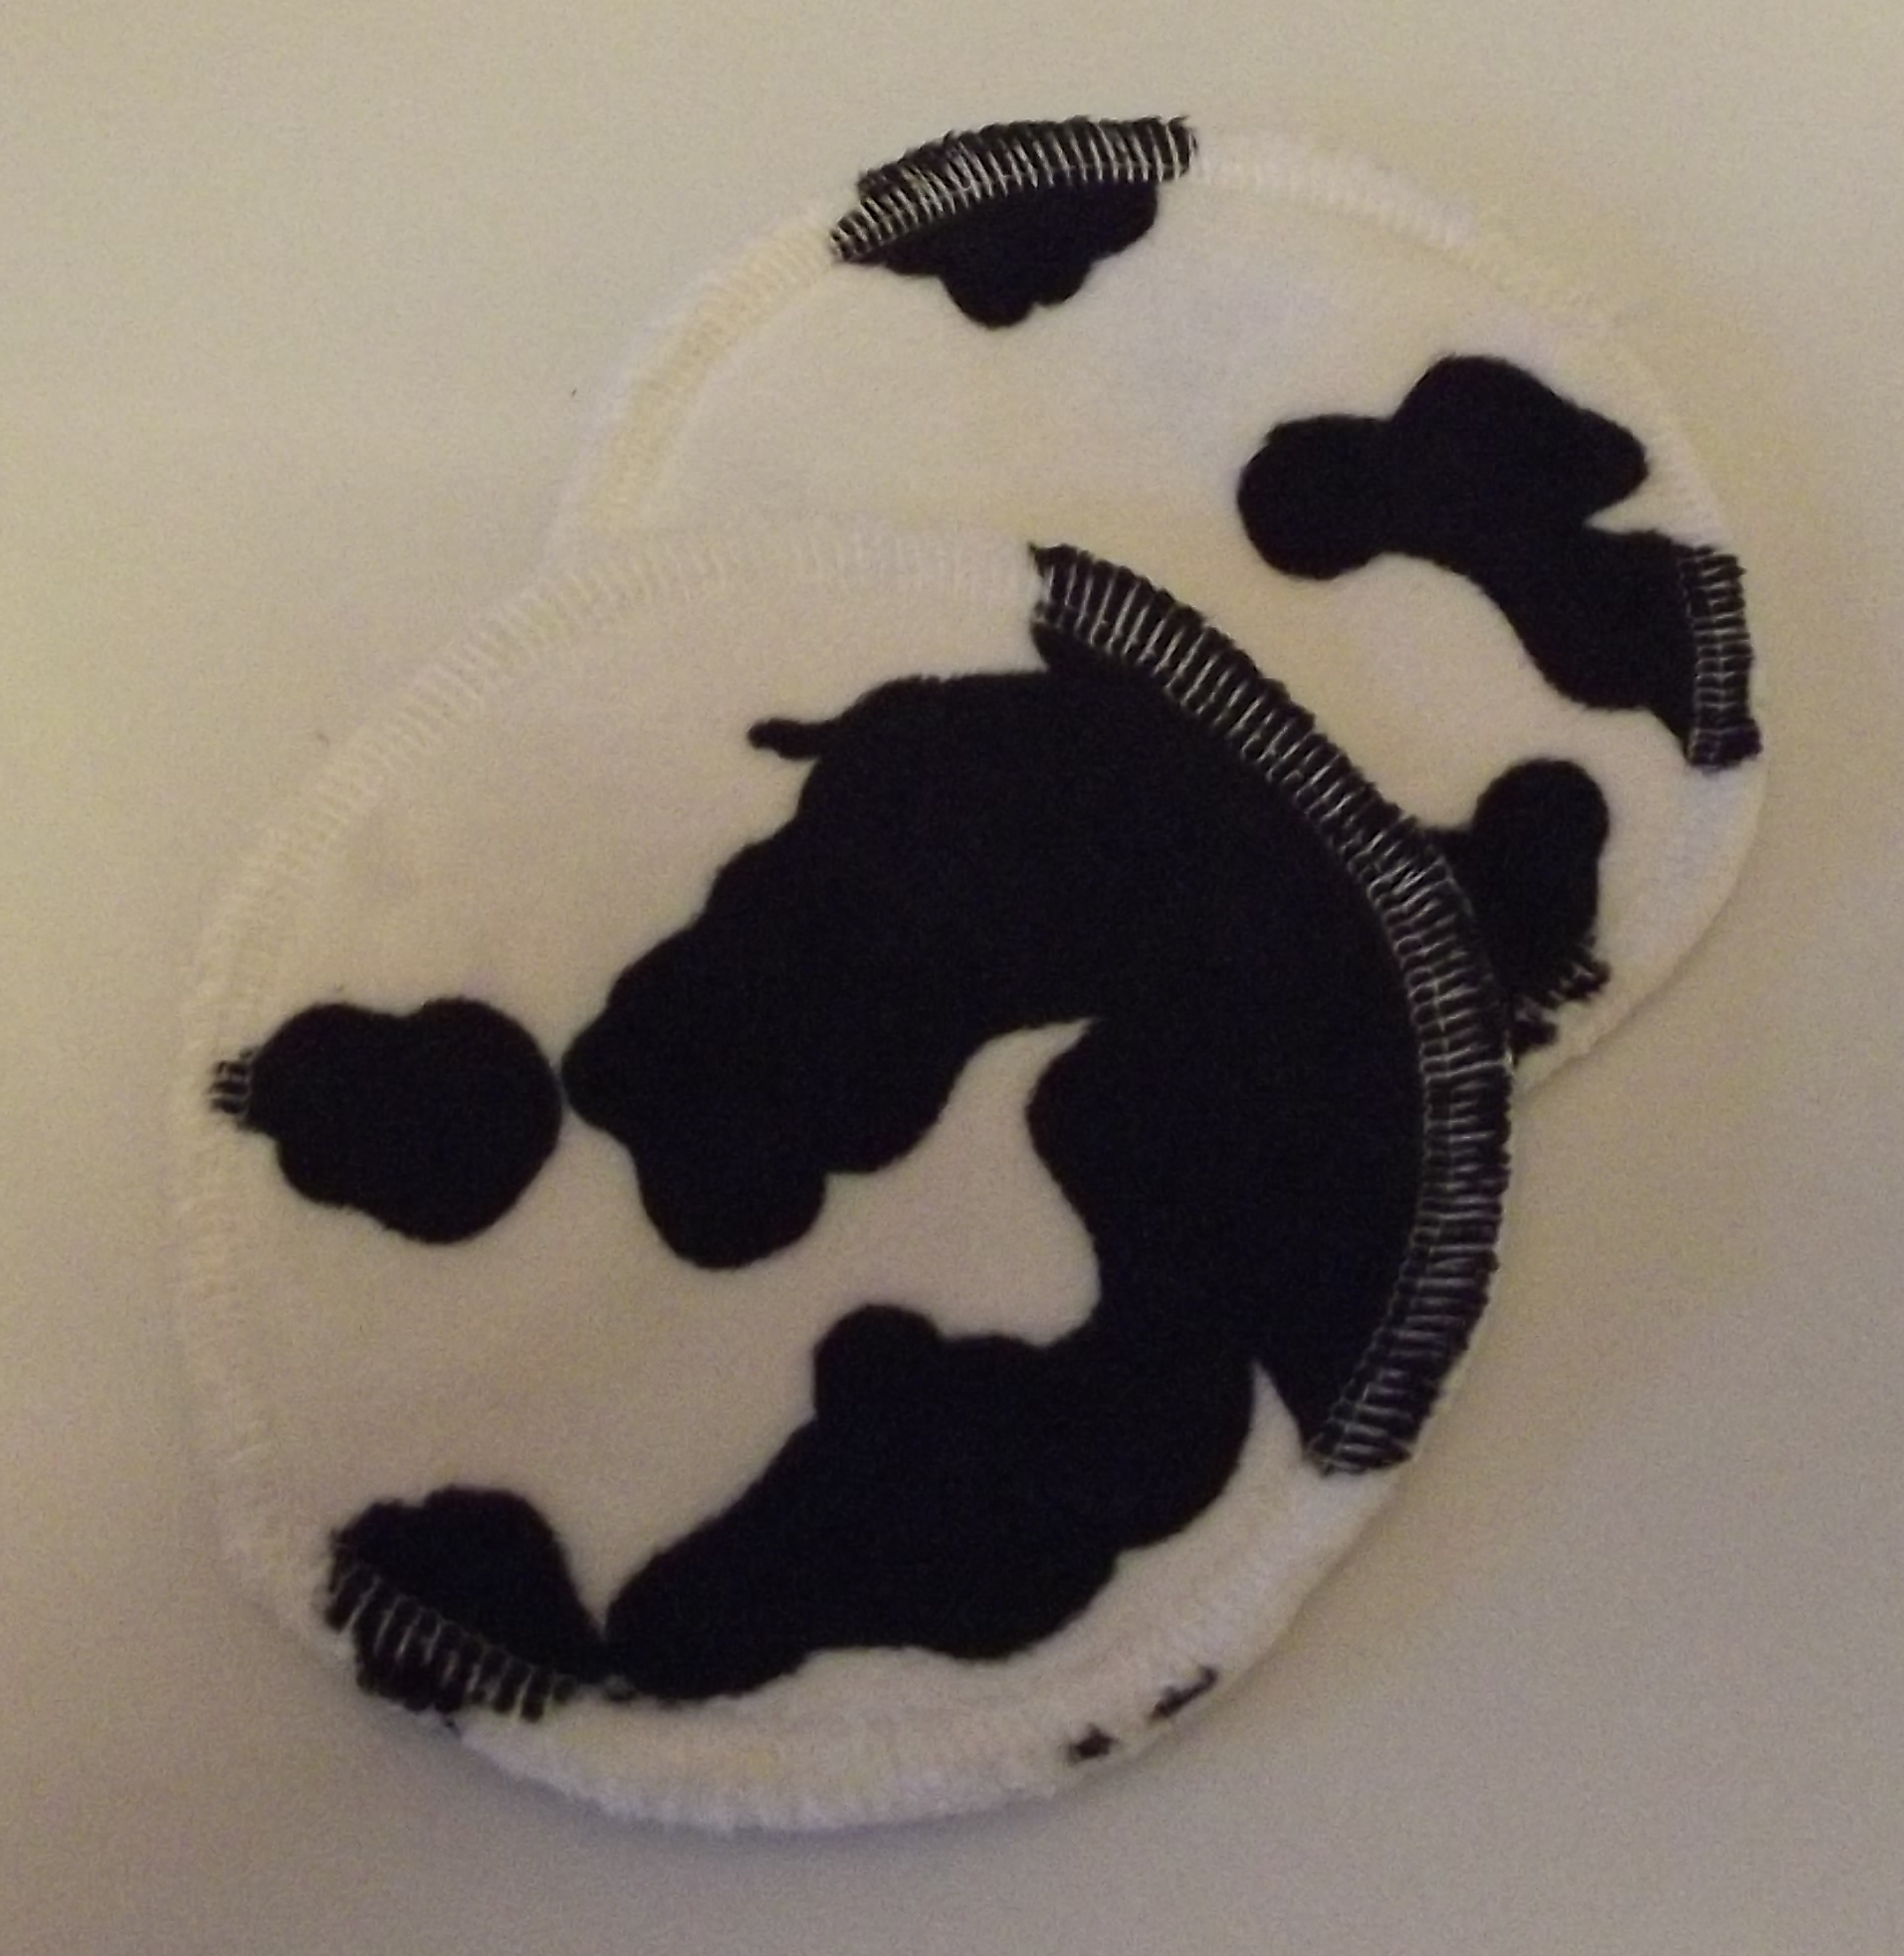
A whole pile of pretty circles, and one less thing to add to the shopping list ๐Ÿ™‚

Spiderman Shorts

I have a new machine for my sewing – an overlocker!

It’s quite a scary looking thing, and I’m still getting used to it and working out how it all works, but am using it to make some clothes. I’m hoping it will speed up my sewing.

The first thing that I made with it was some shorts.

Spiderman has been a big hit in our house recently, so when I came across some Spiderman fabric I had to buy some. I bought a half metre, which was just enough for some shorts.

I used the MADE shorts pattern, with a flat front and elasticated back waist. I made a size 3, with a slightly smaller waist, having a particularly skinny 4.5 year old!

I used my new overlocker to finish off the inside seams instead of zigzag stitching like I have in the past, which was much quicker and looks nice and neat. I overlocked the bottom hem, and then turned up and used a twin needle to sew it, rather than turn and turn again.

Here are my finished shorts:

And here they are being modeled, along with his Spiderman jumper (which I didn’t make) and his new haircut with gel to make it spiky:

Does he really love his new shorts? No! He’s complained that I didn’t put in any pockets.

There’s no pleasing some people!

Pascha Bear

This is Pascha bear. He’s made from a free pattern by Crafty is Cool, who also sent me the eyes and nose to make him.

I used Rico Design Creative Cotton Aran yarn to make Pascha, which is the same as I used to make Upsy Daisy, nice and sturdy for a toy.

He has made his way to Ireland with lots of other Pascha bears that people have made to the charity ‘To Russia With Love’ who help and support abandoned children.

Upsy Daisy

My youngest niece turns 1 today!

I wanted to make her a toy for her birthday, and after thinking about which characters she might recognise decided on Upsy Daisy from In The Night Garden.

I looked at several patterns for making her on the internet, but only came across one that I thought really looked like her, from a etsy shop based in Finland called Fjukten.

The yarn I used was Rico Design Creative Cotton Aran which comes in lots of bright colours, which is perfect for Upsy Daisy, and should stand up to more cuddling than acrylic yarn!

Each part of Upsy Daisy is made separately and then put together. Her head has lots of parts, as each bit of hair is separate, as well as the hair base, the eyes, nose and eyelids.

I really liked the pattern because it was very detailed and specific about what to do at each step. It also had a lot more detail than any of the other patterns I’d seen, including the white petal pattern on her skirt and the handle she uses to make it inflate.

Here is my finished Upsy Daisy:

I’m really pleased with her, and hope my niece likes her too ๐Ÿ™‚

Baby Hat

It’s probably about time that I caught up and posted photos of the things I’ve made in the last 6 months. There’s not too many, but there are a few that have been sitting waiting for a while to be shown.

I made this hat back in January, for a friend who was expecting a baby.

She didn’t know if she was expecting a boy or a girl, so I decided to stick to plain white. I used the same pattern as I had made for several of the Christmas hats I’d made, but omitted the corkscrews and replaced them instead with a pompom on top.

Modern QAL – Final Link Up

So for the last year I’ve been making a block a month for the And Sew We Craft Modern Quilt-ALong. This month was the month to finish up and sew all those blocks together.

I saw that several people had chosen to make their finished quilts 3×3 blocks big, and use the final three blocks on the back. Now there are some blocks that I like better than others, and 3×3 seemed a much easier size to handle, so I decided to go with this idea too.

Just sewing the blocks together would have been the simplest way to go. Was this what I chose? No – I decided I wanted to do the whole proper sashing between blocks. It’s my first quilt, so might as well try everything!

I also had all those bits of fabric left from making the blocks that I wanted to use up, so thought why not make the sashing up of lots of 2.5 inch squares.ย 160 squares cut out later – I wasn’t really so convinced of the greatness of this idea!

I then put the quilt top aside for a couple of weeks, until yesterday evening, 21st June, I thought I better have a quick check at when the deadline for entering my quilt top into the linky thing actually is.

“Linky closes in 19 hours”

Arghh!

So after some speed sewing, photographing, and typing (I currently have 15 minutes remaining) I made it – hurrah!!

Here is my finished quilt top for the Modern Blocks QAL ๐Ÿ™‚

It’s pretty colourful with all those little squares around the outside!

The final three blocks will go on the back, and hopefully I have a fully quilted and bound quilt to share photos of soon!

Edited to add: I linked up with 6 minutes to spare – phew! You can see all the quilts that people made and shared over on ASWC.