I was looking back at the collages I made of all the things I made in 2013. I had a busy year!
So then I decided to make my collage for 2014:

Just the one collage this year, and not so many makes.
But I did make one more thing:

🙂
I was looking back at the collages I made of all the things I made in 2013. I had a busy year!
So then I decided to make my collage for 2014:
Just the one collage this year, and not so many makes.
But I did make one more thing:
🙂
My brother and sister-in-law have a new baby, so I wanted to make them a gift.
I bought a DMC teddy blanket in Hobbycraft, which had a bib made from aida fabric that you can cross stitch onto.
I wanted to stitch the baby’s name onto the teddy, so started by getting out my graph paper and a coloured pencil to work out how to fit it in and what size letters would work best.

Then I picked out a nice blue thread and stitched it on.

I hope they like it!
Last August W started P1 at our local Primary School. So this Christmas was the first that I needed to find a gift for him to take for his teacher.
I decided to make a pouch. I used this tutorial from Noodlehead, and followed the medium sizing for the pattern.
I think it looks quite Christmassy in dark red and cream cotton:

And then I filled it with chocolates and other goodies!

I was asked to make this bunting about six months ago – it’s taken me a while to get round to it!
I’ve made several before, and they’re not my favourite thing to make, which is probably half the reason it takes me so long as I keep putting it off. However, I finally forced myself to finish it off so I could make something else and it’s finished: It’s not so clear from the photos, but the flags are alternate plain and checked cotton with a dark pink felt for the lettering. The lettering is sewn on by hand as I can do it neater that way with all the turns and curves. The flags are then sewn onto white bias binding to create the string.
The bunting is for a friend to hang in her daughter’s bedroom, so we took the photos up against our bedroom wall to see how it would look. I had to draft in my two assistants to help me while I took the photo:
I hope it’s now hanging happily in its new home 🙂
My youngest niece turns 1 today!
I wanted to make her a toy for her birthday, and after thinking about which characters she might recognise decided on Upsy Daisy from In The Night Garden.
I looked at several patterns for making her on the internet, but only came across one that I thought really looked like her, from a etsy shop based in Finland called Fjukten.
The yarn I used was Rico Design Creative Cotton Aran which comes in lots of bright colours, which is perfect for Upsy Daisy, and should stand up to more cuddling than acrylic yarn!
Each part of Upsy Daisy is made separately and then put together. Her head has lots of parts, as each bit of hair is separate, as well as the hair base, the eyes, nose and eyelids.
I really liked the pattern because it was very detailed and specific about what to do at each step. It also had a lot more detail than any of the other patterns I’d seen, including the white petal pattern on her skirt and the handle she uses to make it inflate.
Here is my finished Upsy Daisy:

I’m really pleased with her, and hope my niece likes her too 🙂
For my Mum’s birthday this year I made her a crochet shopping bag.
It is made from a pattern in the April 2014 edition of Craftseller magazine. I used cotton yarn to make it, which should make it quite strong and washable.

I hope she likes it!
Here is another baby hat that I made in January. This one is a hungry caterpillar hat.
I used several different patterns to make the caterpillar after looking online and not finding one that was exactly what I wanted. I think it turned out really well 🙂
It’s probably about time that I caught up and posted photos of the things I’ve made in the last 6 months. There’s not too many, but there are a few that have been sitting waiting for a while to be shown.

I made this hat back in January, for a friend who was expecting a baby.
She didn’t know if she was expecting a boy or a girl, so I decided to stick to plain white. I used the same pattern as I had made for several of the Christmas hats I’d made, but omitted the corkscrews and replaced them instead with a pompom on top.
The sewing machine is still on its round the world cruise, so I’m doing lots of crochet at the moment, in fact I started and finished 4 things in the last week – this must be a record for me!
One of those was a cute little crochet owl. The pattern (found here) was linked to on Facebook, prompting a friend to ask me to make her one.
I copied the exact colouring of one of the example owls in the pattern to make the stripey tummy and think he turned out quite well.
I used Rico Creative Cotton Aran to make it. I like cotton for making toys as it’s a bit more sturdy than wool and acrylic. The eyes are brown safety eyes (which I conclude that the only unsafe part is trying not to injure yourself fastening them on!) and the beak in just stitched on at the end.
Royal Mail did a pretty good job and he arrived the day after he was finished and is now living in his new home in Rugby 🙂
The final Christmas present 2013 post!
After the t-shirt I made turned out too small, I went back and cut out the size large pieces instead. I used the same Charlie Tee pattern by Fishsticks Designs, and again drew on a v-neck, rather than the original rounded neck.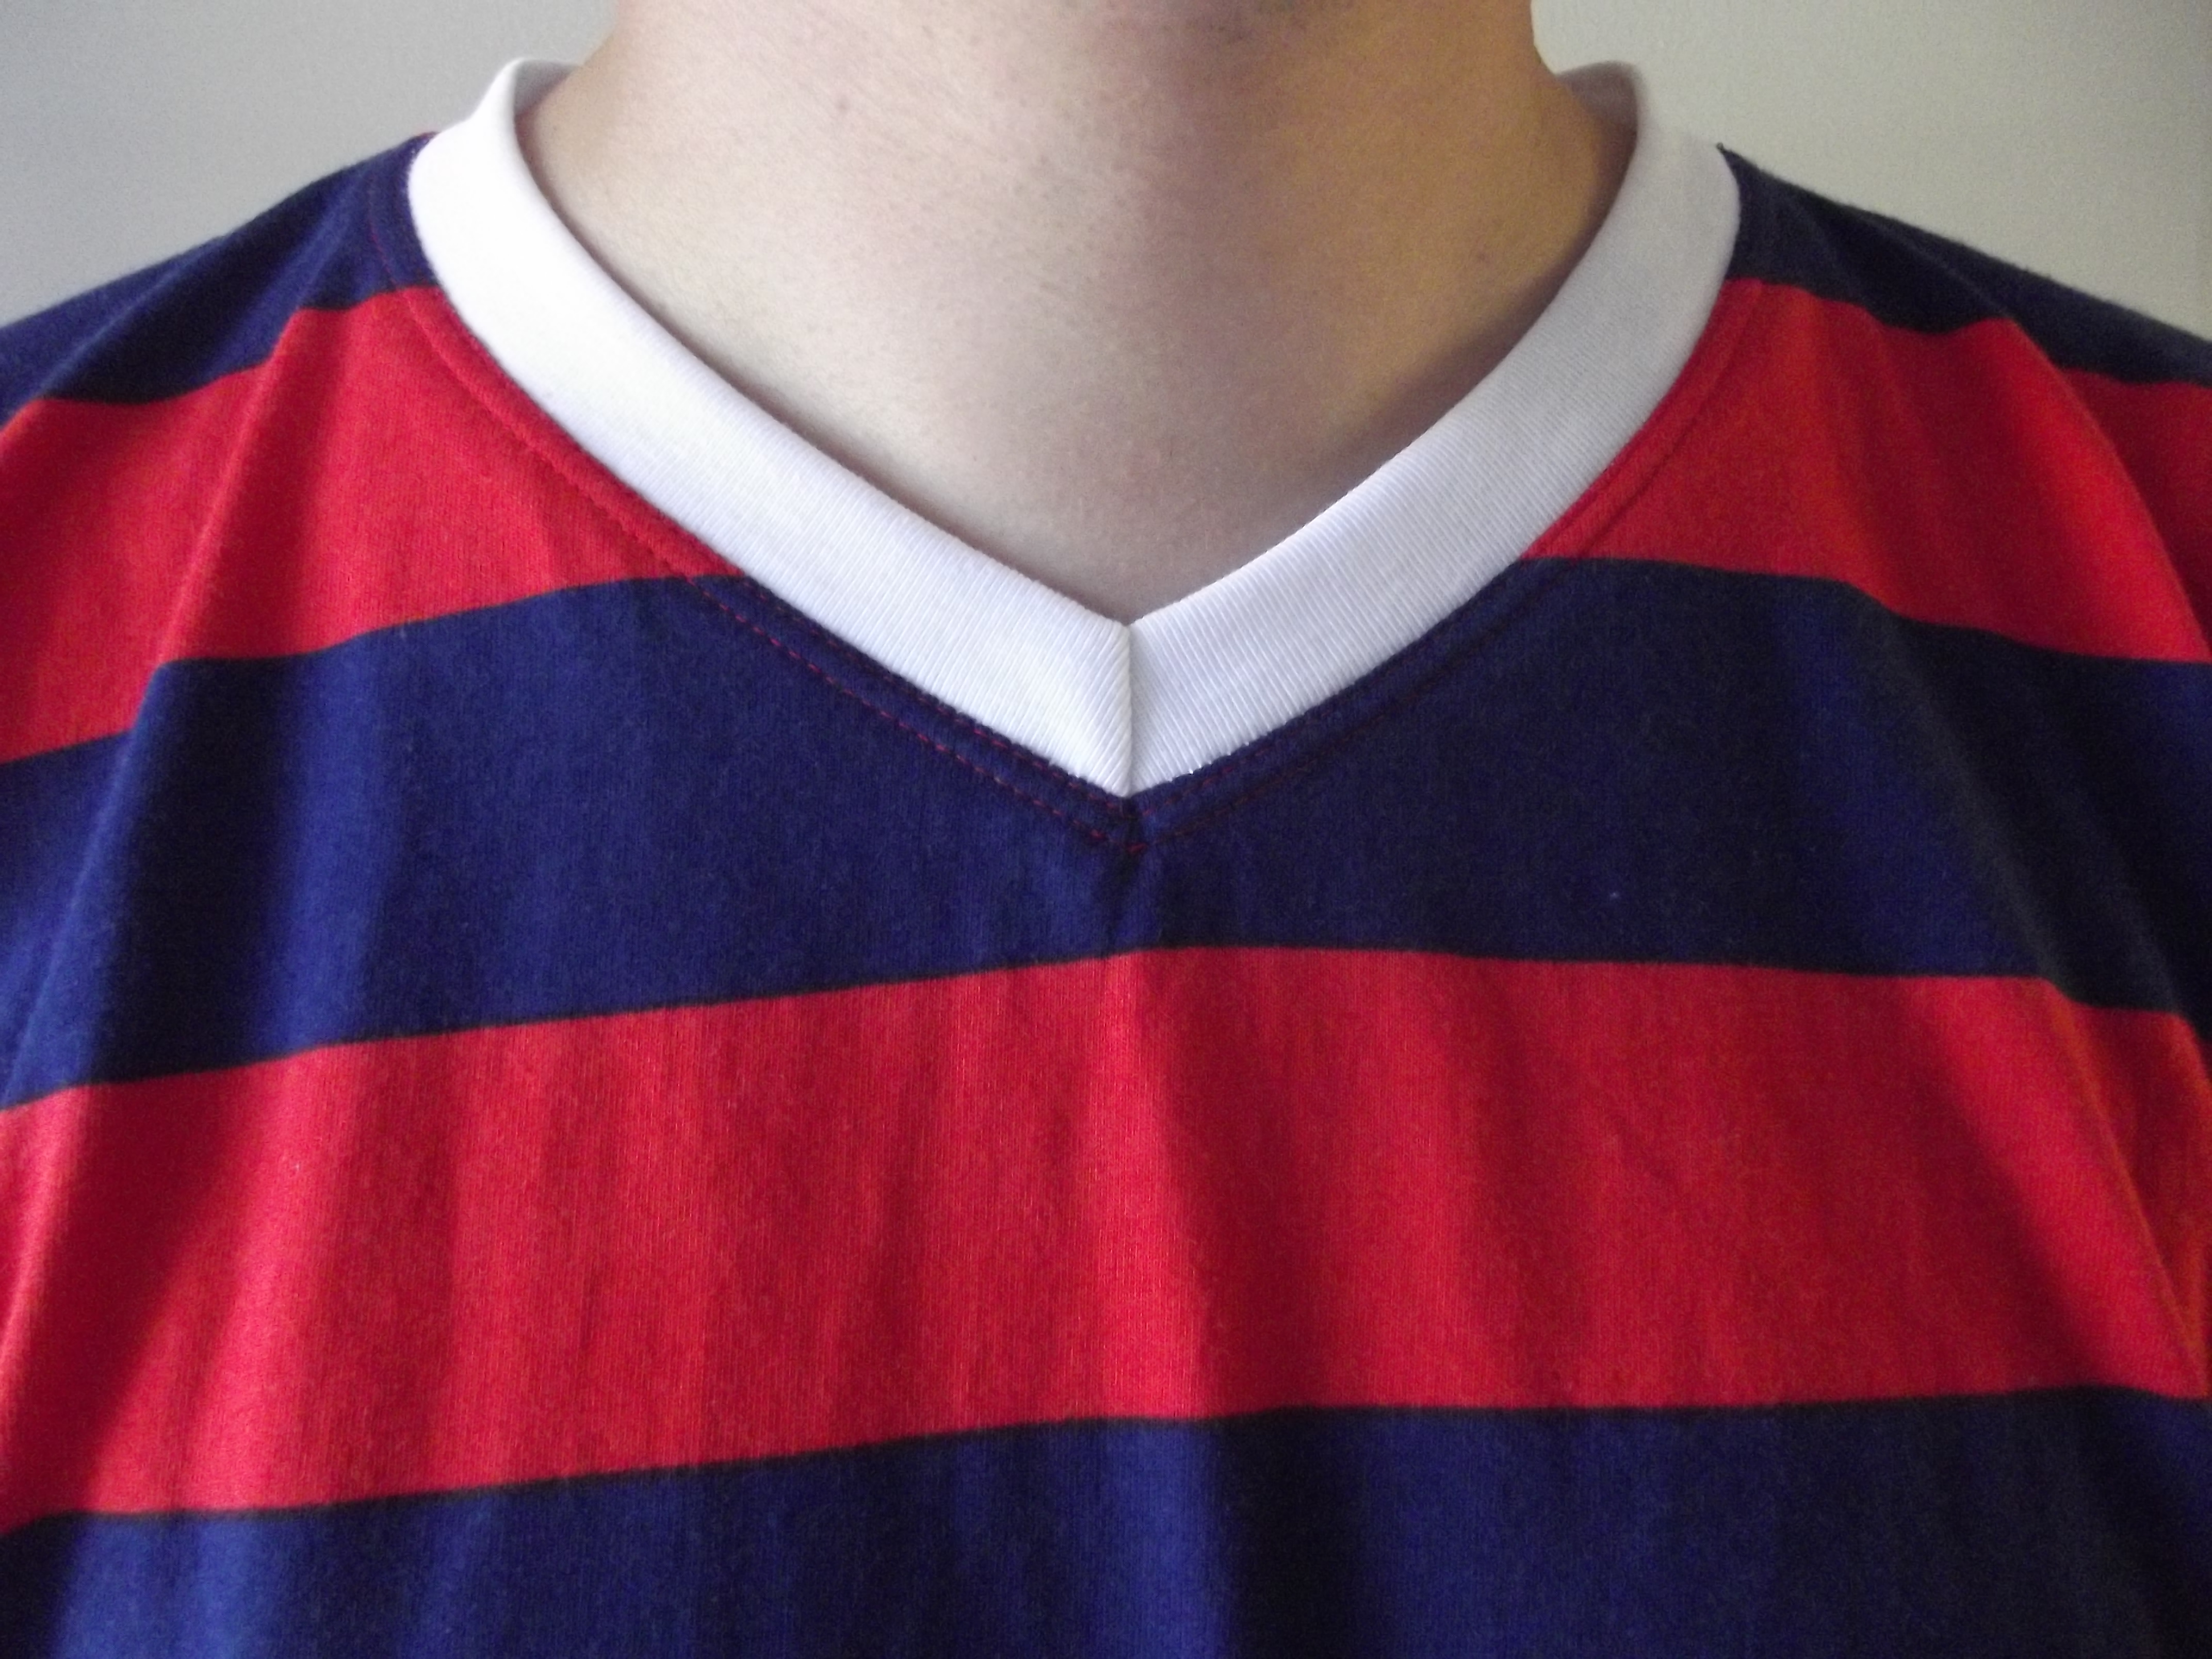 I followed the instructions from the children’s v-neck pattern I have, and stay stitched the v before adding the neckband on. I’ve never done that before as I didn’t really see what difference it would make, and it means changing the double needle to a single and back again, but actually it does make the v much flatter! So perhaps following the pattern properly is a good idea after all!
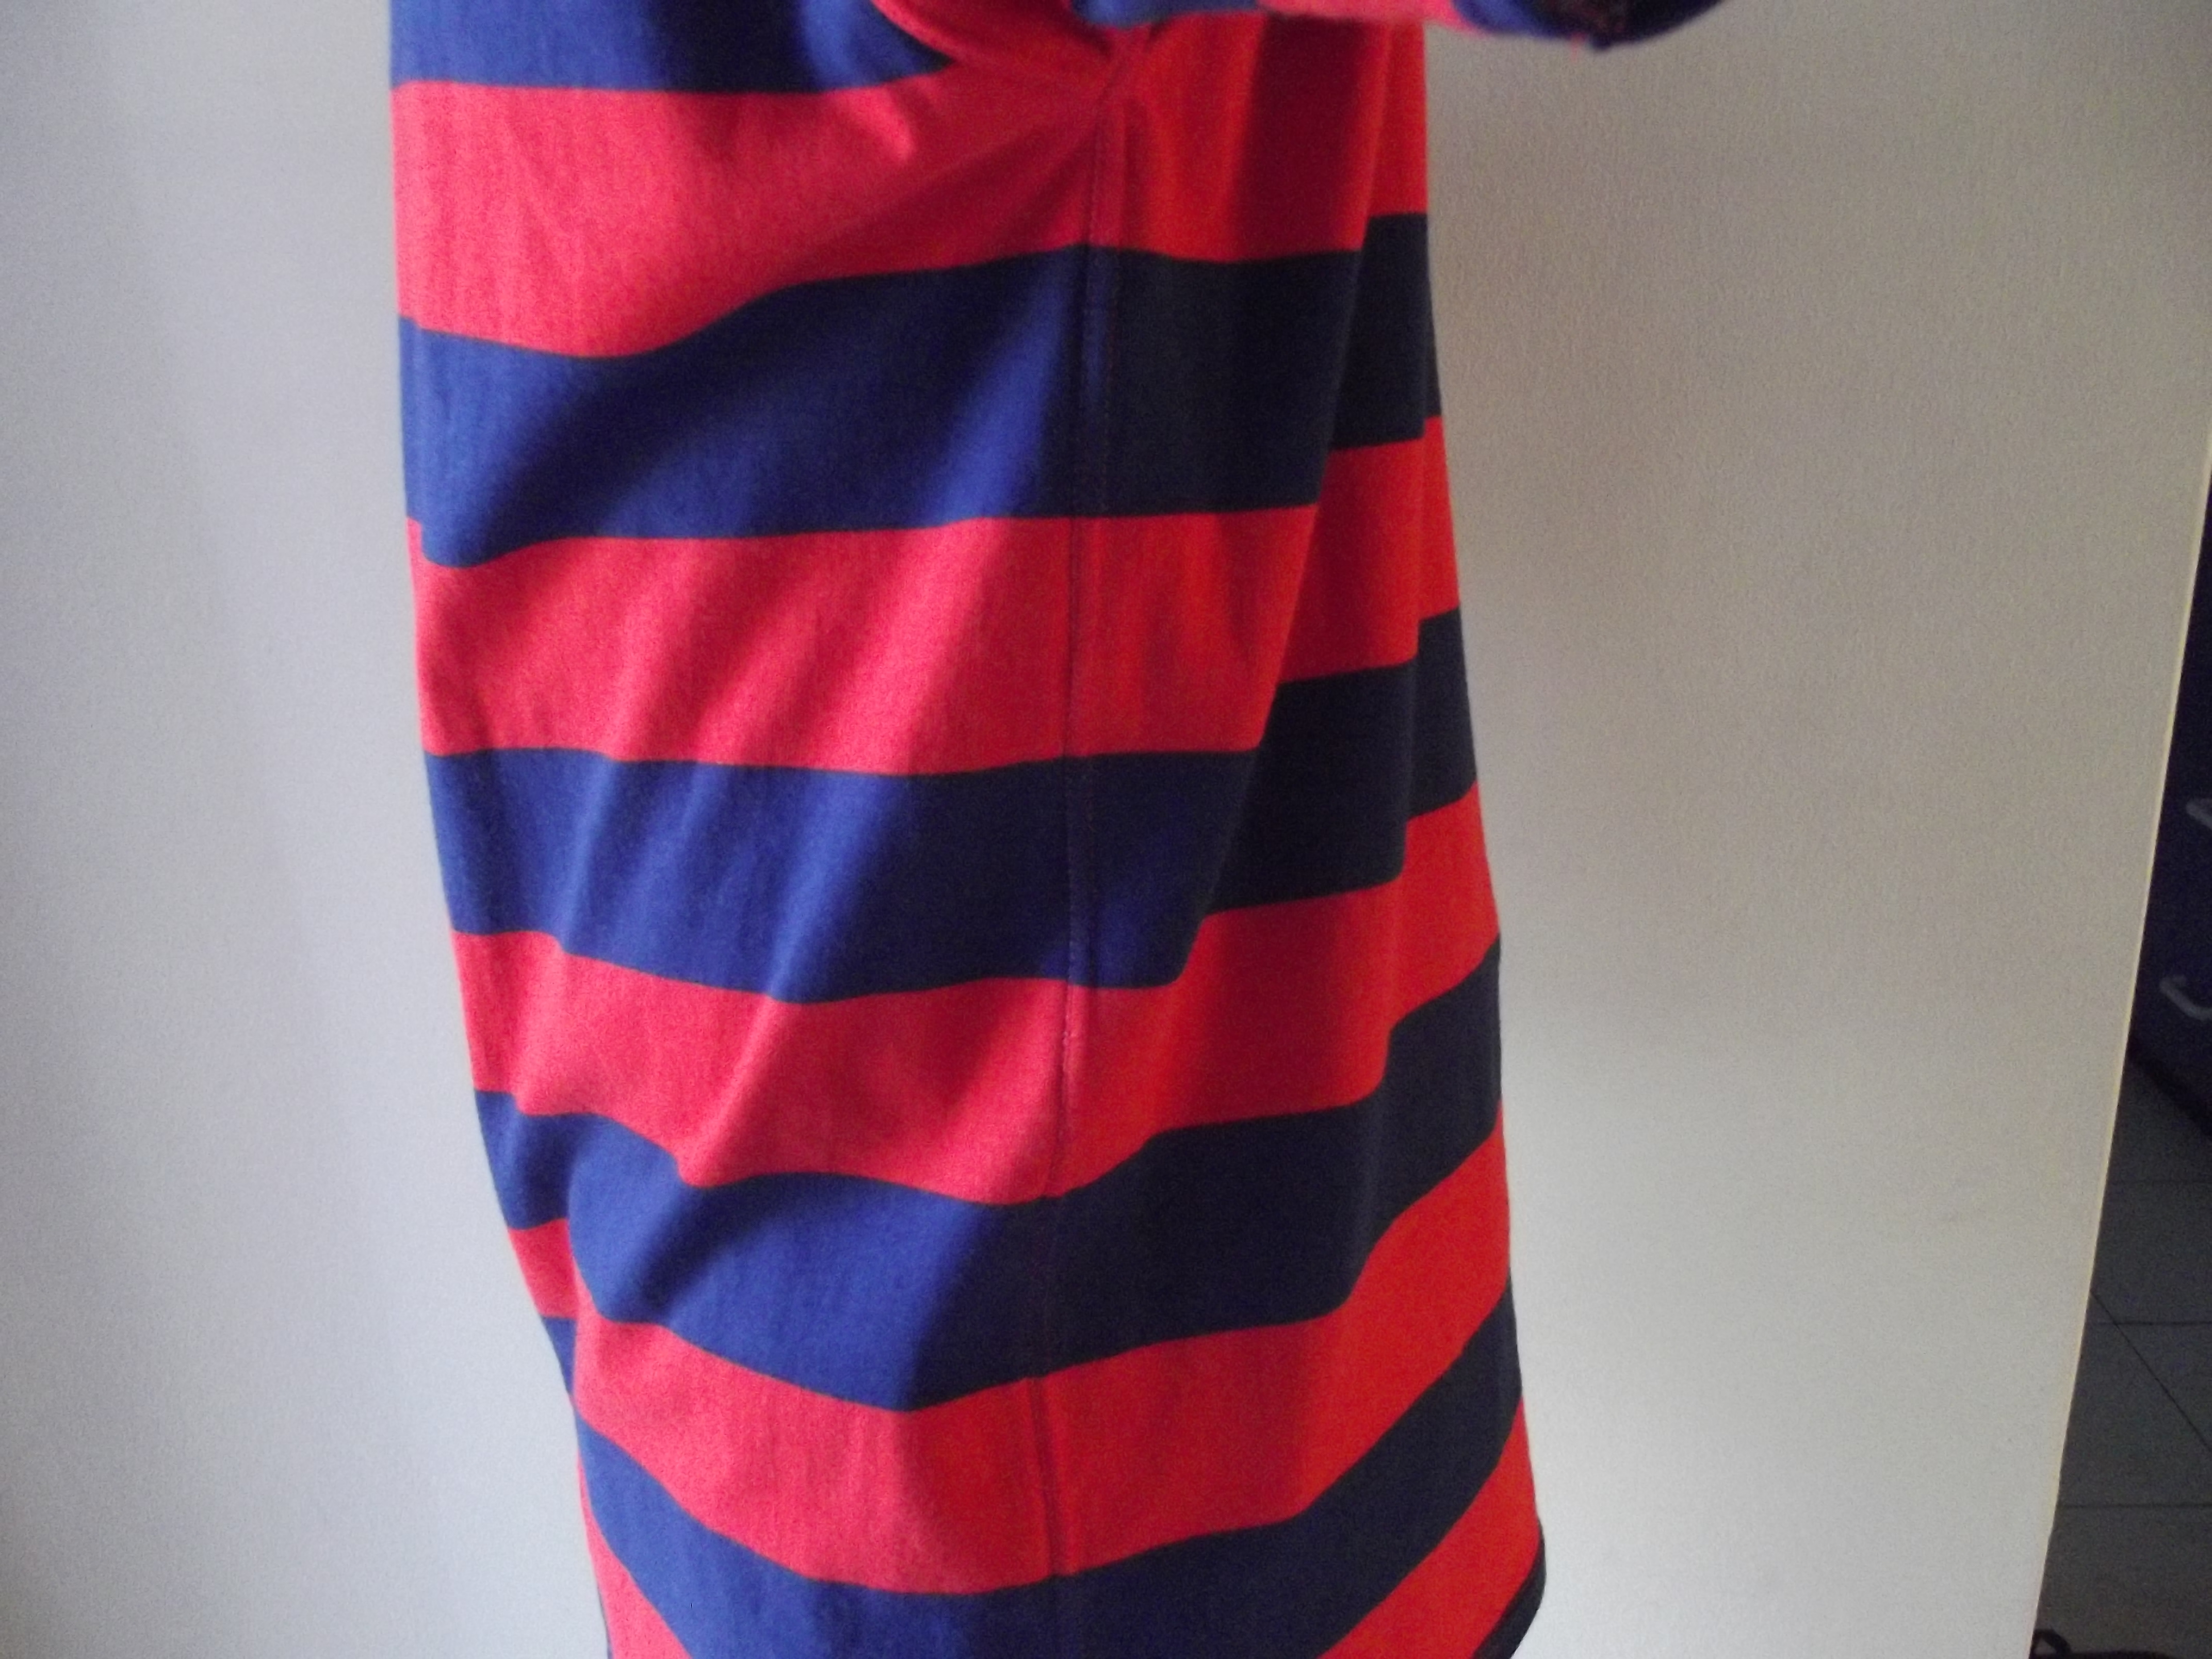 Look at those stripes! I was so proud of these – they match up perfectly!
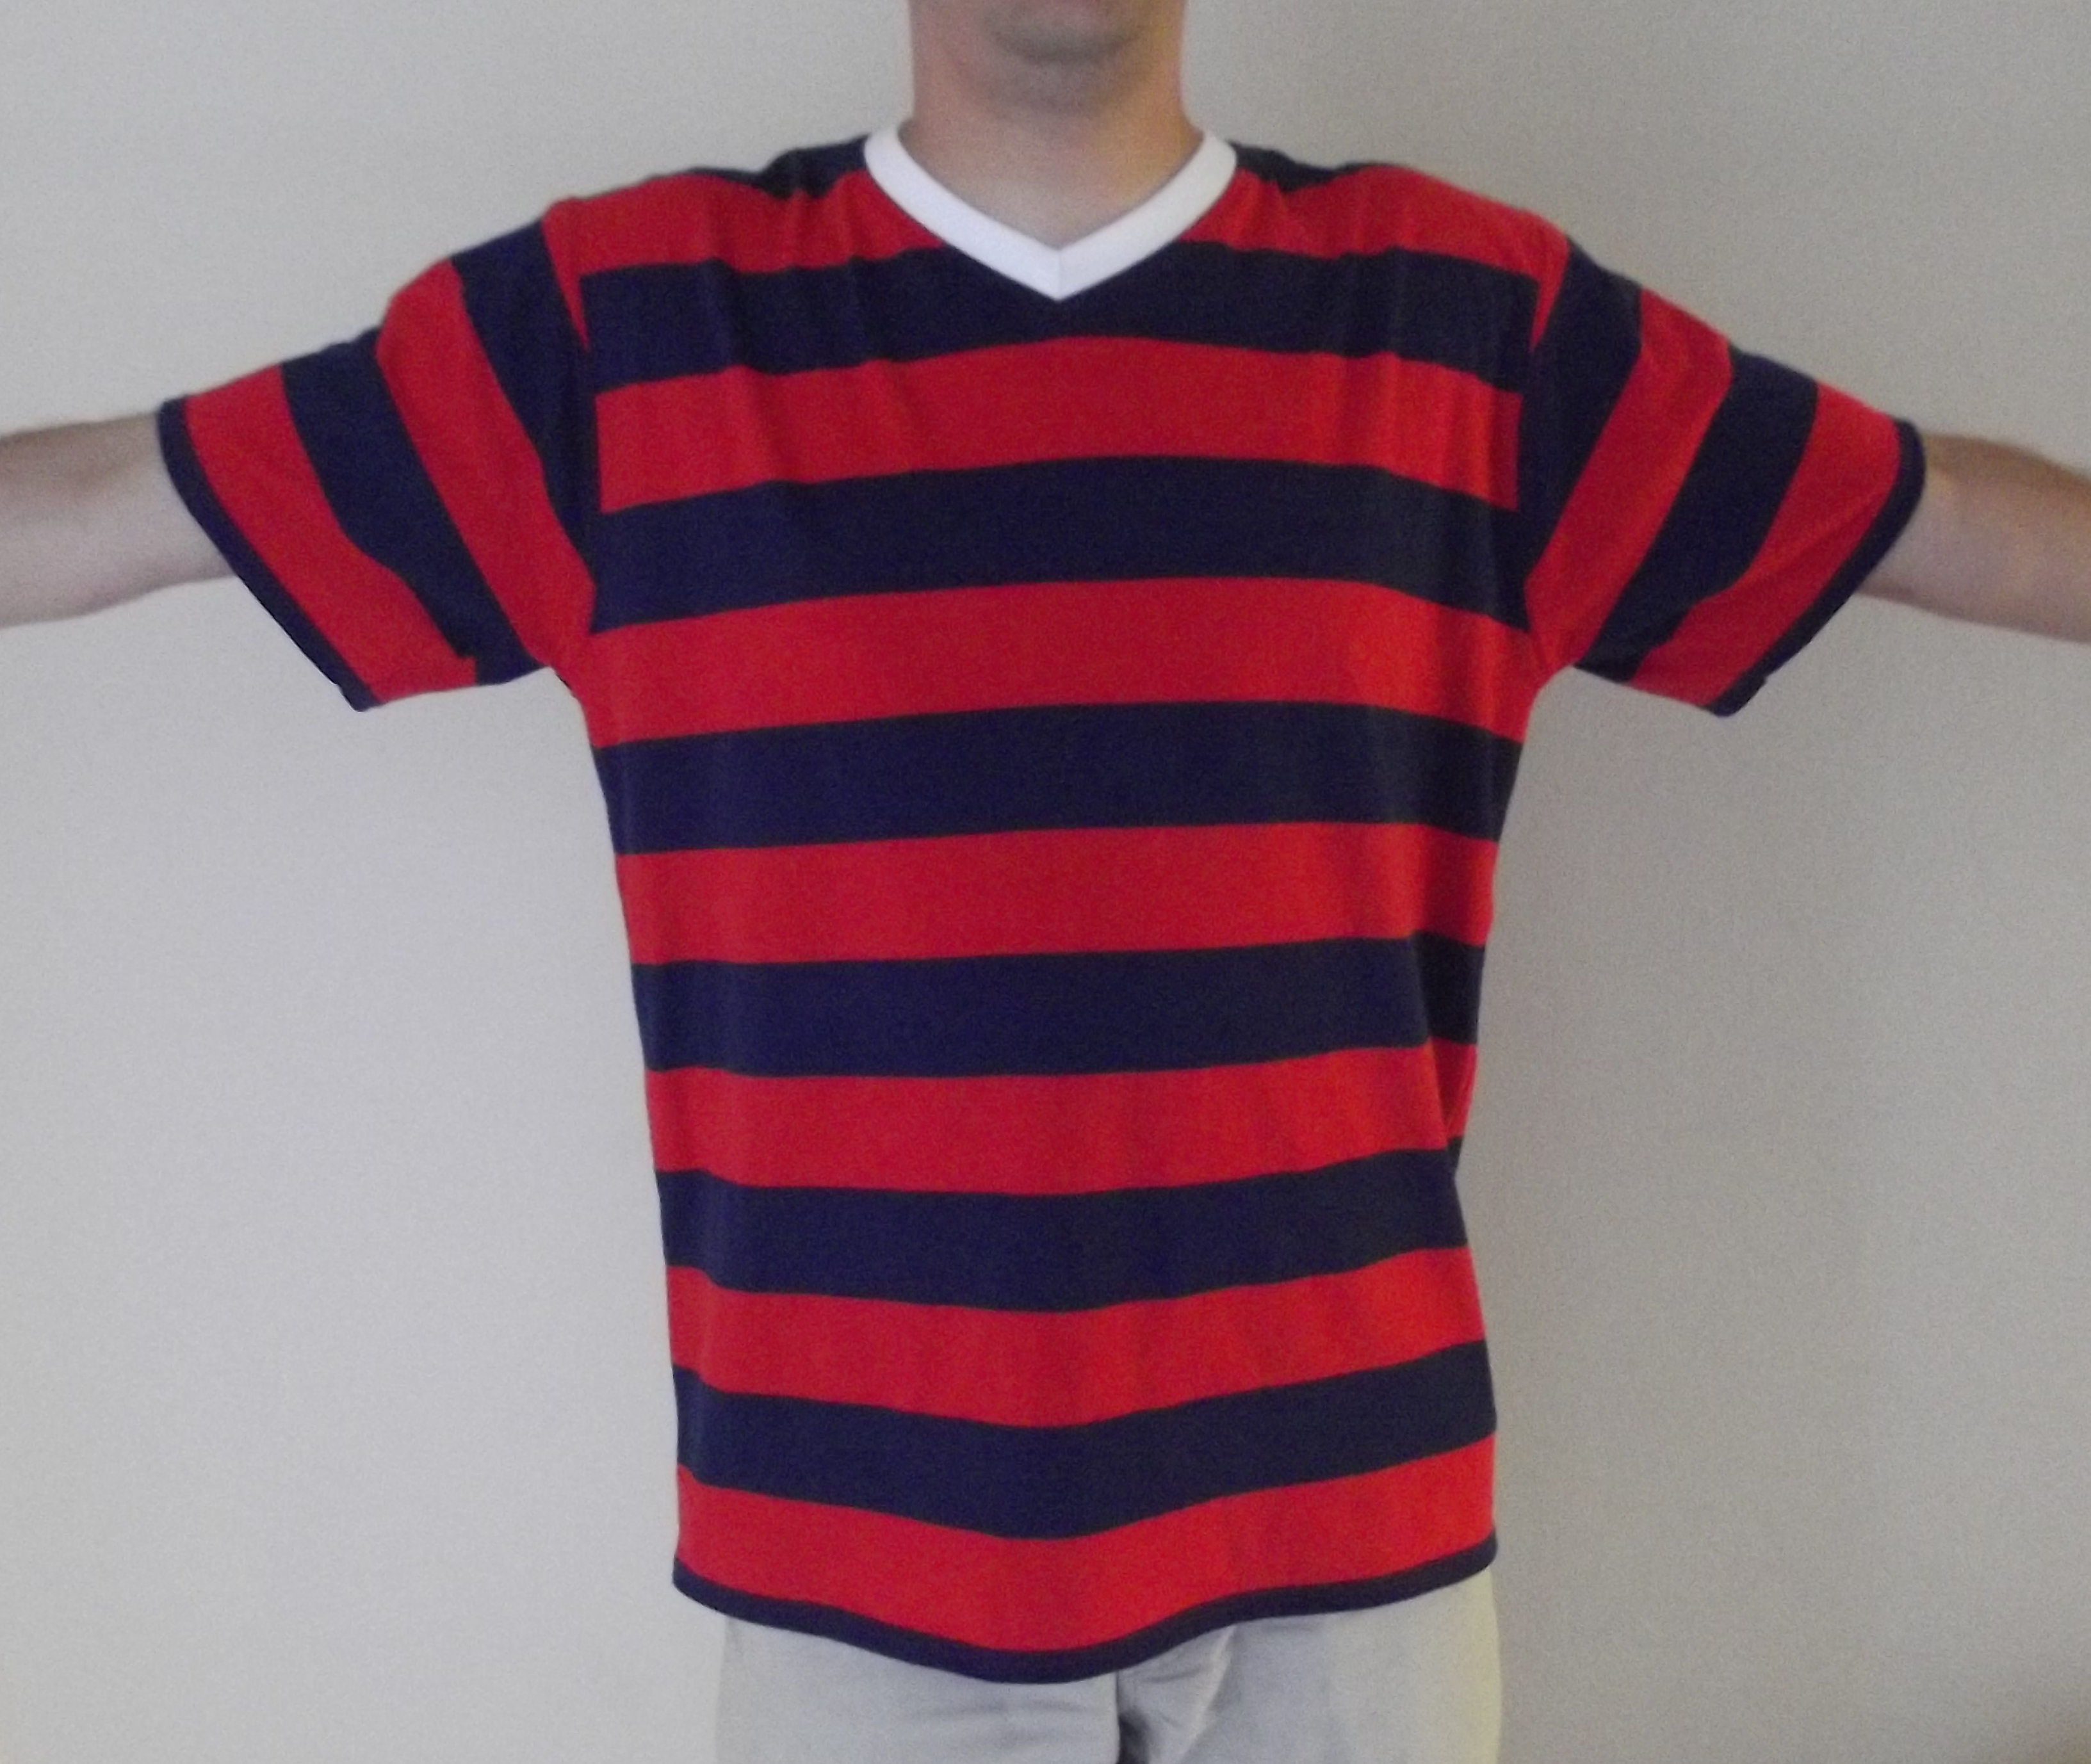
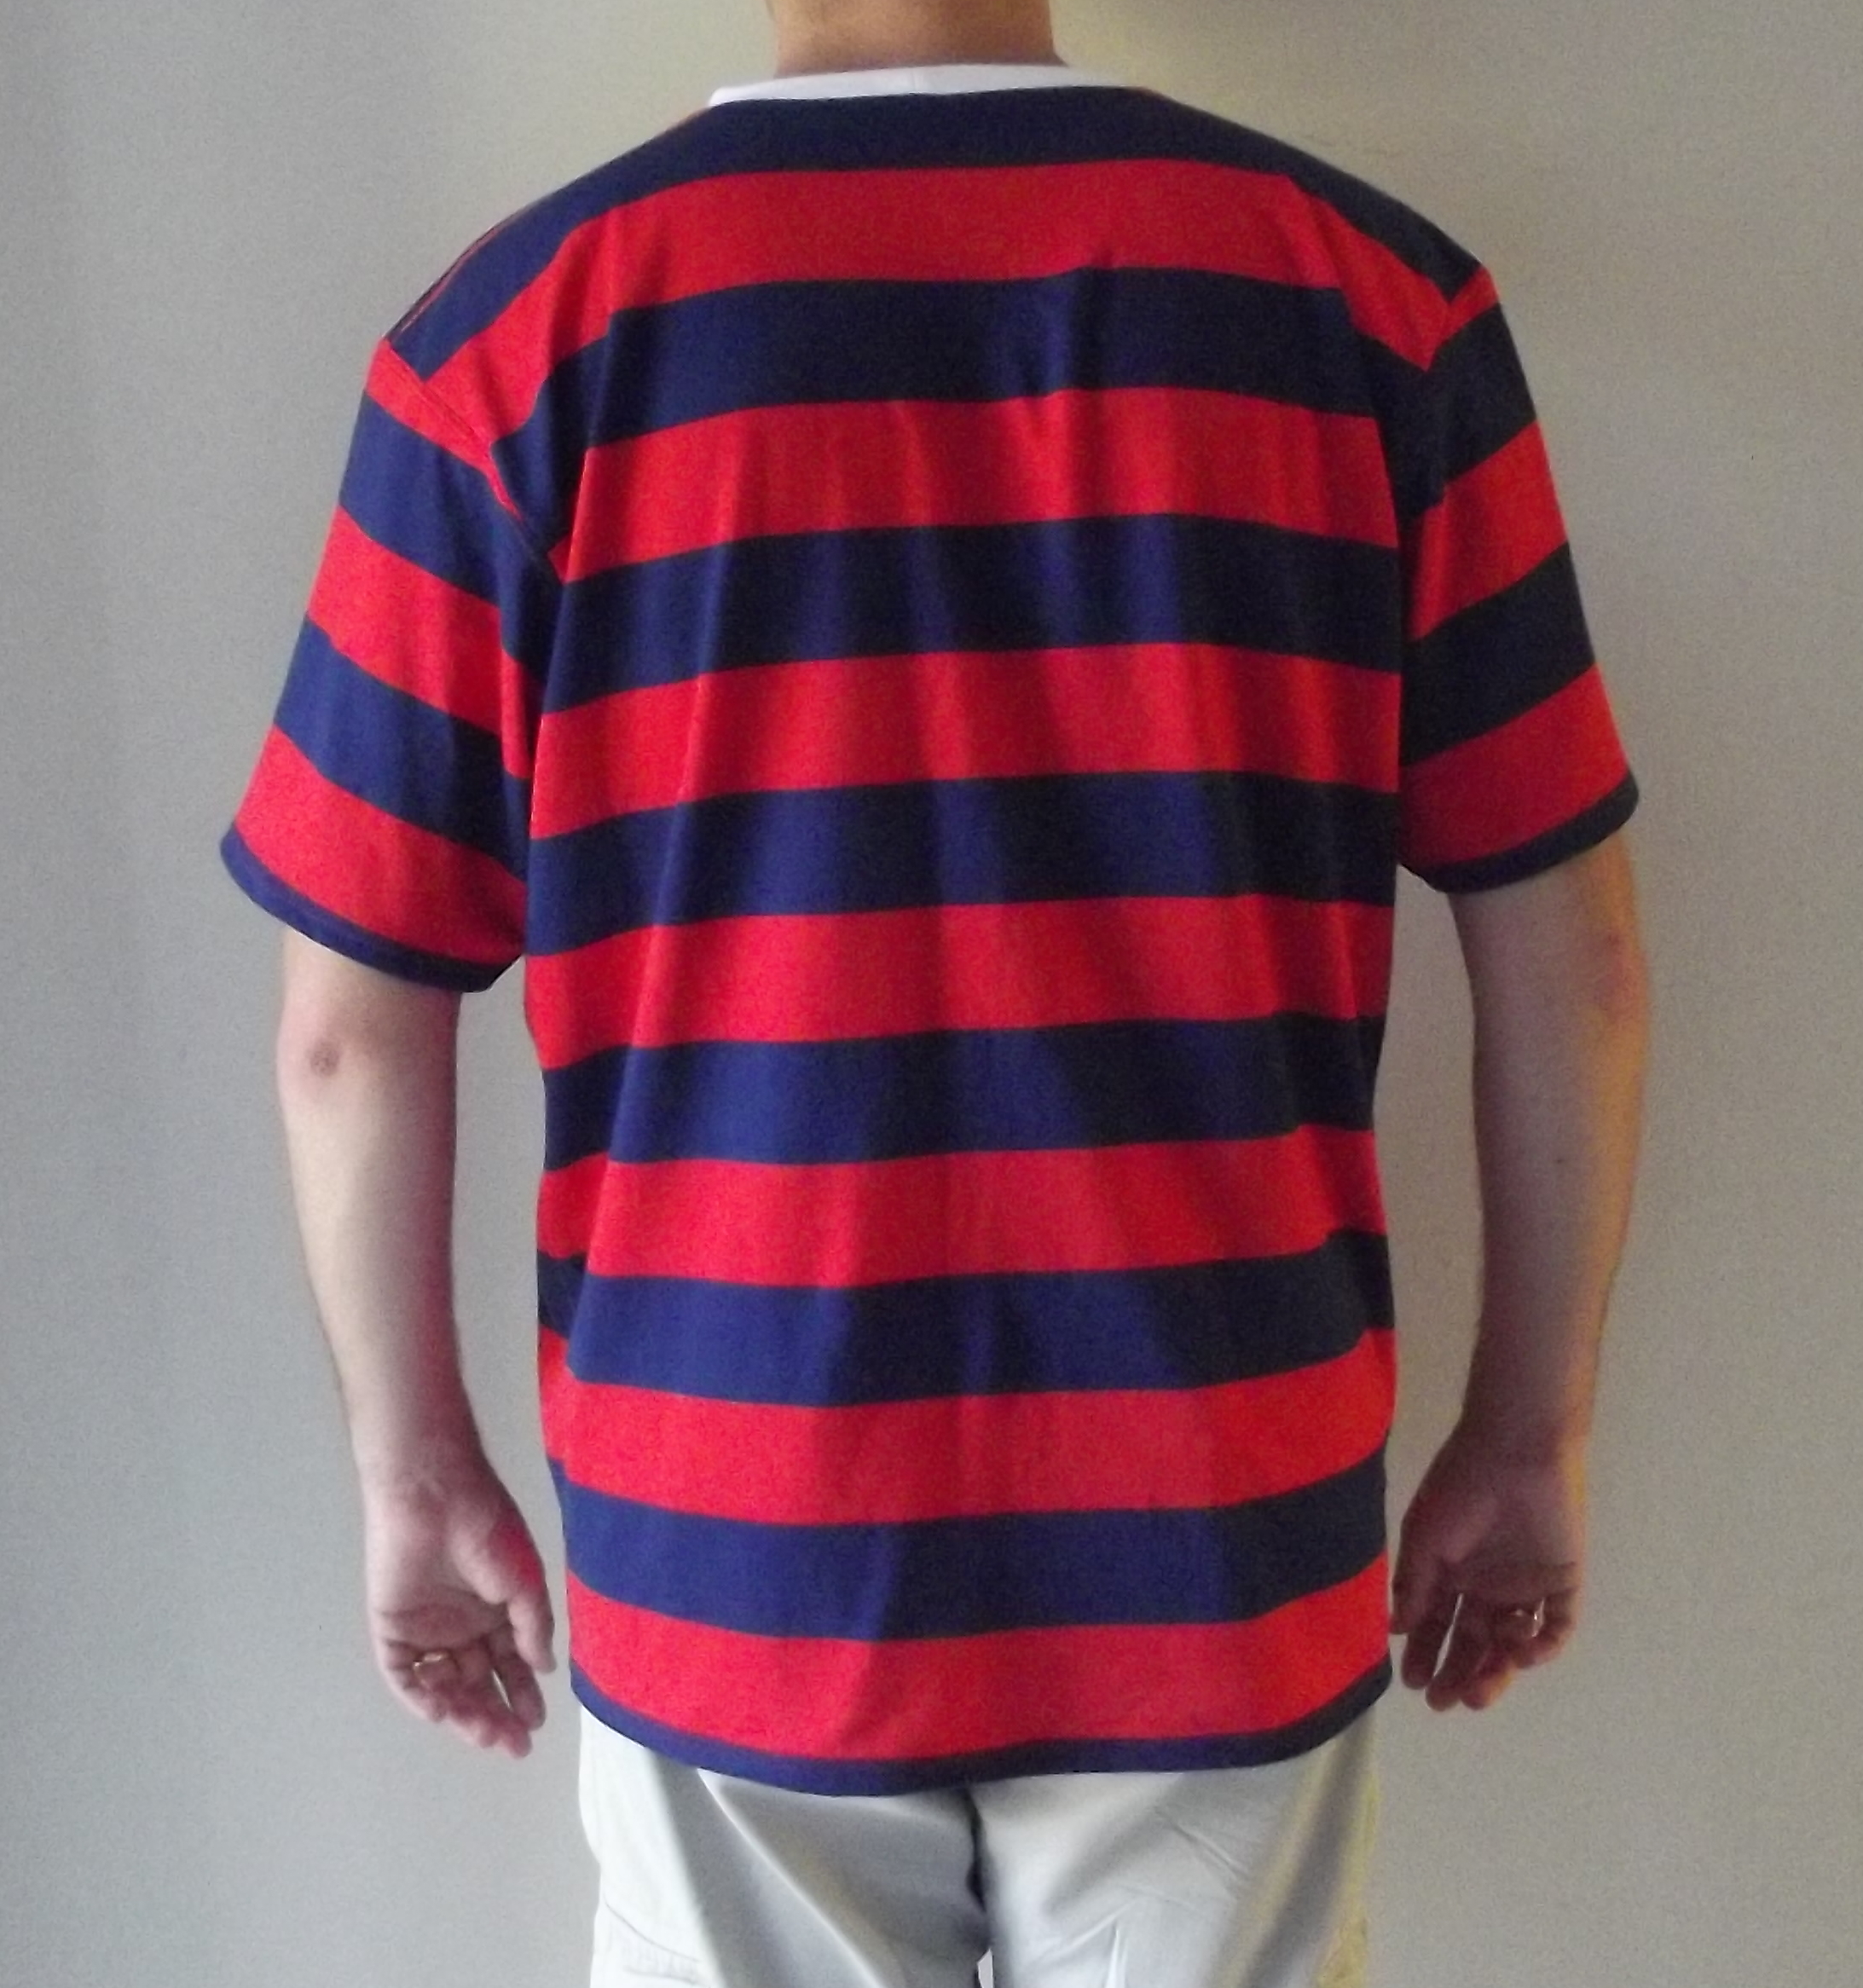
It turned out really well, and was even better as once finished I didn’t have any Christmas presents left to make! 🙂