How do superheros carry their toys around?
Why in a superhero back carrier of course!


I’m taking part in the September Sew Along with Create H.O.P.E Designs.
CHD sells a wide selection of patterns for $5 each, with all money raised going to charity.
I chose the AVIVI Doll carrier pattern, as W had commented not so long ago about wanting a piggyback carrier just like the one Mummy uses for him (I have an Ergo).
He has been wearing his superhero t-shirts and capes as often as he can recently, and playing with the superhero toy I made him for Christmas, so a superhero carrier was just the thing he needed!
The front of the carrier is made from the same superhero flannel as his doll is made from …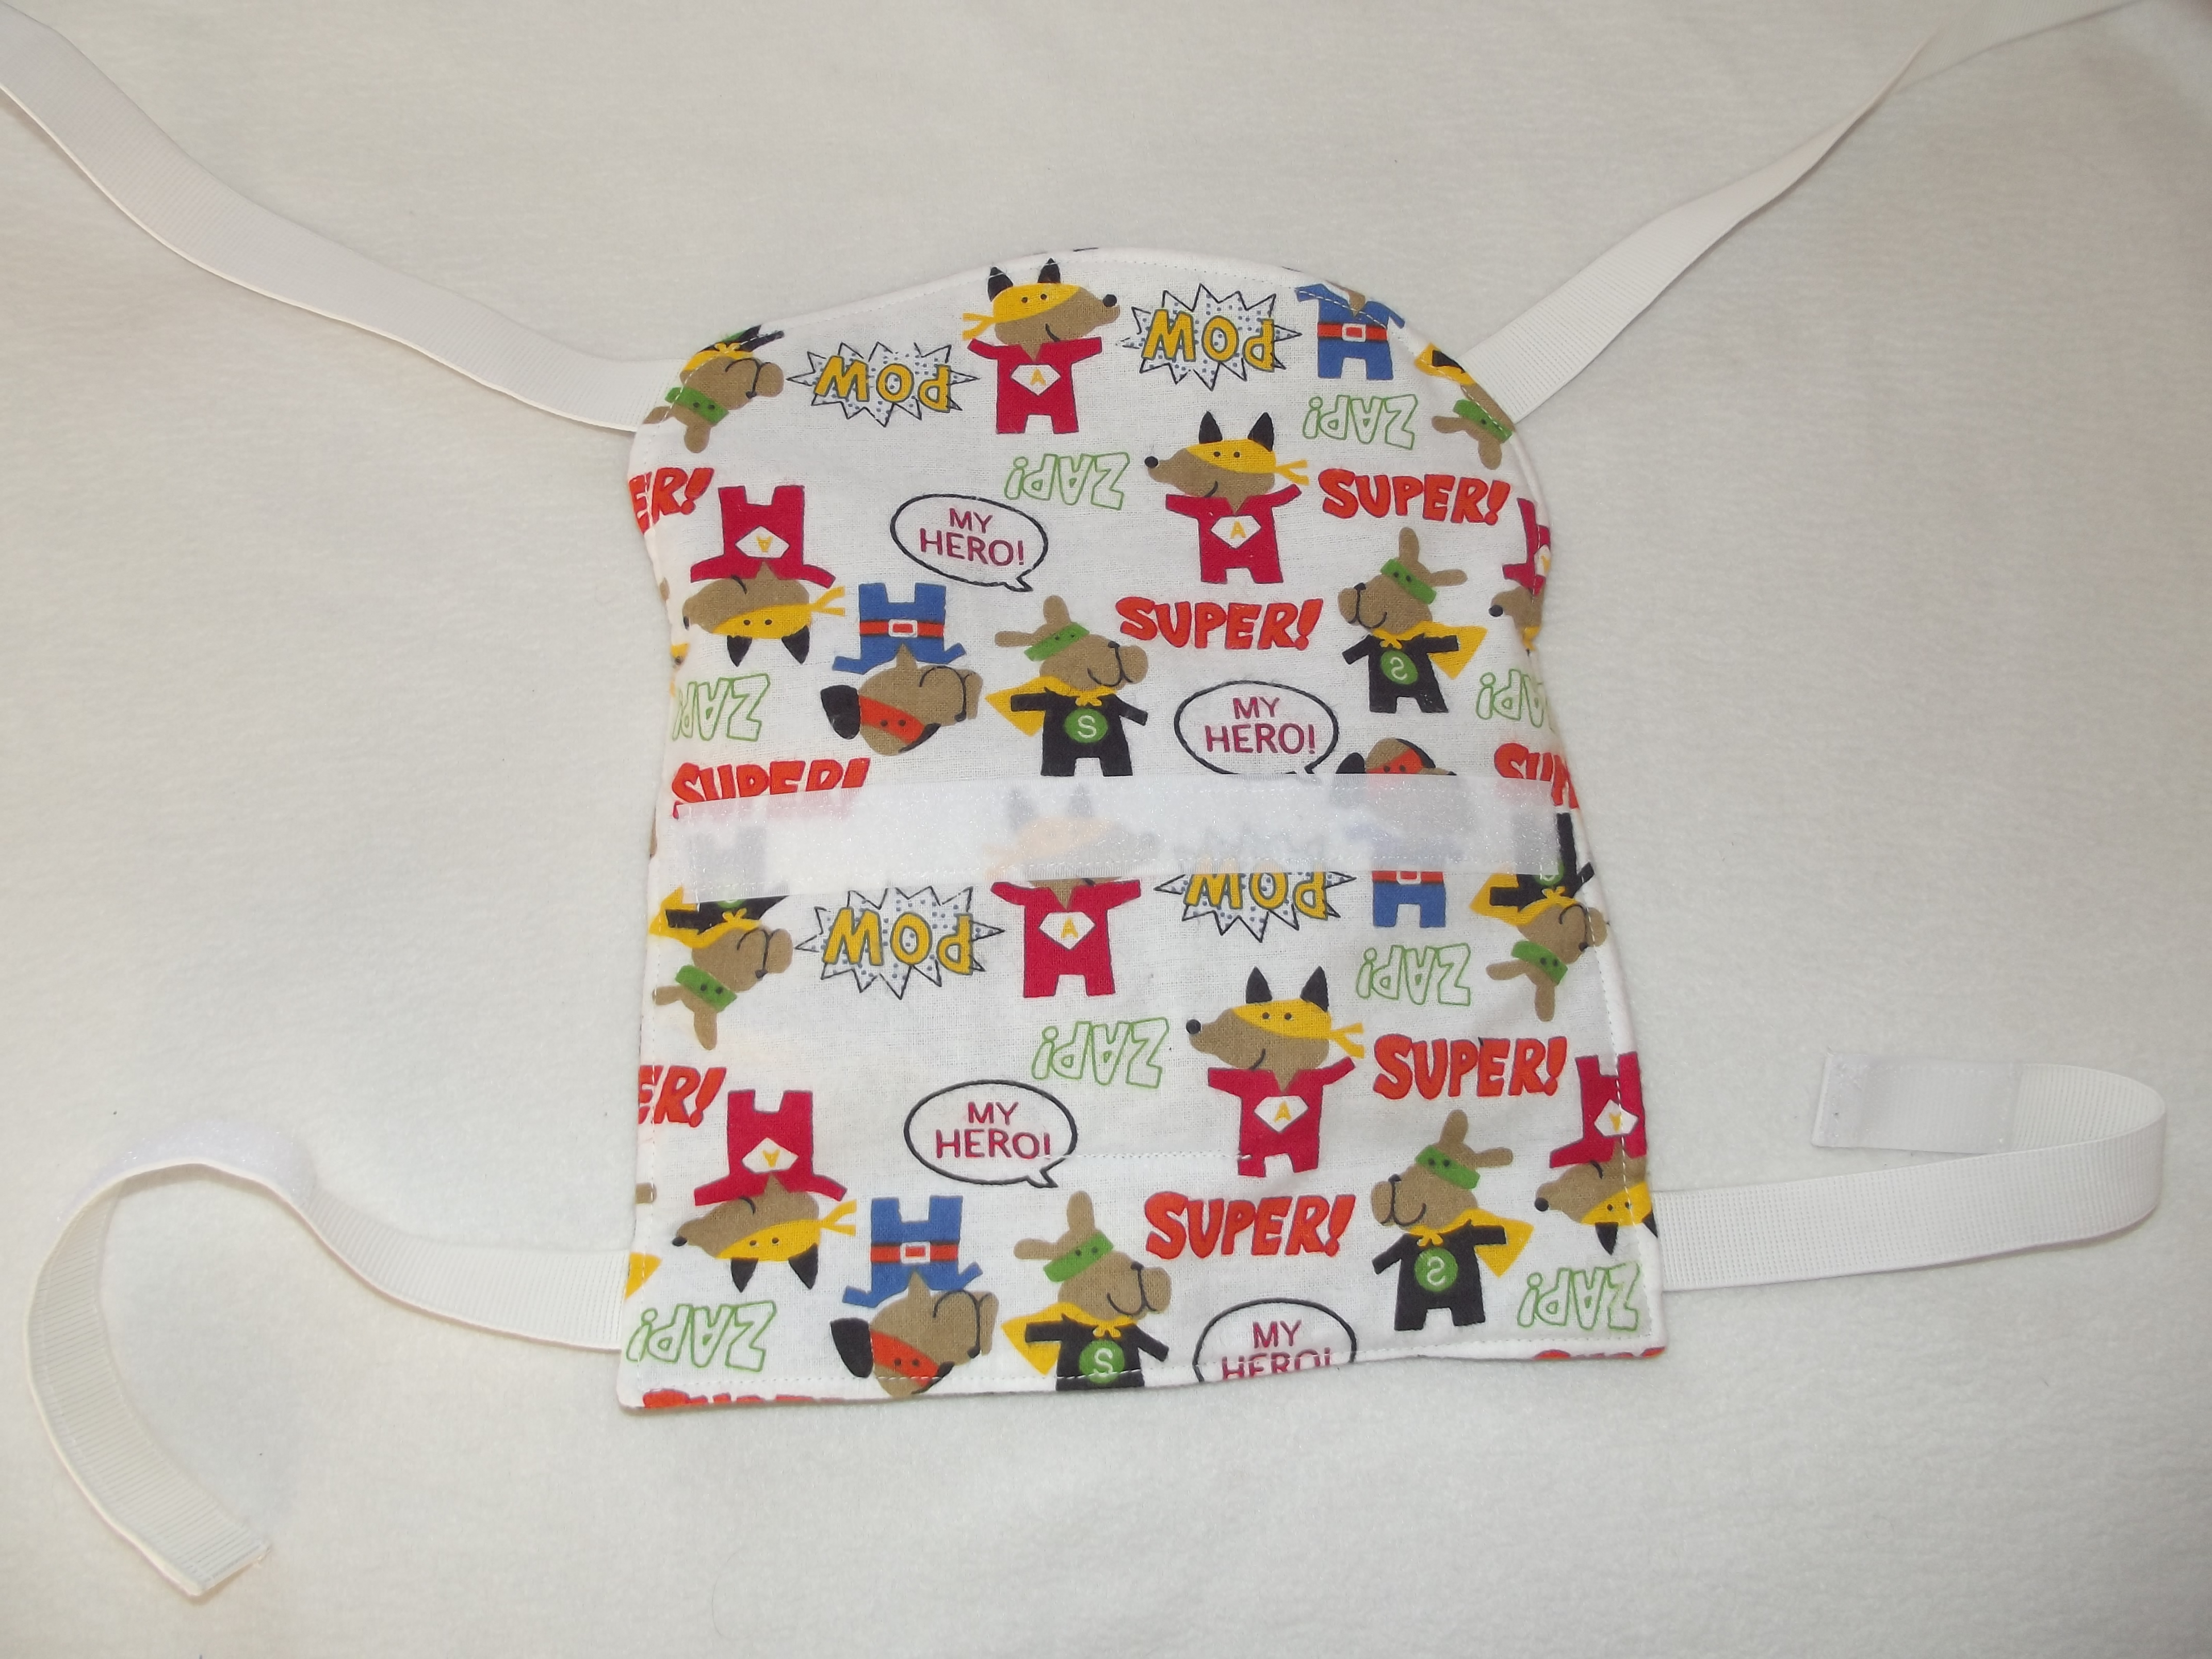 … and the inside is leftover black drill from his suit jacket and trousers. There is a heart shaped harness on the inside to hold the toy in. The straps are elastic with velcro to fasten them.
 Superhero doll has already been for a trip out in his new carrier, and I’m told he really enjoyed it!
There was even a piggyback on a piggyback 🙂
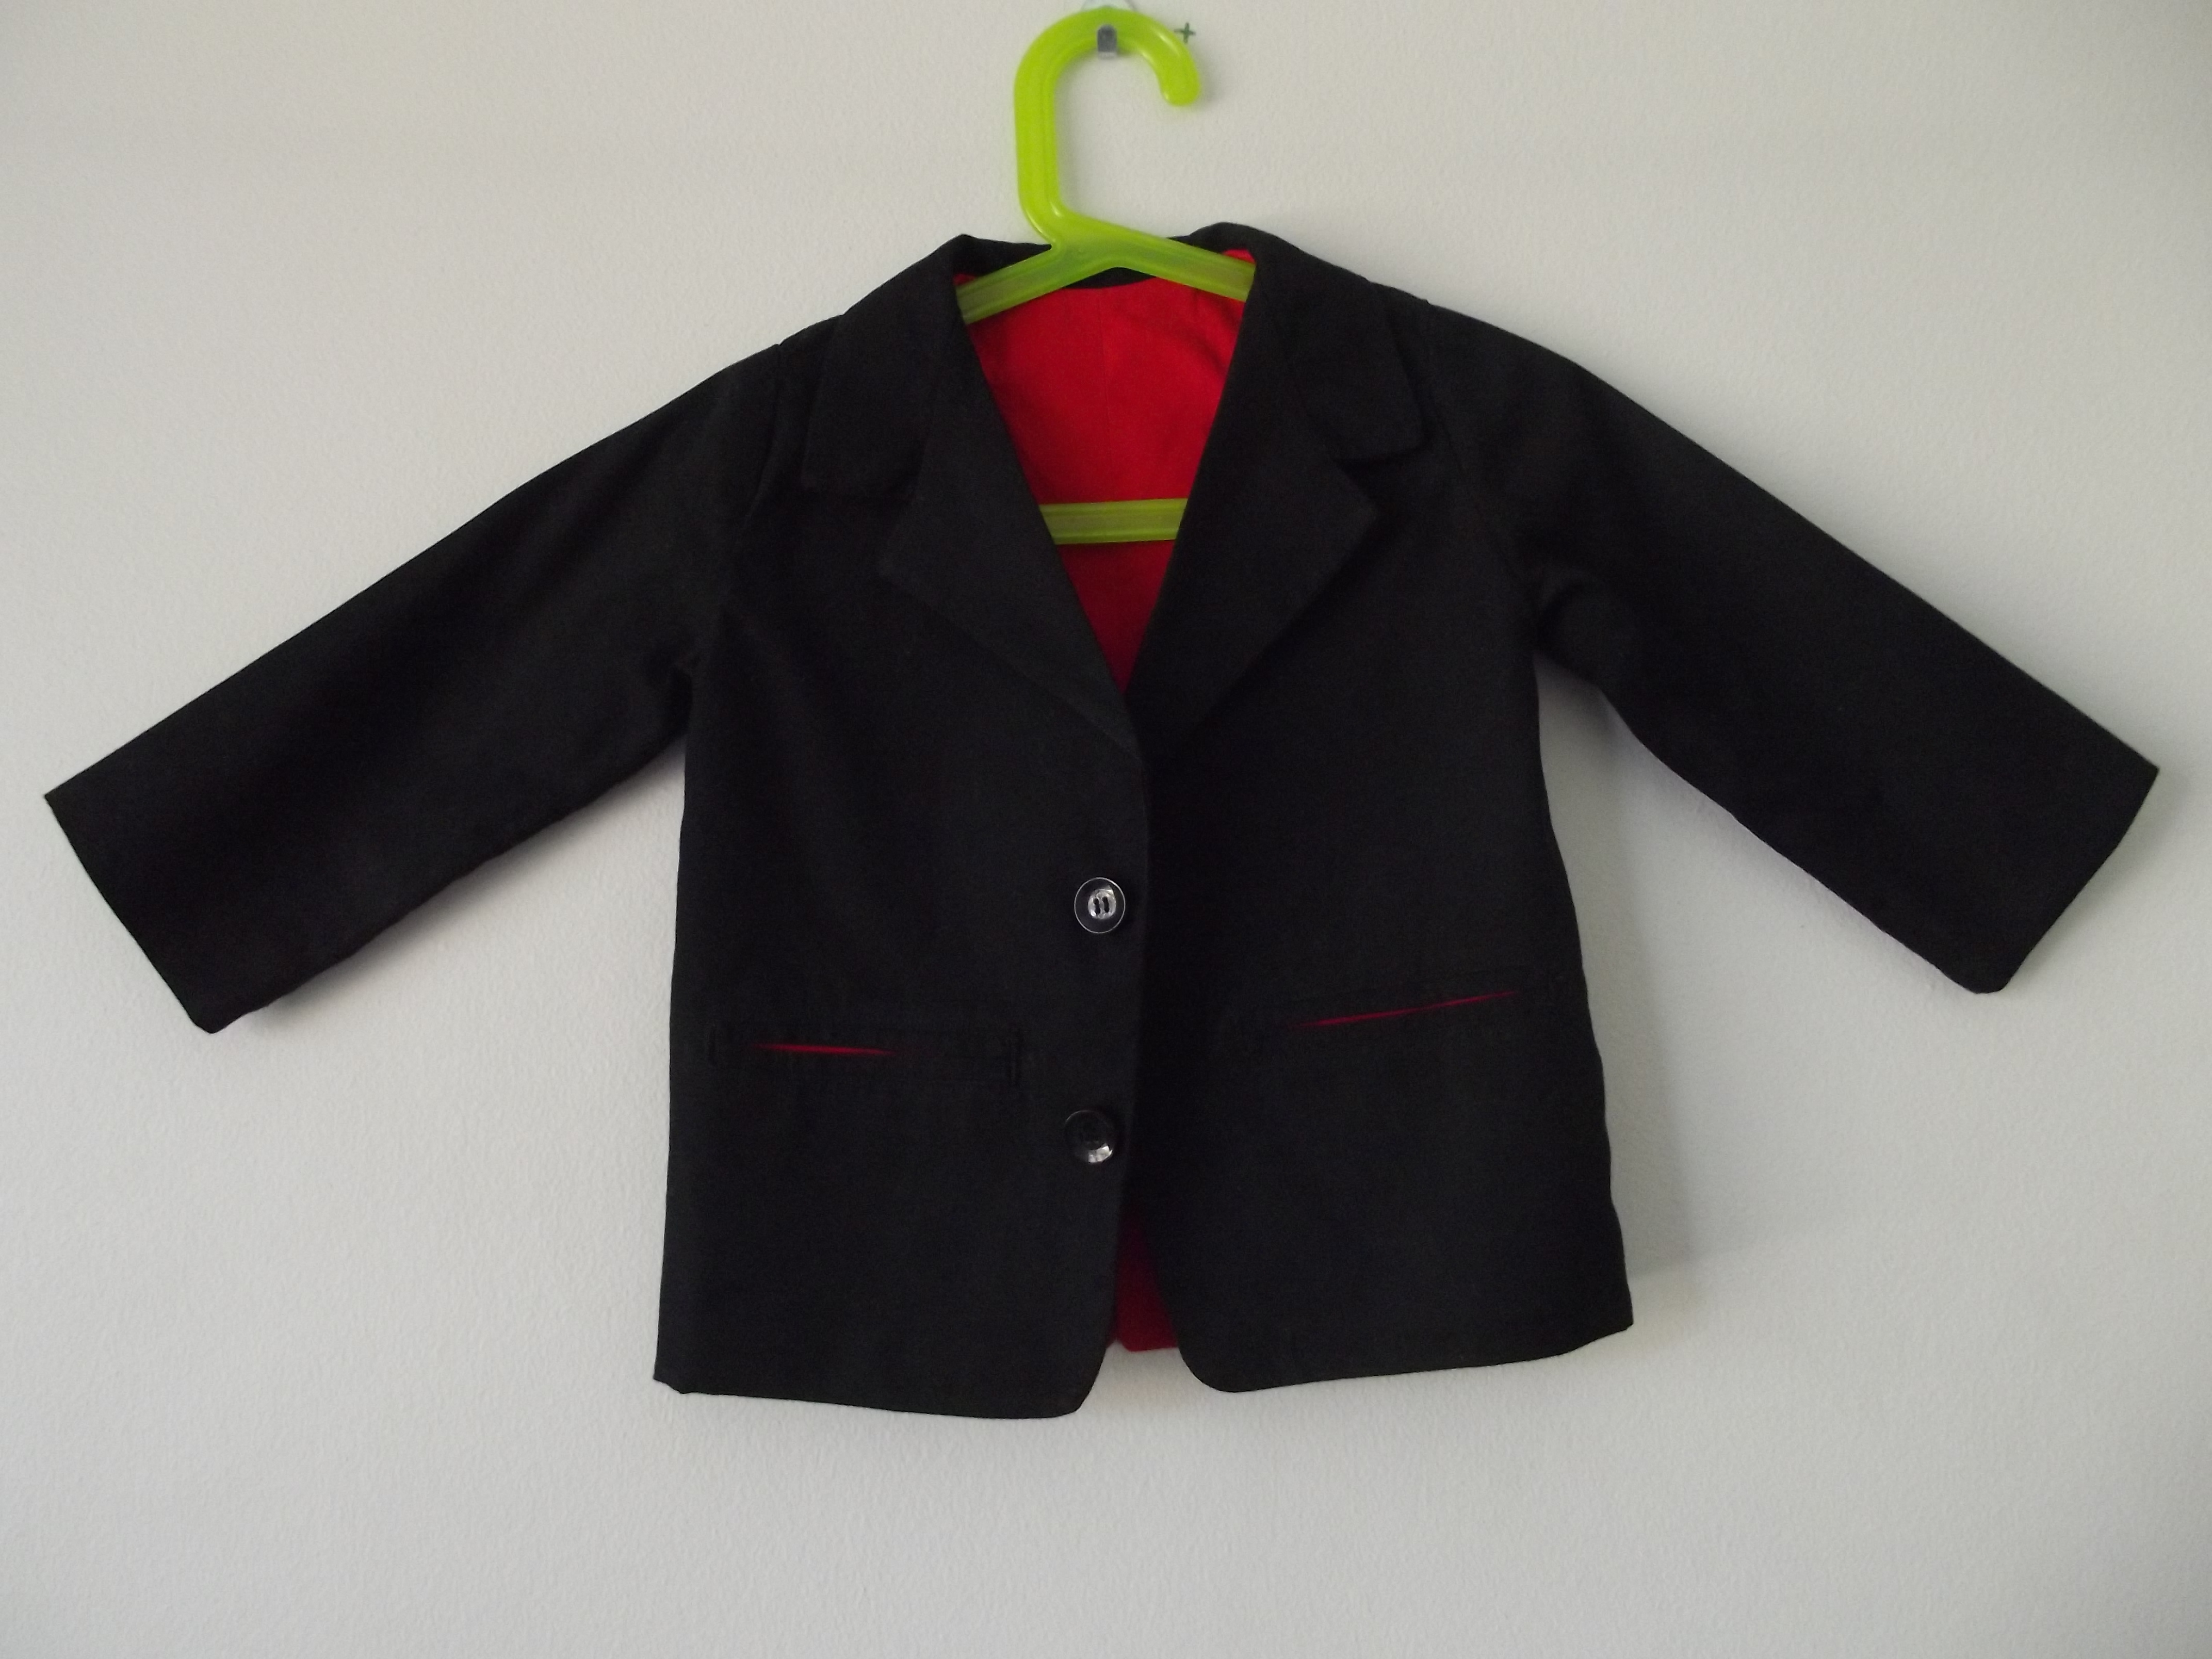 The most time consuming part of making it was the welt pockets. I may have huffed and grumbled making them, but they do look very good once they’re done!
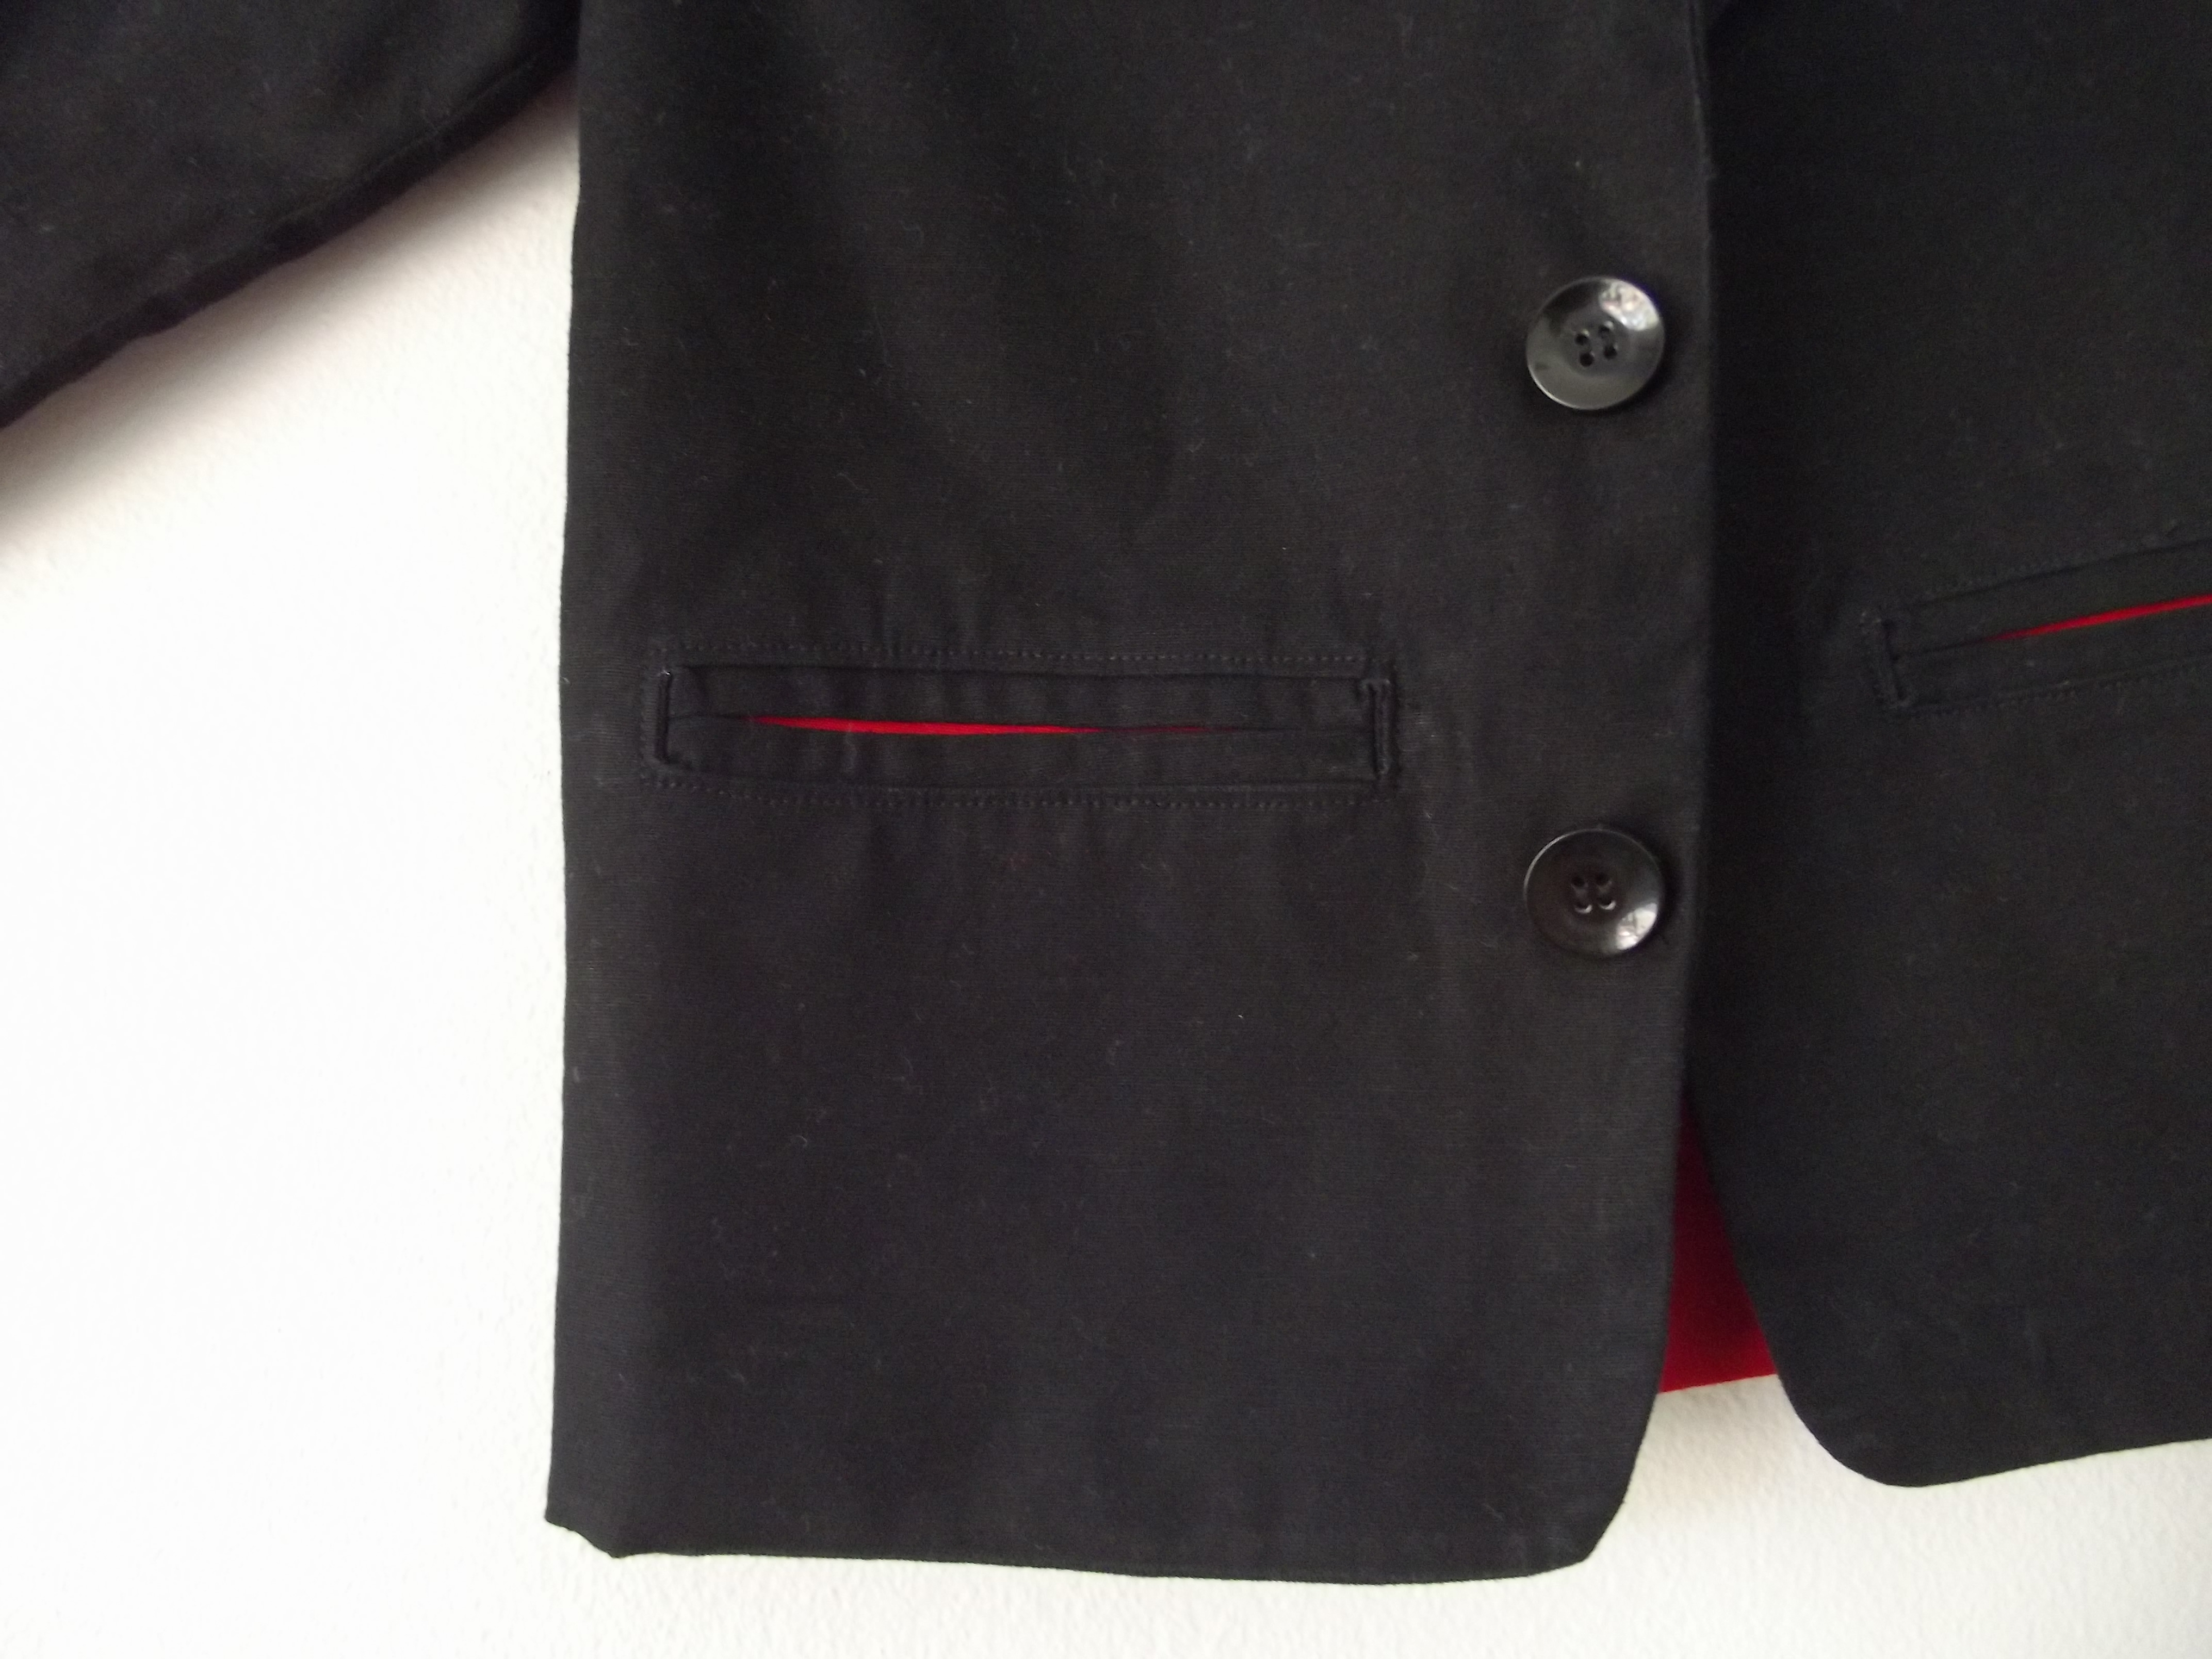
 Don’t I look smart:
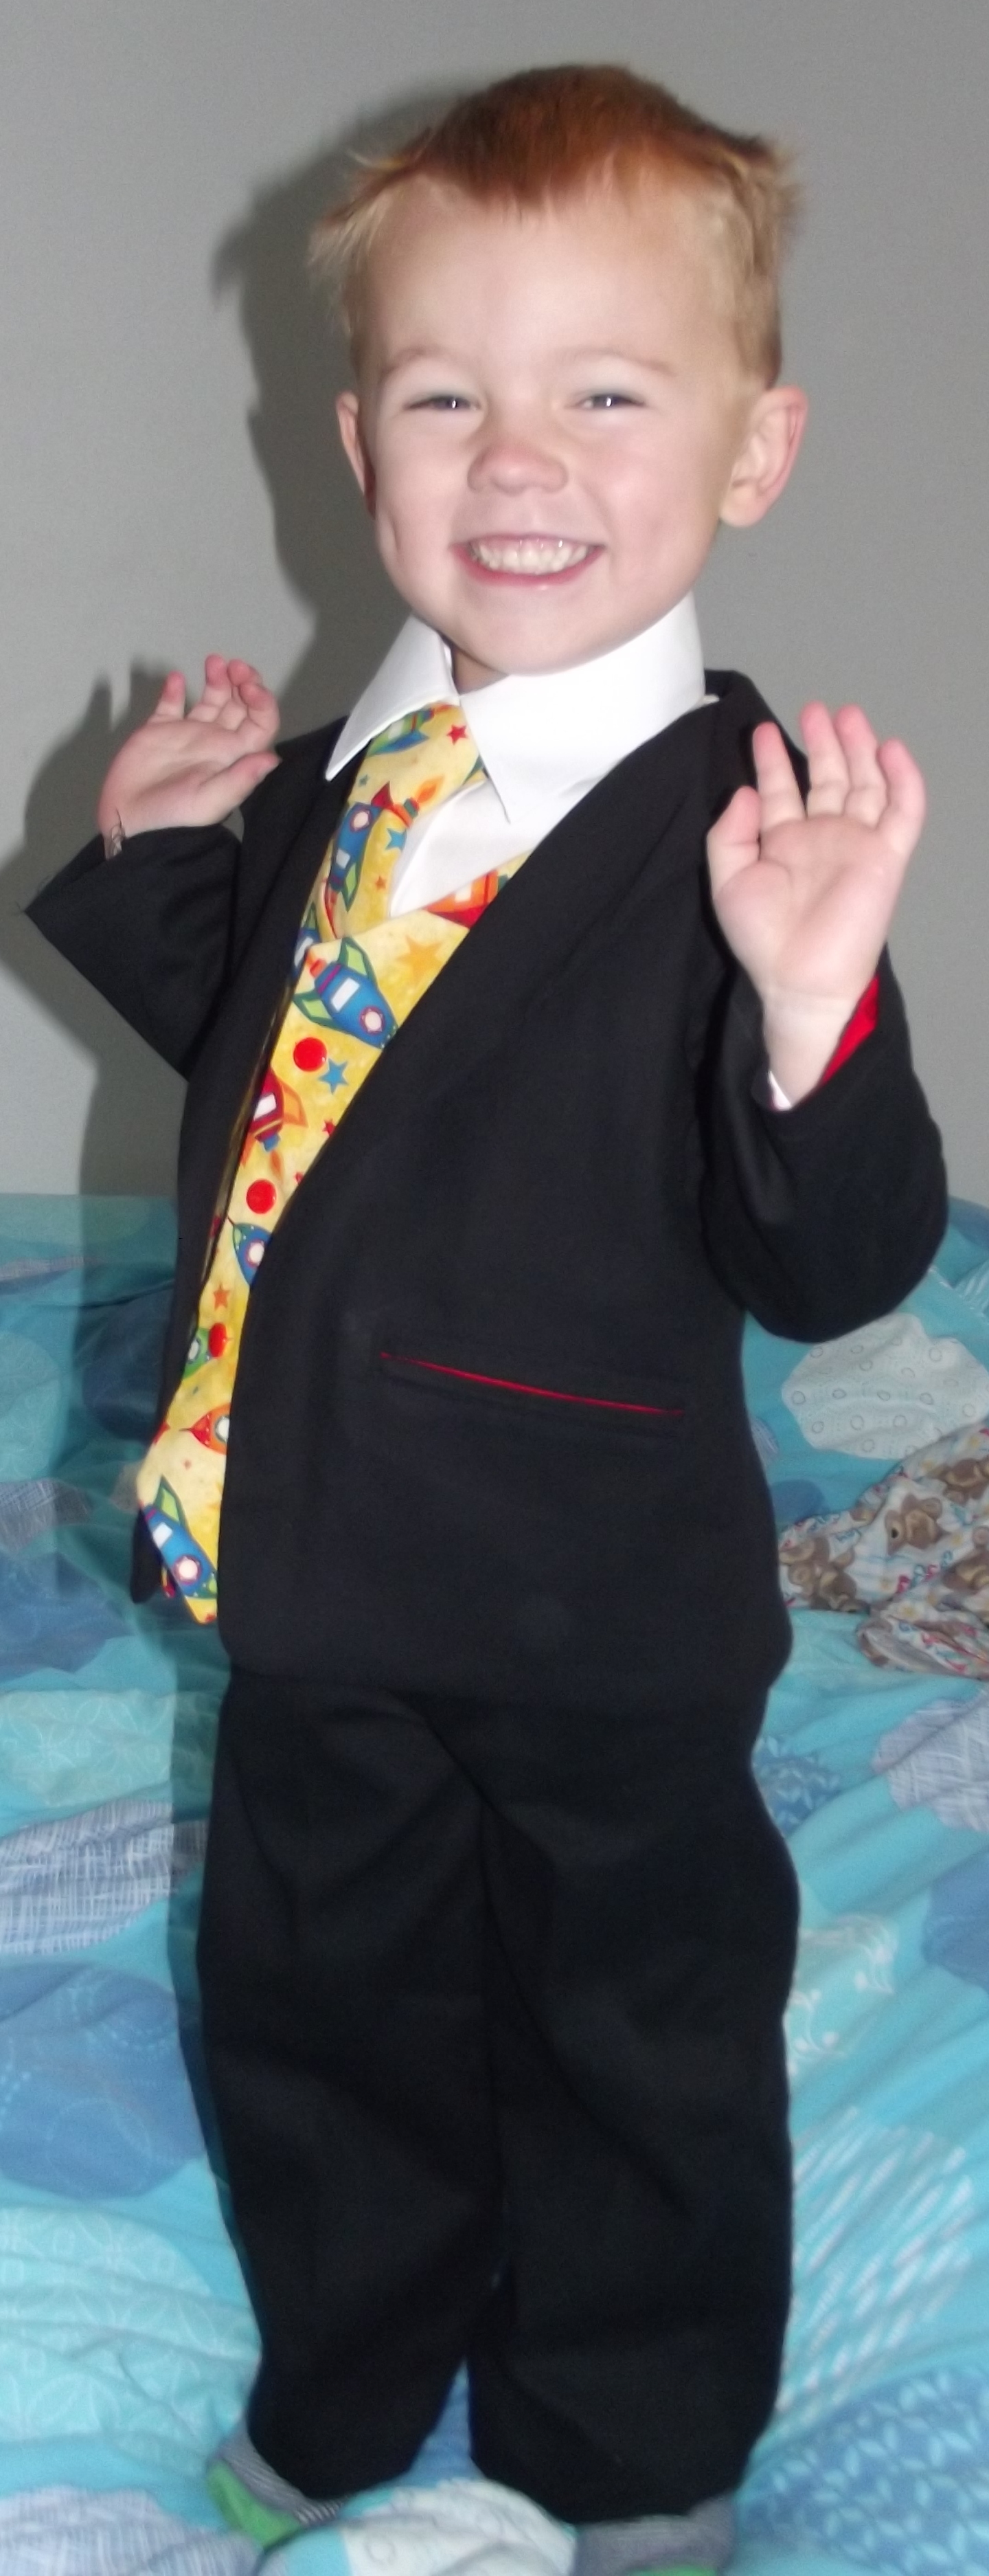 This is my ‘cool dude’ pose! (these were taken before the sleeves were hemmed):
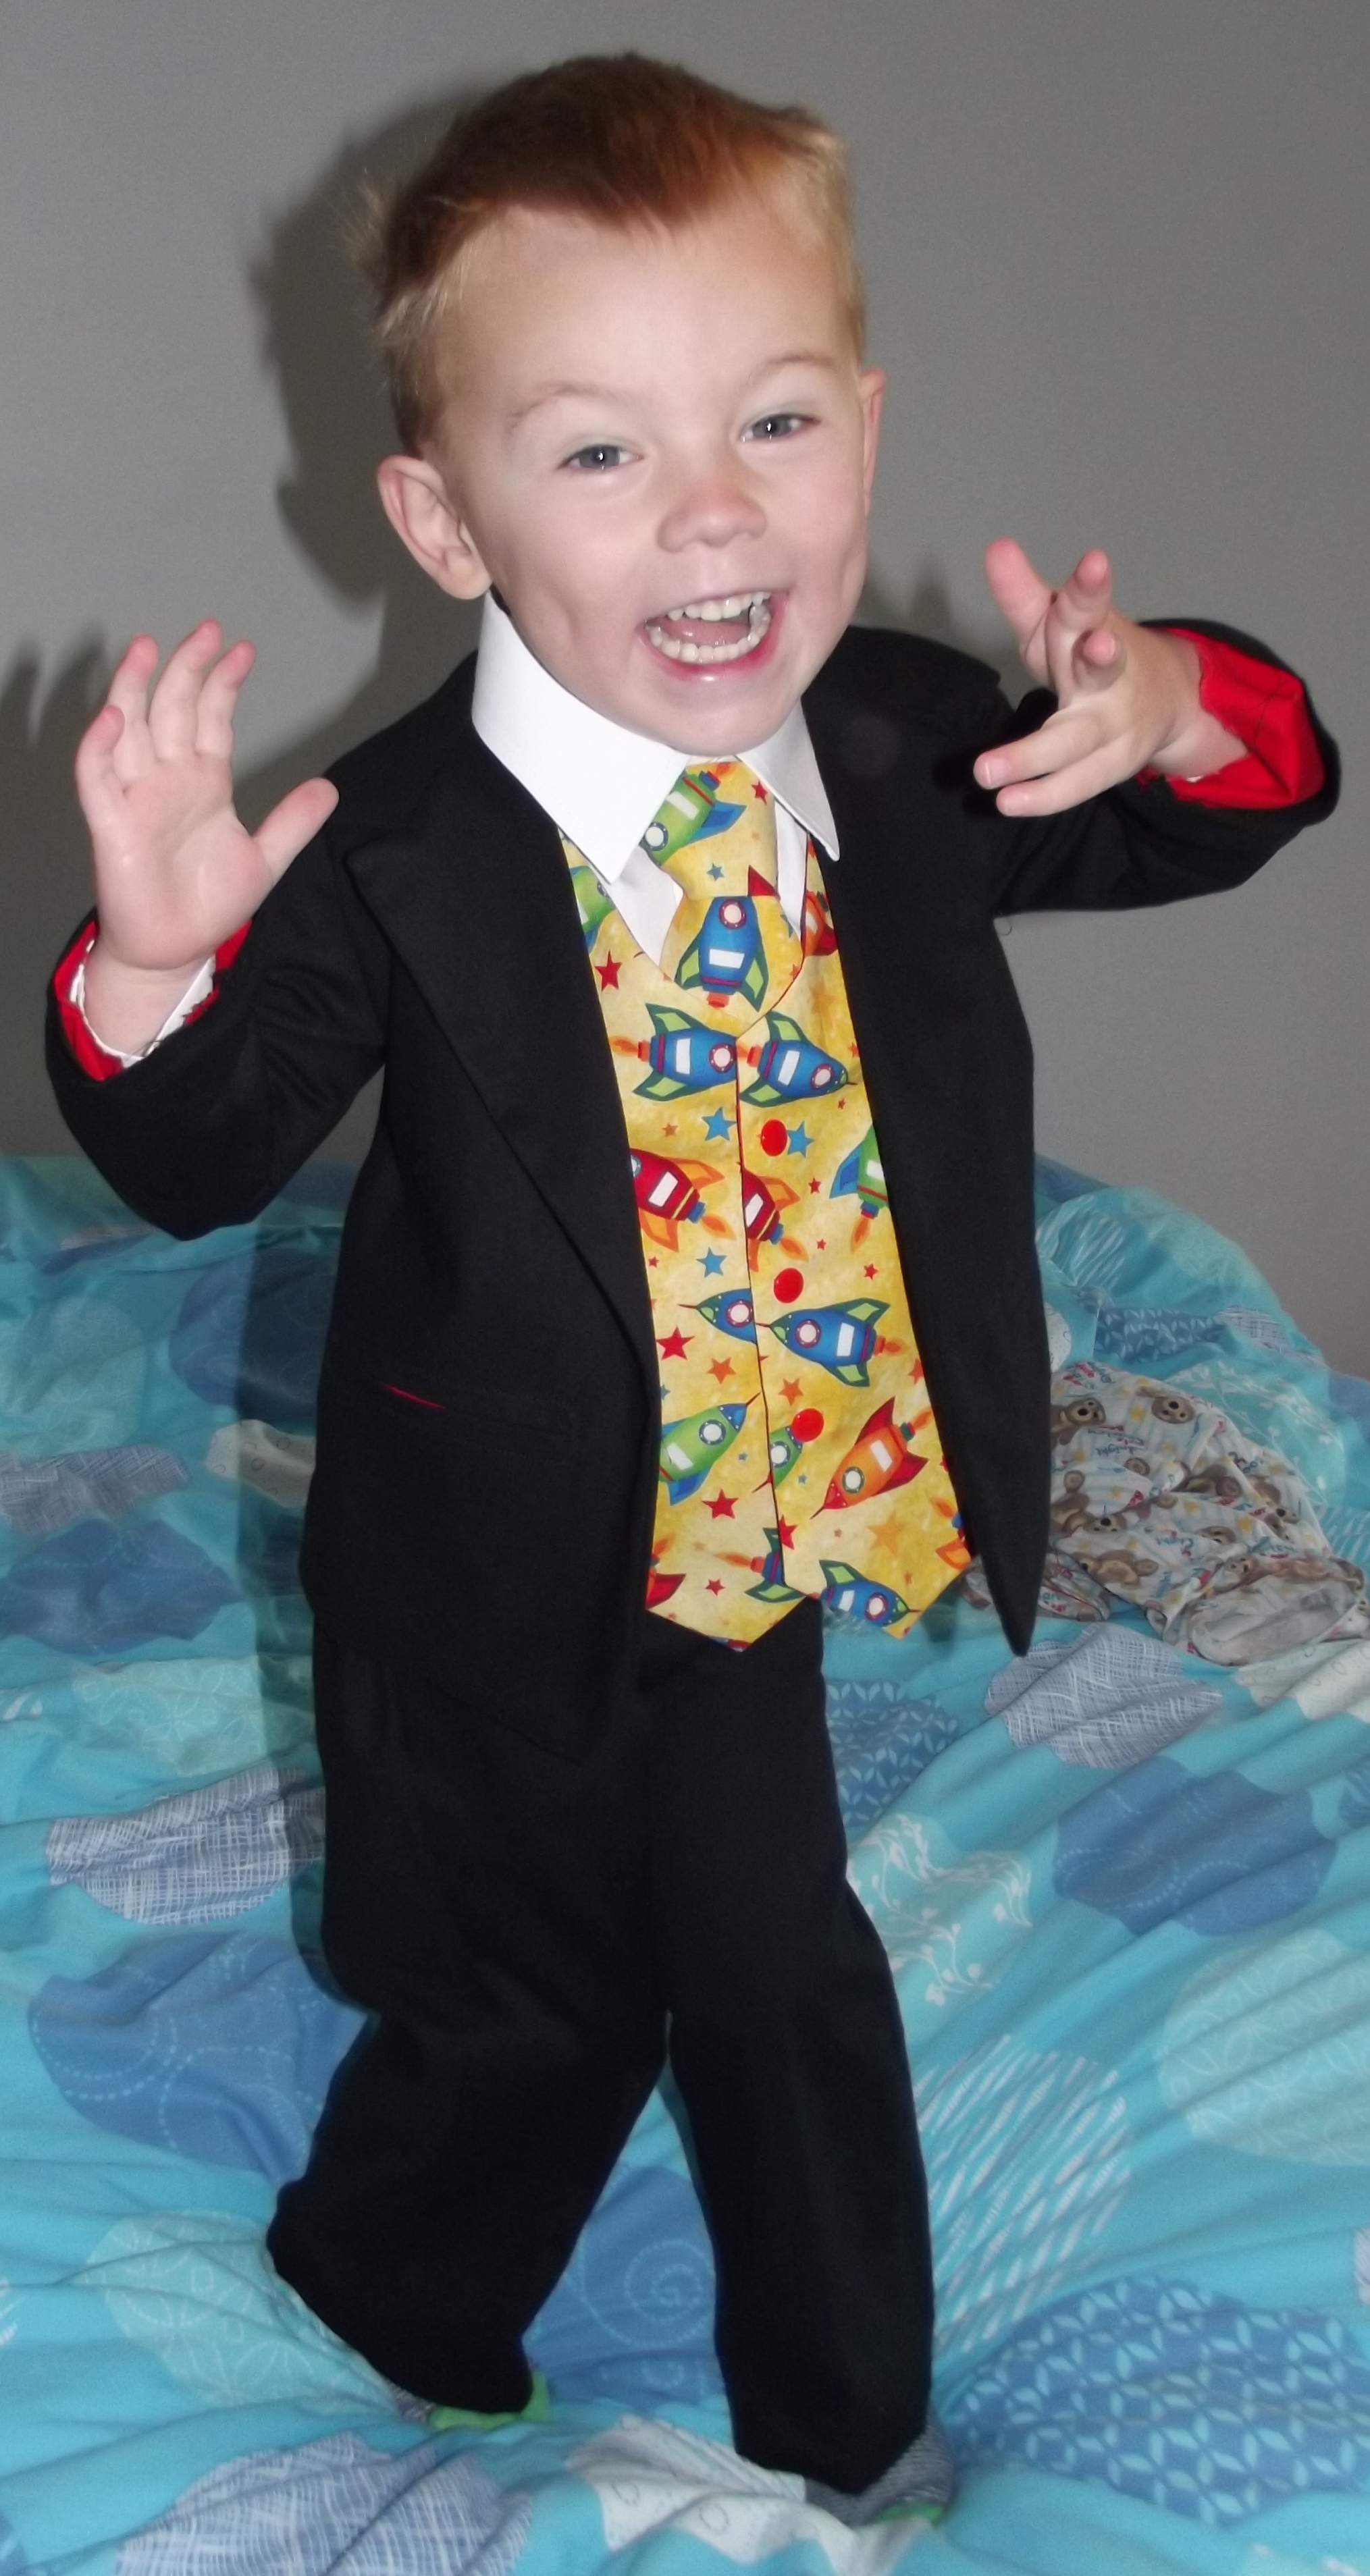


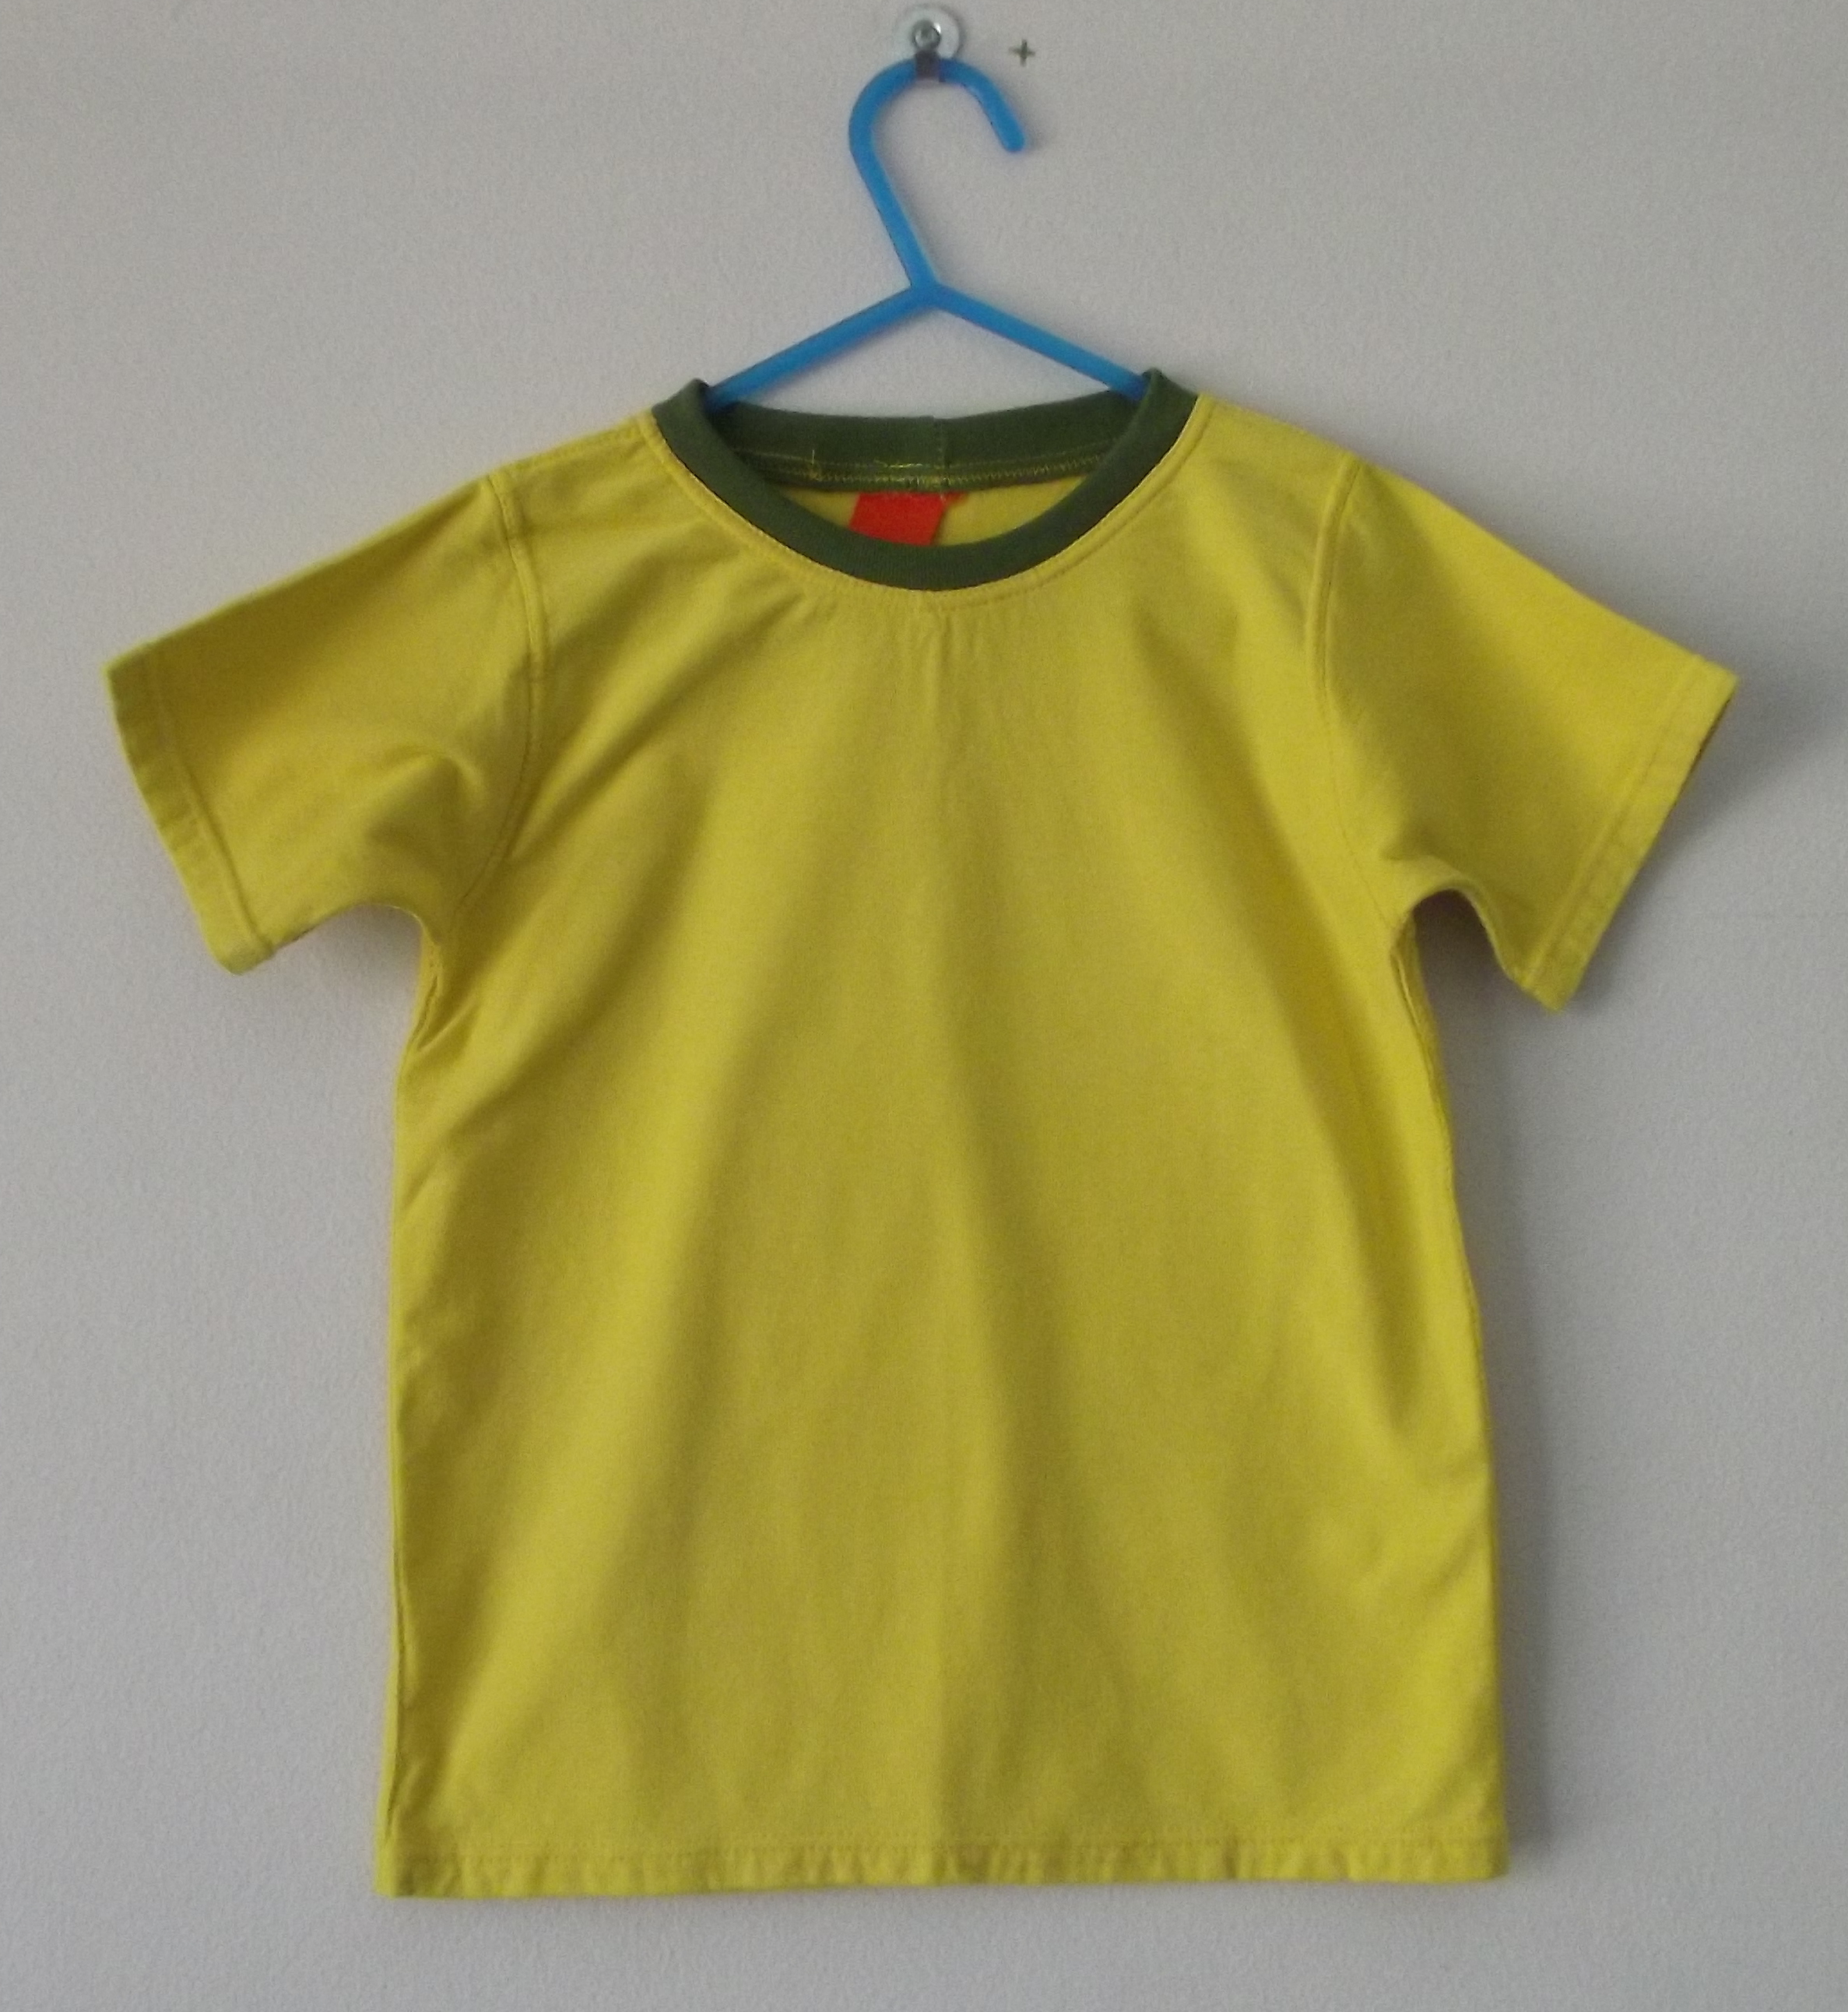 I sewed this t-shirt in a yellow fabric that I think was called cotton jersey, with green ribbing around the neckline. The colours were more a coincidence of colours the shop had in stock that looked nice together rather than a deliberate combination – I wasn’t intentionally making it in Australian colours or the colours of Norwich Football Club!
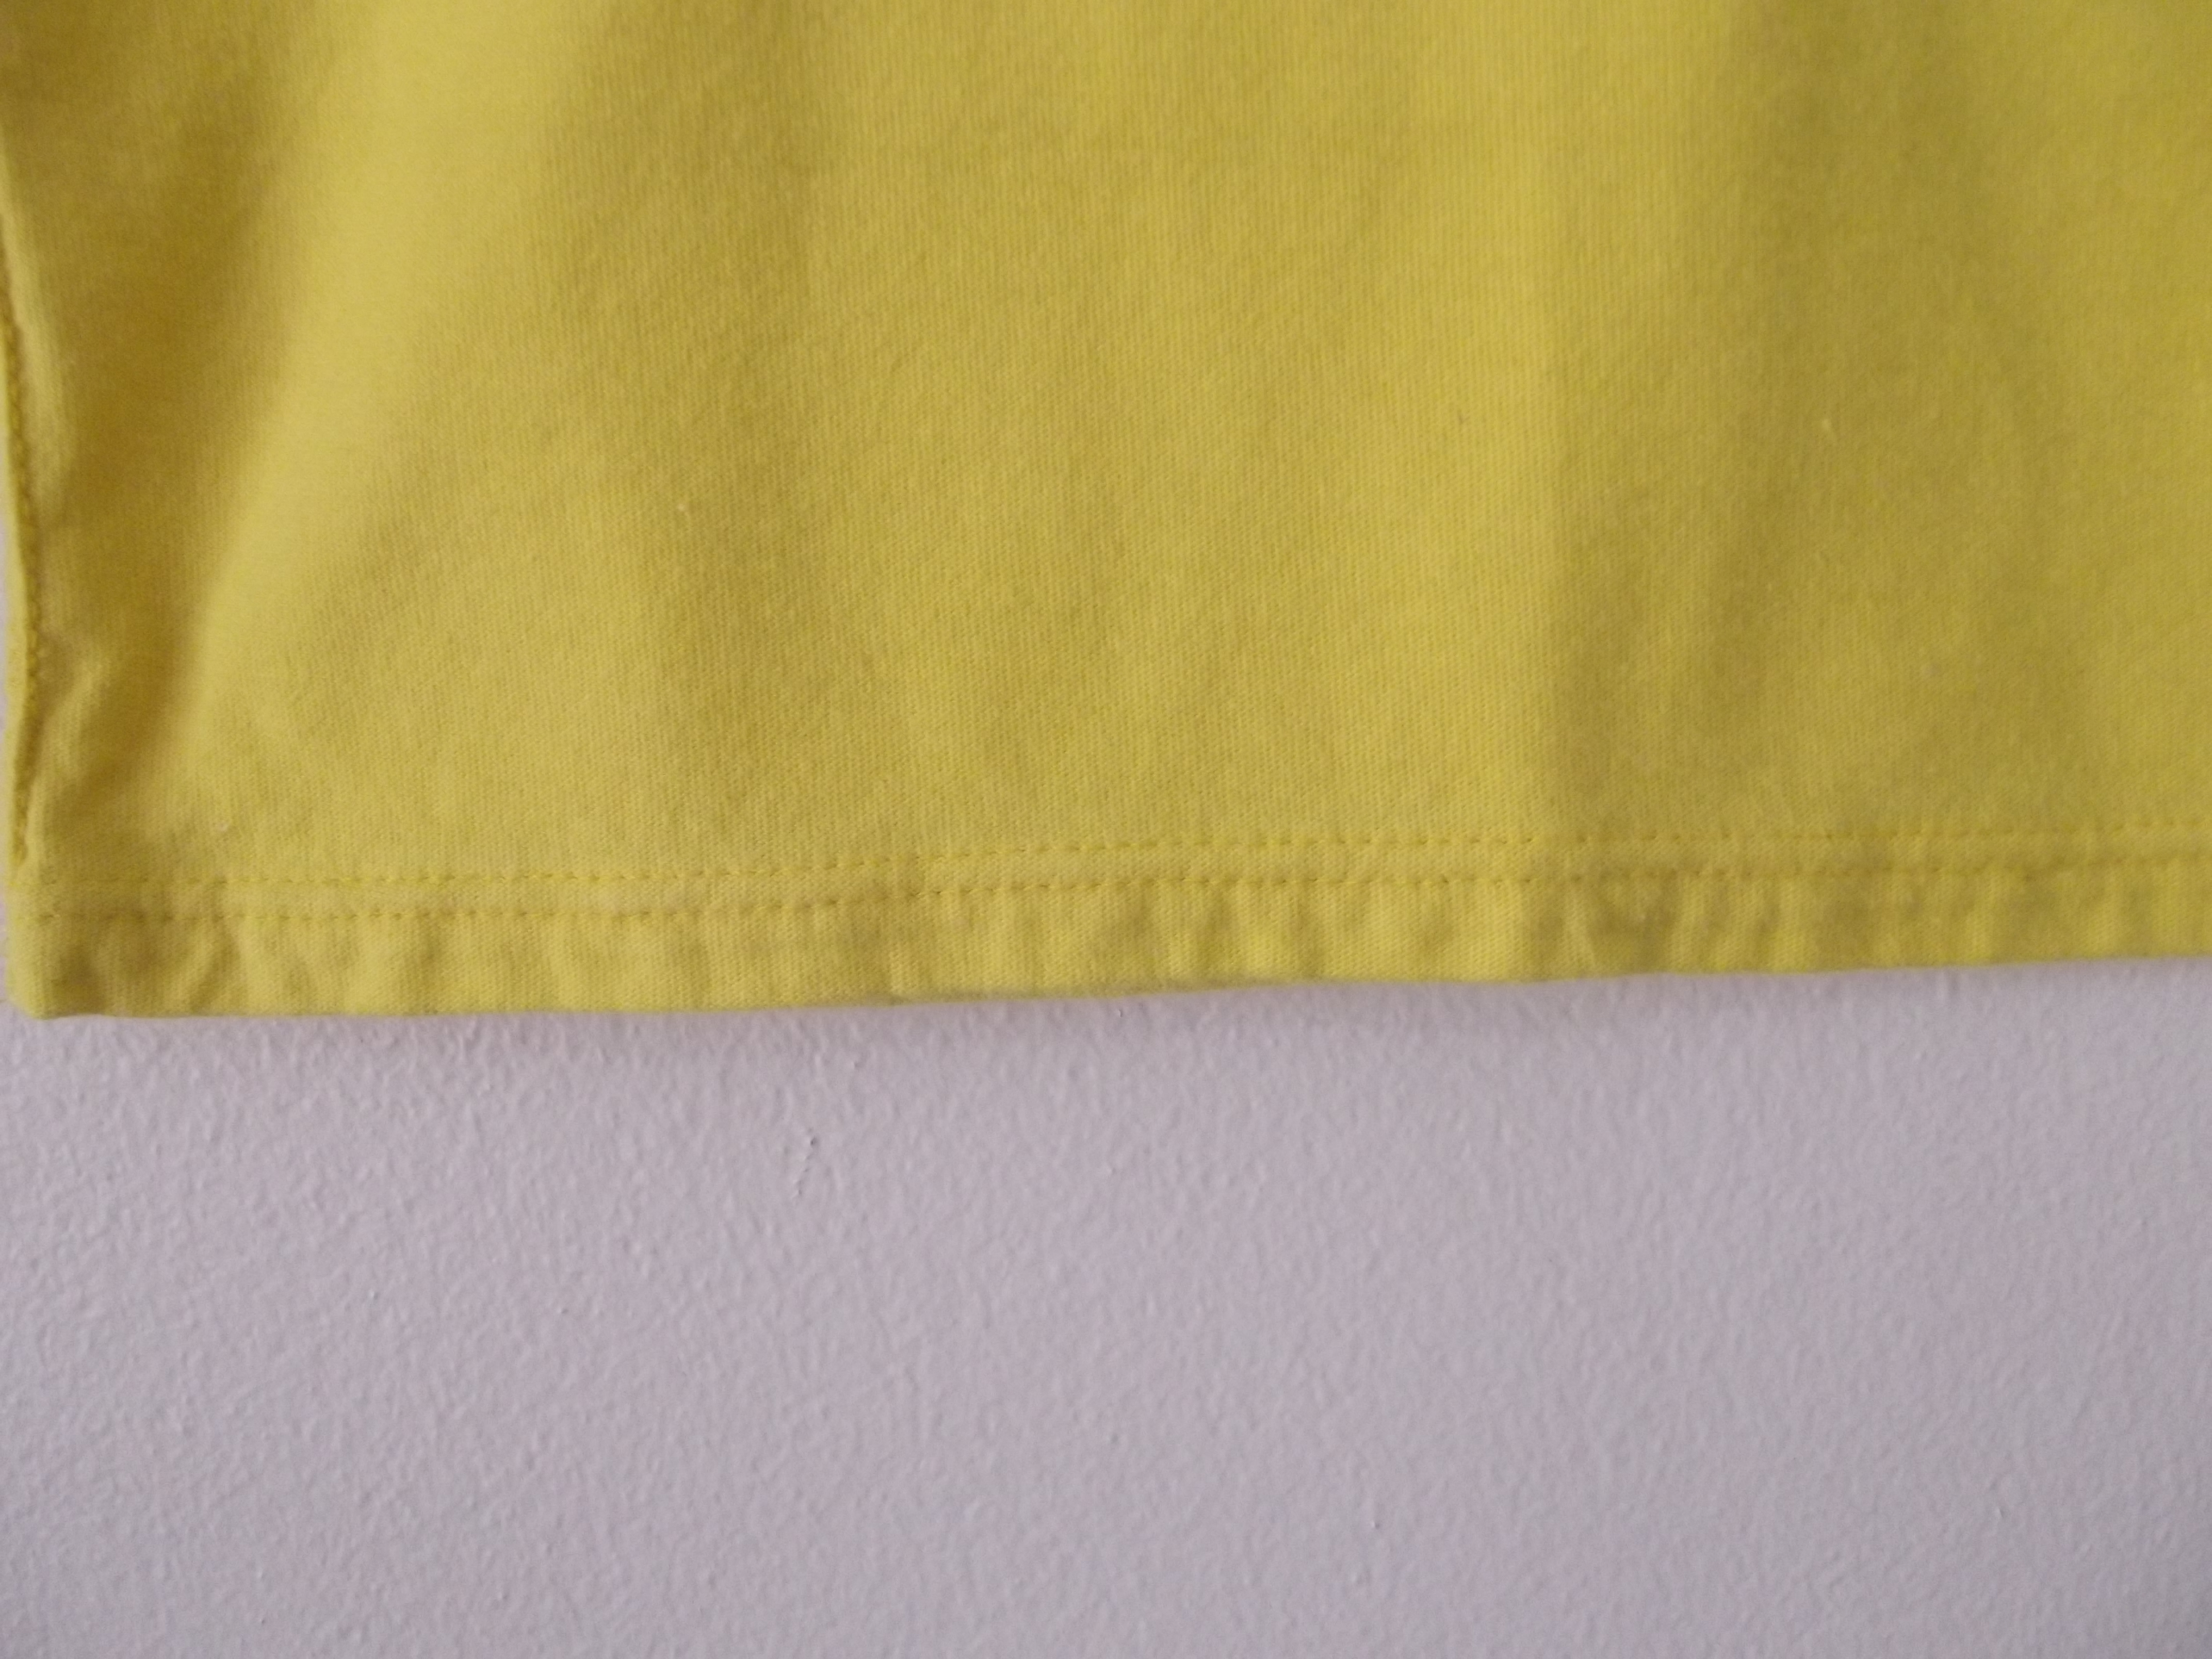 I used my new twin needle to sew most of the hems and seams. It makes a double line of straight stitches on the front with a zigzag on the back which allows the material to stretch without the stitches breaking.
 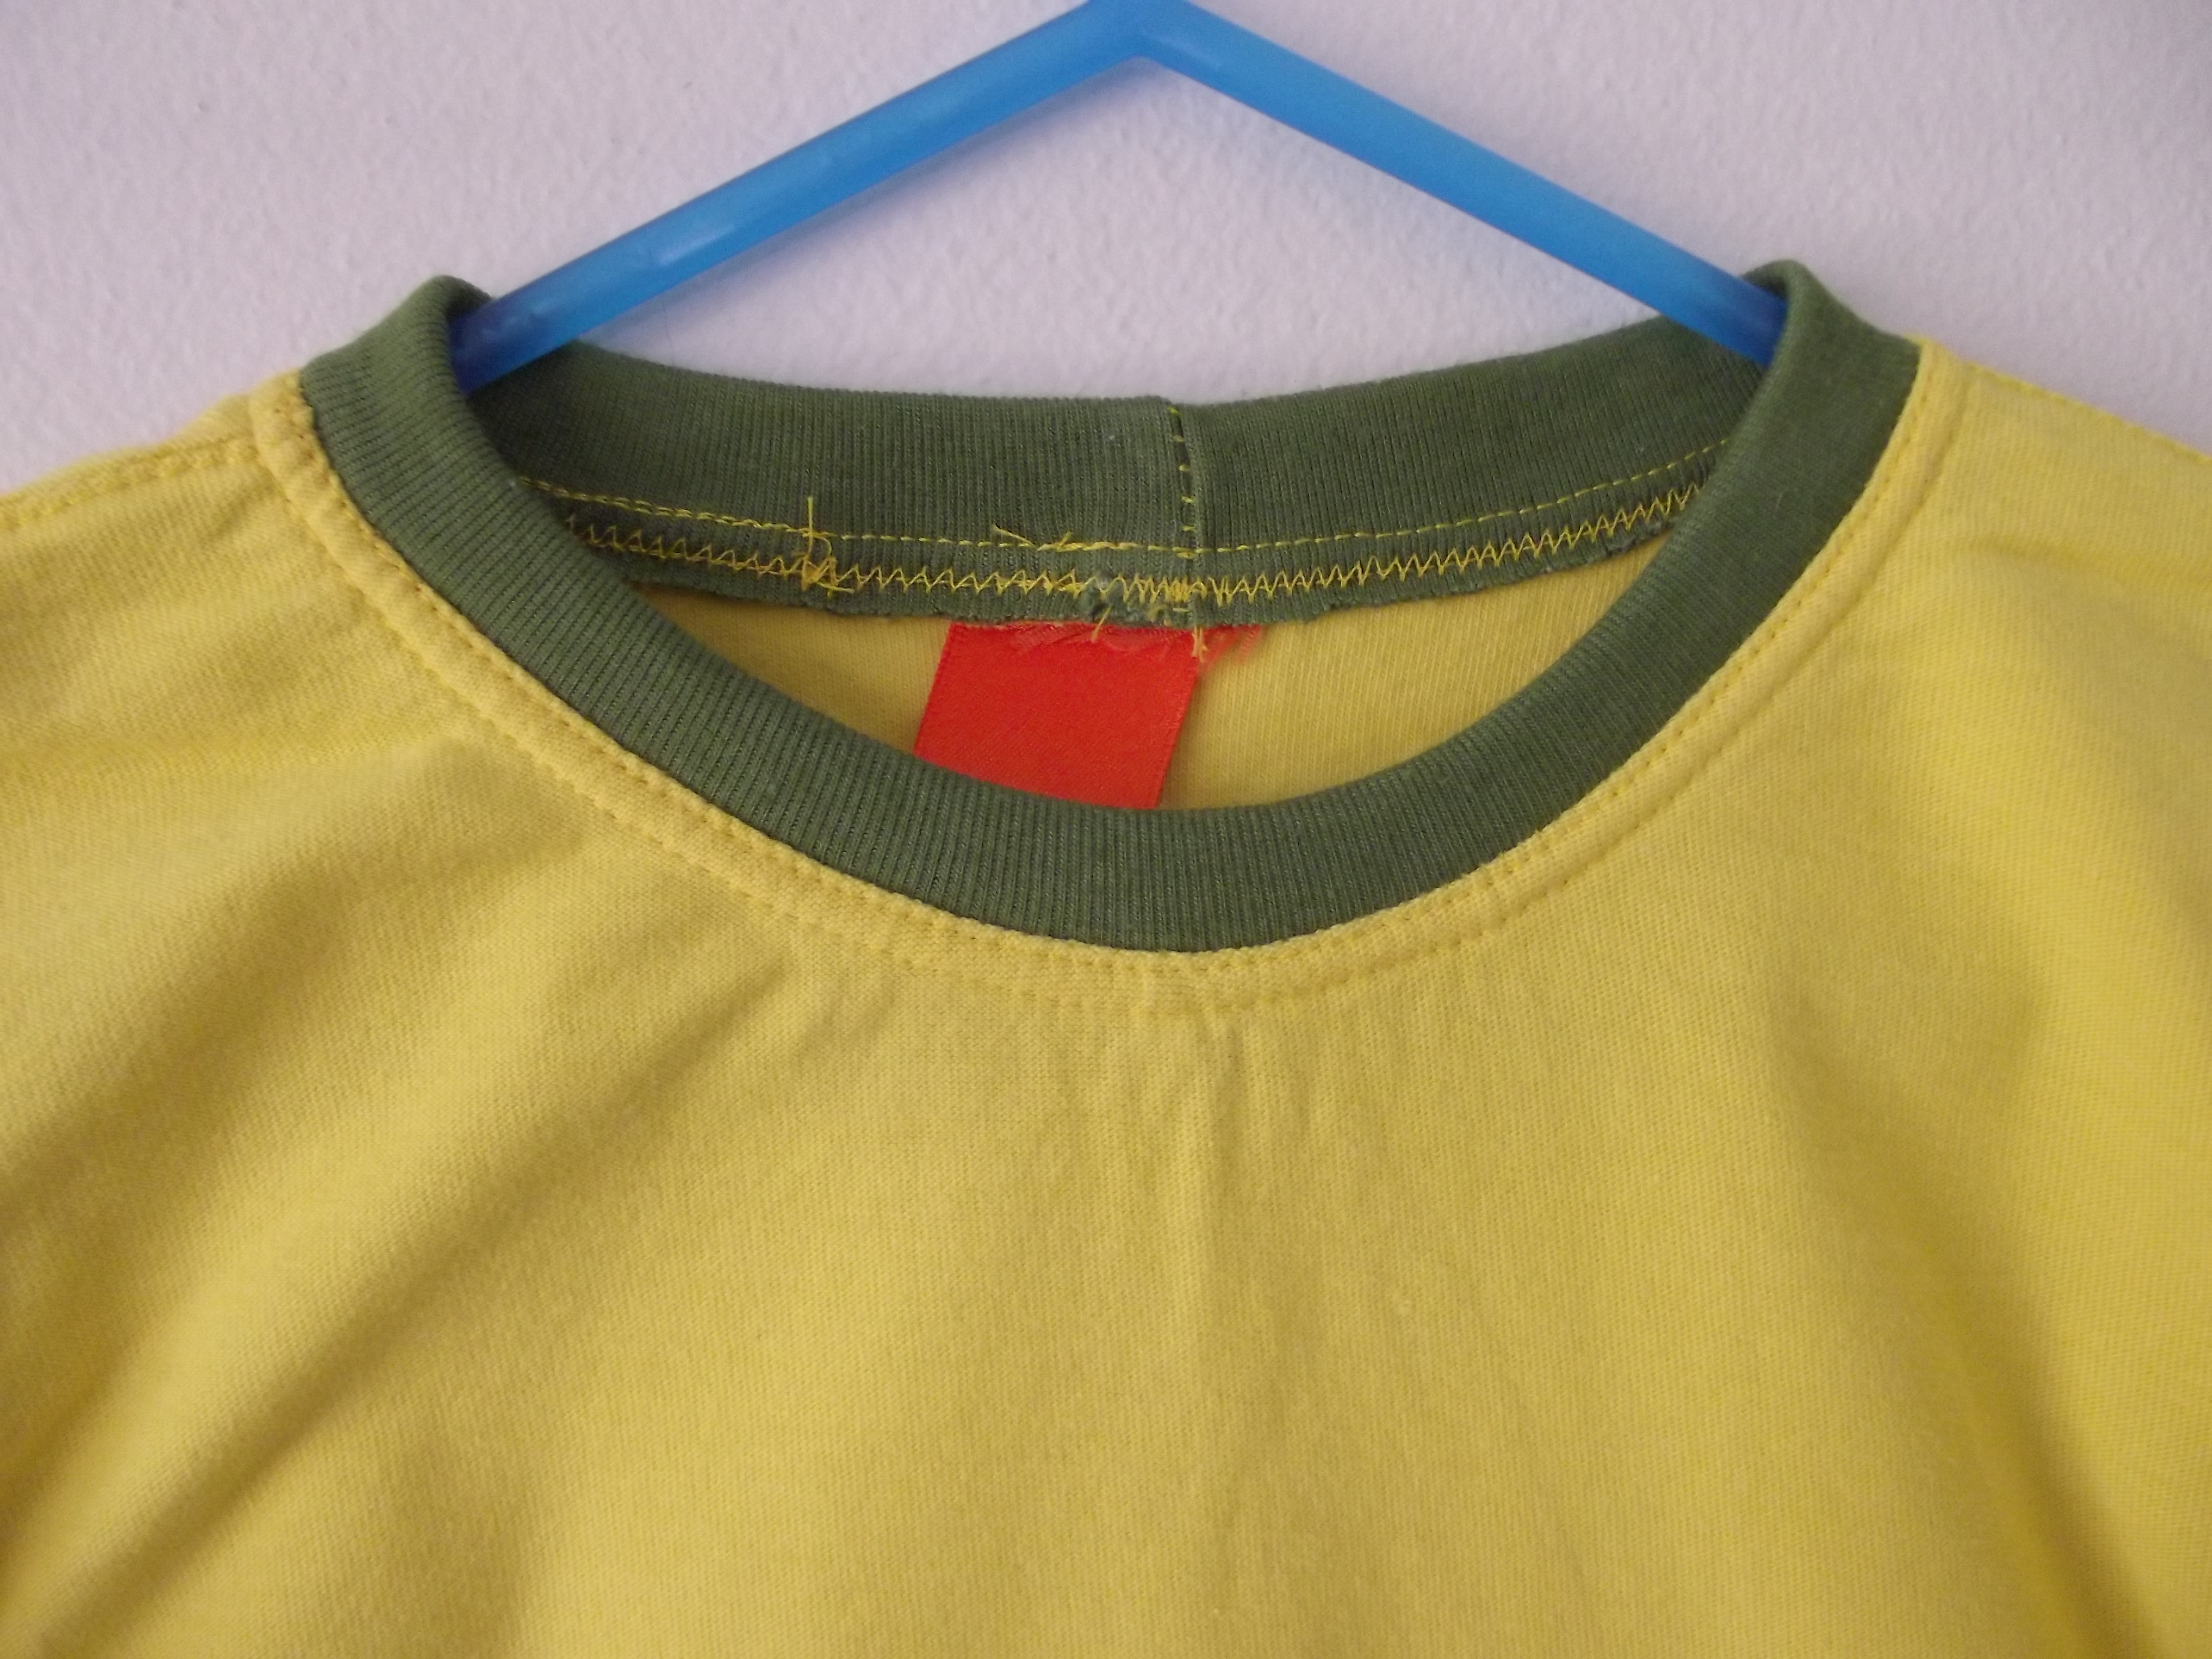 My ribbon label in the back is a little bit wonky – it must have got pulled to one side as I was sewing the neckline! But it does its job of showing which way it needs to be put on.
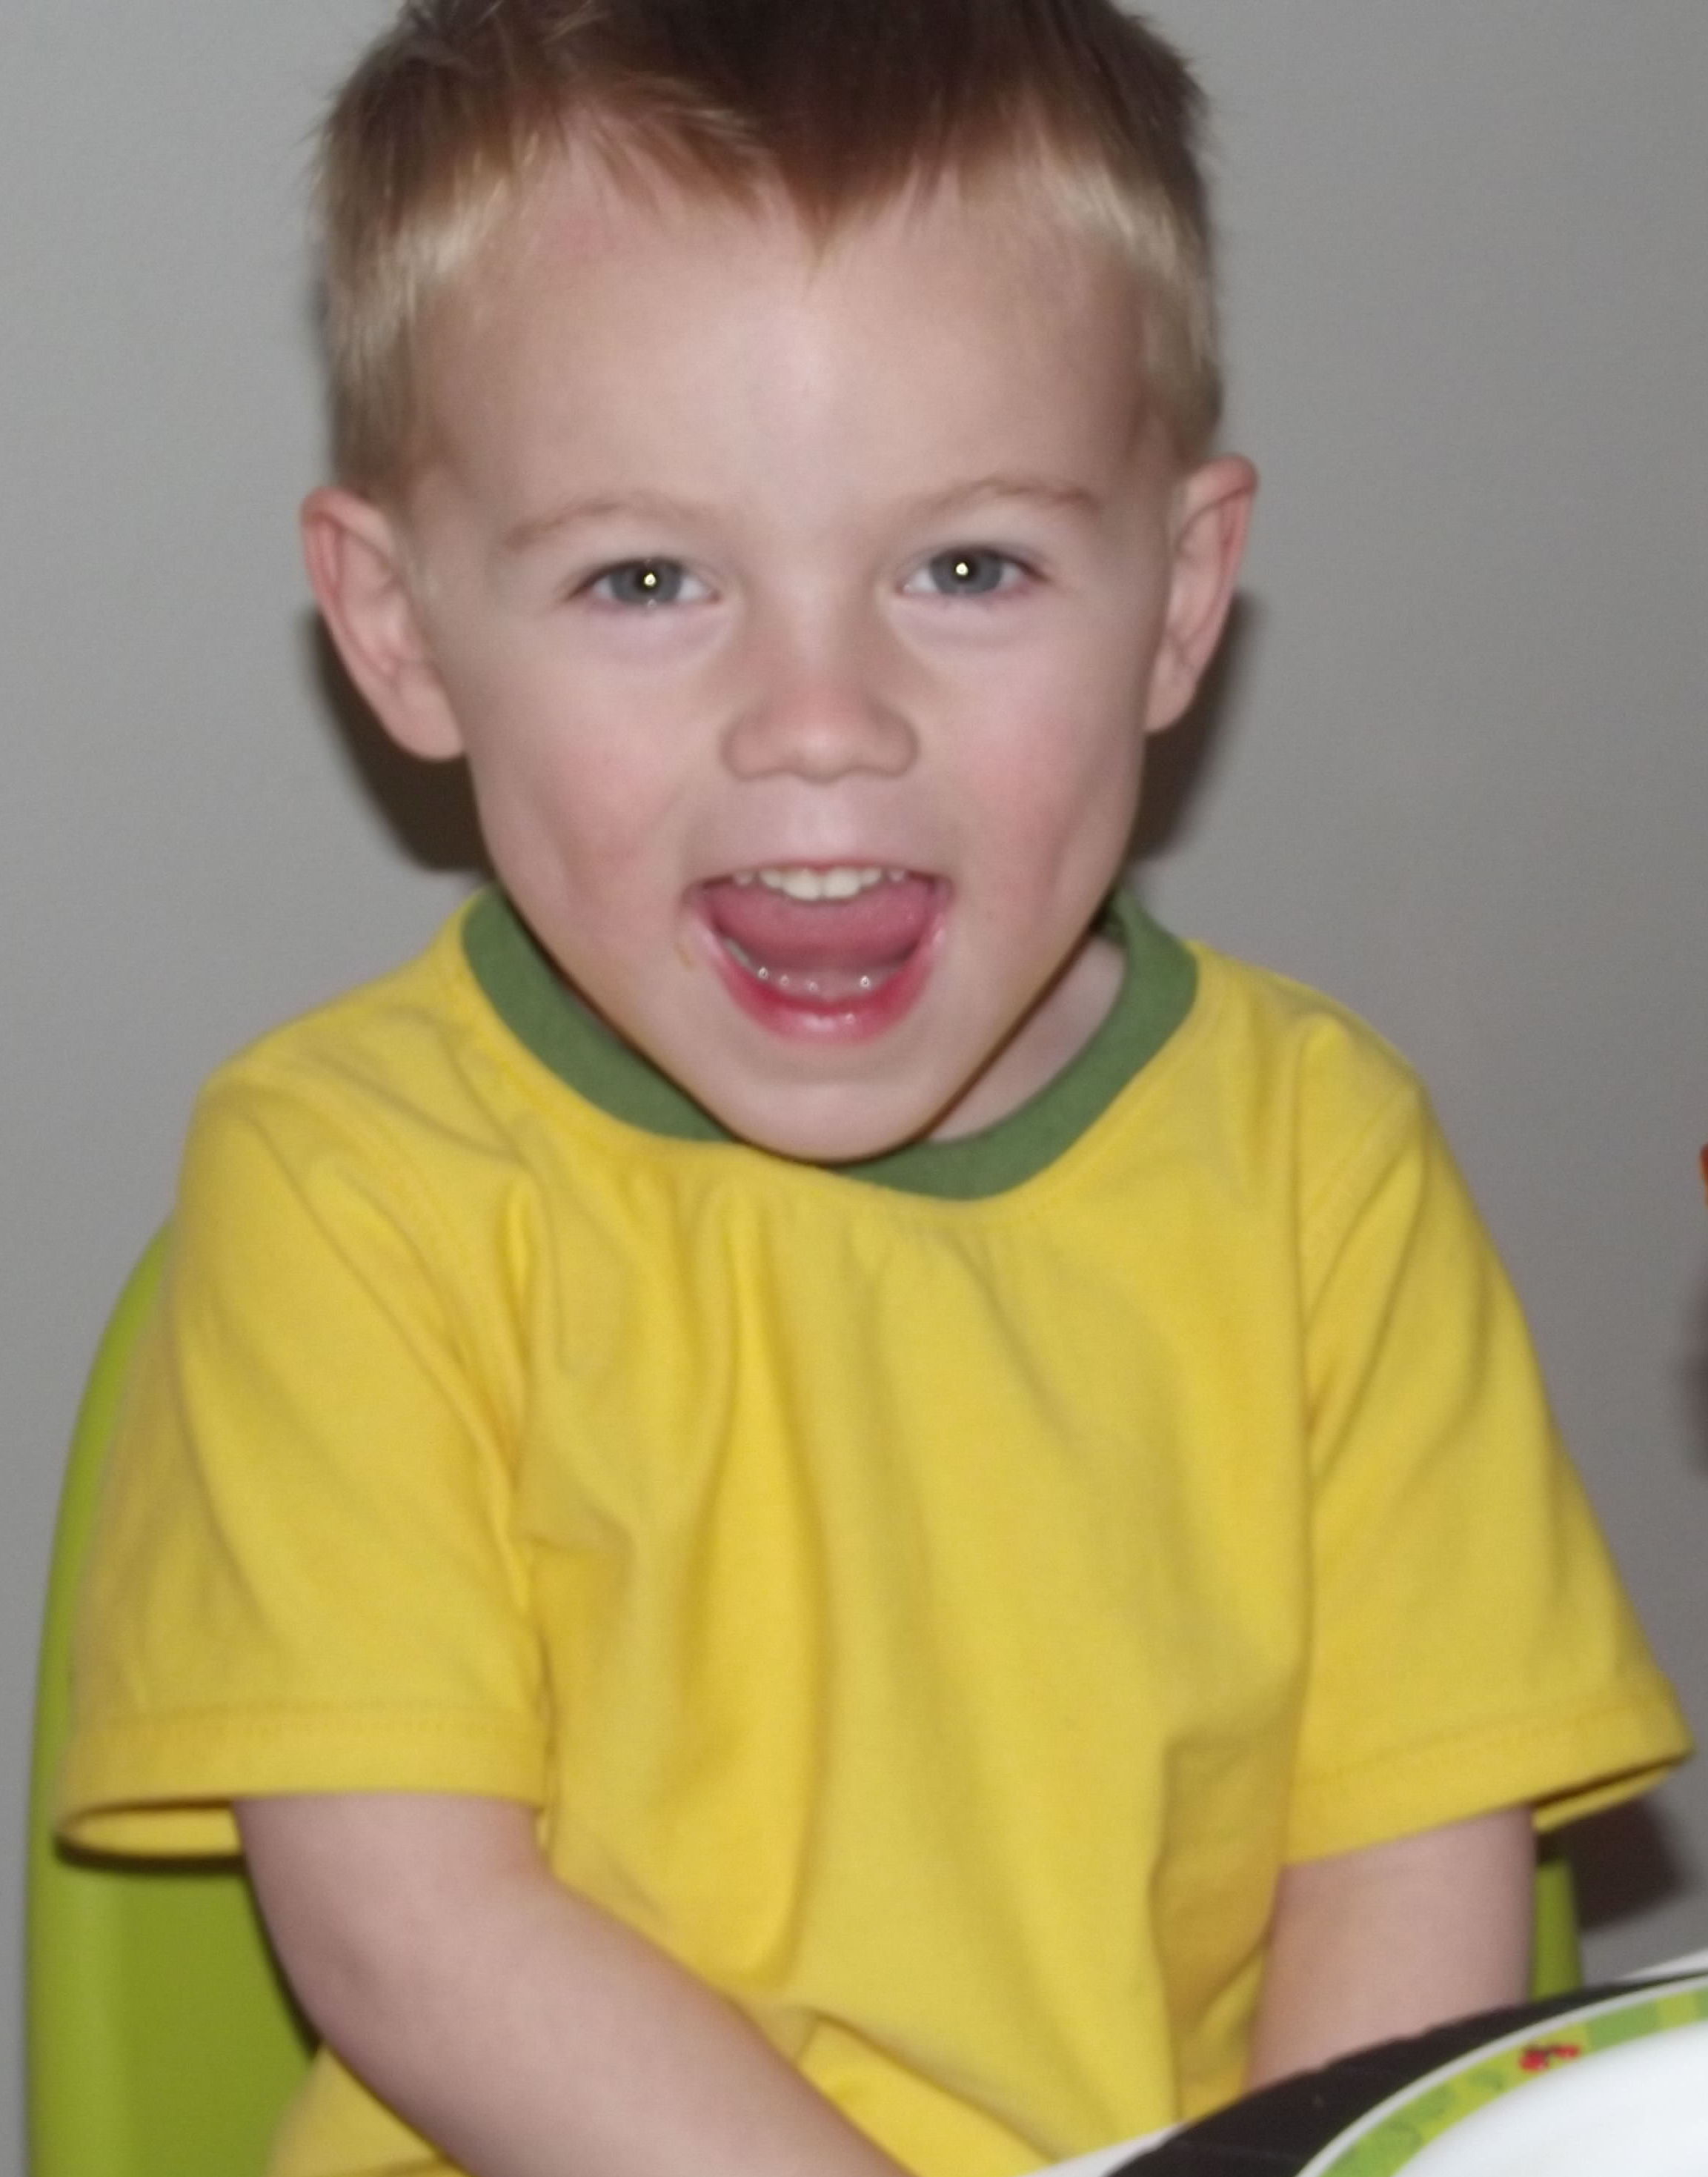

 B:
B: C:
C: D:
D: E:
E:


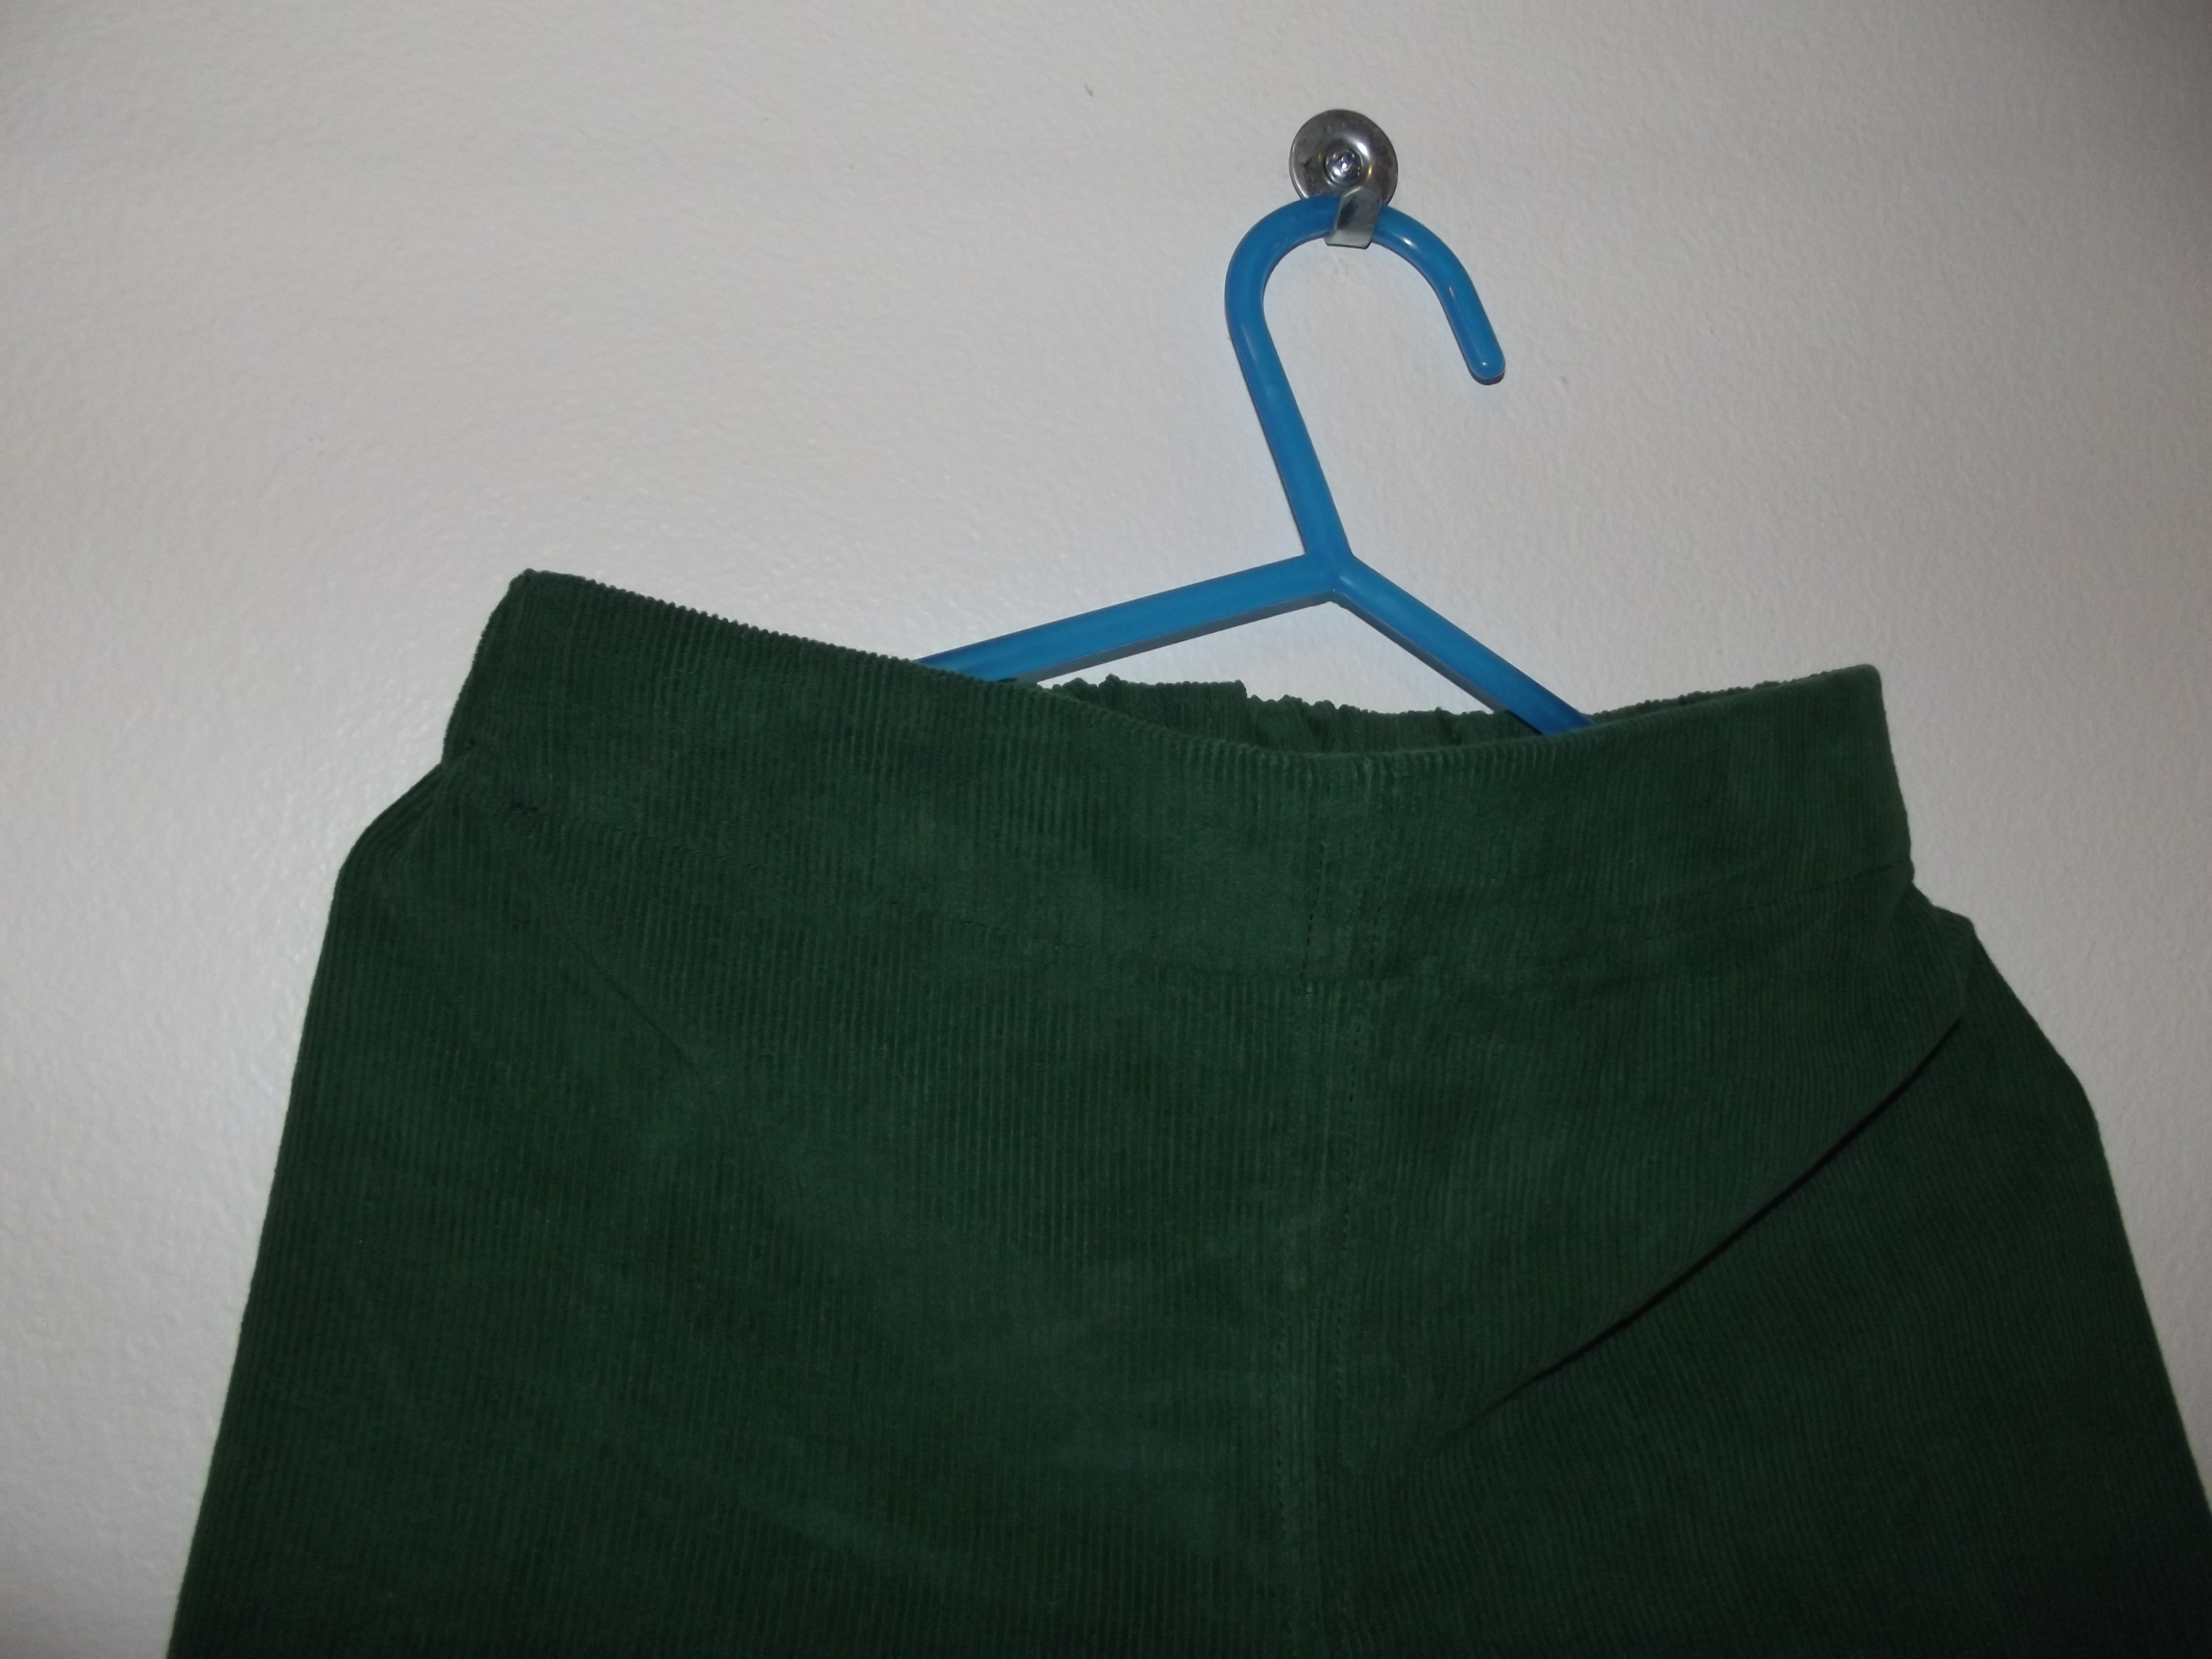 I chopped a big chunk off the bottom of the pattern this time as the
  They turned out well 🙂
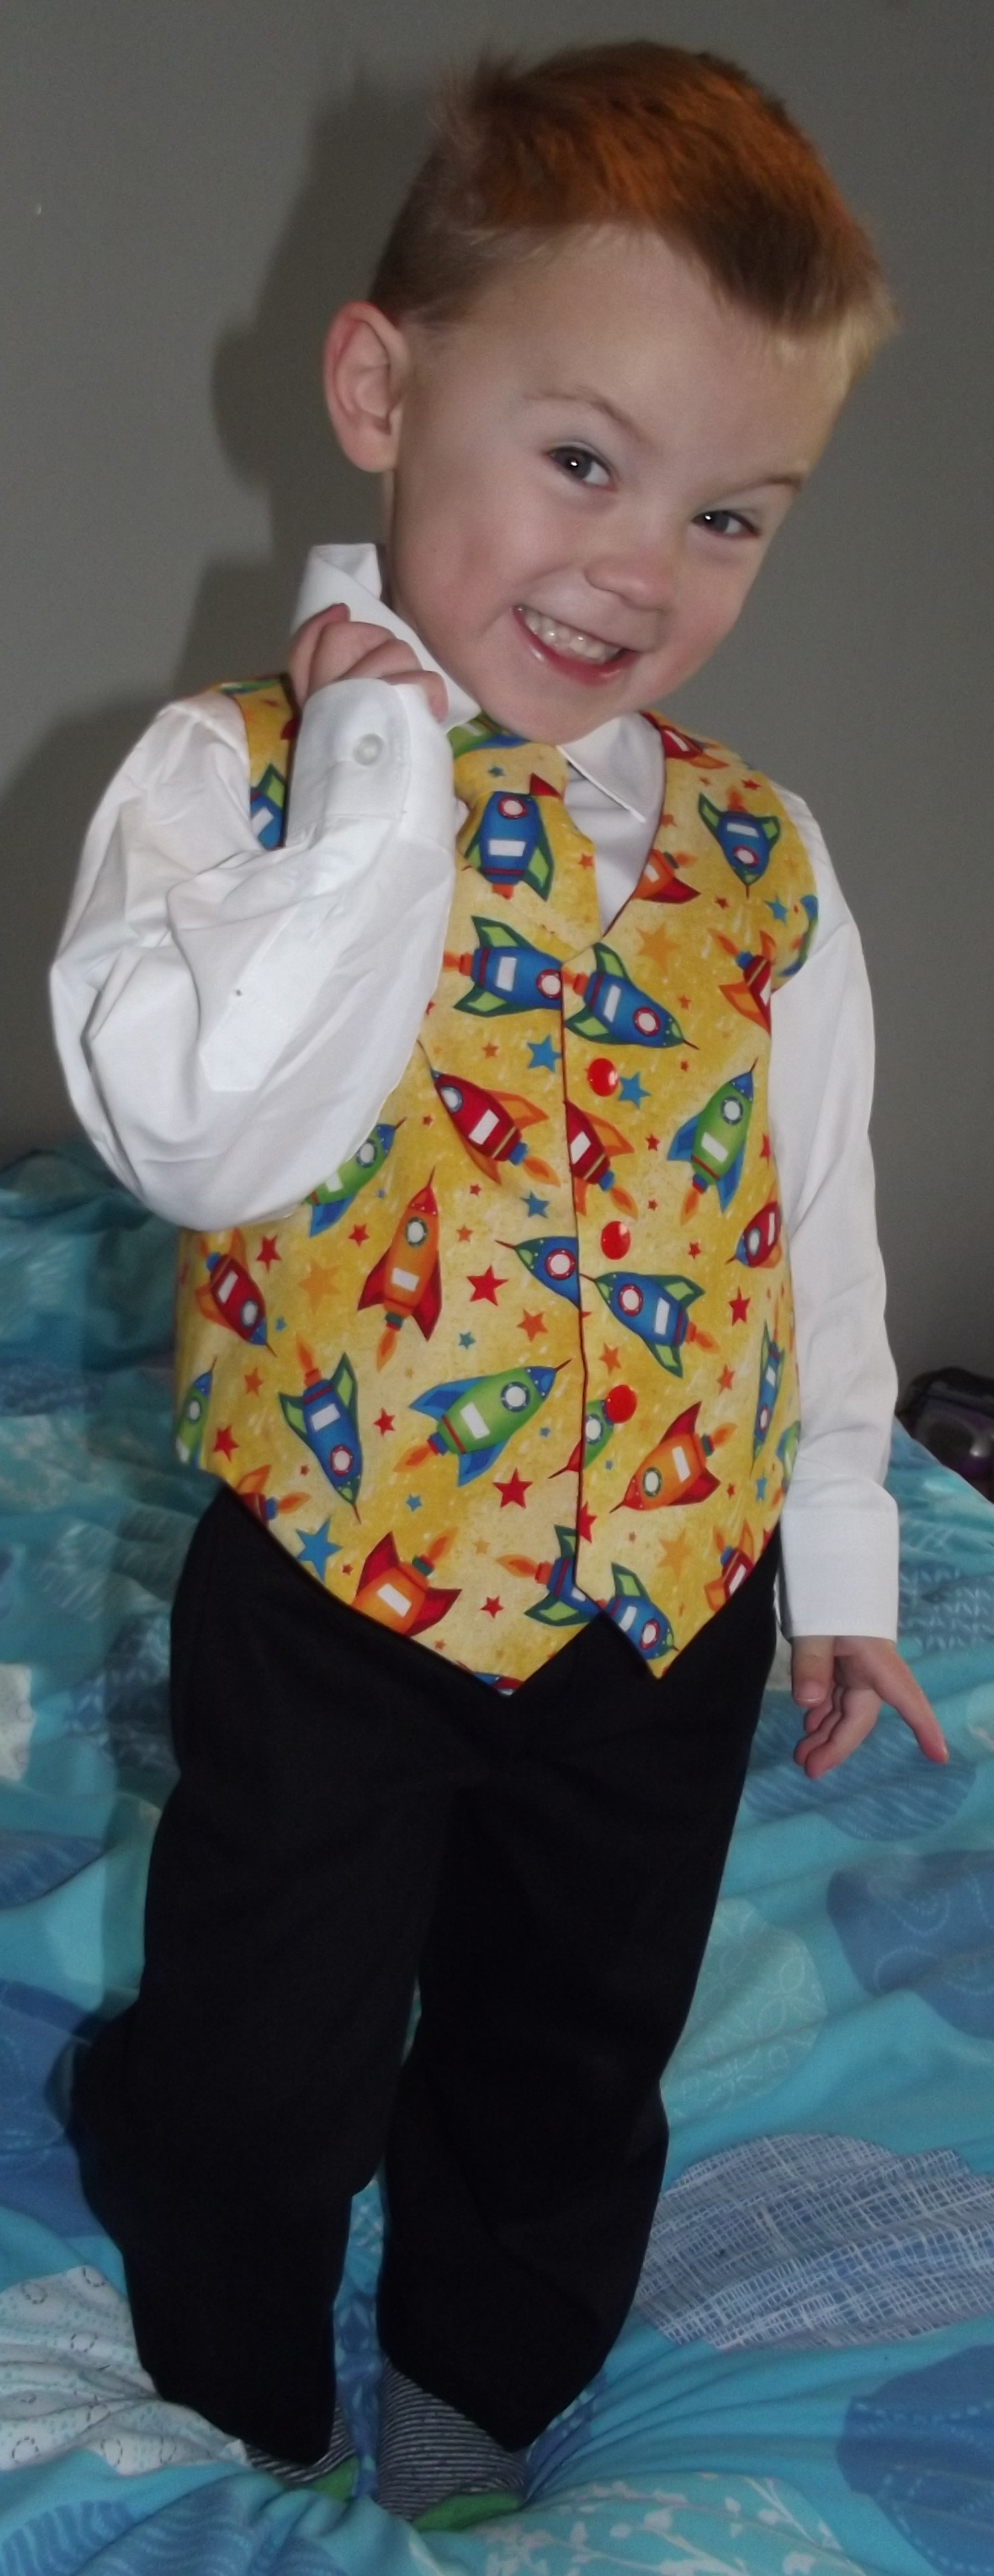
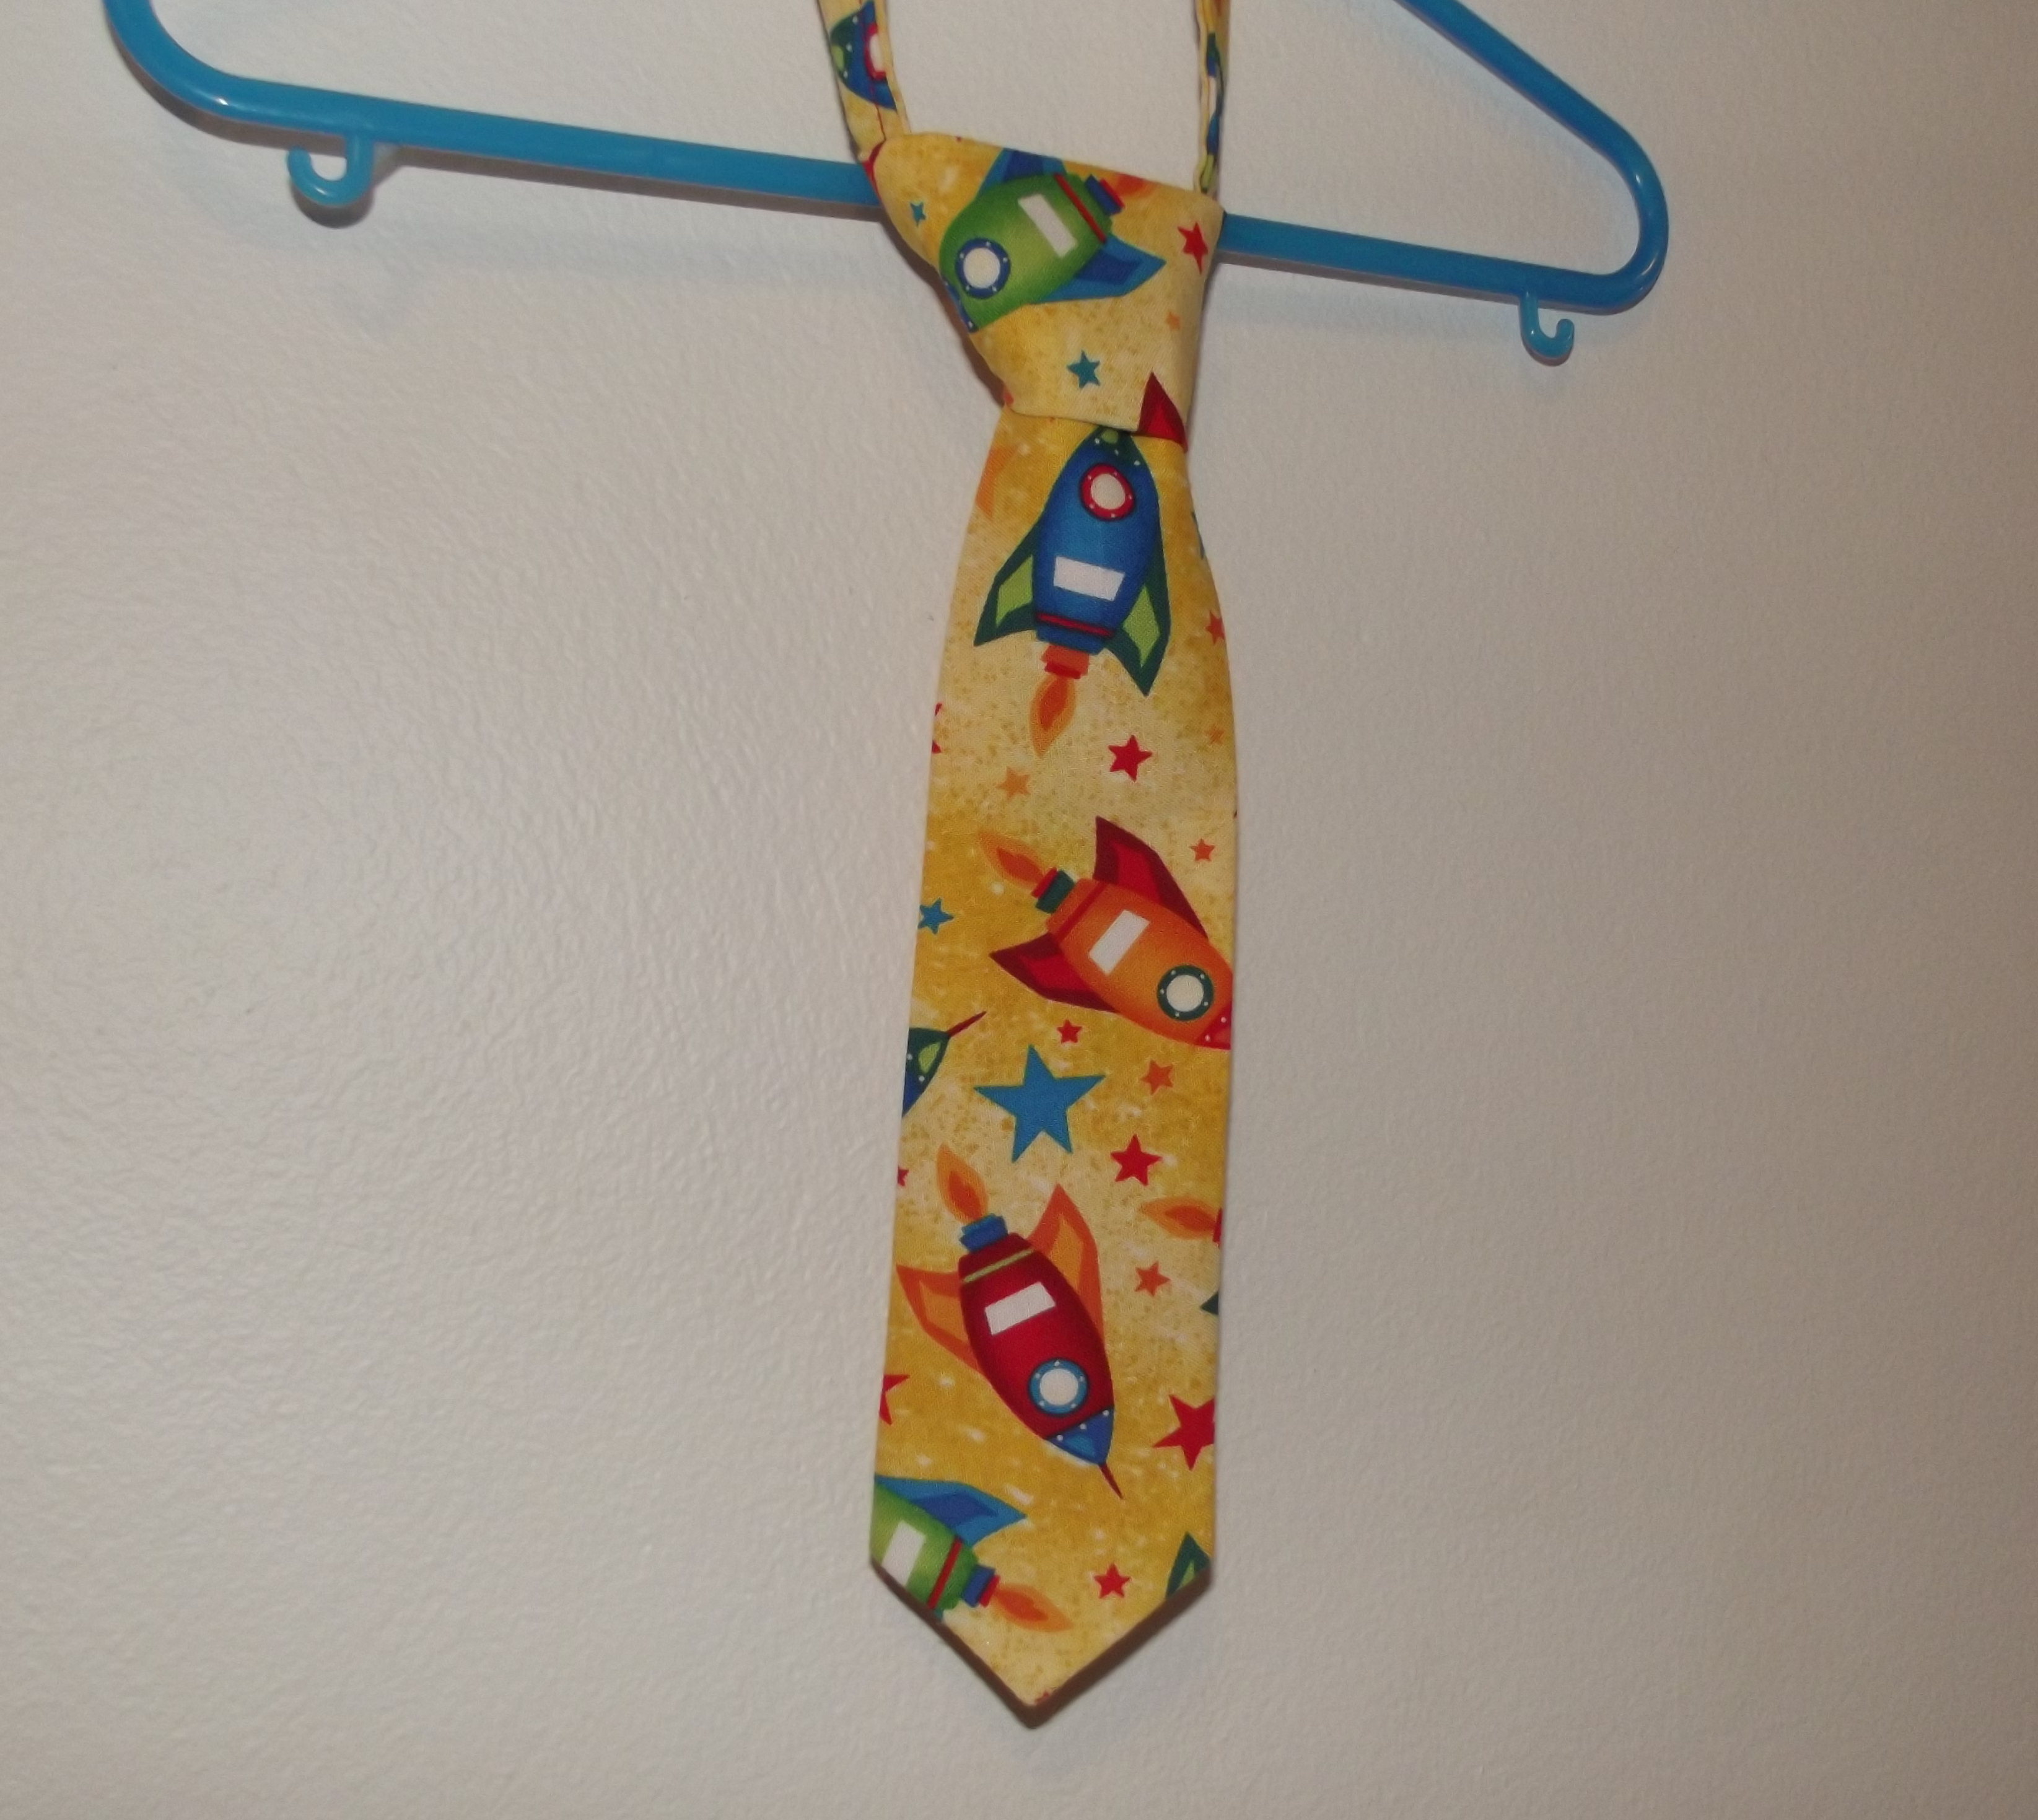 The rocket fabric was left over from making the
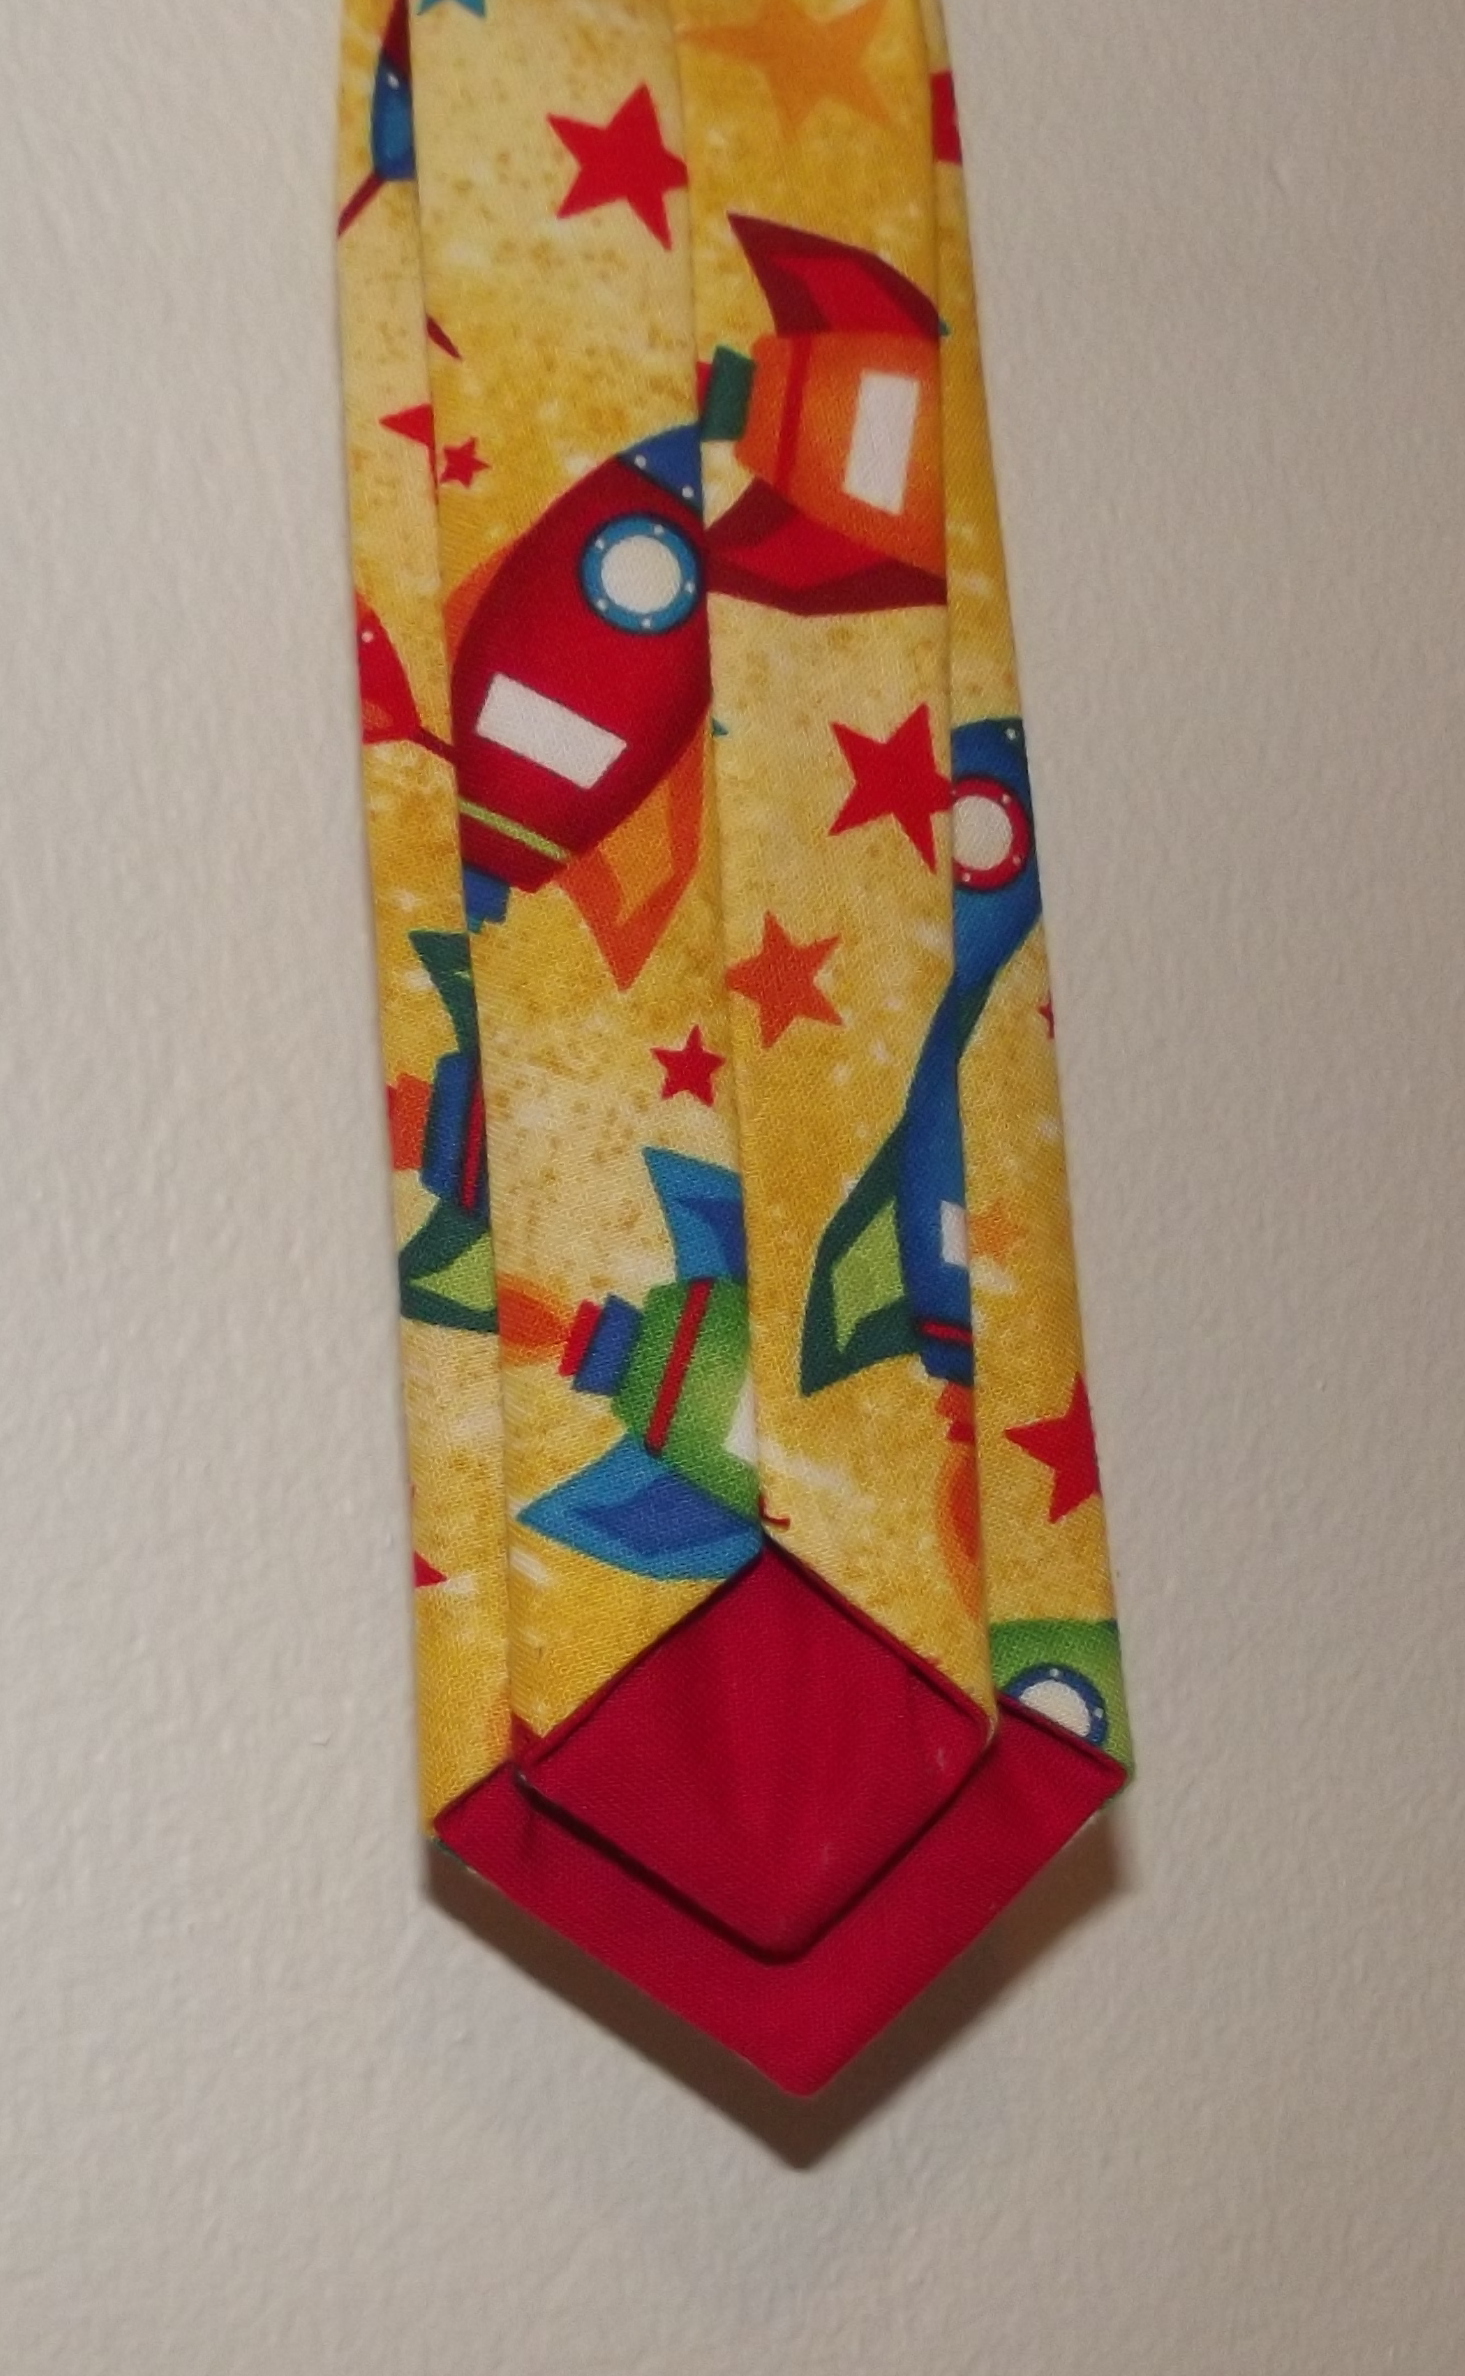 The ends are lined with the leftover red cotton from the waistcoat lining. It makes it look like a proper tie!
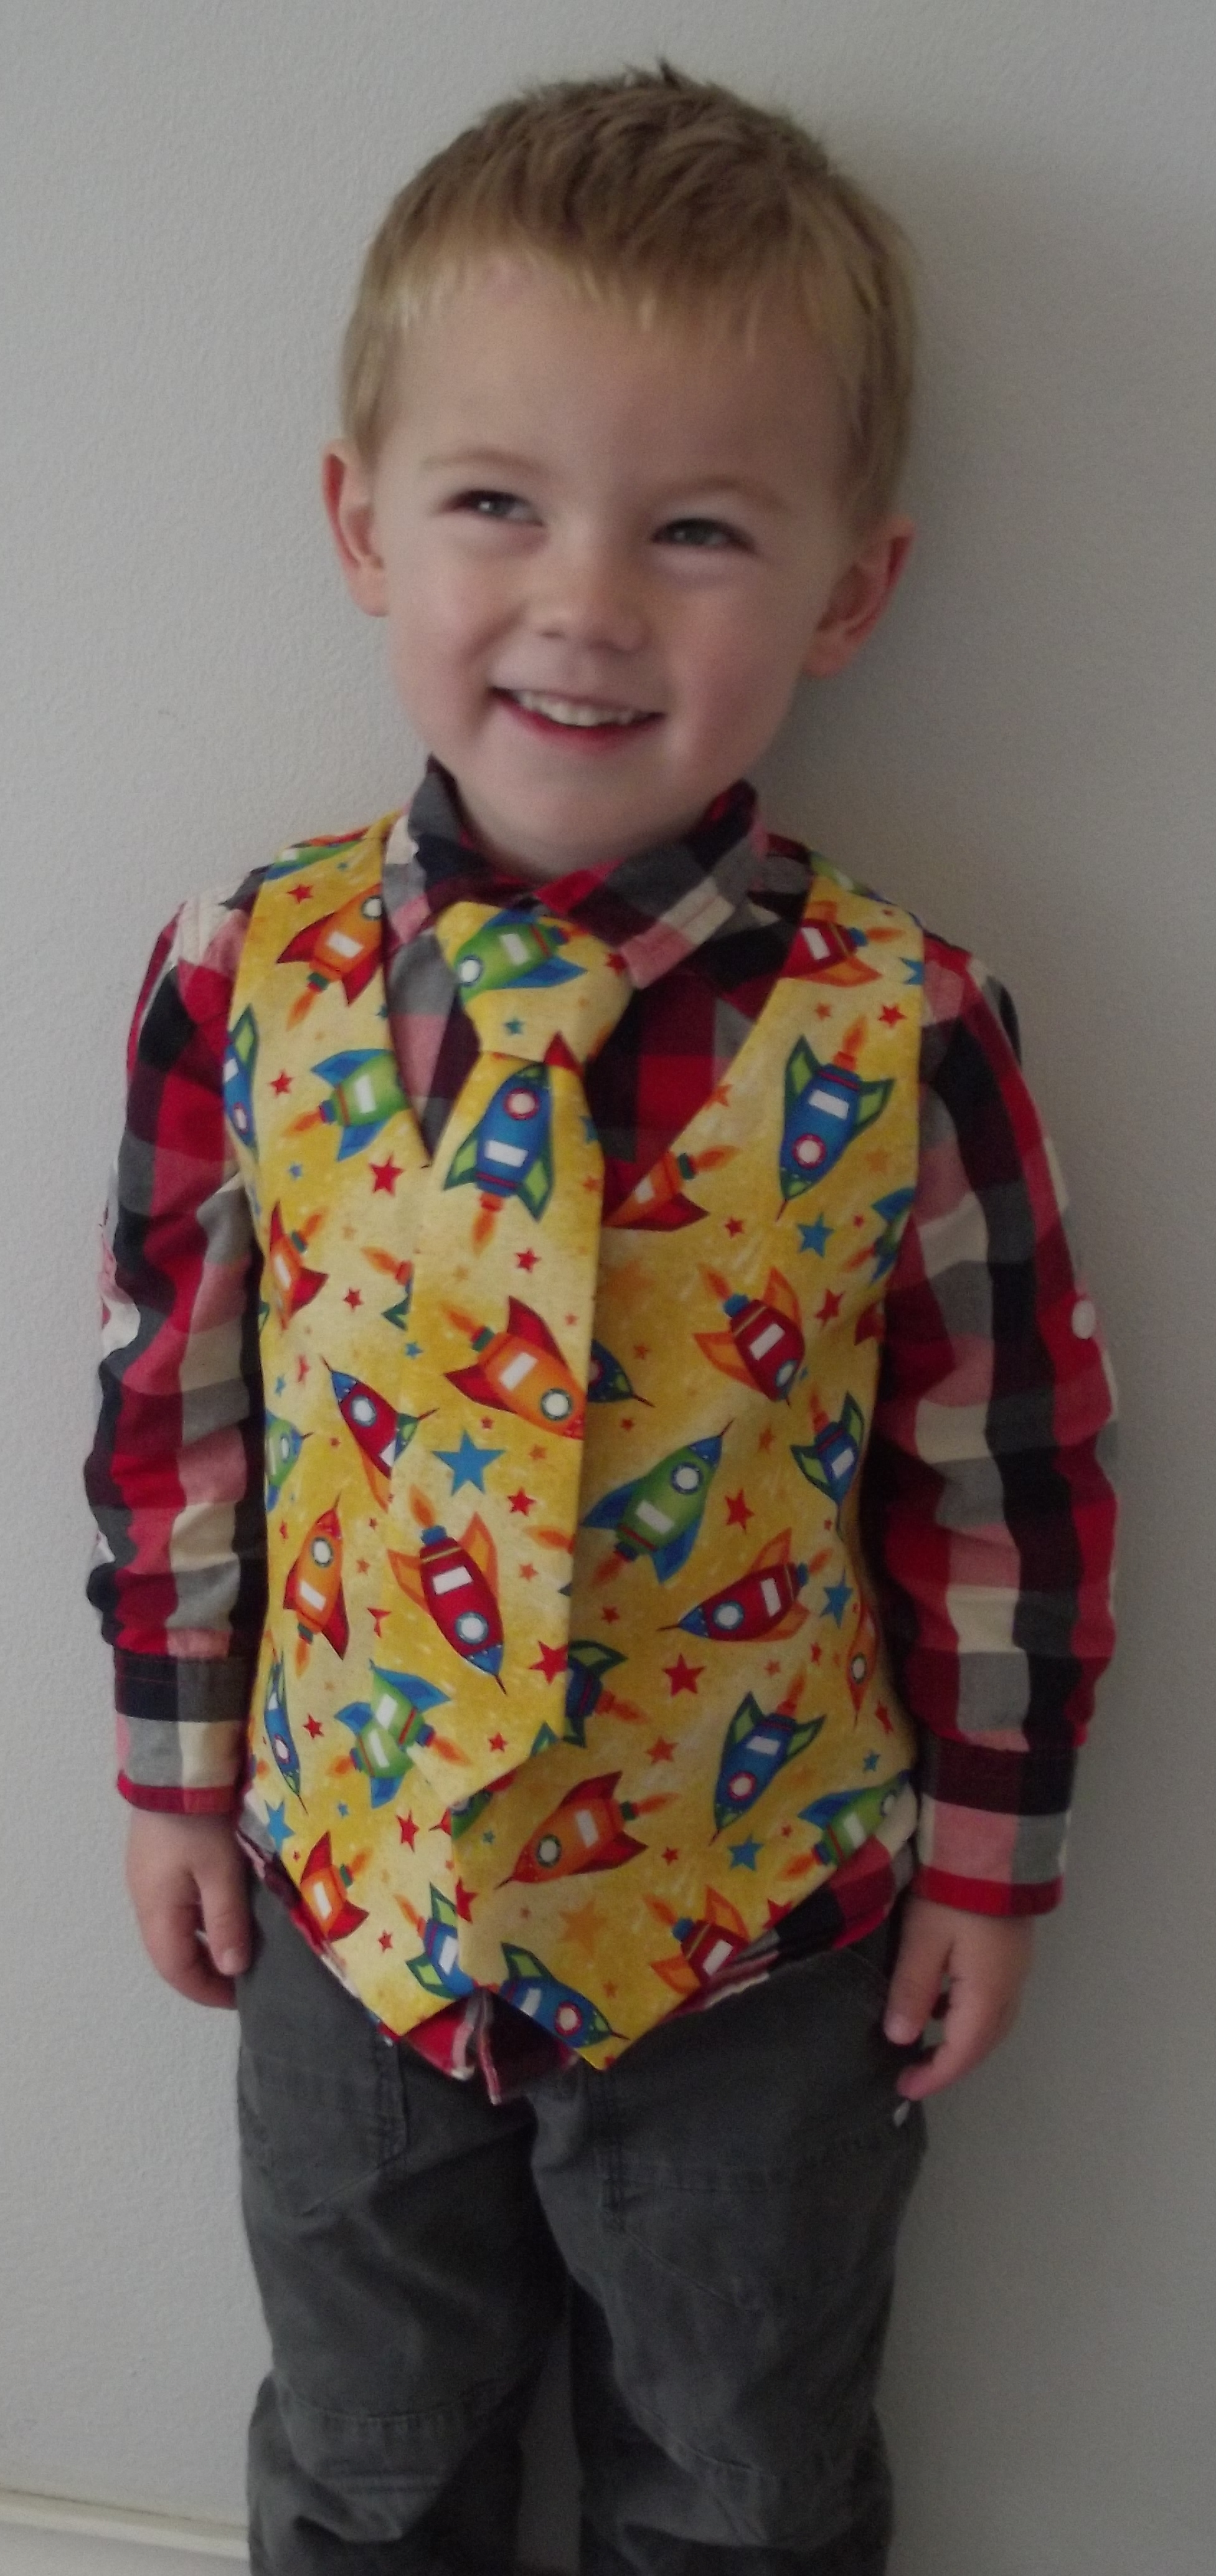 There’s only the waistcoat and tie completed so far, which looks a little odd over the top of a checked shirt, but you get the general idea!
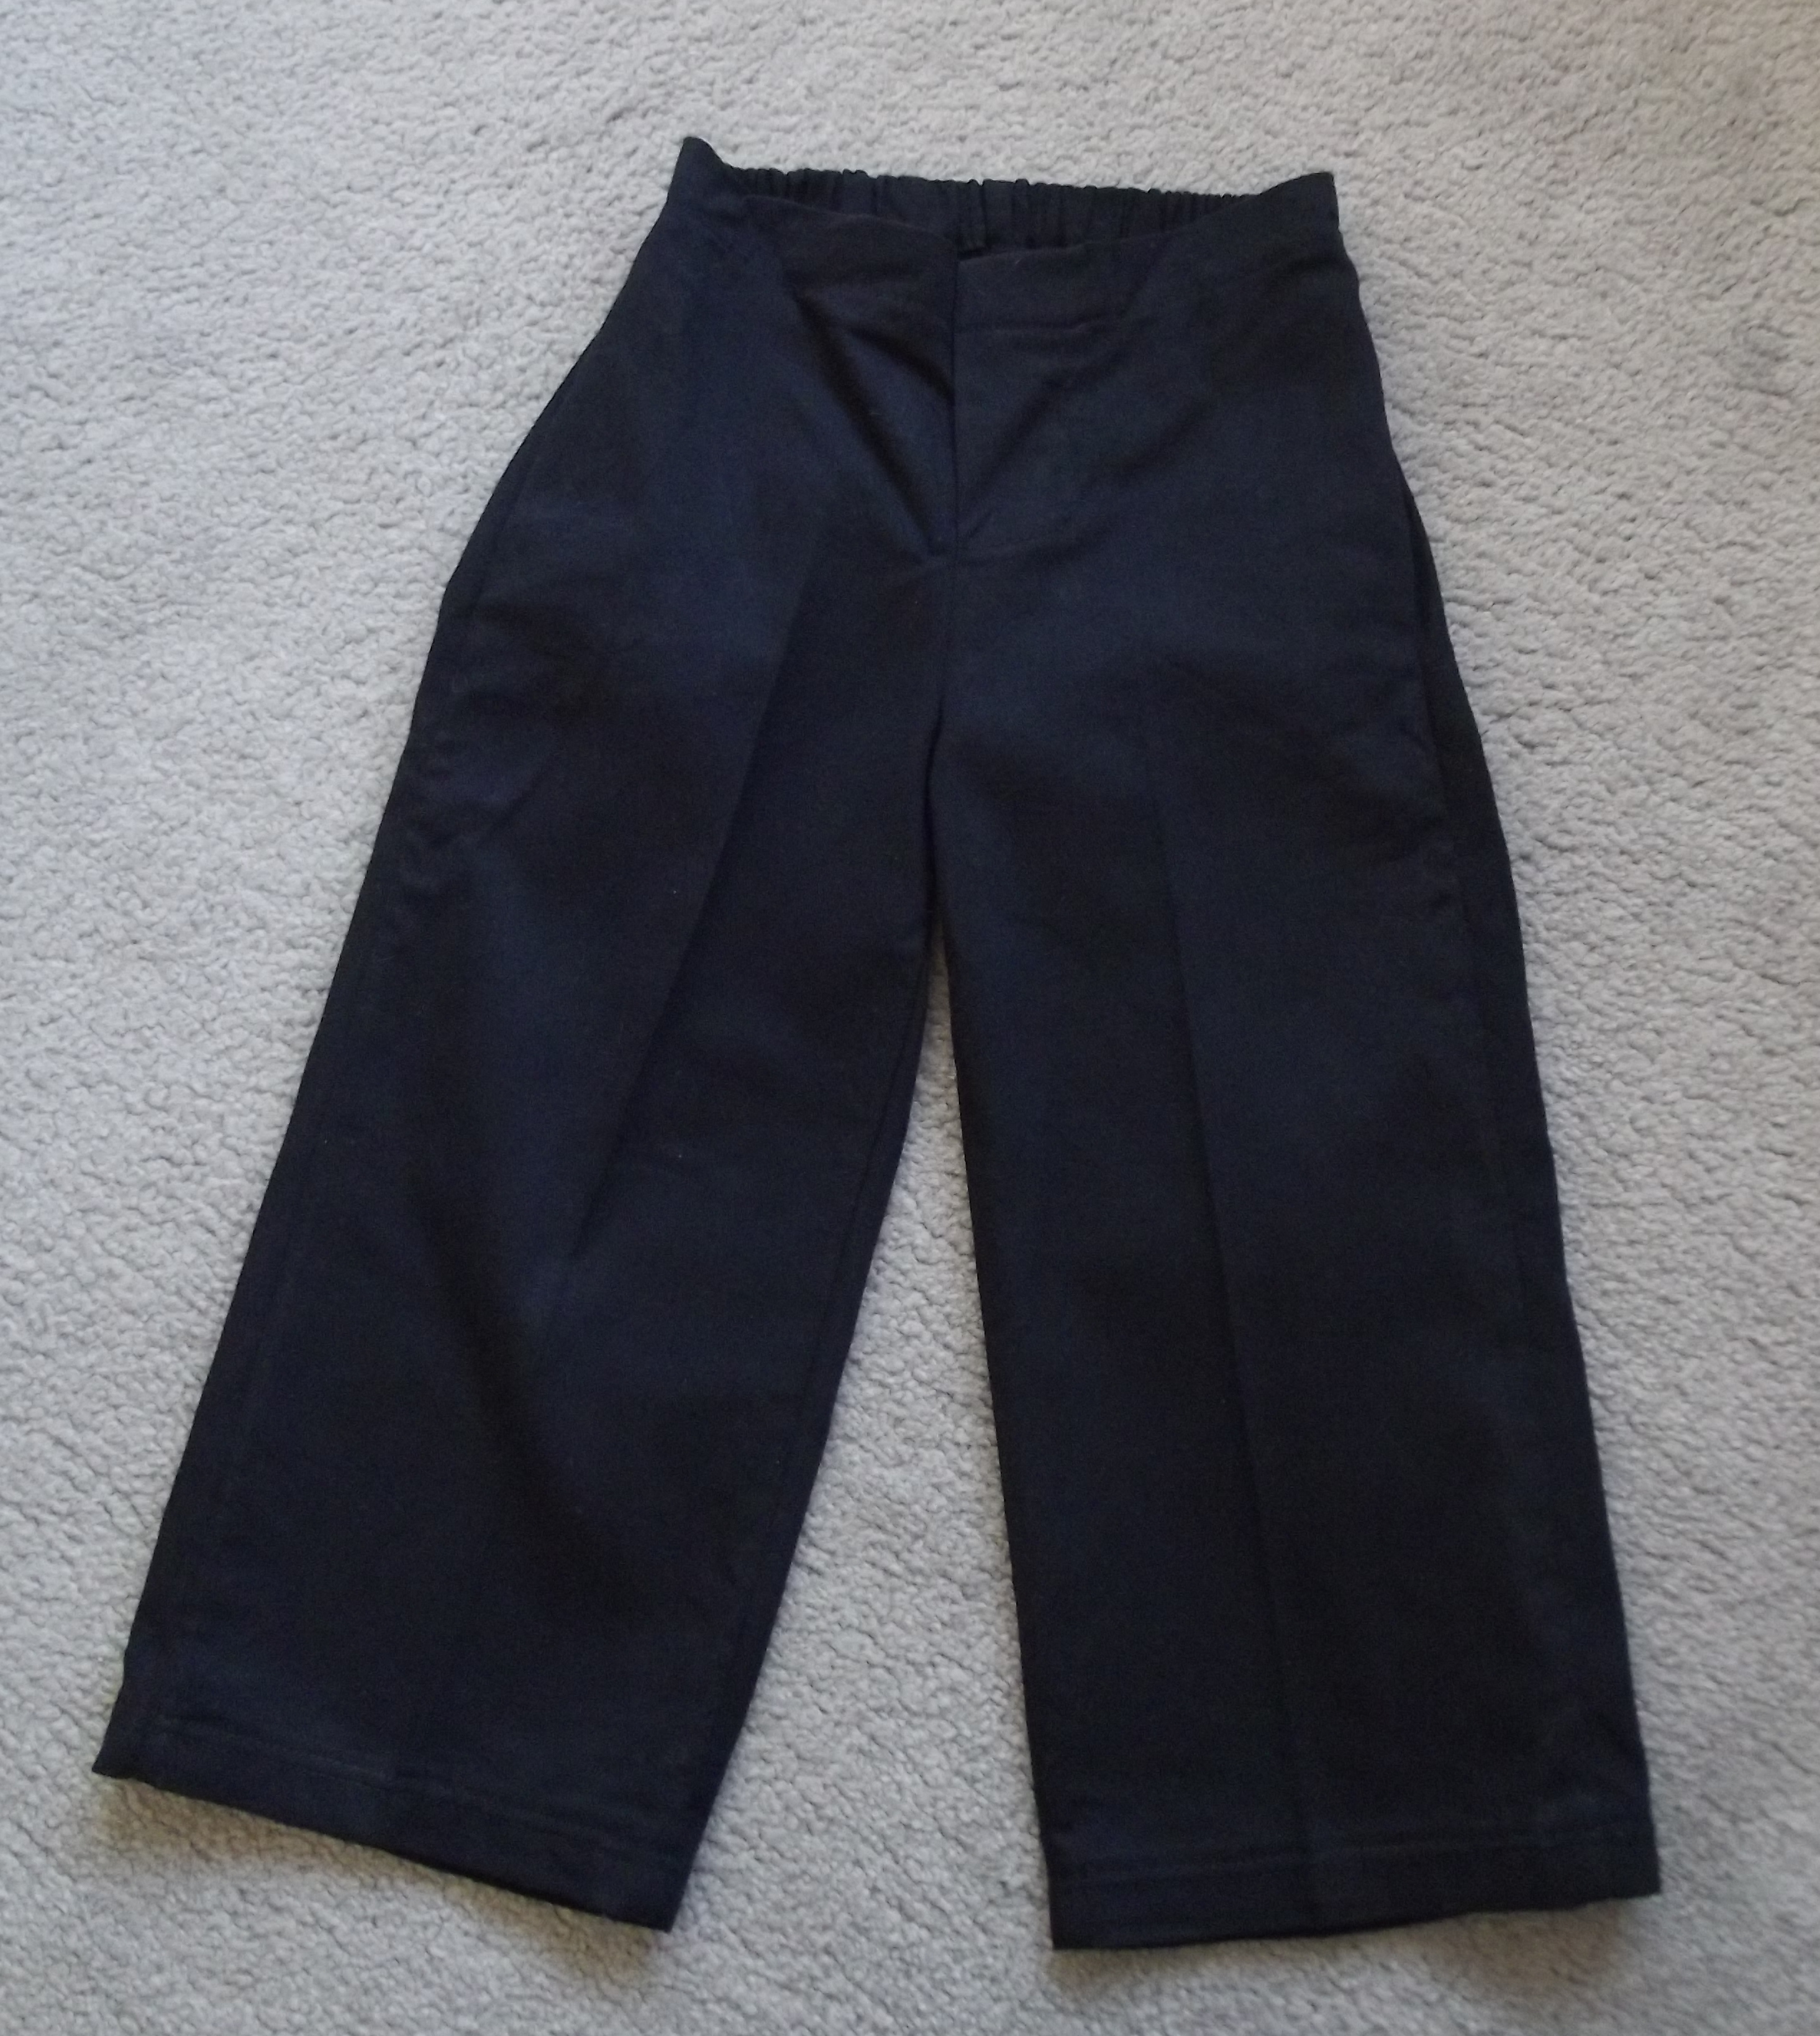
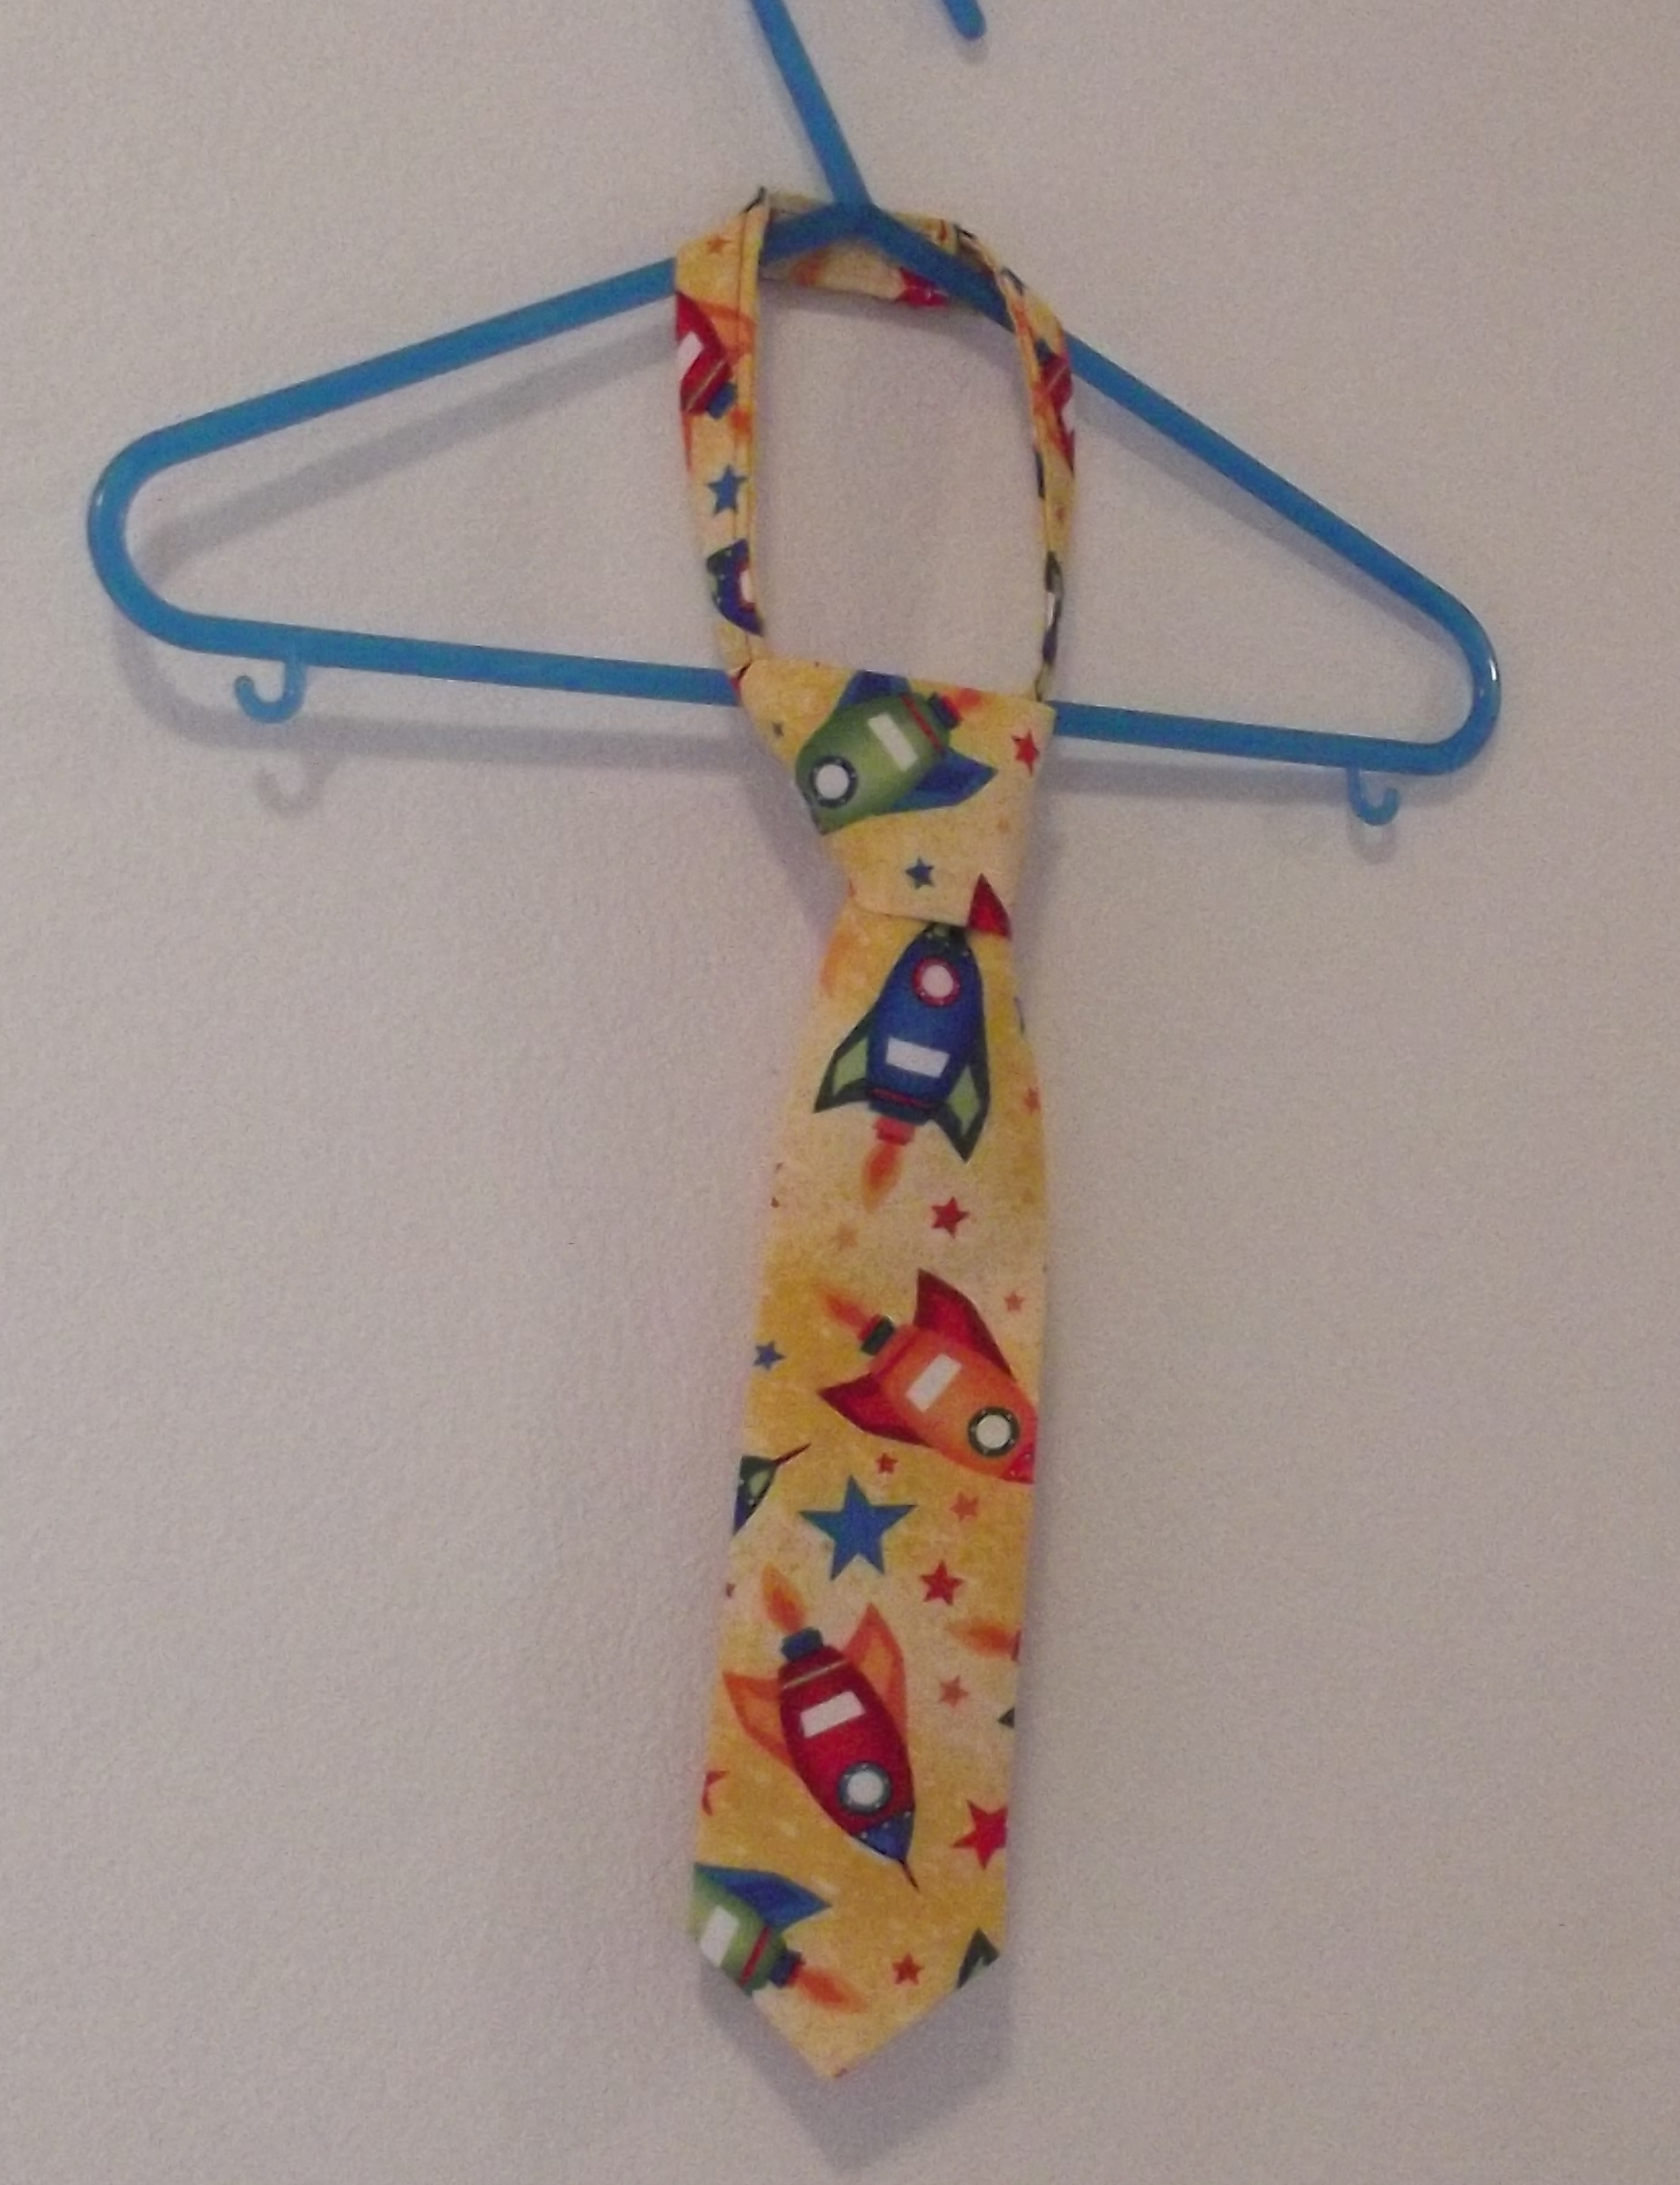 Next up on the wedding clothes list is smart trousers!
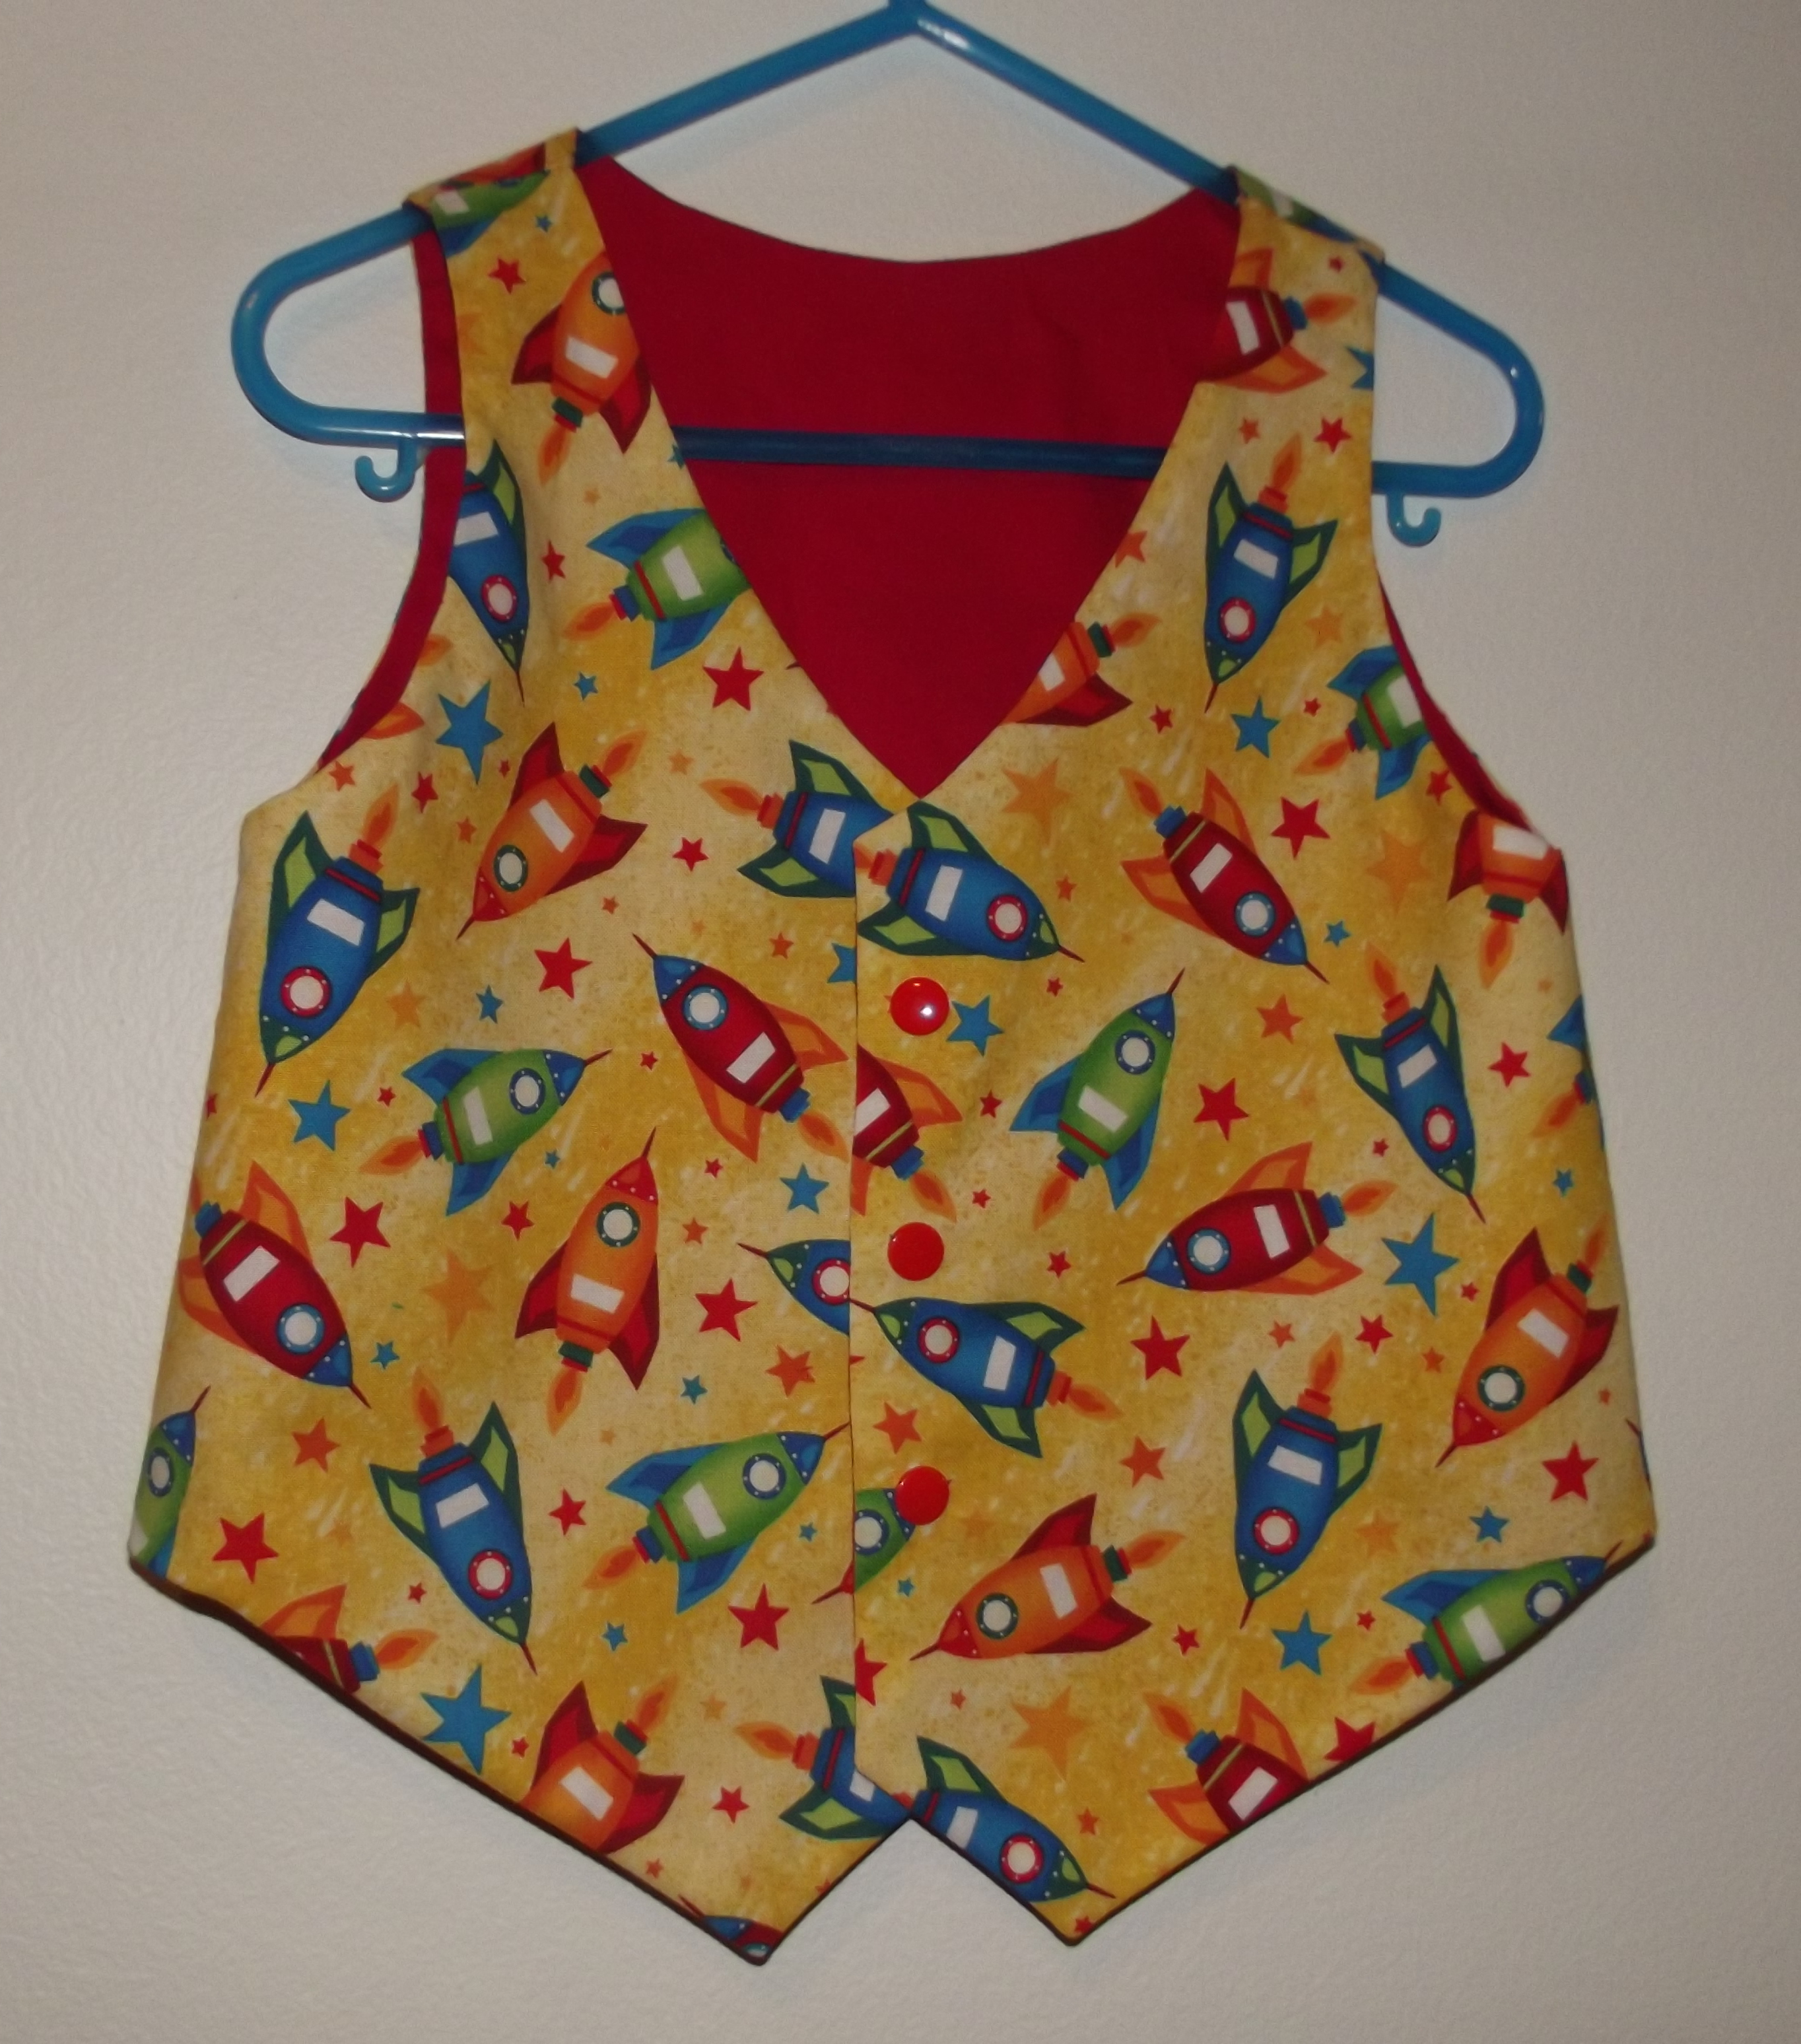
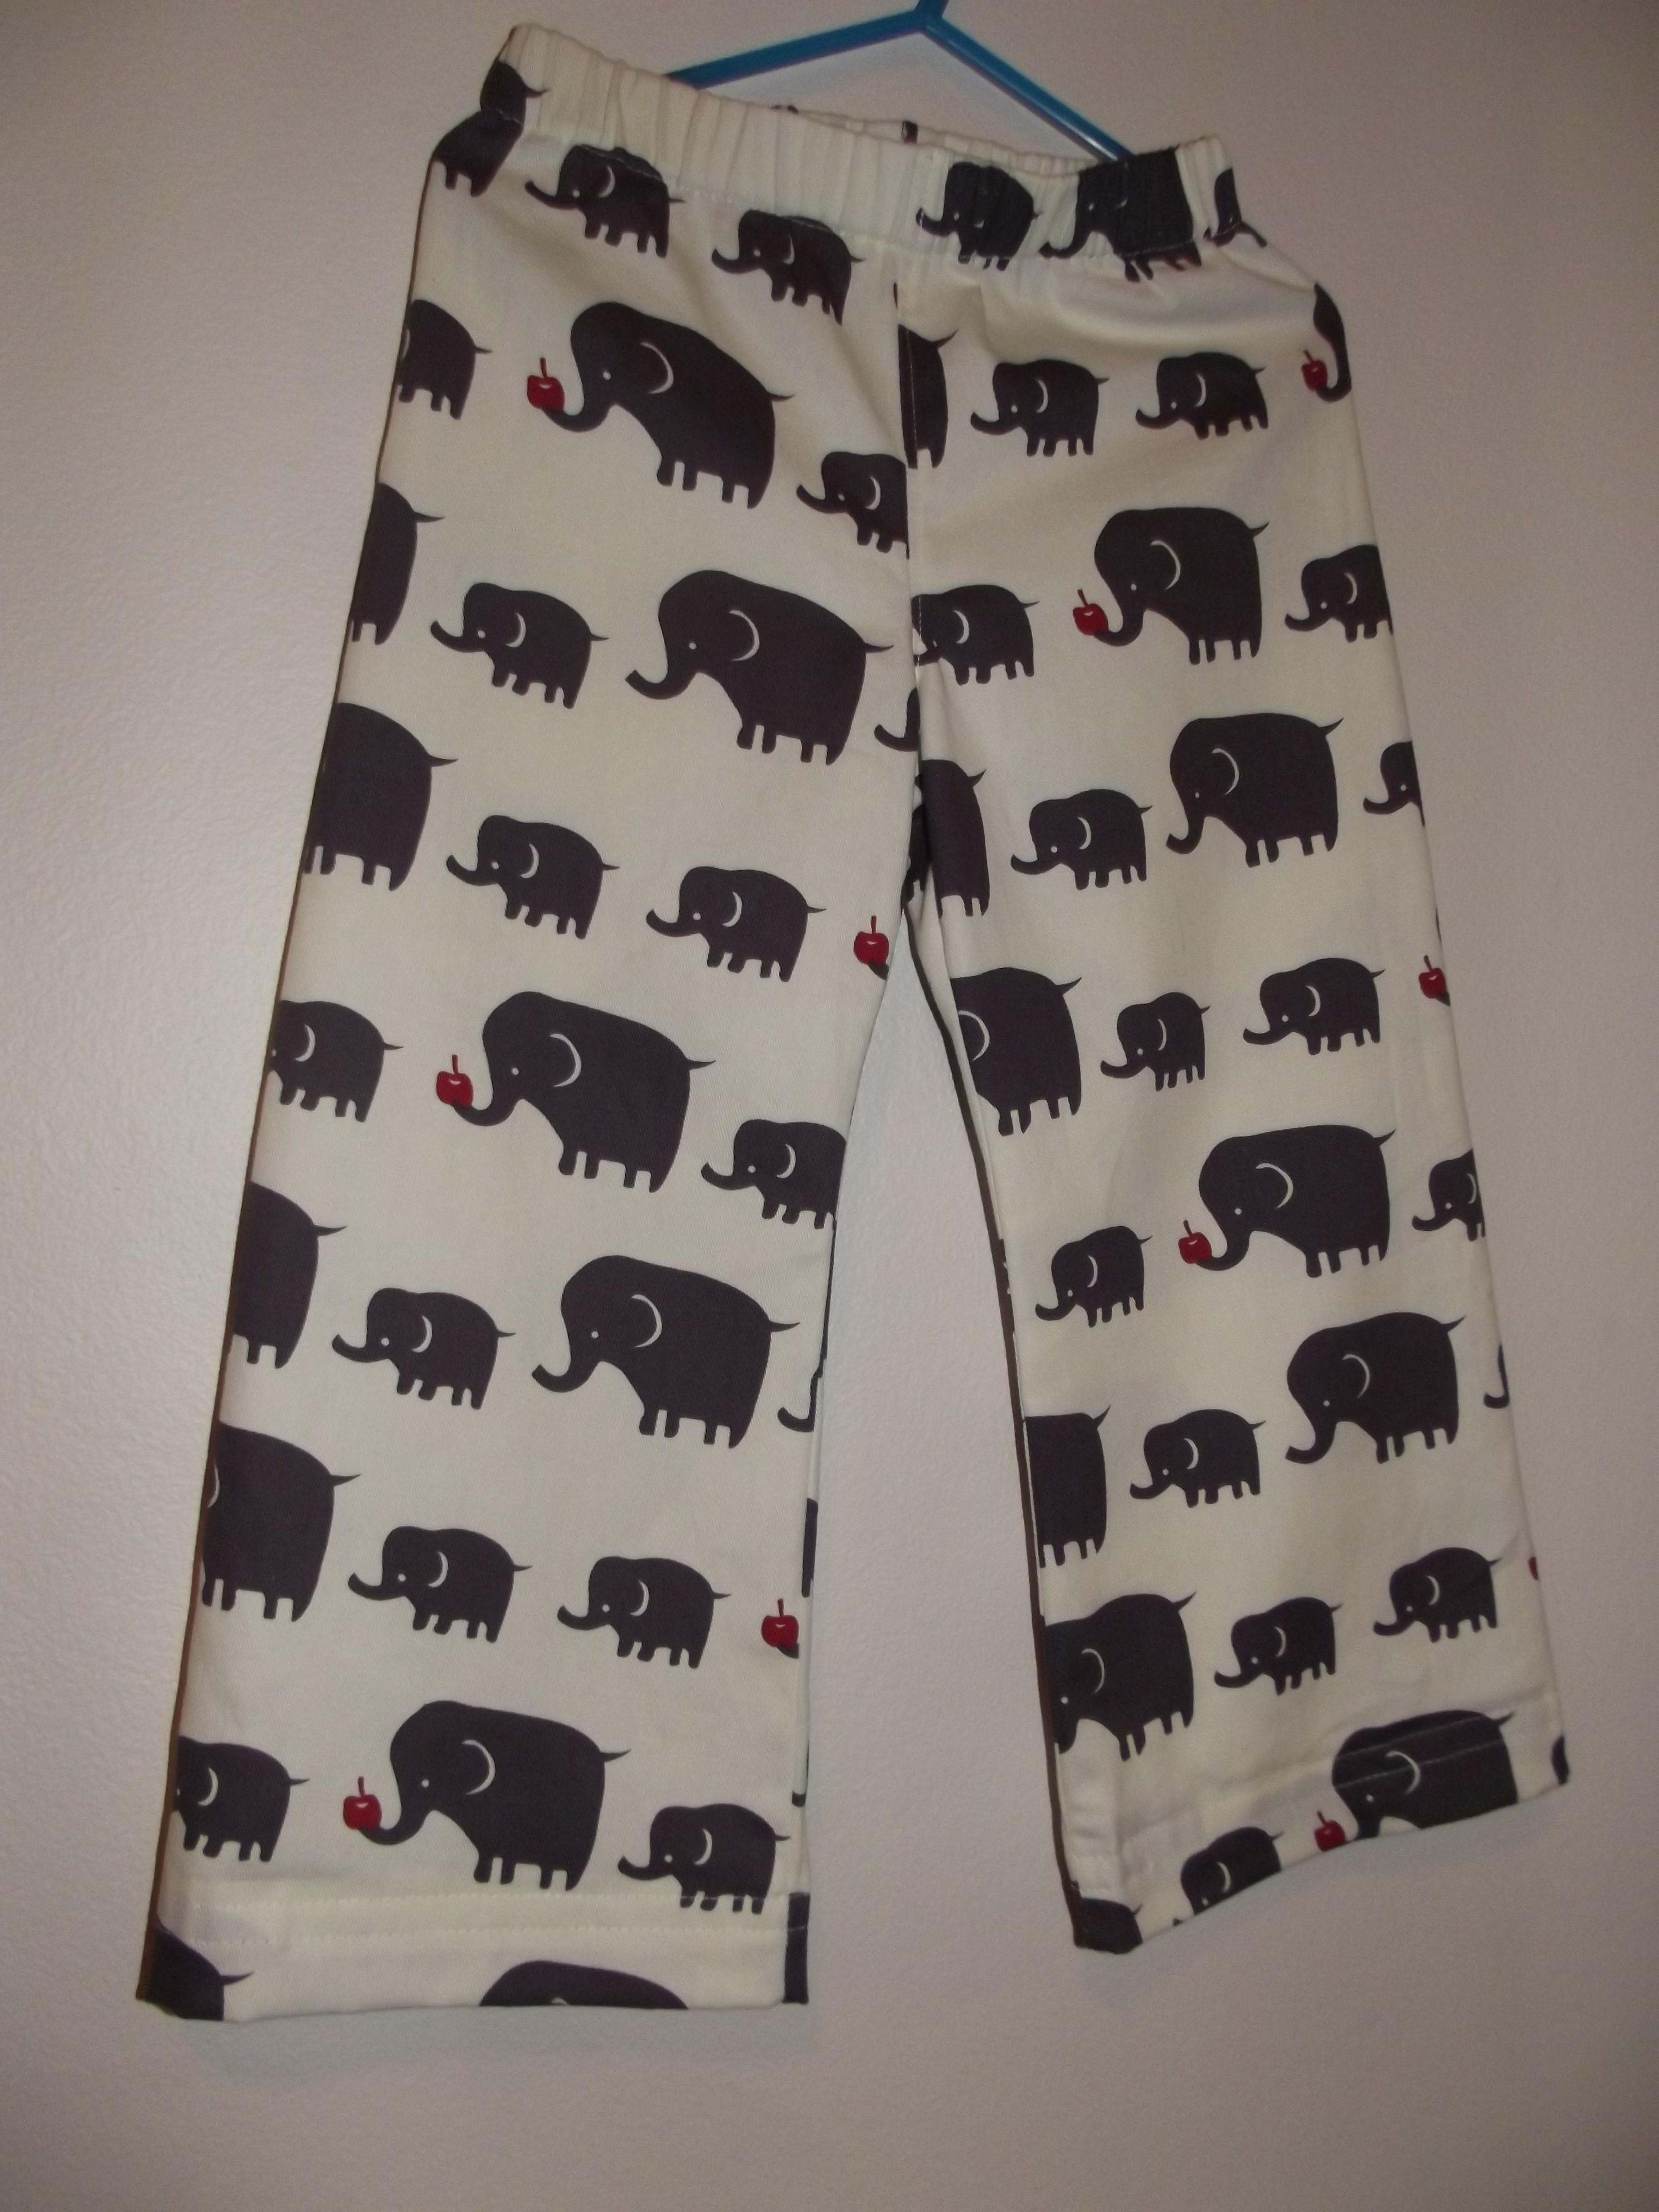
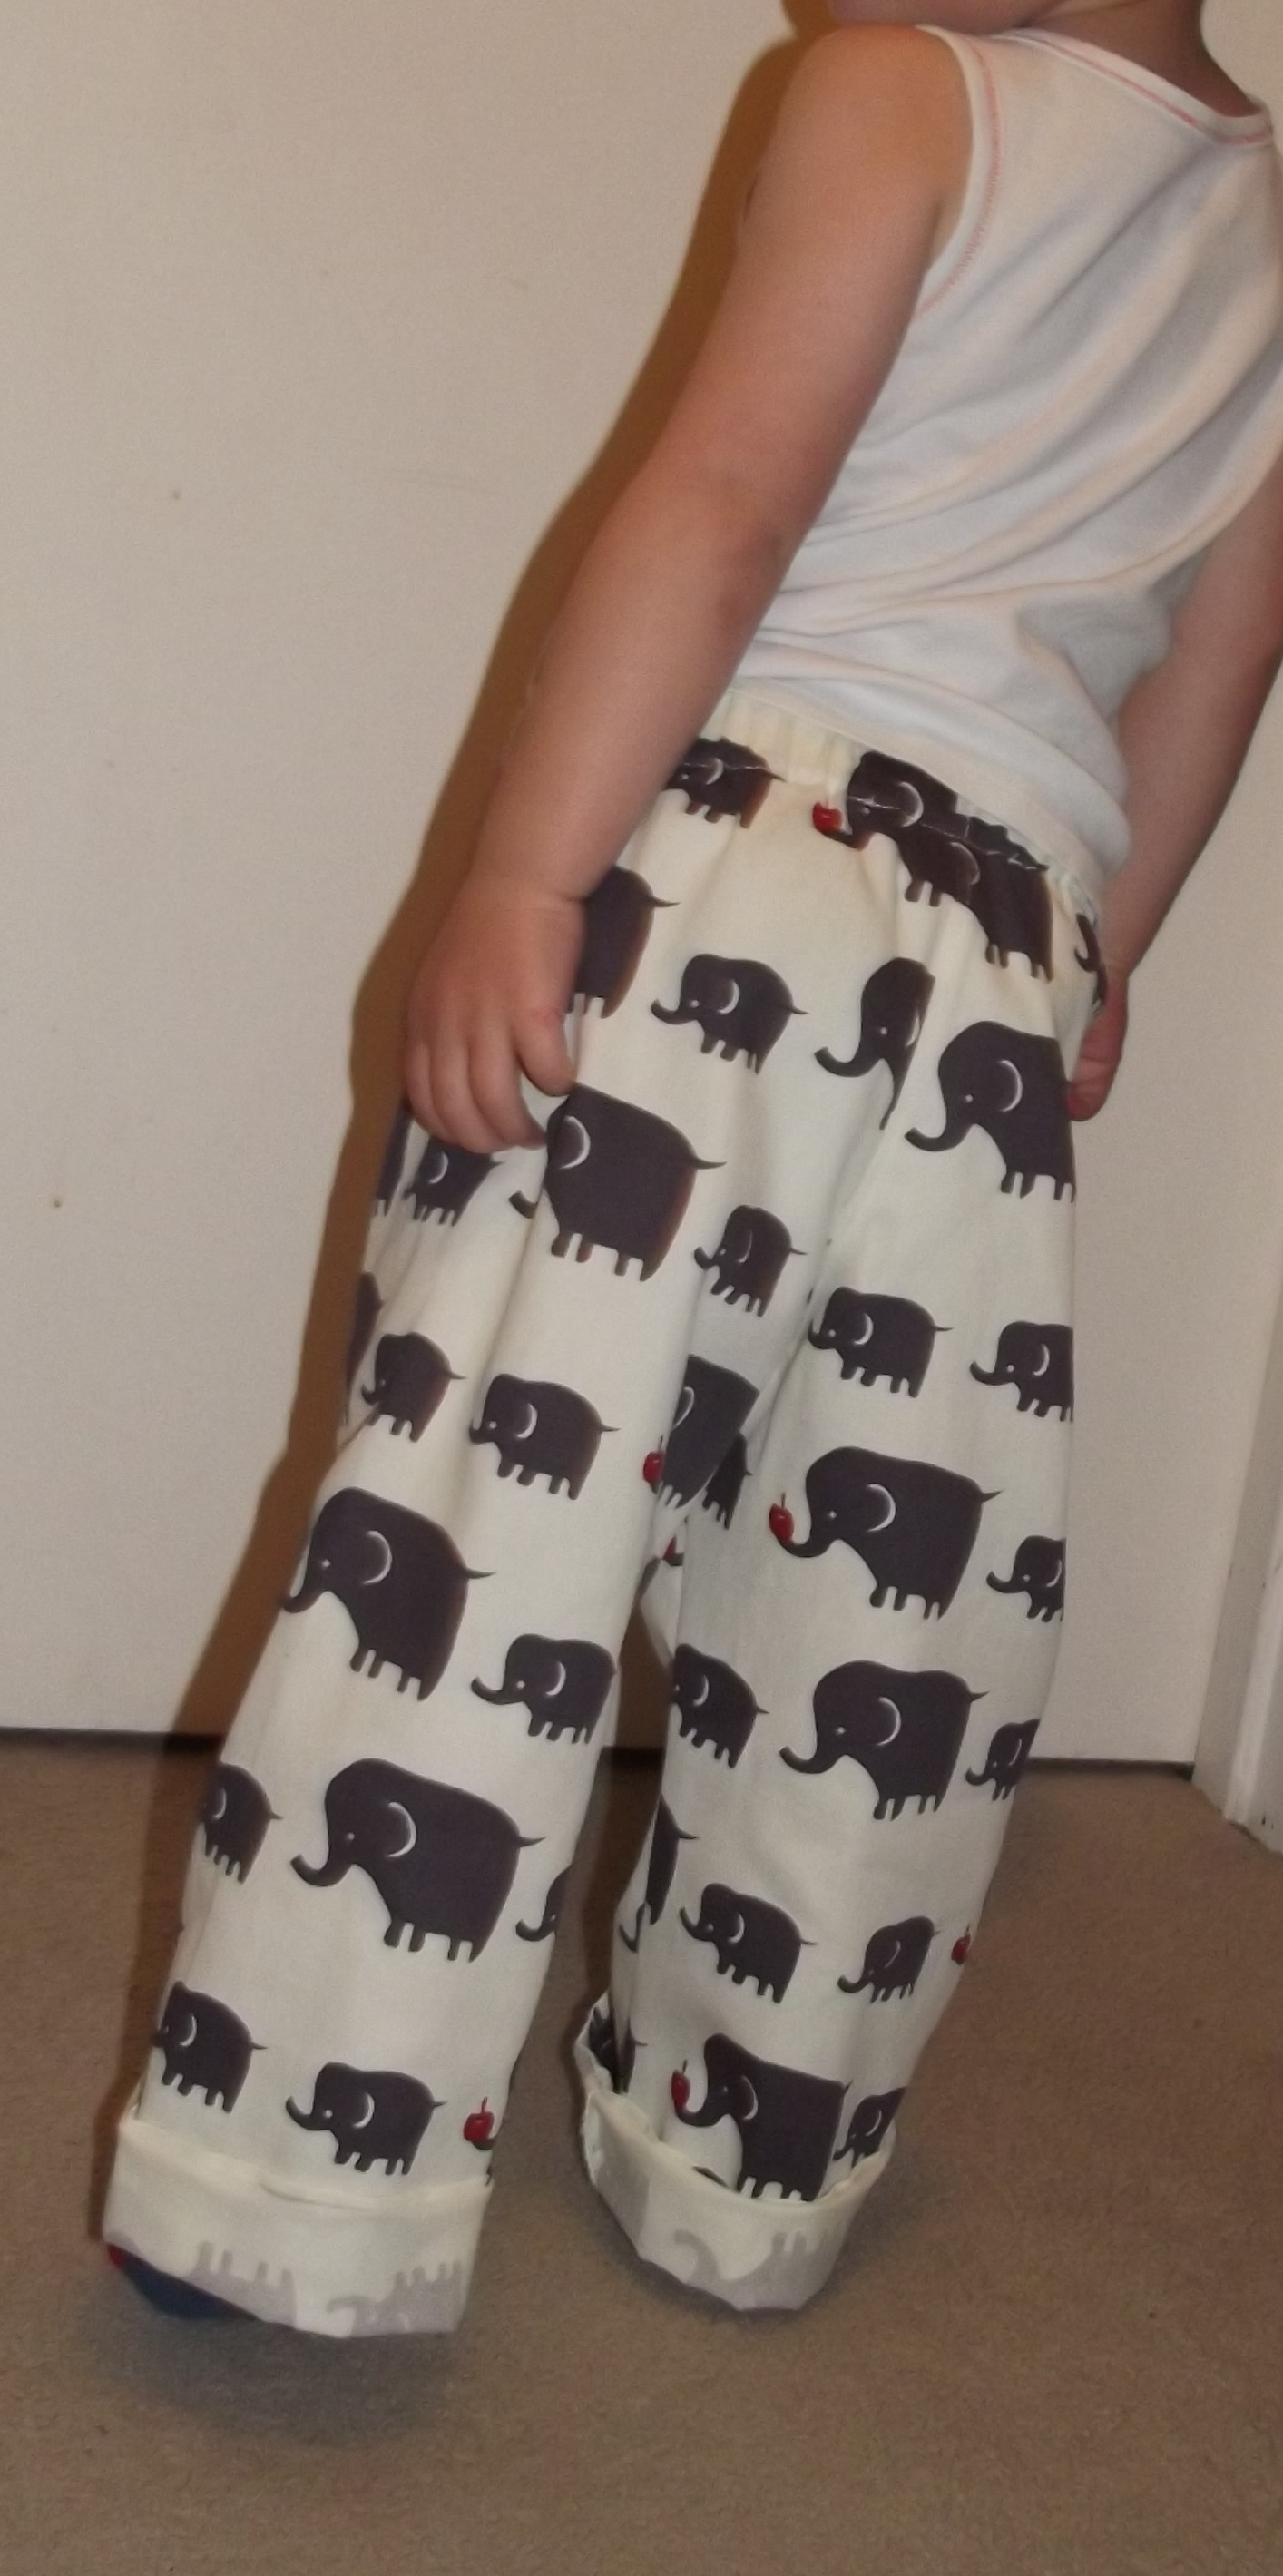 The pattern was really easy to follow and because I wasn’t adding pockets to these they were quick to make. The rainbow ribbon at the back was attached to a balloon we brought home from a birthday party a couple of weeks ago.
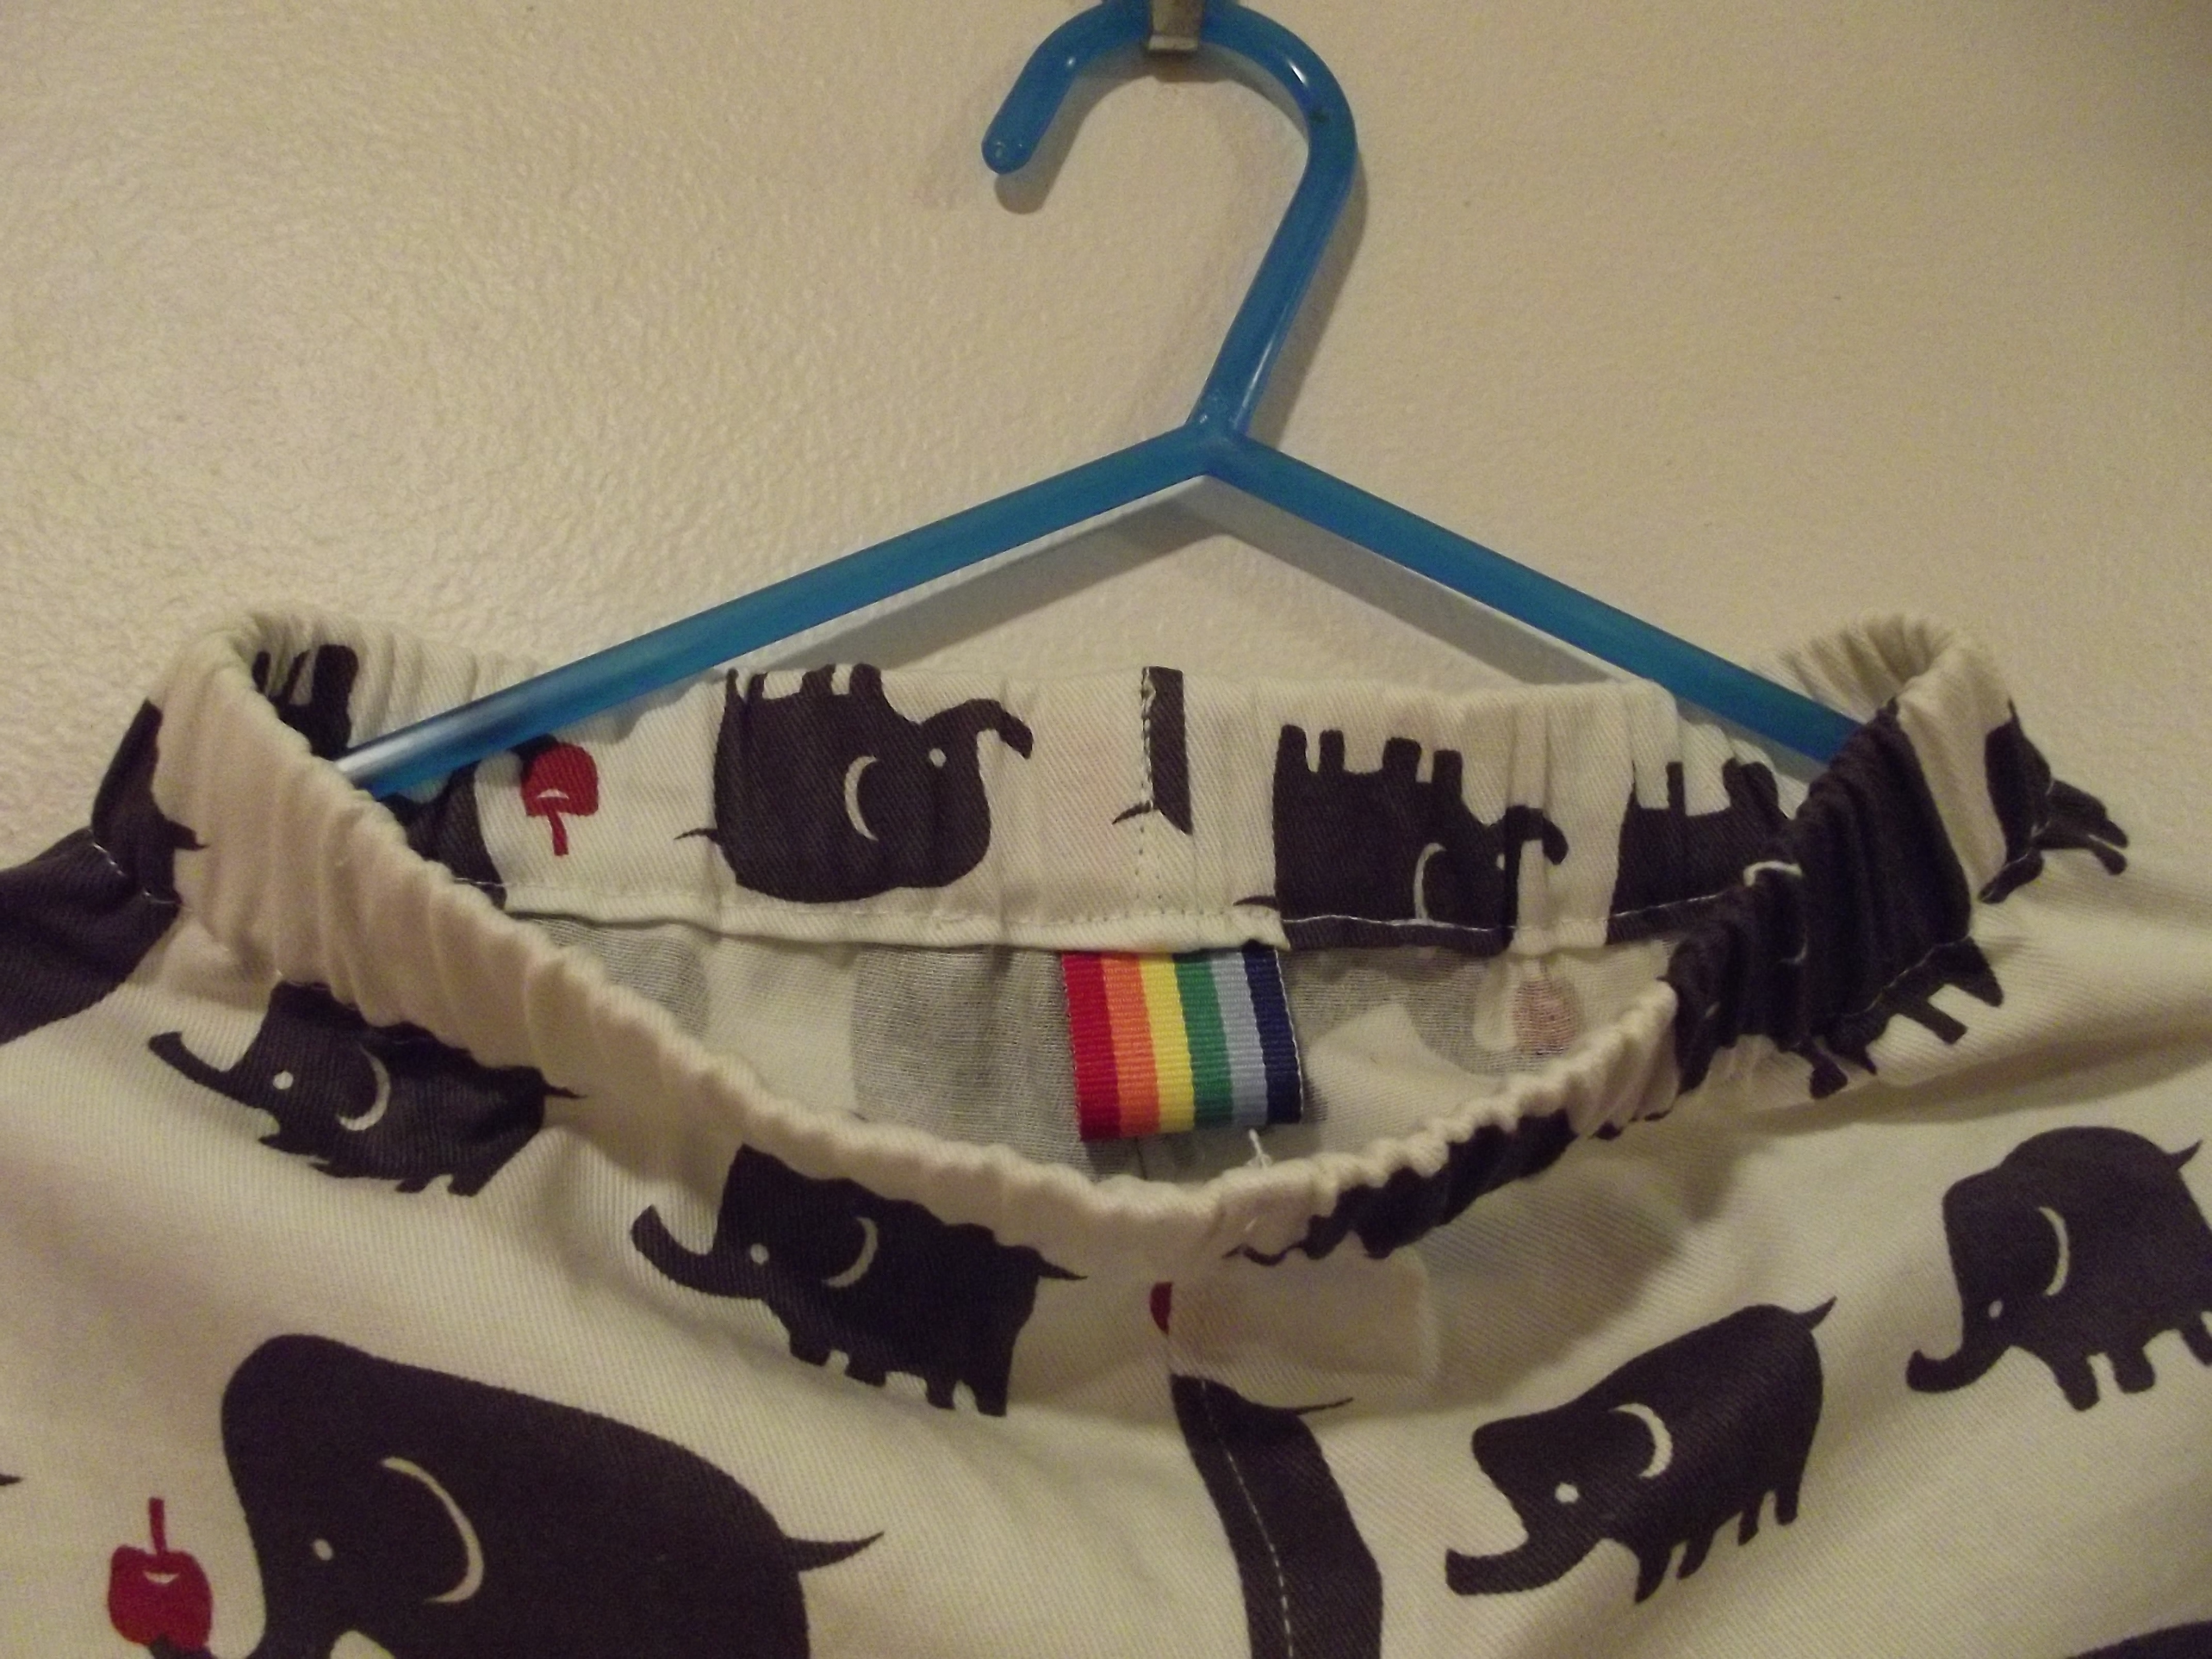 They are very cool looking trousers!