Comfort Blankets

It’s been quite a while since I last made comfort blankets. They were the first thing I started making on my sewing machine. I made some for my niece and my son, and then for friends before making and selling them for a time. It was quite nice to go back and make some more.

The first I made in an owl print, with owls and words on the reverse:Β 

The second I made in a dino print, with plain navy on the reverse:Β 

And the third one I made with a monkey print on both sides, smaller than the others with a strap to attach to a buggy or pram:

They’re all ready to be snuggled πŸ™‚

Nursing Cover

The day before N was born I finished off making a nursing cover, to keep in my changing bag to use whilst feeding out and about. He’s now getting on for four months, and I’m only now taking photos and uploading them – a bit behind!

I searched the internet and used a couple of free tutorials to help make it.

It’s the most awkward thing to photograph as you can’t see the shape of it when you lay it flat, but I used a lovely elephant print that I’d been saving for something baby related:Β 

It has a piece of boning material across the top to hold it’s shape so you can see the baby. This is the stuff they use in corsets or around big skirts.

The strap has a pair of rings to thread through so that you can adjust the length.

And this is the finished cover:

Teacher Christmas Gifts

Last August W started P1 at our local Primary School. So this Christmas was the first that I needed to find a gift for him to take for his teacher.

I decided to make a pouch. I used this tutorial from Noodlehead, and followed the medium sizing for the pattern.

I think it looks quite Christmassy in dark red and cream cotton:

And then I filled it with chocolates and other goodies!

Hashtag Quilt Blocks

Molli Sparkles is making quilts for the families of the victims of the Sydney siege last week.

He shared the tutorial for this block and will make several rainbow hashtag quilts from all the blocks sent in.

These are the blocks that I have made and are on their long journey off to Australia.

We can make. And our makes can show people we care and are thinking of them, even when there’s very little else we can do to help. To find out more, read the FAQ over on Molli Sparkle’s blog

Fabric Advent Calendar

Earlier this year I went to a sewing show at the NEC, Birmingham. A day trip there and back from Scotland – lots of time spent on the train that day!

Whilst there I bought a fabric panel to make an advent calendar. My Mum has one that she made a long time ago, and I have always wanted to make one too.

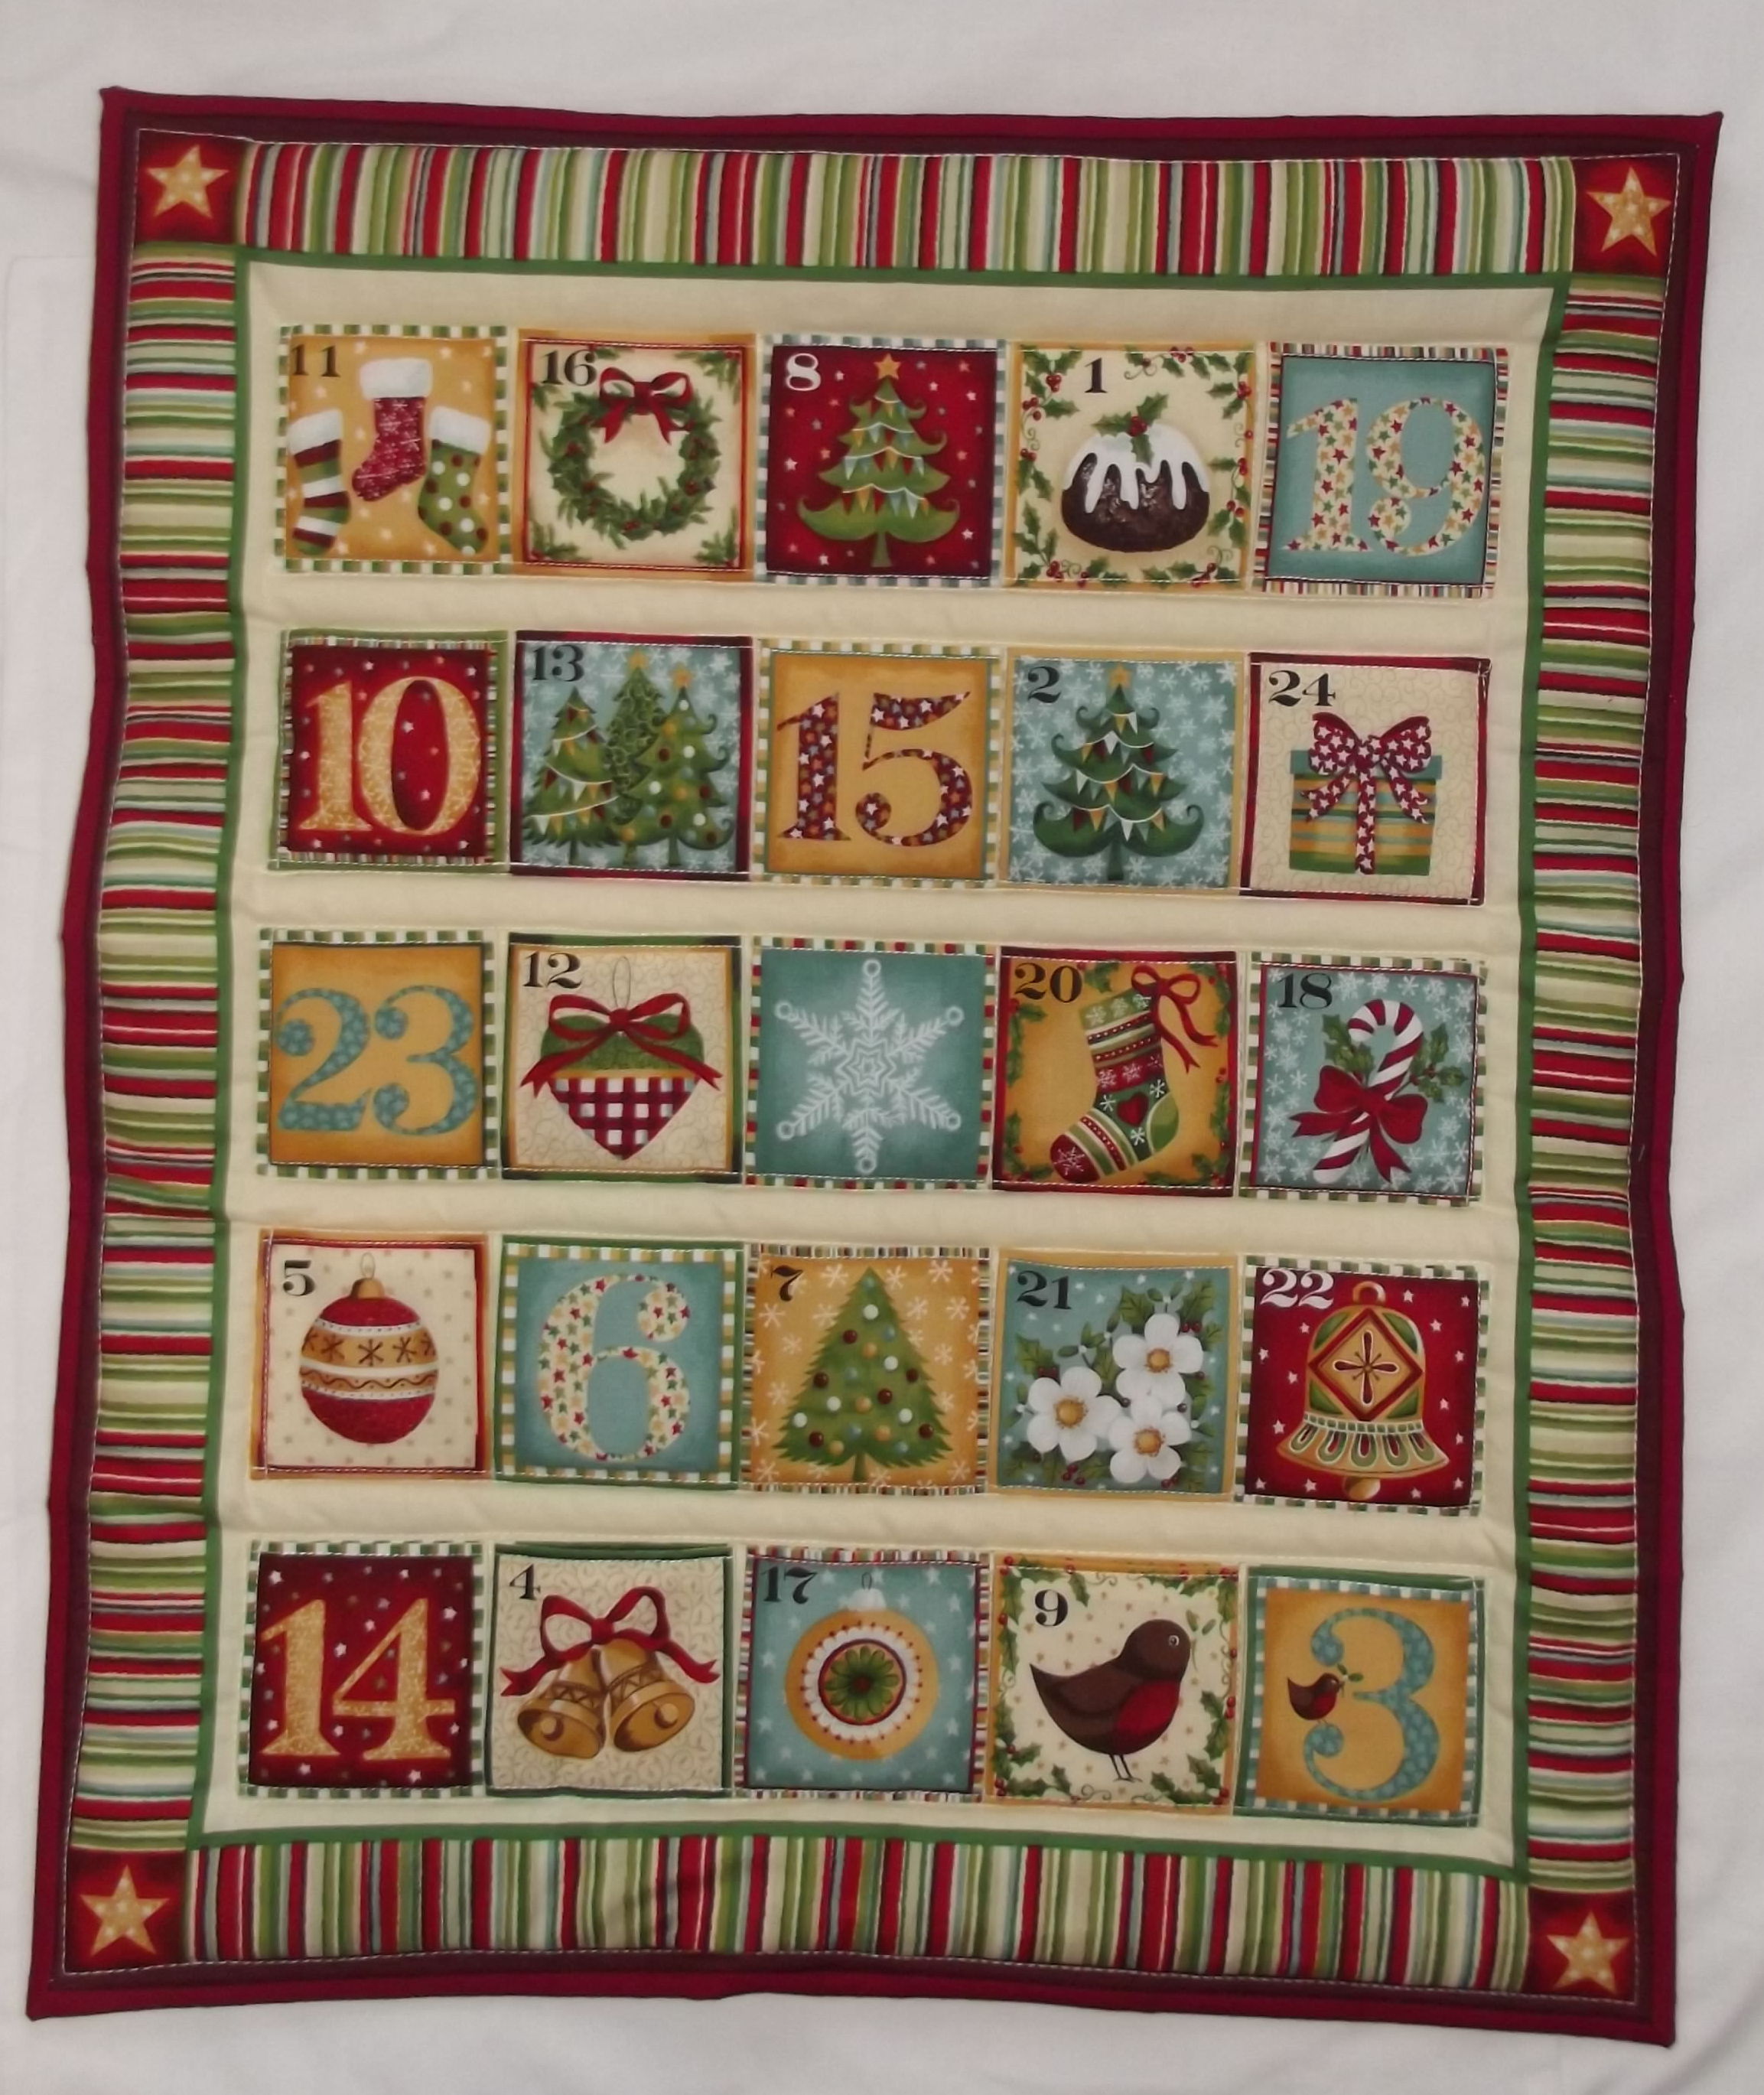
There were two pieces to it. One section was the front panel, and the other contained five sections to make the rows of pockets.

Each row contains five pockets, so to make the calendar you had to fold and press and sew them down onto the front panel.

Once I got started the front was very easy to make. There was actually a lot more ironing and folding and matching up than there was actual sewing.

Once the front was finished I then needed to back it to make it a finished calendar. It suggested putting a layer of wadding in the middle to give it strength once items are put in the pockets.

So I made a quilt sandwich of the front panel, wadding and a backing piece of plain fabric, and sewed them together, adding straight lines of quilting around each rectangle of pockets.

You can see the quilting more easily on the back.

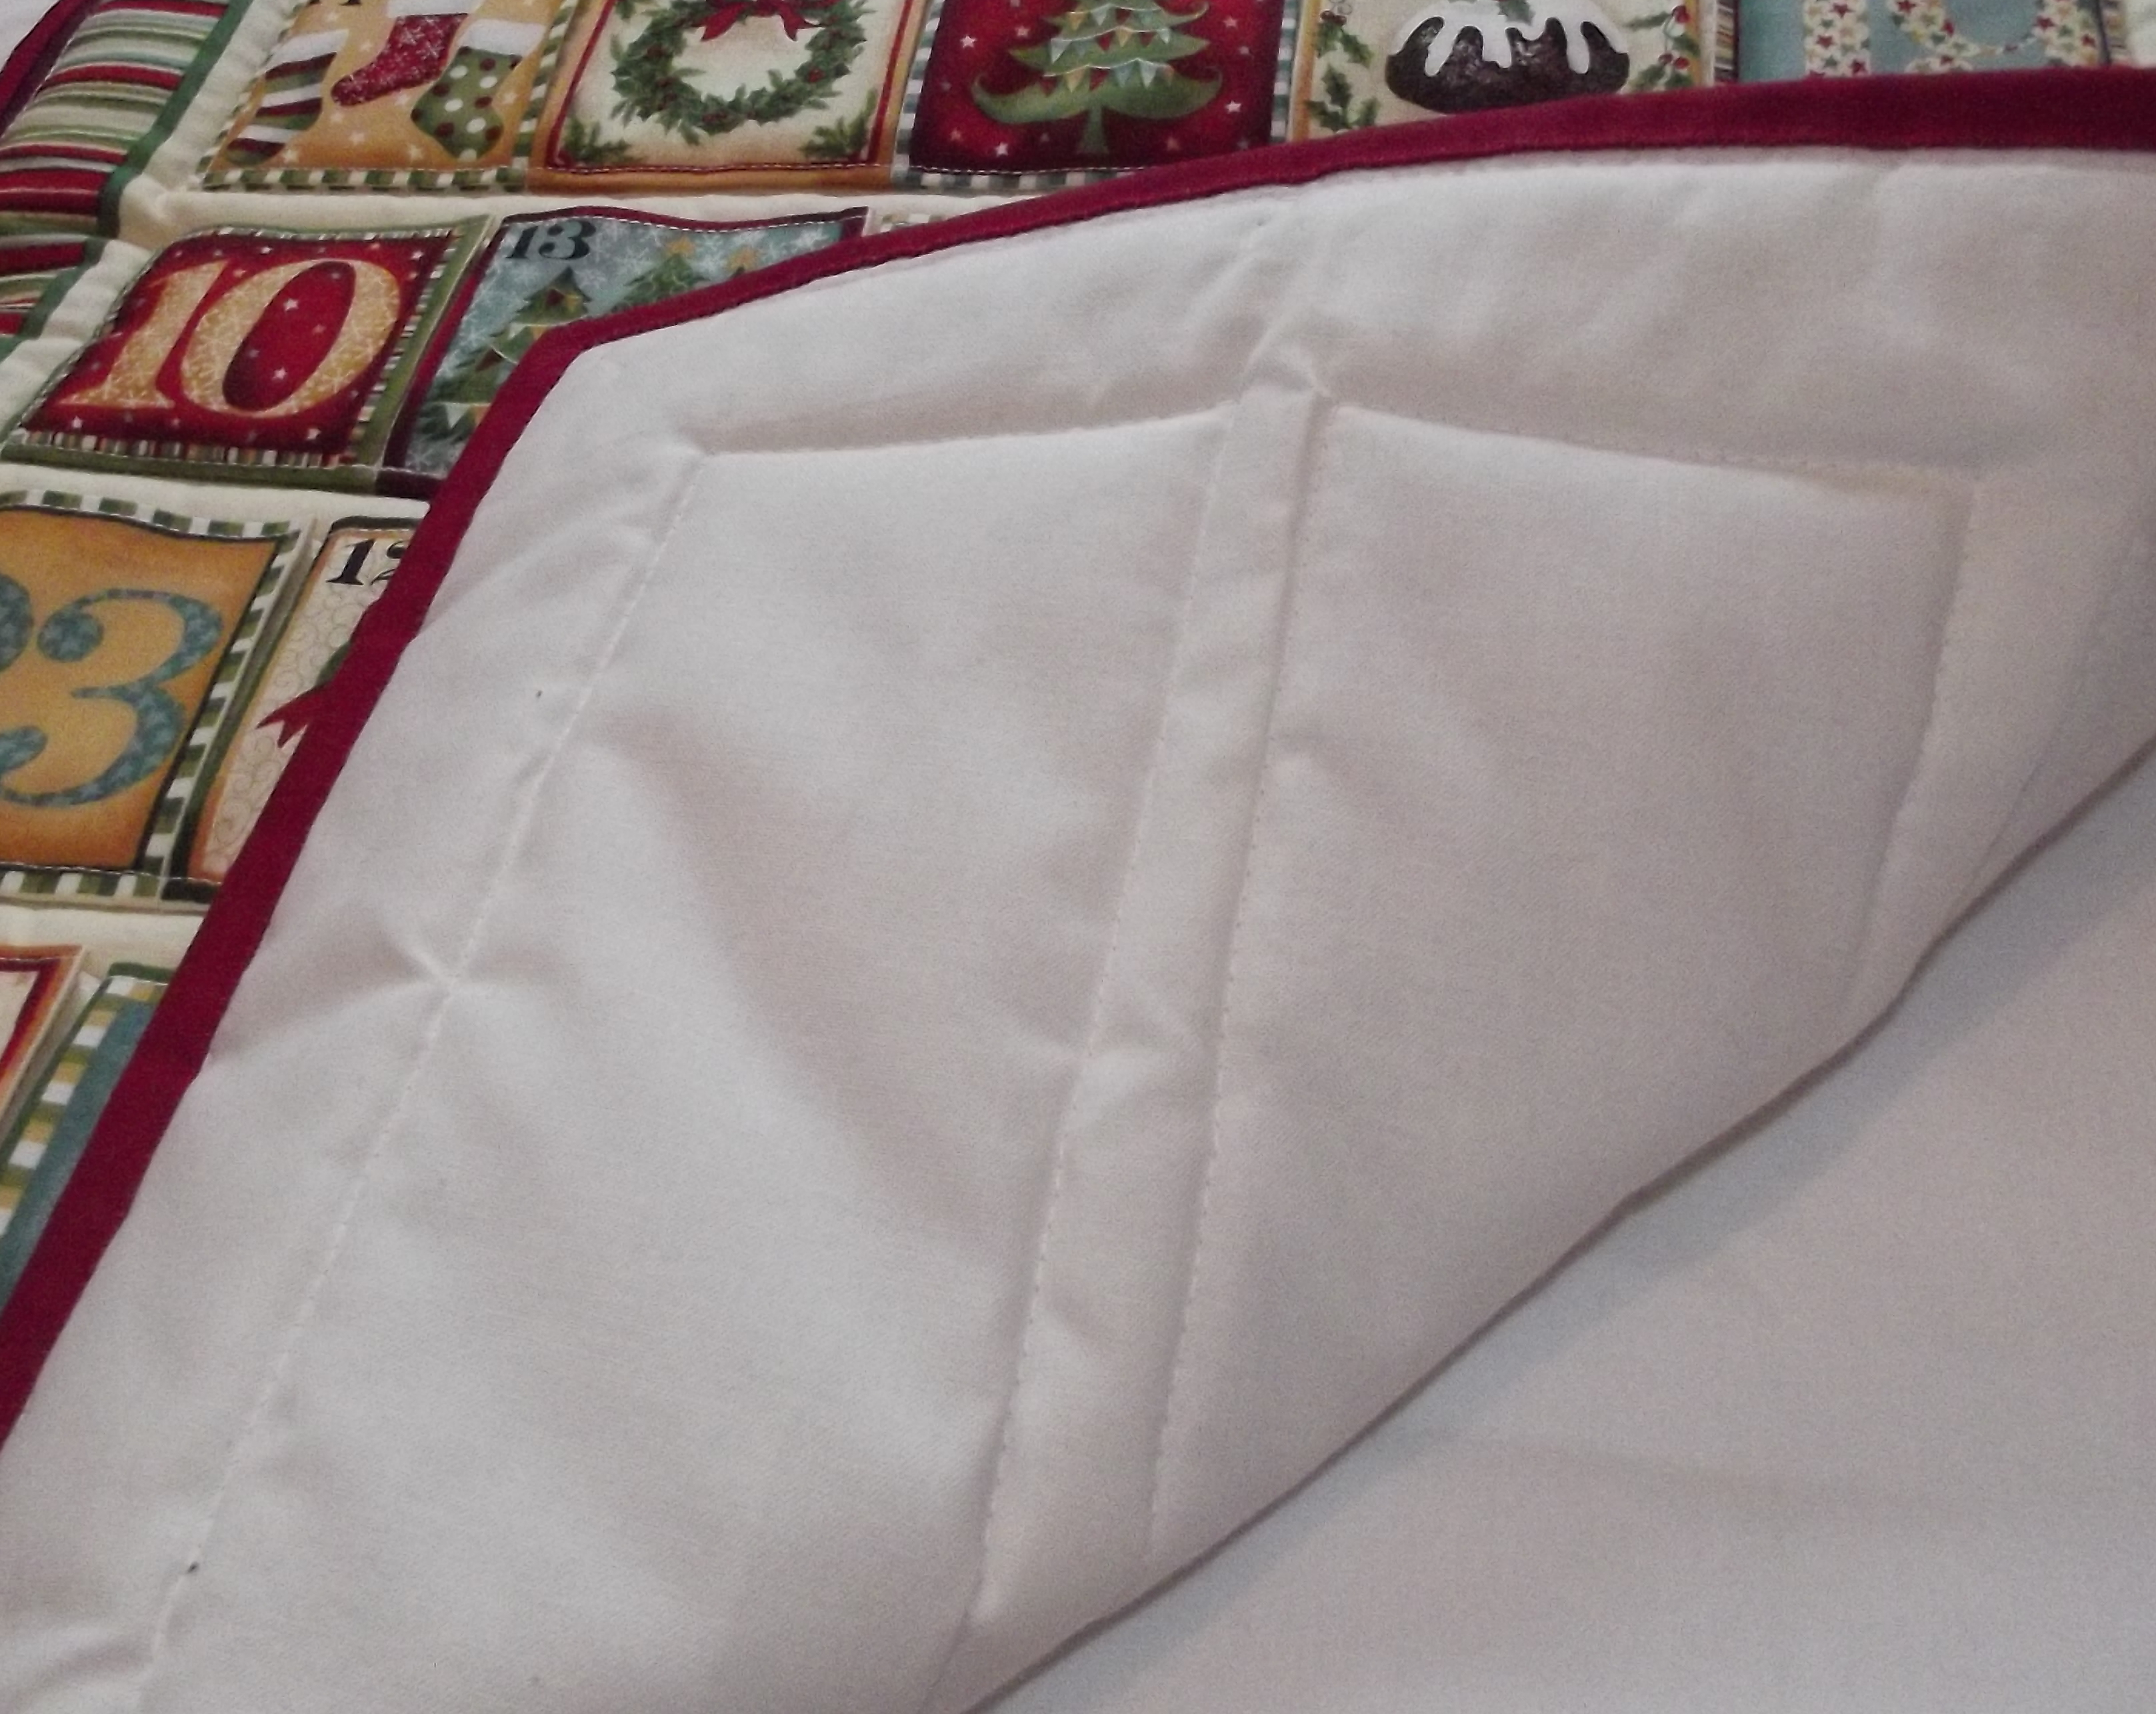
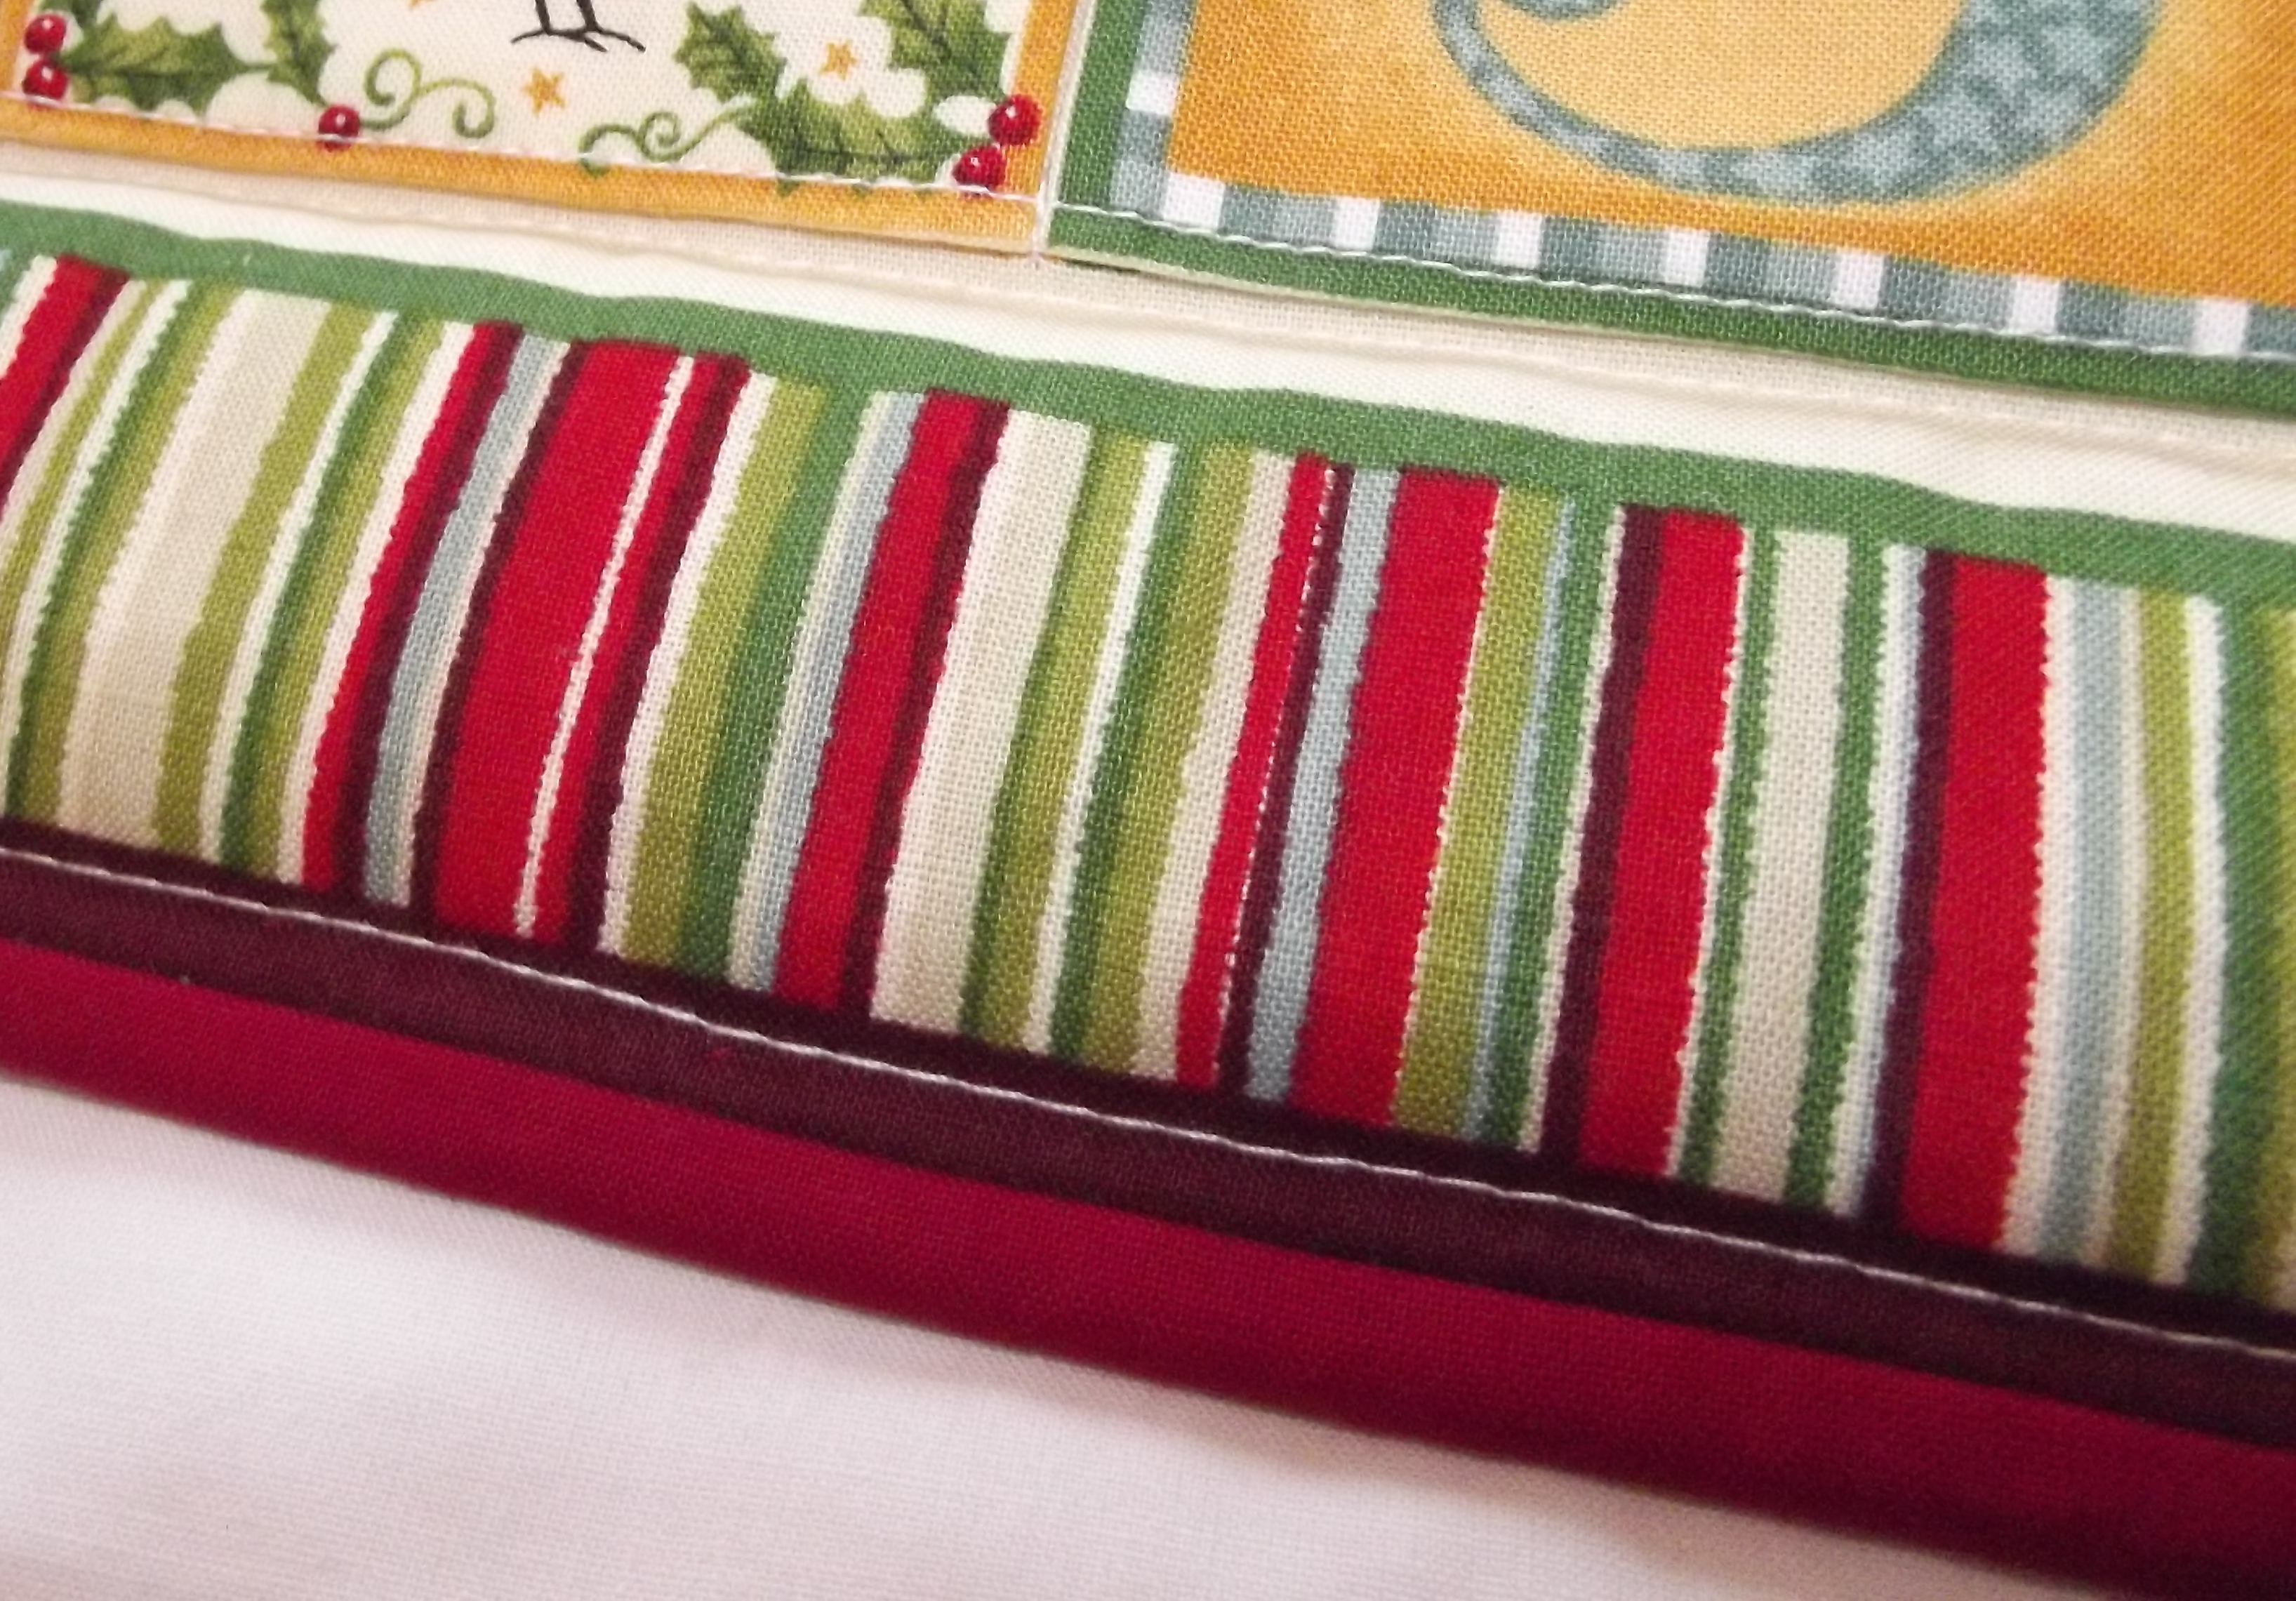
Since I’d made it like a quilt, rather than putting wrong sides together and turning and topstitching, I needed to add binding to finish the edges.

I made my own binding using a plain red fabric. It really finishes it off and makes it look good πŸ™‚

My advent calendar is now in use, with chocolate in each of the pockets. It is still flat for now though, rather than hung on the wall.

The last step will be to add a pole to the top to hang it from. I do have the pole. It just hasn’t made it onto the calendar just yet! Never mind though, once it is finally finished it will have plenty more advents to be hung on the wall in years to come!

Name Bunting

I was asked to make this bunting about six months ago – it’s taken me a while to get round to it!

I’ve made several before, and they’re not my favourite thing to make, which is probably half the reason it takes me so long as I keep putting it off. However, I finally forced myself to finish it off so I could make something else and it’s finished:Β It’s not so clear from the photos, but the flags are alternate plain and checked cotton with a dark pink felt for the lettering. The lettering is sewn on by hand as I can do it neater that way with all the turns and curves. The flags are then sewn onto white bias binding to create the string.

The bunting Β is for a friend to hang in her daughter’s bedroom, so we took the photos up against our bedroom wall to see how it would look. I had to draft in my two assistants to help me while I took the photo:

I hope it’s now hanging happily in its new home πŸ™‚

Spiderman Shorts

I have a new machine for my sewing – an overlocker!

It’s quite a scary looking thing, and I’m still getting used to it and working out how it all works, but am using it to make some clothes. I’m hoping it will speed up my sewing.

The first thing that I made with it was some shorts.

Spiderman has been a big hit in our house recently, so when I came across some Spiderman fabric I had to buy some. I bought a half metre, which was just enough for some shorts.

I used the MADE shorts pattern, with a flat front and elasticated back waist. I made a size 3, with a slightly smaller waist, having a particularly skinny 4.5 year old!

I used my new overlocker to finish off the inside seams instead of zigzag stitching like I have in the past, which was much quicker and looks nice and neat. I overlocked the bottom hem, and then turned up and used a twin needle to sew it, rather than turn and turn again.

Here are my finished shorts:

And here they are being modeled, along with his Spiderman jumper (which I didn’t make) and his new haircut with gel to make it spiky:

Does he really love his new shorts? No! He’s complained that I didn’t put in any pockets.

There’s no pleasing some people!

Modern QAL – Final Link Up

So for the last year I’ve been making a block a month for the And Sew We Craft Modern Quilt-ALong. This month was the month to finish up and sew all those blocks together.

I saw that several people had chosen to make their finished quilts 3×3 blocks big, and use the final three blocks on the back. Now there are some blocks that I like better than others, and 3×3 seemed a much easier size to handle, so I decided to go with this idea too.

Just sewing the blocks together would have been the simplest way to go. Was this what I chose? No – I decided I wanted to do the whole proper sashing between blocks. It’s my first quilt, so might as well try everything!

I also had all those bits of fabric left from making the blocks that I wanted to use up, so thought why not make the sashing up of lots of 2.5 inch squares.Β 160 squares cut out later – I wasn’t really so convinced of the greatness of this idea!

I then put the quilt top aside for a couple of weeks, until yesterday evening, 21st June, I thought I better have a quick check at when the deadline for entering my quilt top into the linky thing actually is.

“Linky closes in 19 hours”

Arghh!

So after some speed sewing, photographing, and typing (I currently have 15 minutes remaining) I made it – hurrah!!

Here is my finished quilt top for the Modern Blocks QAL πŸ™‚

It’s pretty colourful with all those little squares around the outside!

The final three blocks will go on the back, and hopefully I have a fully quilted and bound quilt to share photos of soon!

Edited to add: I linked up with 6 minutes to spare – phew! You can see all the quilts that people made and shared over on ASWC.

Modern QAL – April Block

It’s April, and the final block for the Modern Blocks QAL. And I’m even caught up with posting my blocks and linking this one up on time!

April’s block is called Stacked Squares, and like all the blocks comes from this book:

I have to admit that this was not one of my favourite blocks as it has a large block of solid colour, so only uses the one colour. I think I prefer some of the others where I could use more of the range of colours I chose for the quilt, but it will be interesting to see how all the blocks look together when the quilt is fully sewn.

Here is my finished block:


You can see all the other blocks that people have made over on And Sew We Craft πŸ™‚


This post contains affiliate links.