A Lovely Year of Finishes 2015 – July Plans

A Lovely Year of Finishes

I am taking part in A Lovely Year of Finishes. The idea is that during the first week of the month we make our plans for what we intend to finish, and during the last week of the month we show off our finished items.

This month I want to work on a quilt I started two years ago, as part of a quilt along. It is an ABC quilt and we received 5 block patterns each month. I was doing well and keeping up until we moved, and I had no sewing machine for several months. The blocks were put in a box and I’ve never carried on and finished them to make the quilt.

The quilt is made of 6 rows of 5 blocks. I have 20 blocks, so the first 4 rows.

This month I want to complete the next row of blocks, so the five blocks from the first month of the QAL I missed.

Kids Clothes Week June 2015

kid's clothes week

Last week was Kid’s Clothes Week, and I managed to keep up with sewing an hour a day to make a t-shirt for both boys.

I used two Fishsticks Designs patterns. For the small one, the 18-24 month size lap tee from the Wee Tot Collection. I was expecting the envelope neck to be much trickier than it actually was – I thought it was actually much simpler than an ordinary round neck as you sew onto two straight edges instead of a round one.

I used a pale blue jersey with a giraffe print with white ribbing round the neck.

For the big one I made the size 6 from the Charlie Tee and Hoodie Pattern. I used a red and blue stripes jersey with black ribbing for the neck.

They both turned out pretty well and have already been worn a couple of times.

The sizes seem a good fit, so I think I’ll be making some more for both of them 🙂


I’m linking up with And Sew We Craft Together

And Sew We Craft

Personalised Notebook Covers

Next week is the last week of the school year here, before the long summer holidays. So I have been making presents for W’s teachers.

I decided upon notebook covers, thinking that they seemed like nice, quick and simple things to make. Nice – yes, they do look nice. Quick – no, they took me about a week. Simple – not at all, the first one was unpicked and redone three times!

Luckily you can’t tell that it was unpicked so many times now it’s finished.

I was following a pattern. The pattern and I did not get on. I stamped my feet and complained a lot that the pattern did not work, and then went back to the beginning and reread to make sure I wasn’t being stupid and missing something obvious. But no, it wasn’t me, and I was never going to end up with the finished cover I wanted by sticking to it, so I ended up abandoning it and trawling the internet looking for different techniques that other people had used.

Finally I same across a tutorial on a blog called Stitch by Stitch, which reading through I could see exactly how it would work, and from then on the job got a whole lot easier!

I pieced the outer cover fabric together to give them the solid red spine. This allowed me to embroider the names onto them where they could be easily read.

They do look very pretty now they are finished, and they’re even finished with a week to spare! W has given his approval, so hopefully his teachers will like them too  🙂

Cuddly Baby Quilt

A Lovely Year of Finishes

I completed my June goal! (I was #17 on the link up). And even better, it’s only the 9th – it didn’t take me as long as I was expecting.

It is a simple patchwork square design, and came together quickly as the squares are six inches once sewn together.

They are a mixture of materials –  some of the prints are cotton, the green squares are minky and the dot fabric is flannel.

I did simple straight line quilting equal distance from each side of the seams.

It is backed in the dotty flannel, and is turned and topstitched rather than being bound.

I think it looks pretty, and will make a great new baby present 🙂


I’m linking up with Sew Cute Tuesday over on Blossom Heart Quilts.
Sew Cute Tuesday

Doctor Who Backpack

What young Dr Who fan wouldn’t want their own Dr Who backpack? Certainly not this one!

When I saw this Dr Who fabric it was crying out to be made into a backpack, and it came together quite quickly. It is a pattern that I have used before, when I made the blue monkey backpack, using the preschool backpack pattern by Pattern Play.

The main outer of the backpack is a TARDIS print, with a Dalek print for the bag and pocket flaps. The lower pocket, lining and straps are all a plain black cotton.

It’s a good pattern for using novelty prints, as you don’t need huge amounts of them to make a reasonable sized bag. As a children’s bag it’s not huge, it’ll just about fit an A4 sized book in the interior and has four small car/crayon slots under the outside pocket flap and two slip pockets behind the outer pocket. I started with a half metre of the TARDIS print and a fat quarter of the Daleks, and have a small amount of each left over.

The straps are adjusted with two D-rings on either side, and both the main bag and front pocket are fastened using velcro.

I particularly like the piping around the bag flap which I did in black.

I really like this bag. It’s certainly very cool!!


I’m linking up with And Sew We Craft Together

And Sew We Craft

A Lovely Year of Finishes 2015 – June Plans

A Lovely Year of Finishes

The idea is that during the first week of the month we make our plans for what we intend to finish, and during the last week of the month we show off our finished items.

This month I want to finish a quilt kit that I got for Christmas about 3 years ago! I never got very far with it and it’s been on my ‘to finish’ pile ever since.

I’m looking forward to it being finished by the end of the month!

Zoo Animals BOM – April and May

A Lovely Year of Finishes

Hurray, I completed my May goal! (I was #65 on the link up)


I have been joining in with the Zoo BOM from Quietplay, but had gotten behind, and my goal this month was to complete the last two blocks to catch up.

These are all the blocks we will have done when we finish.

Quiet Play Zoo BOM

I was missing the walrus and the giraffe.

First up I made my walrus. I think my paper piecing must be improving as the three sections of his head line up quite well.

Then I completed my giraffe at the weekend whilst watching Eurovision. I wasn’t too sure about the colours, but he looks pretty giraffey now he’s done! 

I wonder which animal we’ll be making next month?!


I’m linking up with And Sew We Craft Together

And Sew We Craft

Patchwork Minky Playmat

This playmat has been a long time in the making! I started it last year, and every time I thought “I’ll finish it this month,” it never seemed to happen. But finally it’s done, and I’m so pleased with how it turned out!

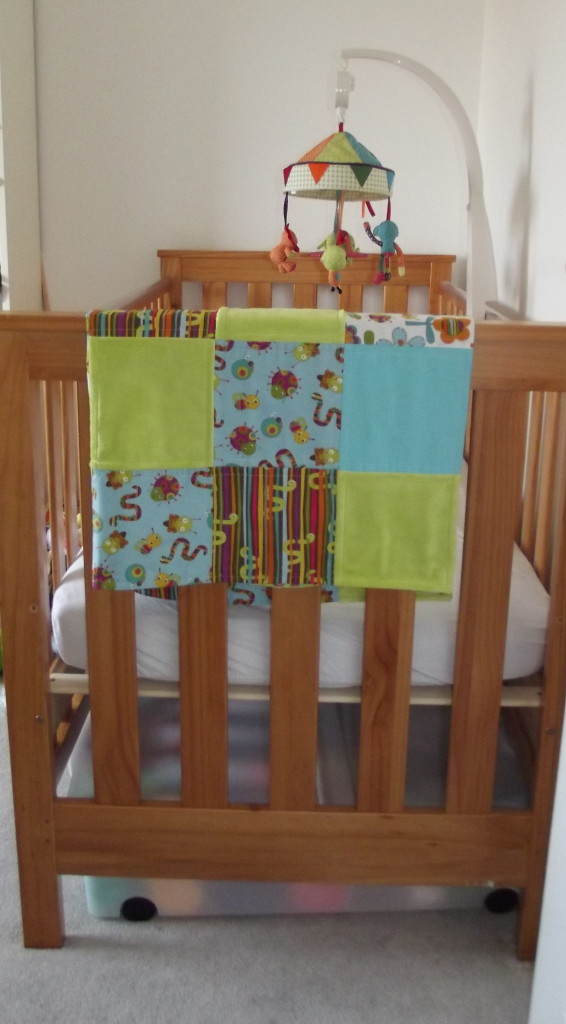
It is made from 62 minky squares in seven different colours/prints, and one rectangle with an embroidered name.

I’m no good with random, so I organised the different colours and prints so that mostly there was the same one at either end of a row and all the rest in that row were different, and so that there was none of the same colour touching.

Cutting the squares took up quite a bit of time. Sewing the rows was fairly quick. When the top was done I thought “it’s nearly finished!” but that was in about February, so completing the top was clearly not as near the finish as I thought!

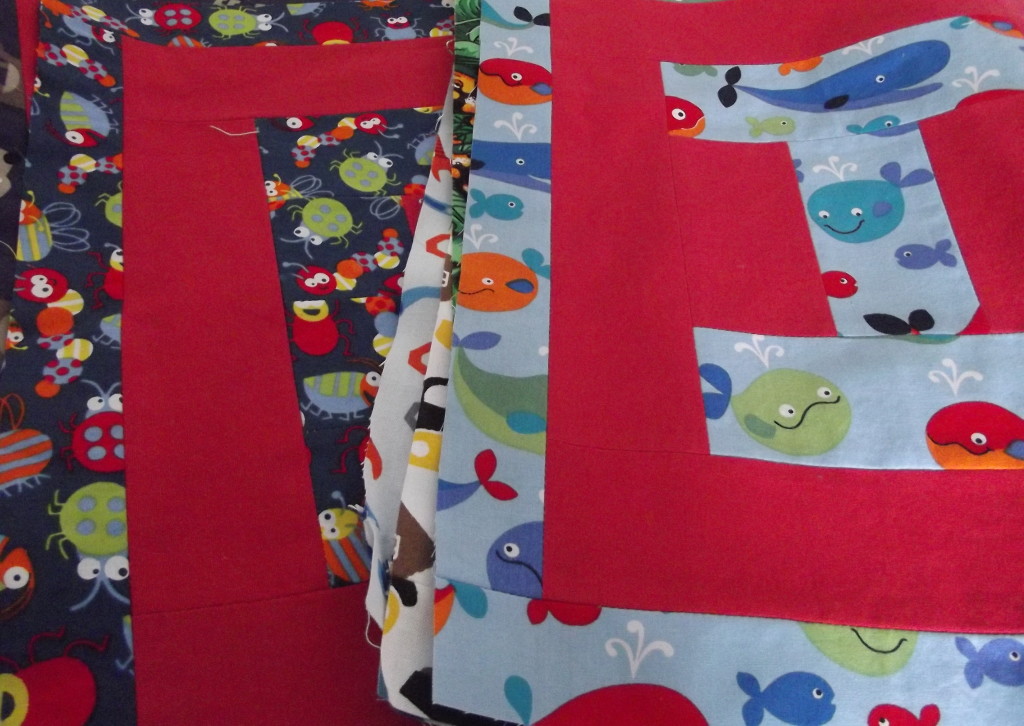
I had a large piece of minky dimple dot that I wanted to use for the back, but when I came to use it I found that it was not big enough. All of the rest of the minky pieces I had were shorter than the width of the blanket, so strips of those wasn’t an option either. I solved the dilemma by creating stripes diagonally. It makes for an interesting back panel:

Quilting two layers of minky is not at all fun! It has a mind of its own and doesn’t want to play along, but after a lot of unpicking I finally showed it who was boss! I used straight lines either sides of all the seams.

It seemed obvious to bind the blanket with minky since that’s what all the rest was made with. I can safely say that I won’t be doing that again anytime soon! Trying to sew it down by hand is very much like crocheting with furry or eyelash yarn – you can’t see what you’re doing. It took me a whole week to finish the binding.

Somebody tried to grab a hold of it before the binding was all finished because it’s all soft and snuggly:

But finally it’s finished  – hooray!

And the mini one is getting lots of use out of it. He likes to sit and play on it 🙂


I’m linking up with And Sew We Craft Together

And Sew We Craft