Last week I finished this bag for my friend Chrissy:
It is made from this tutorial on a blog called 2 Little Hooligans.
The floral fabric you might recognise as being the leftover pieces from when I made this bag for my mother-in-law last year. And the purple might have been from that project too. It is a mixture of the two because there were only small pieces of each one left. The sides and pockets all contain iron-on interfacing instead of the fleece and flannel recommended in the tutorial – I don’t think my sewing machine could have coped with the thickness of all the layers if I’d used anything thicker!
 One end has lots of smaller pockets to fit things like scissors, knitting needles and the like.
 And the two long sides both have one big pocket each.
 I made the bias to go on the top of the pockets and around the top of the bag. I was impressed with how well I’d done my measuring when it lined up perfectly along the sides 🙂
 It’s a nice little bag – I might have to make one for myself!
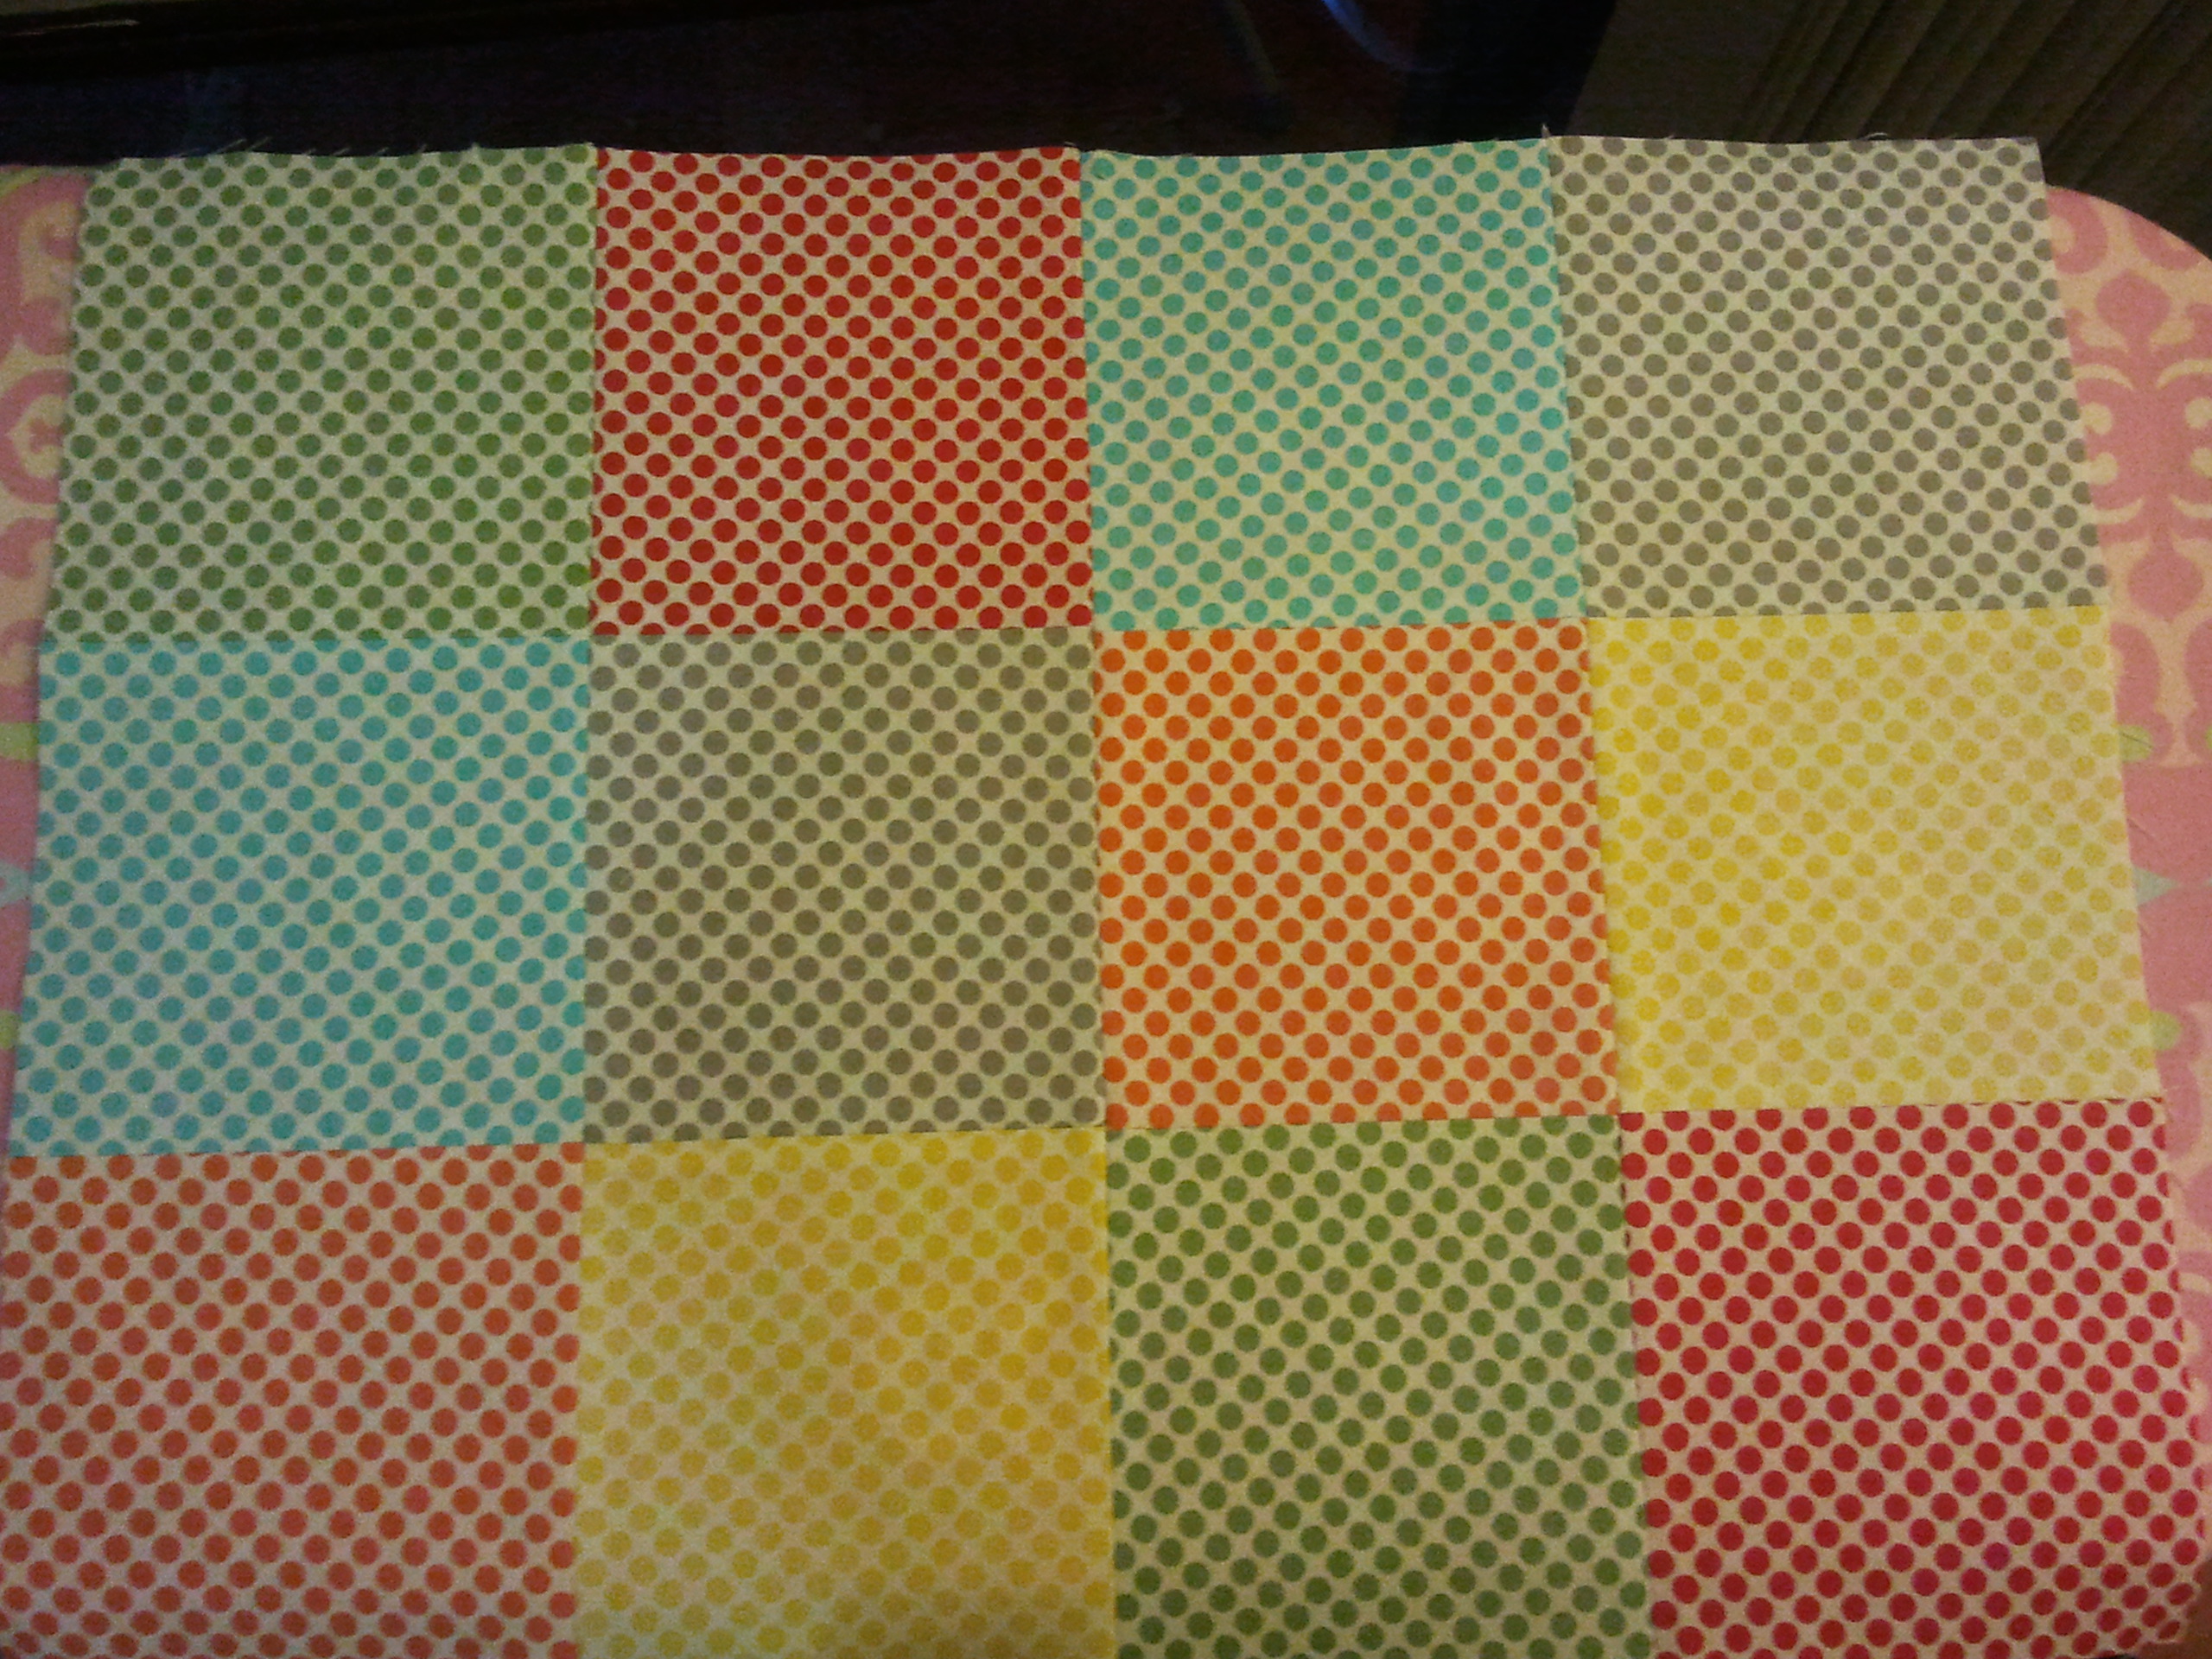 I was really pleased with my mat after the first tutorial, when all the top was sewn as my lines were nice and straight 🙂 I’d spent a long time measuring and matching corners, so was happy that my hard work had paid off.
 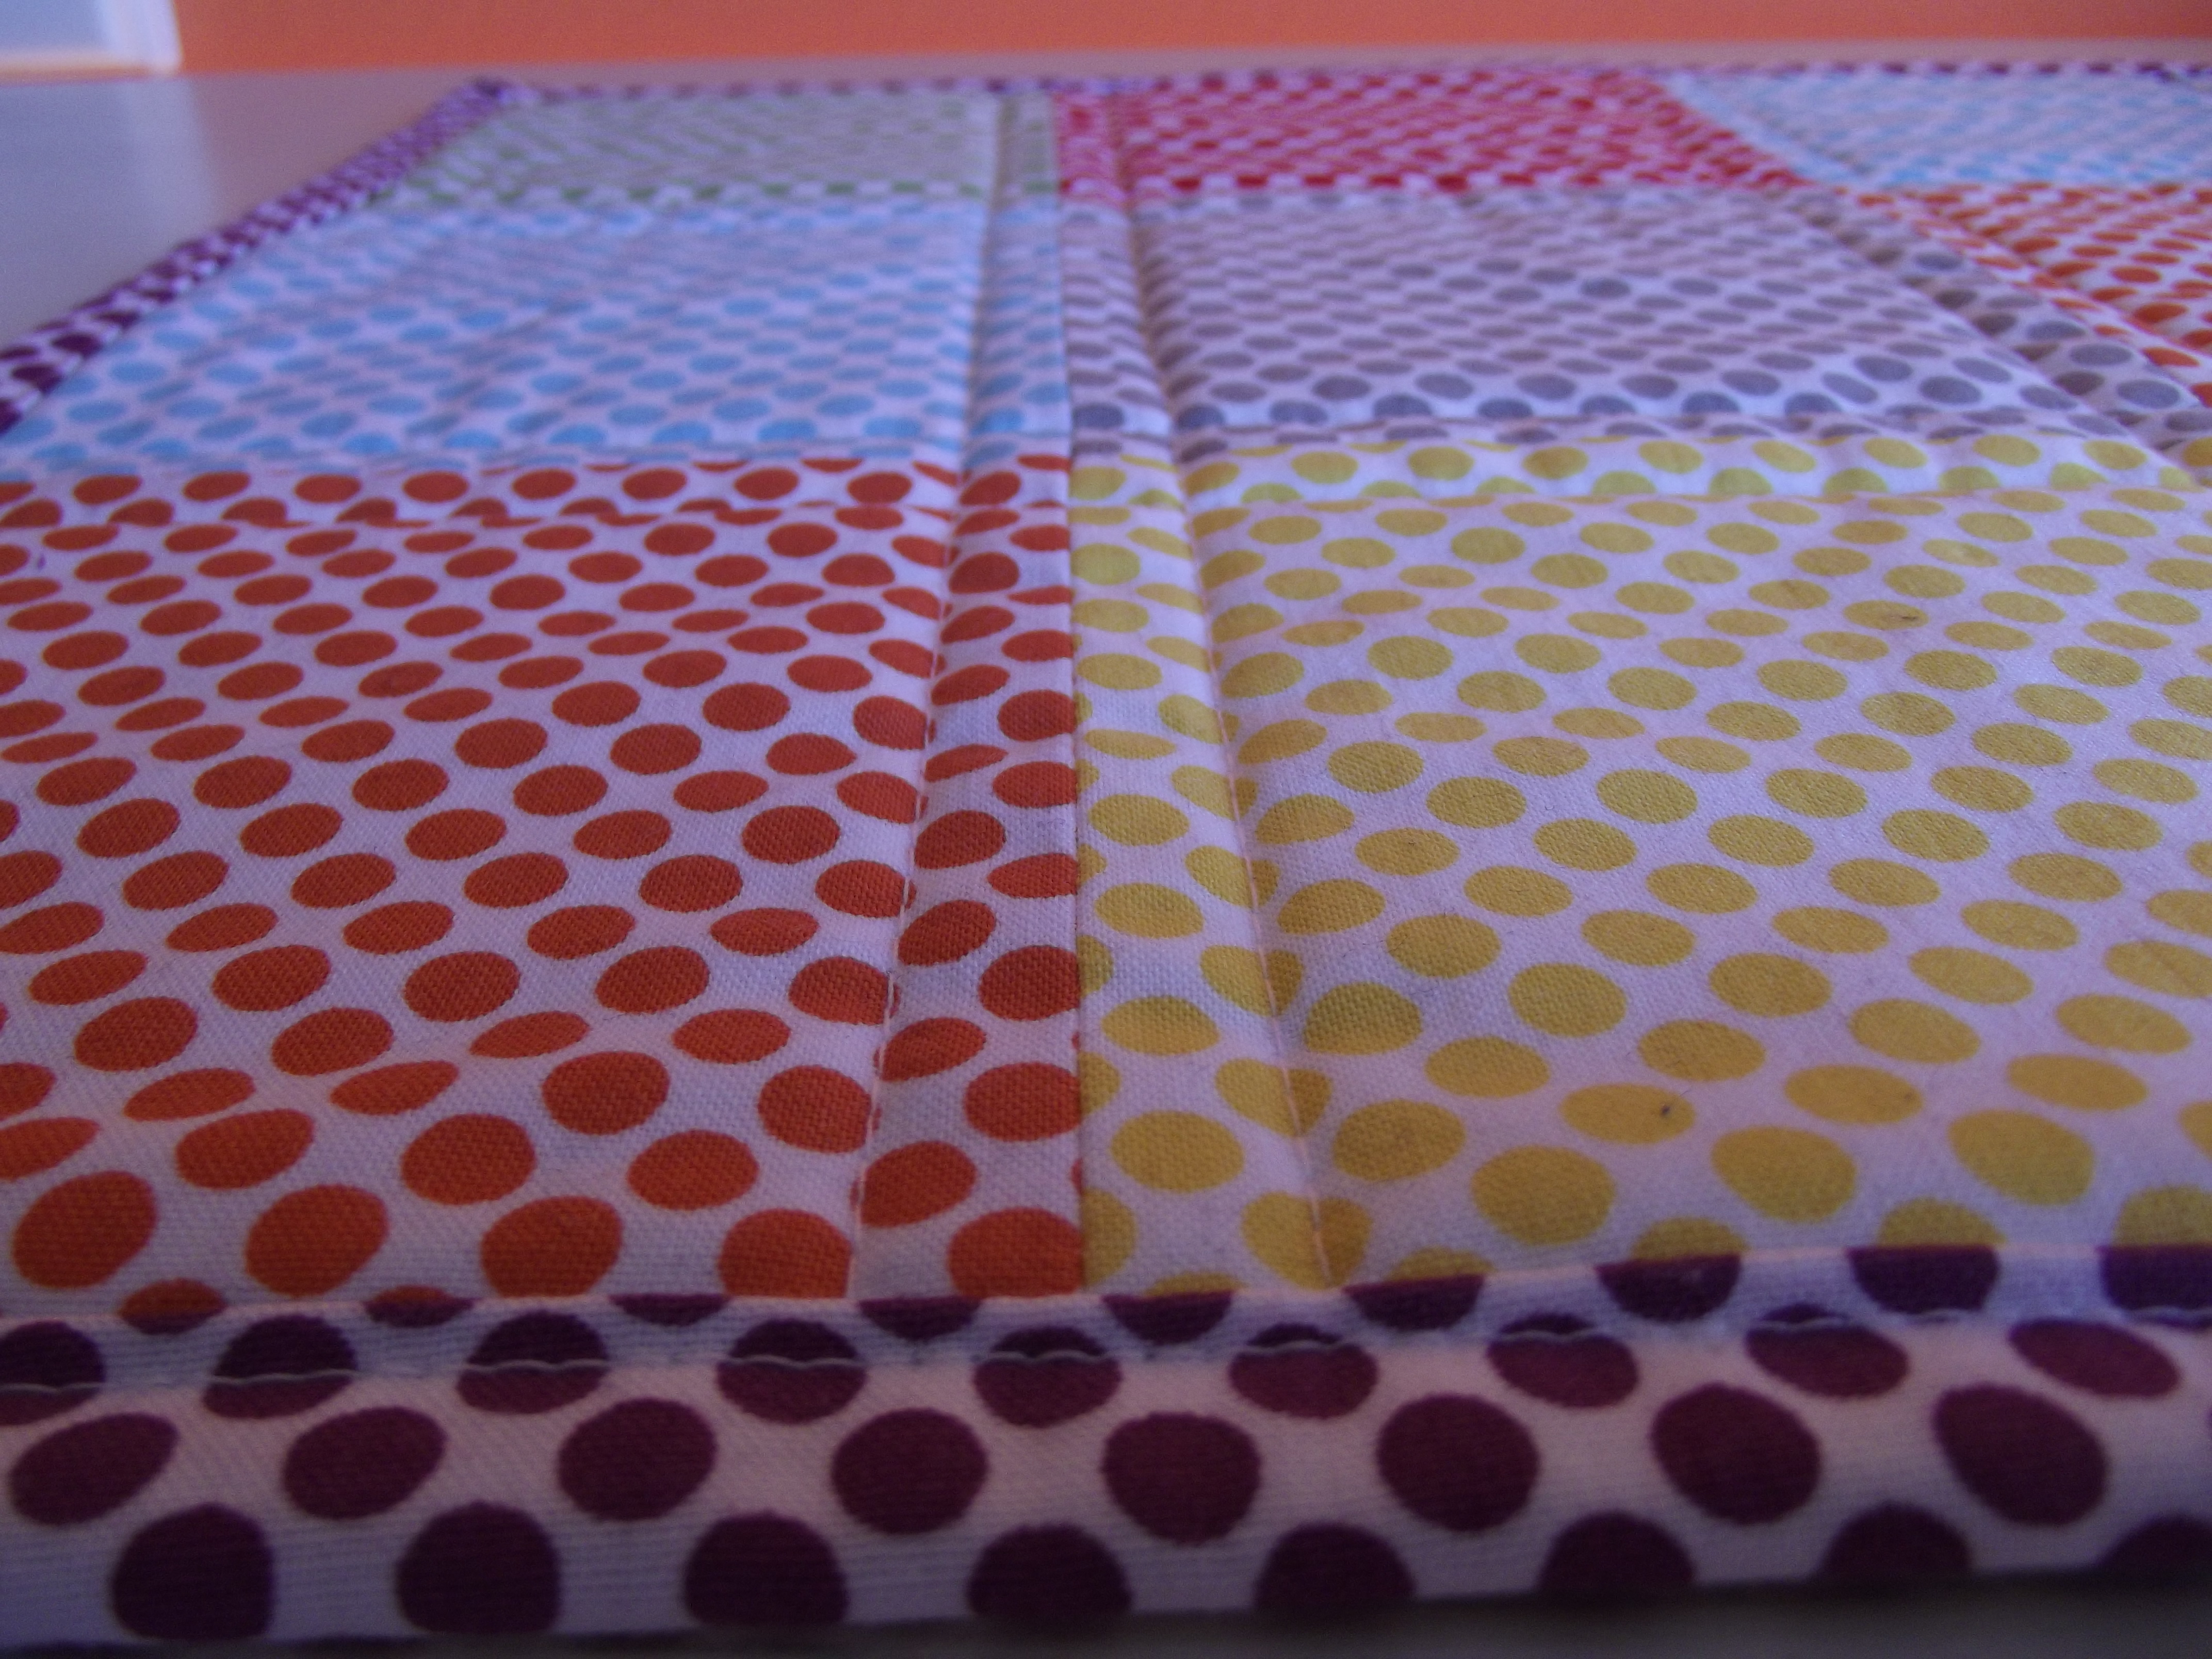 The second step was the quilting which was nice and easy using my walking foot. It’s the first time I’ve quilted anything!
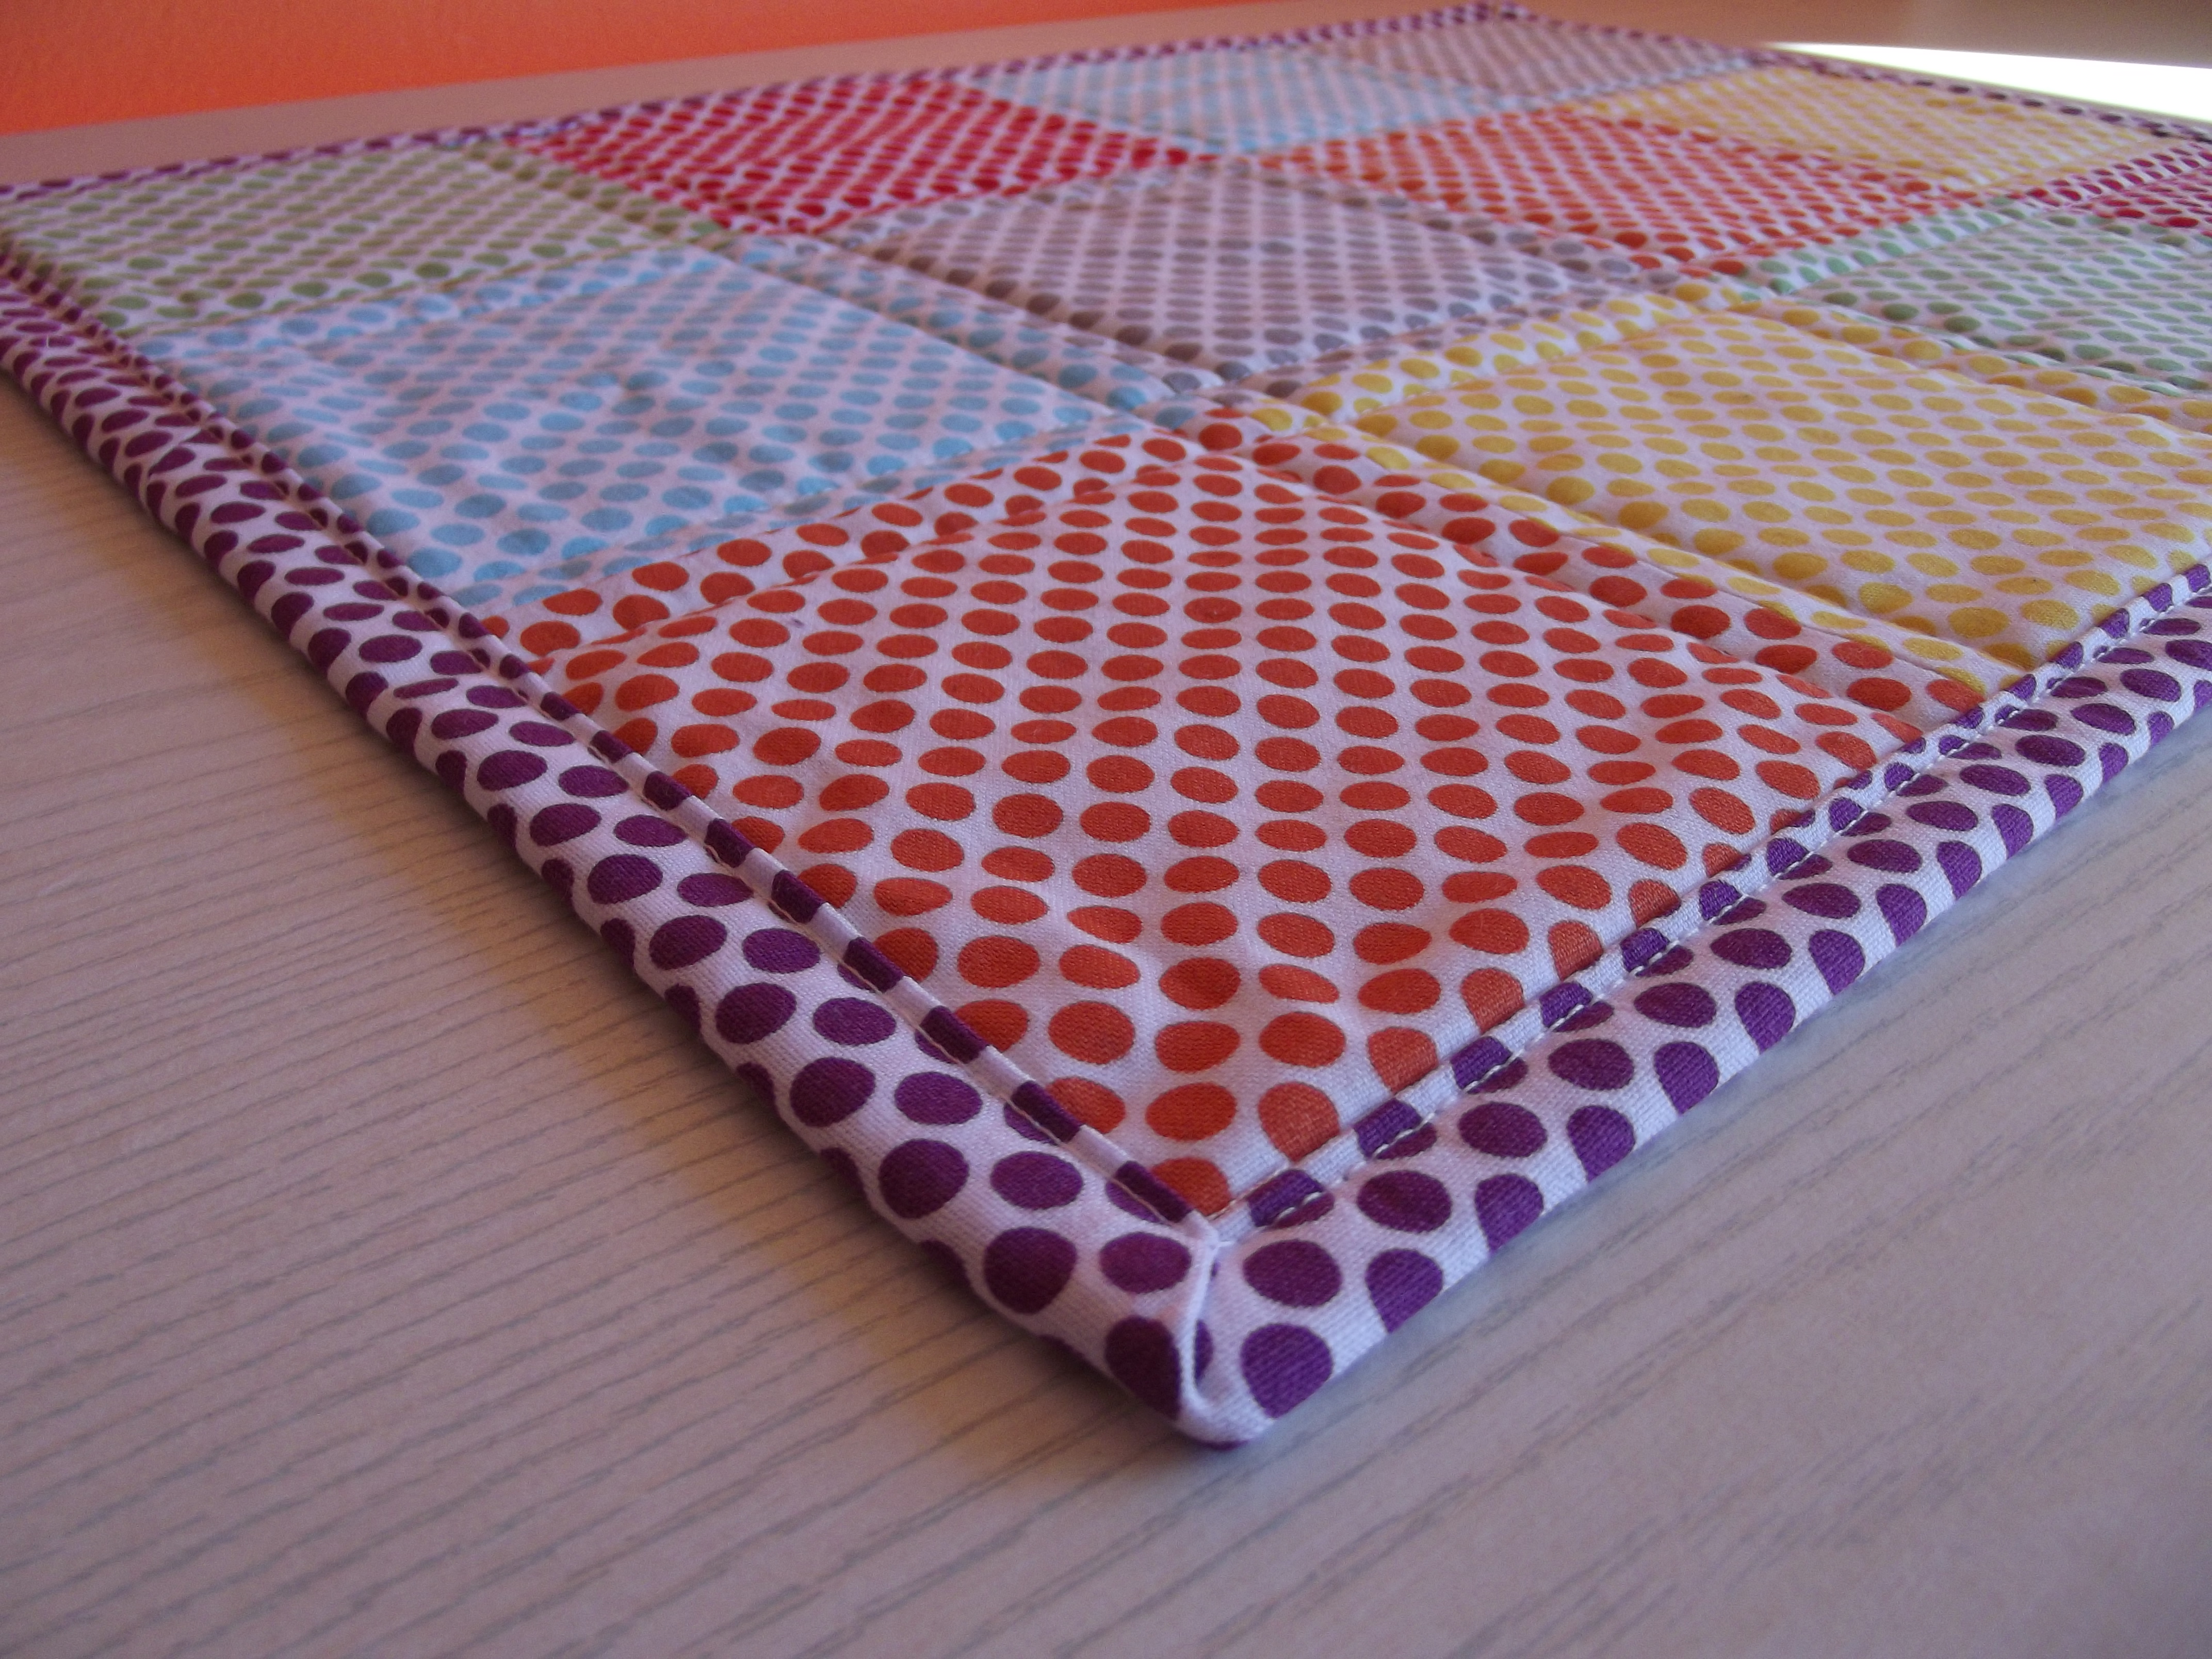 Finally came the binding. I made my own, using of course another colour of polka dot fabric – purple! I’ve also never binded anything before, and this was the bit I was most nervous about. I joined my strips (because even though the mat is small, as I was using FQs I had several strips to join) on the diagonal, and found examples online of fastening the beginning and end together the same way, making it hard to tell now it’s finished where it was I began.
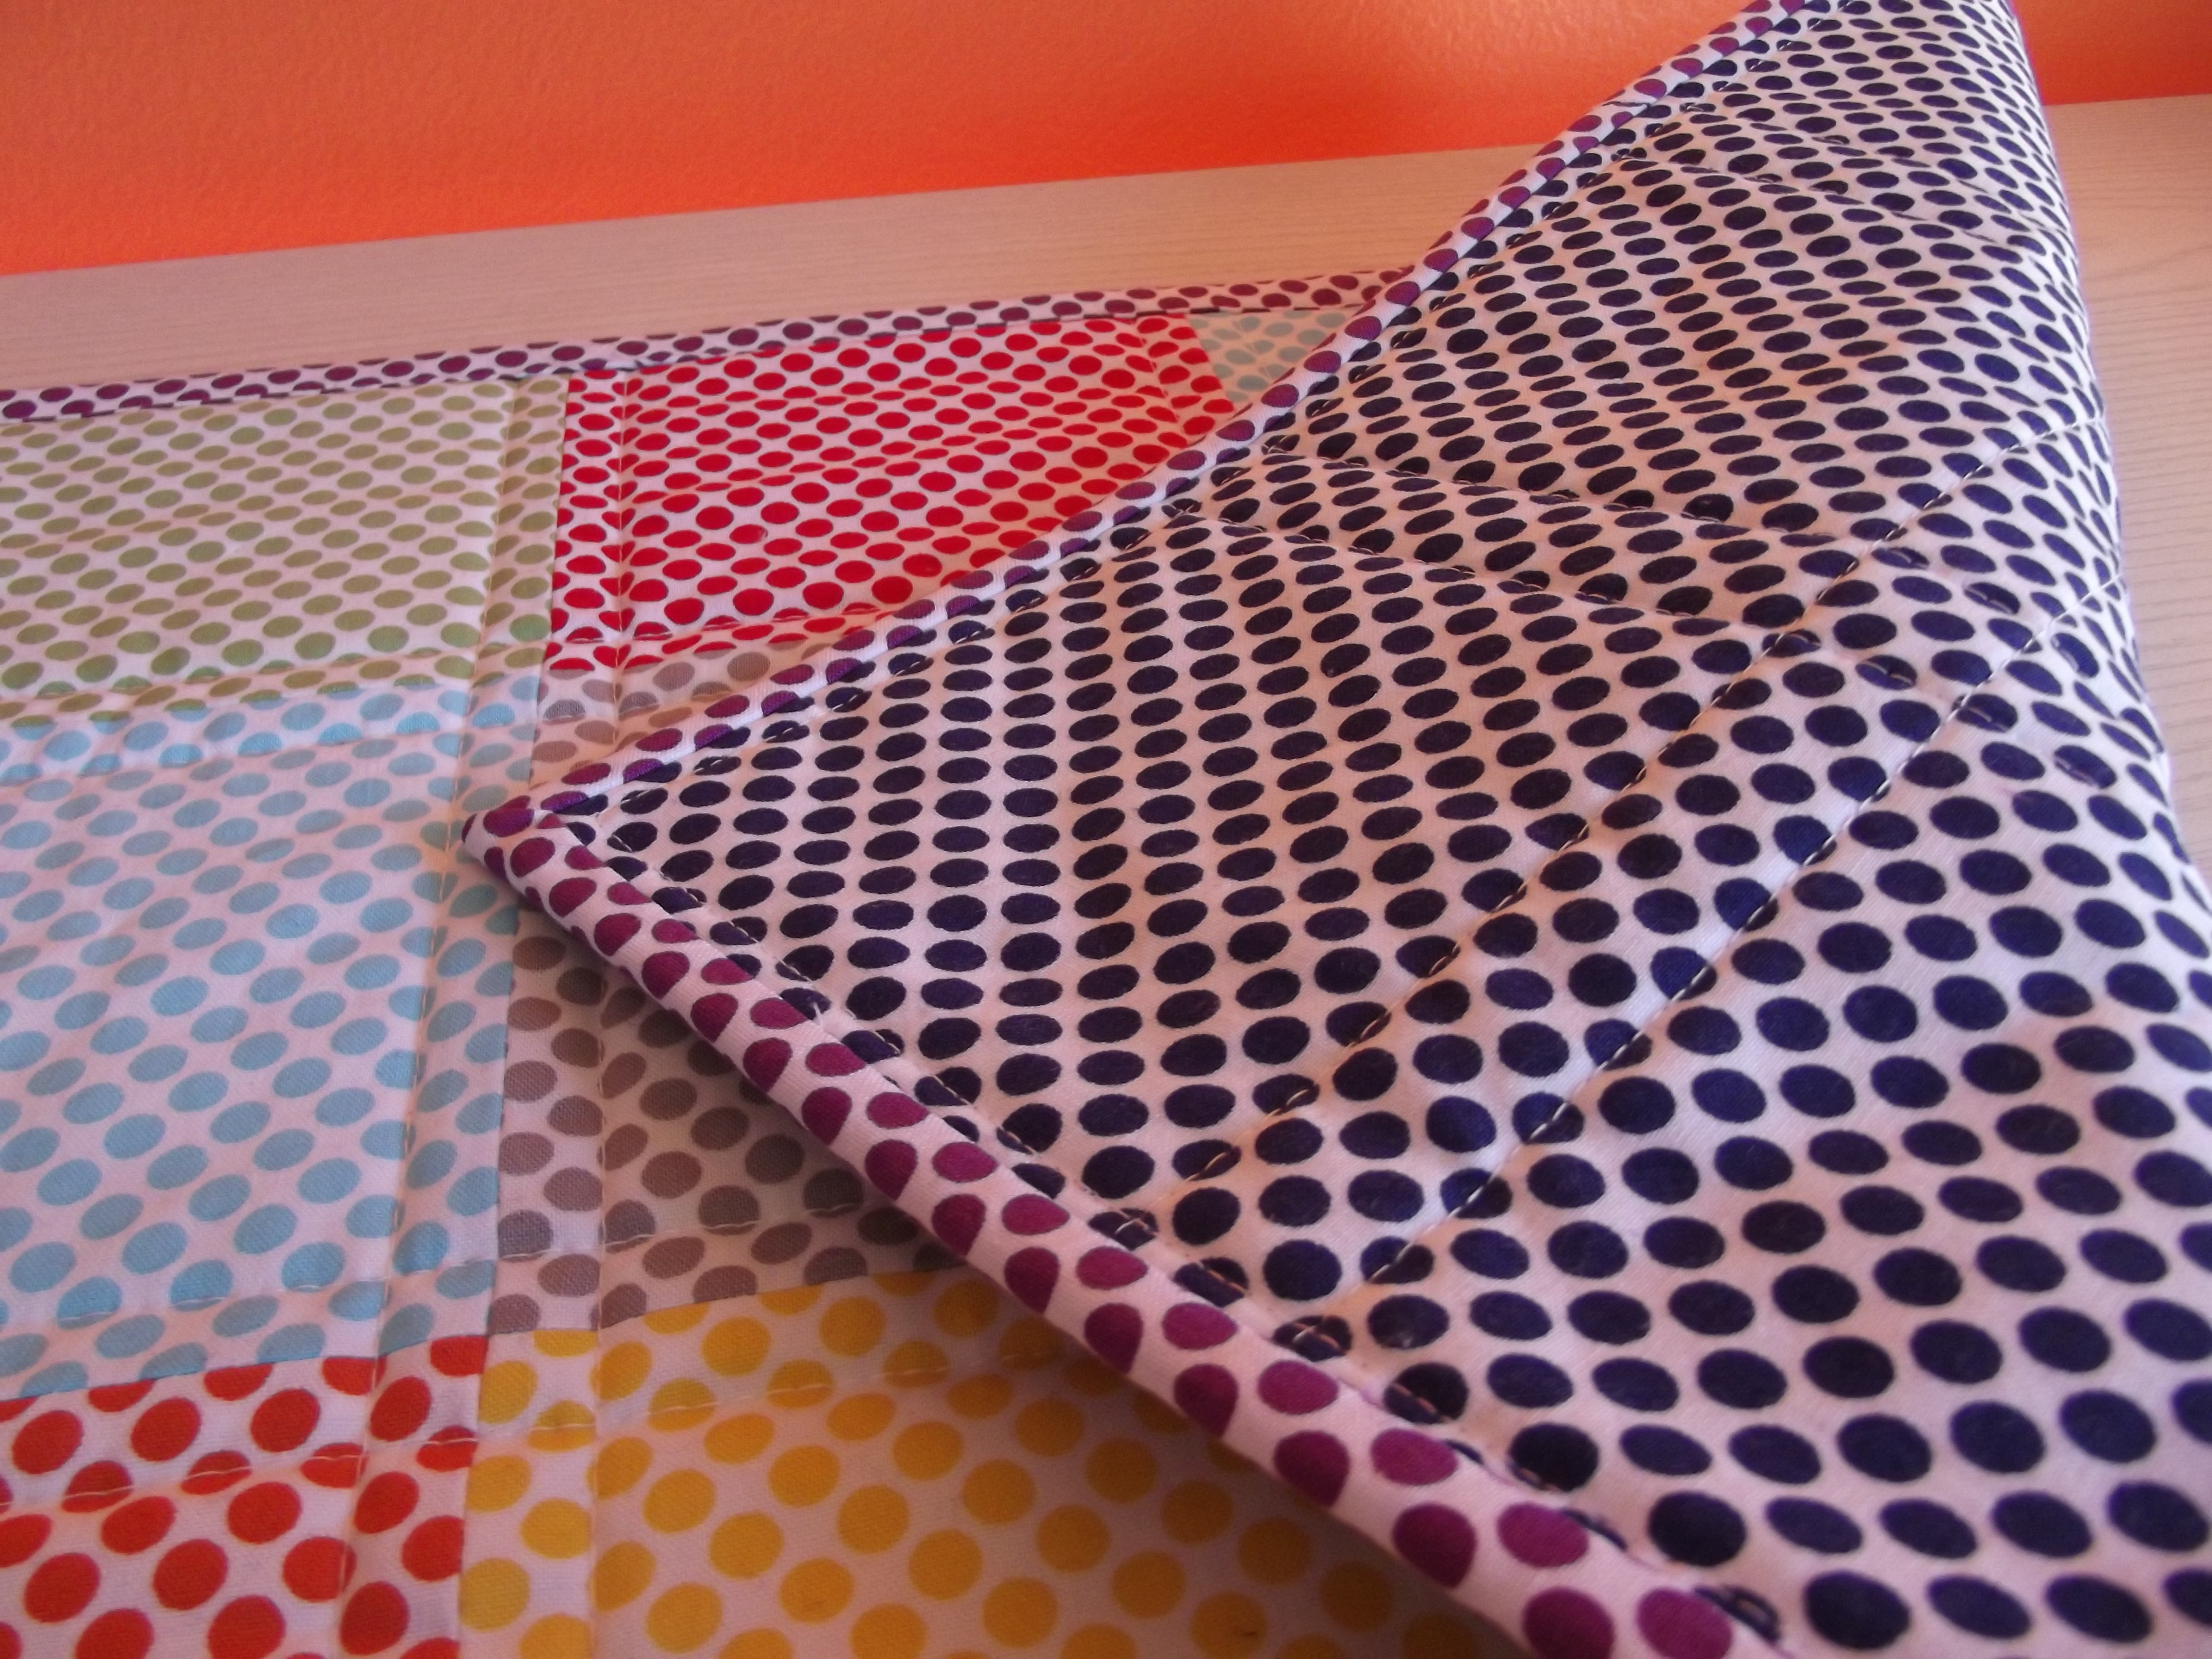

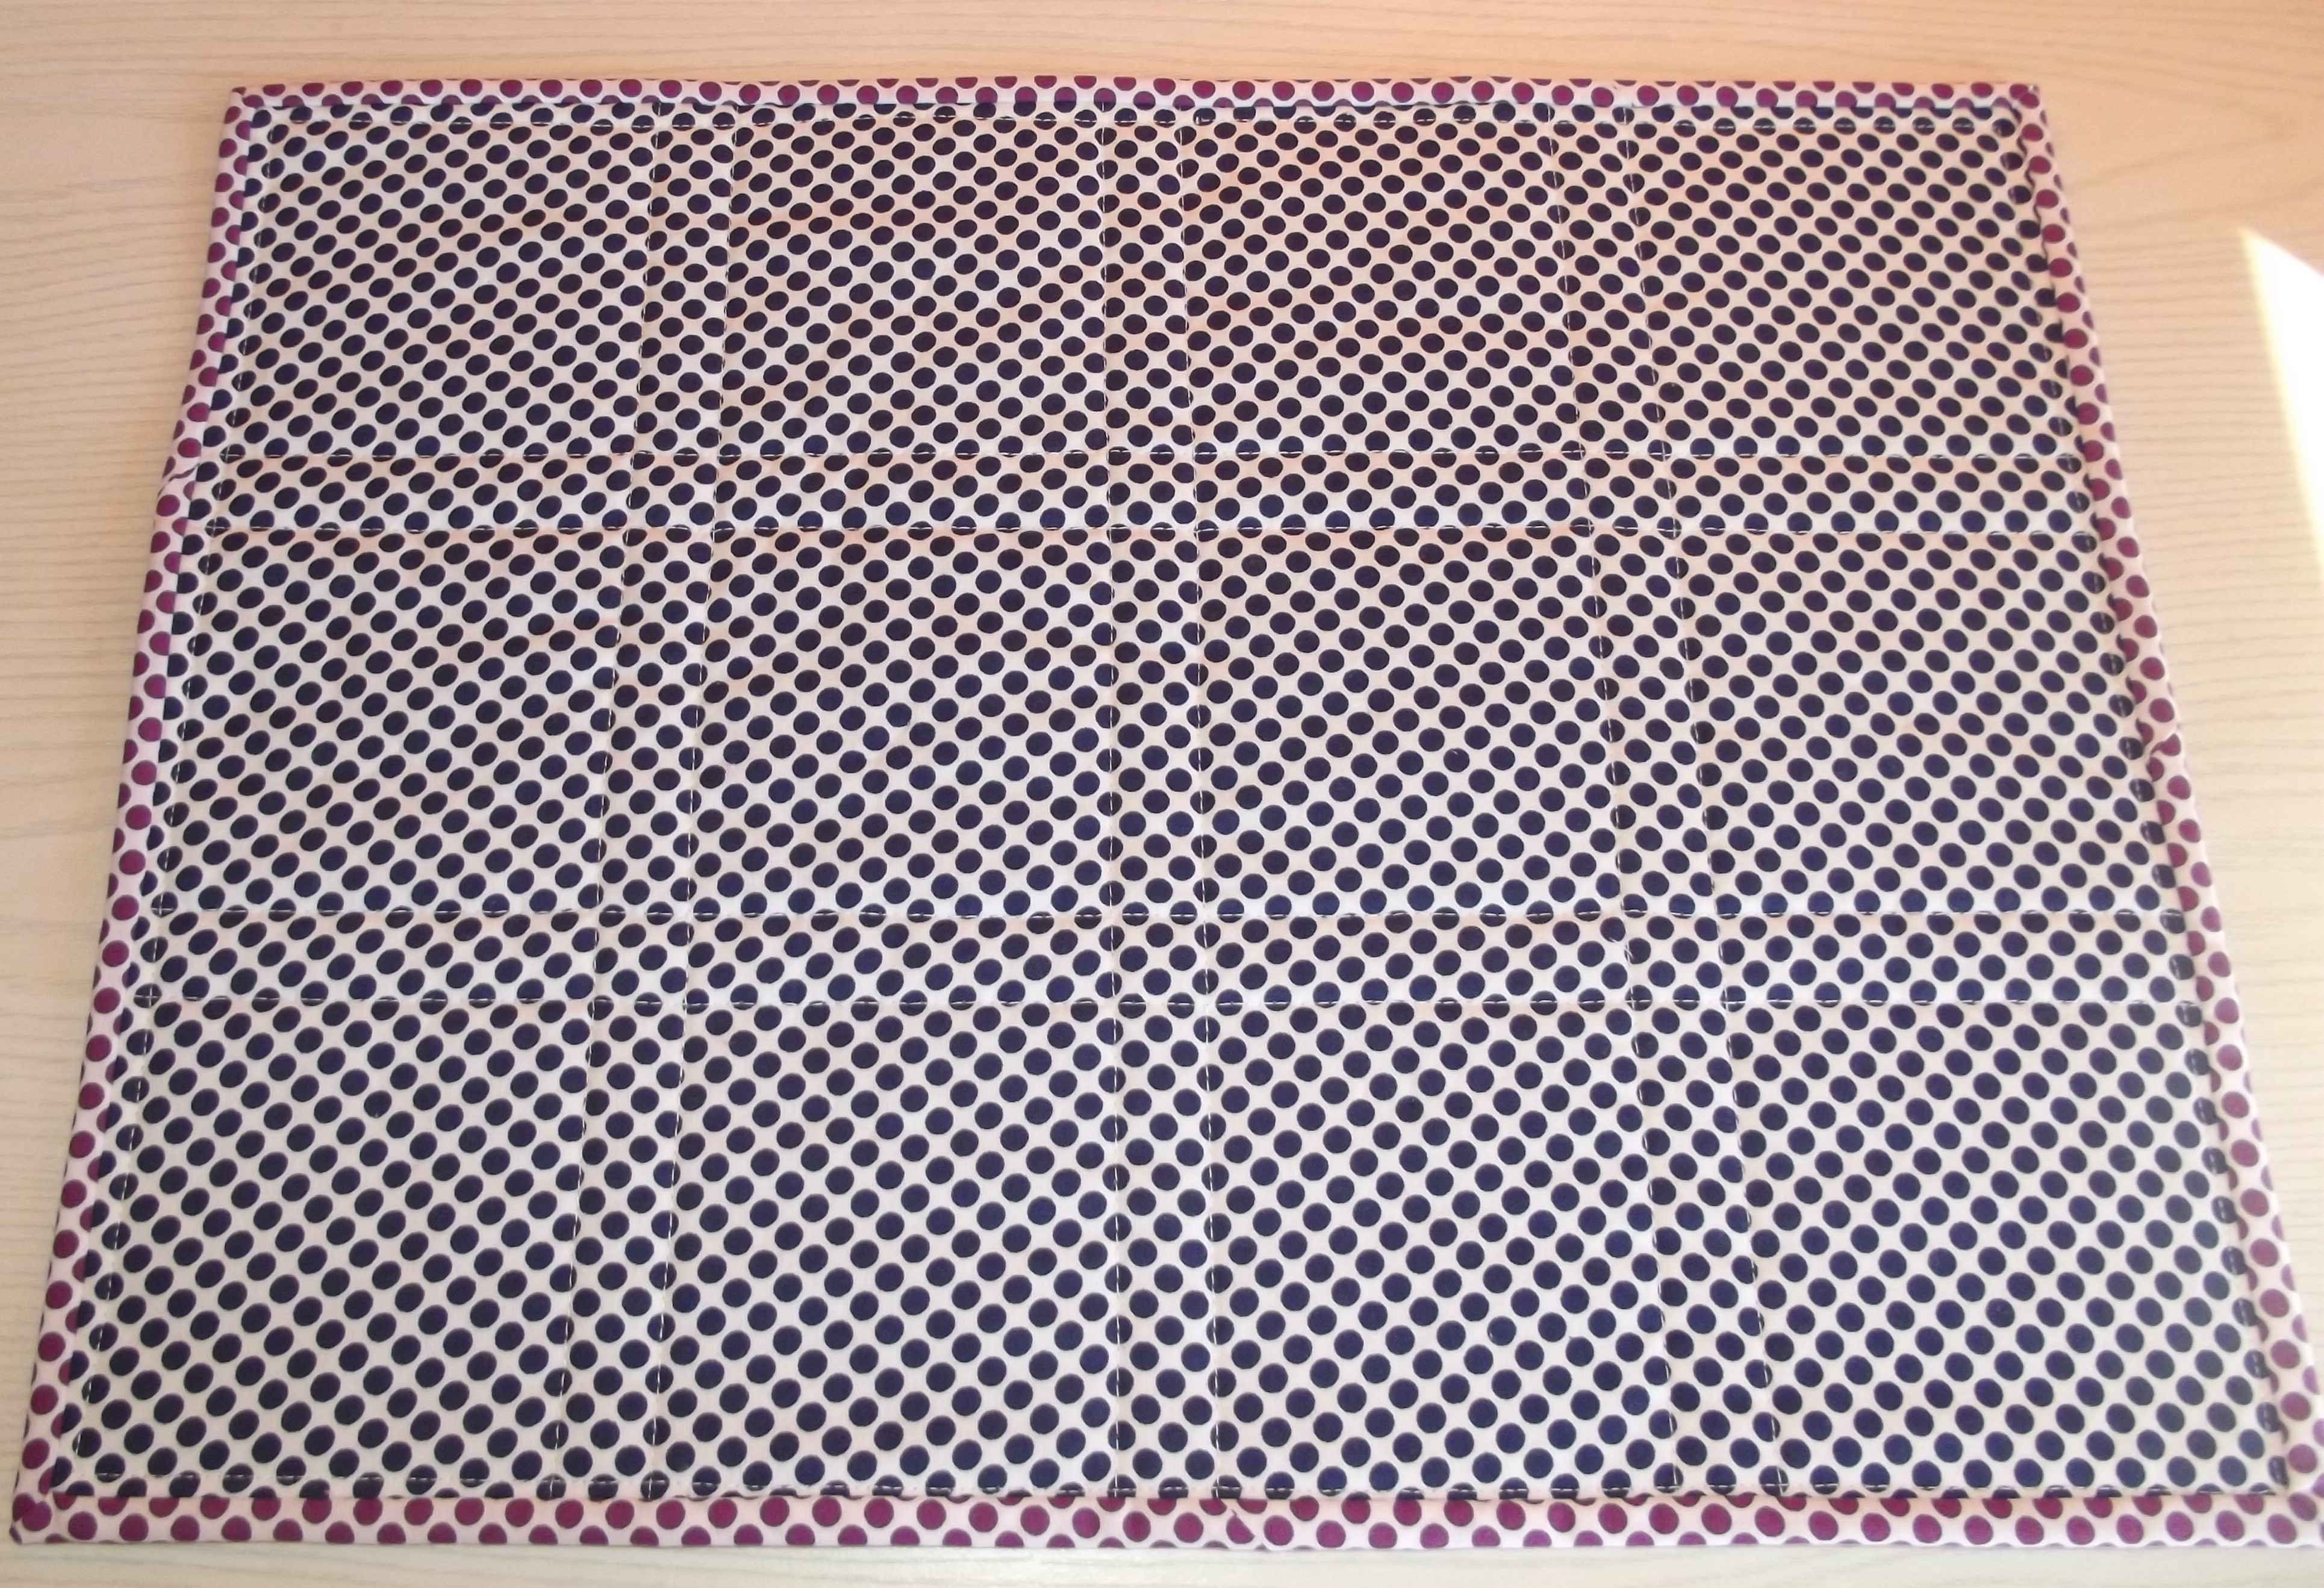 The back of my mat is navy polka dots. If I look at the back for too long it makes my eyes go funny like one of those optical illusions!
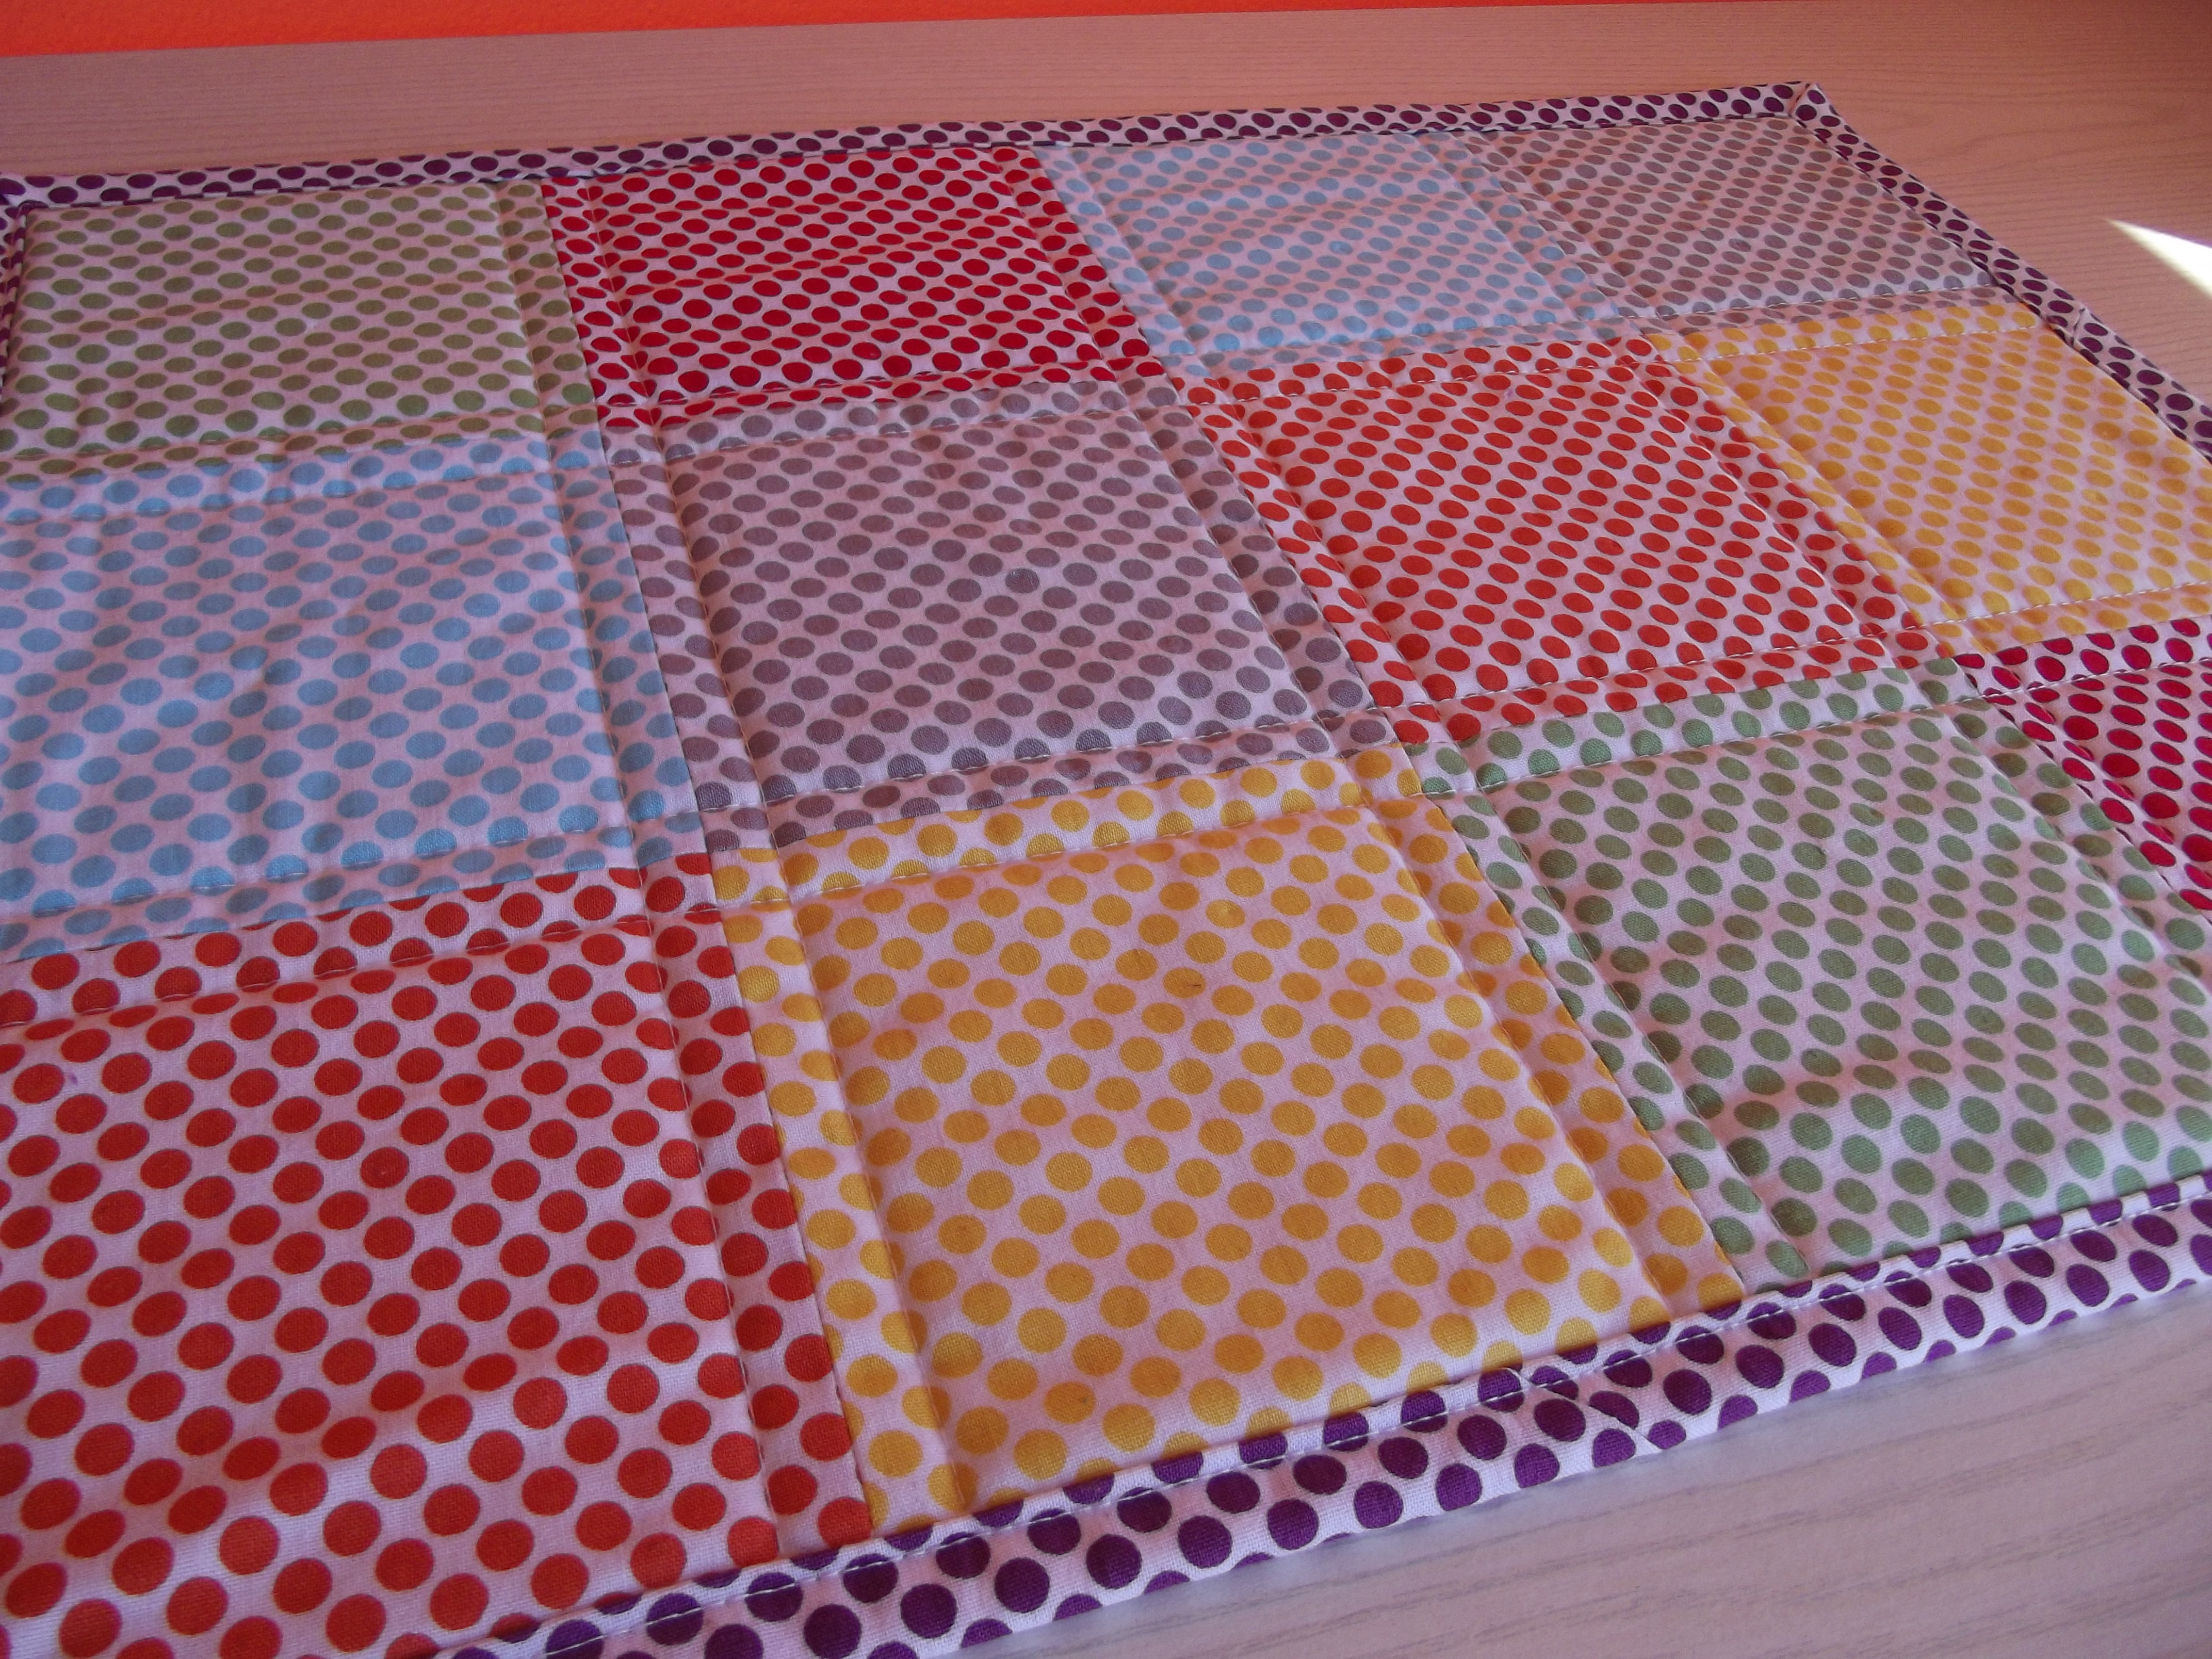
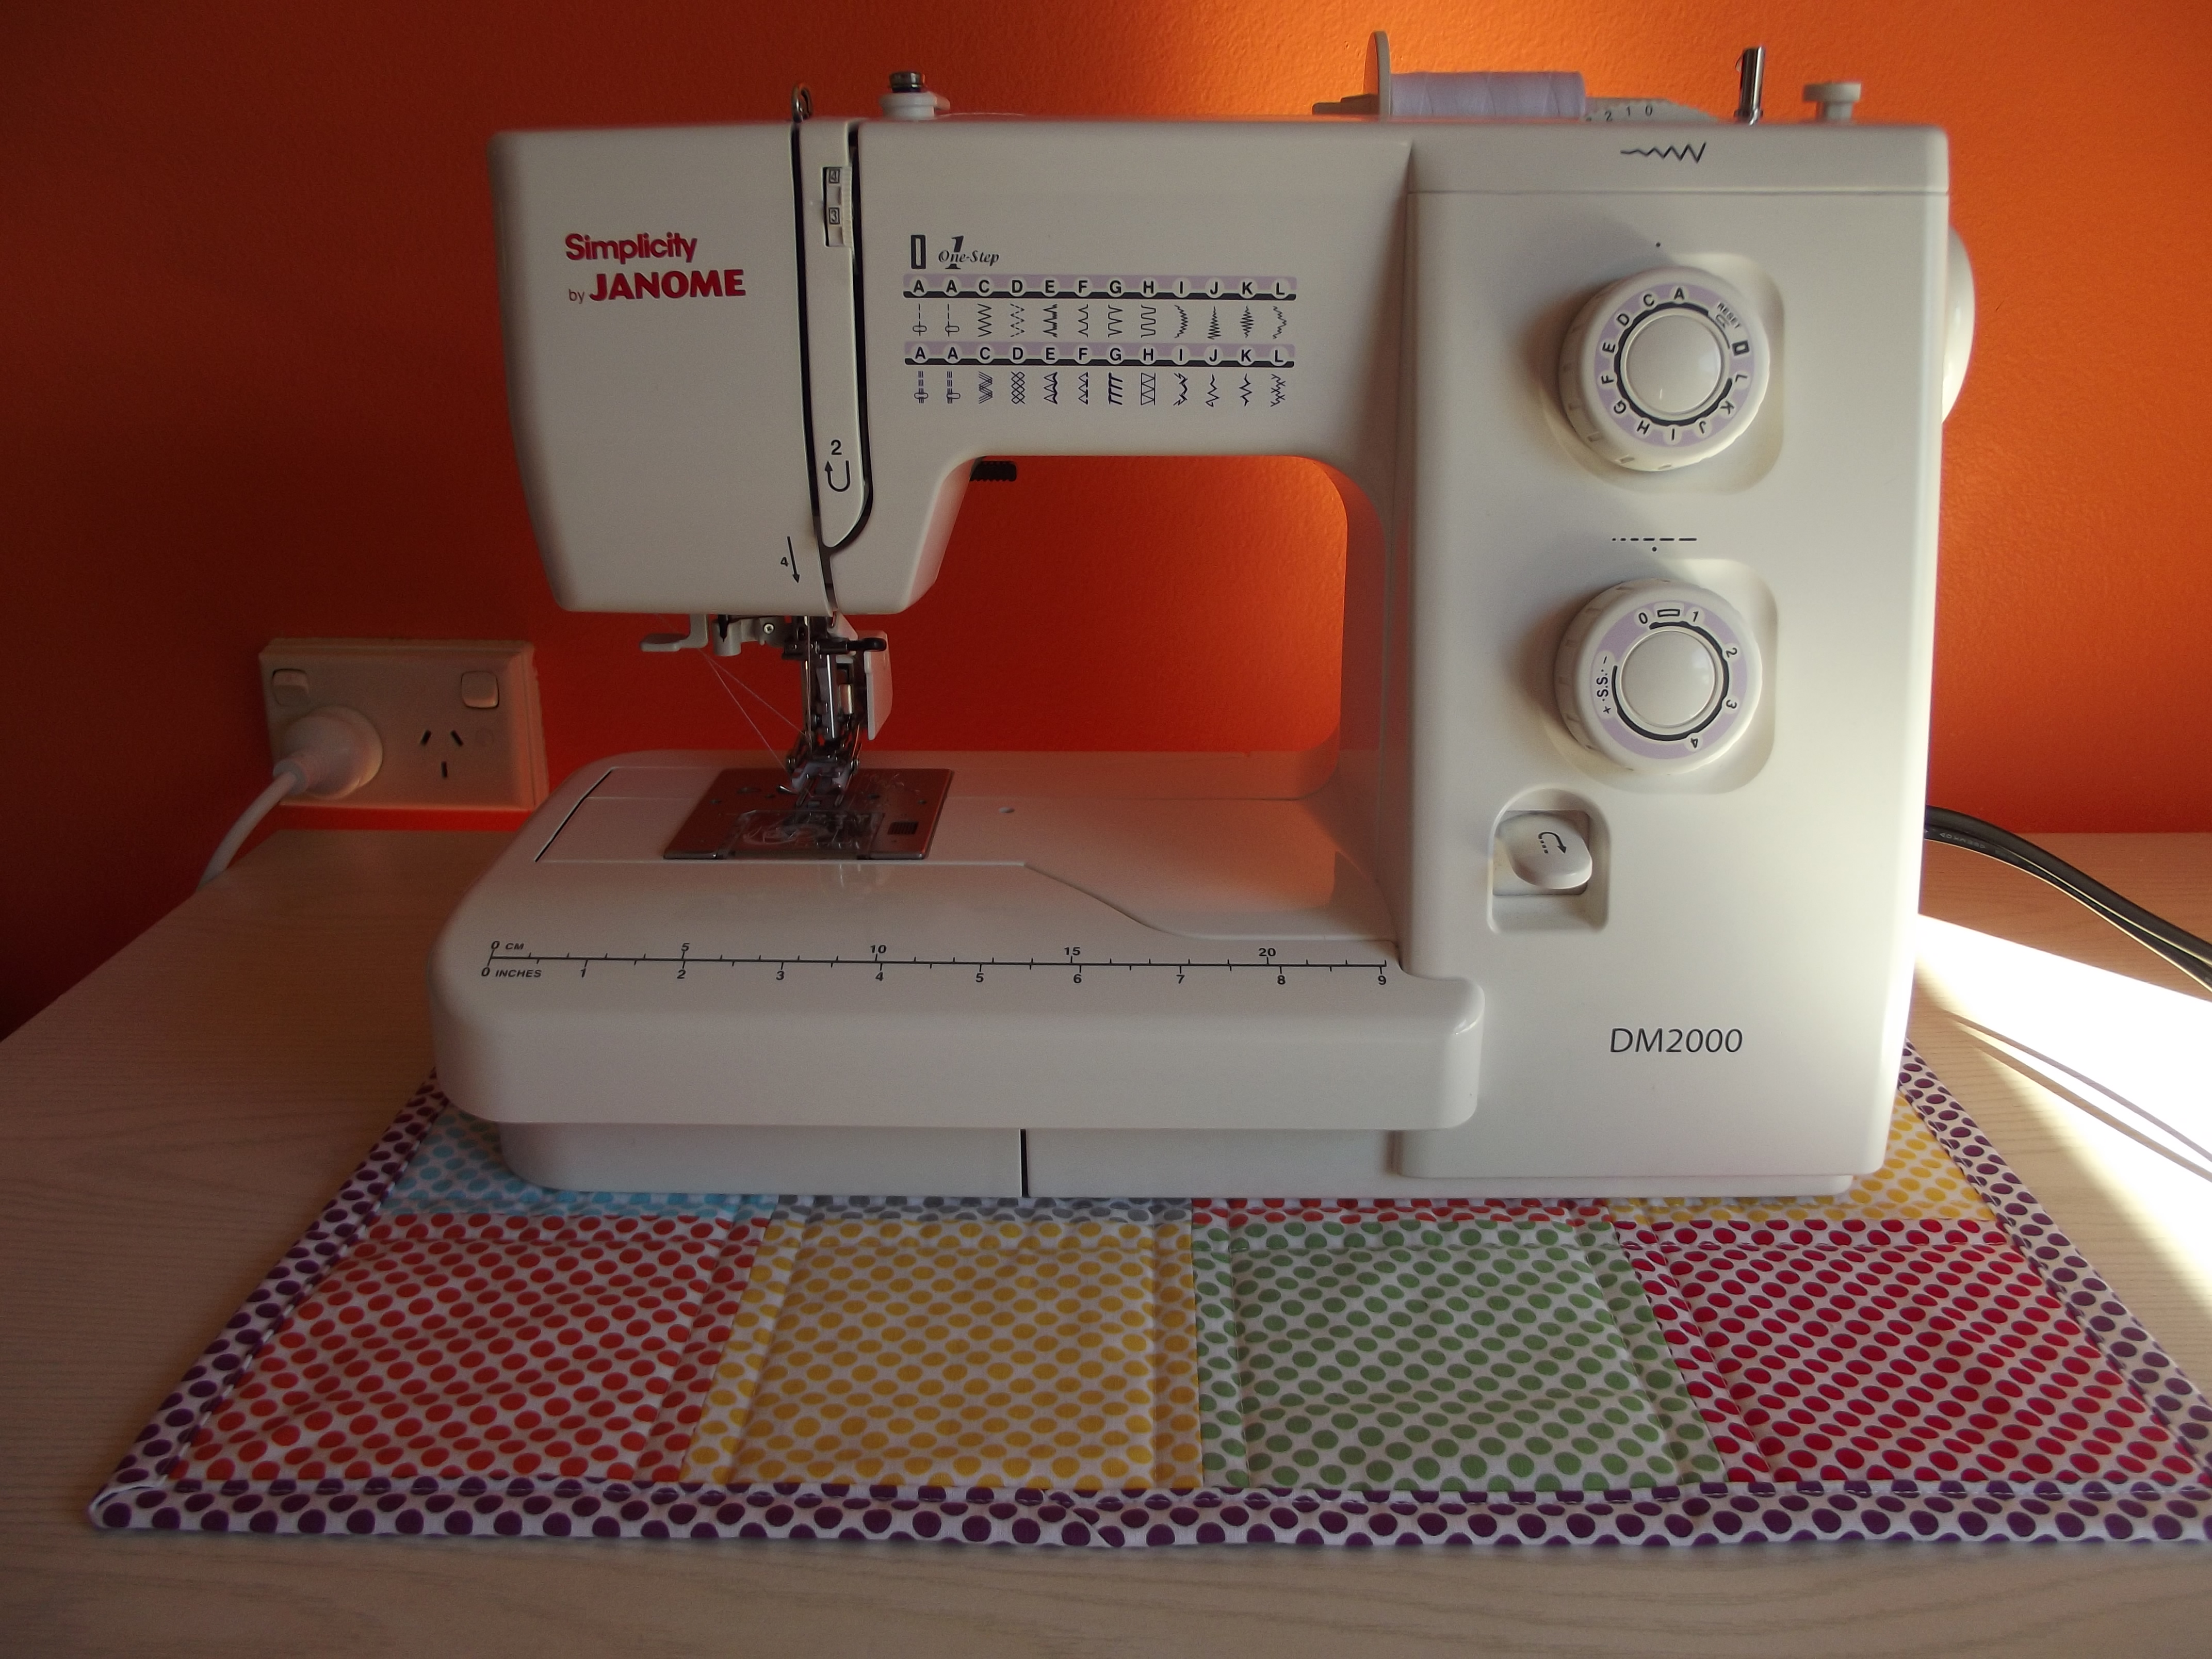 It’s just the right size for sitting under my sewing machine. I love it because it’s bright and cheerful, and I’m so pleased with how it turned out.
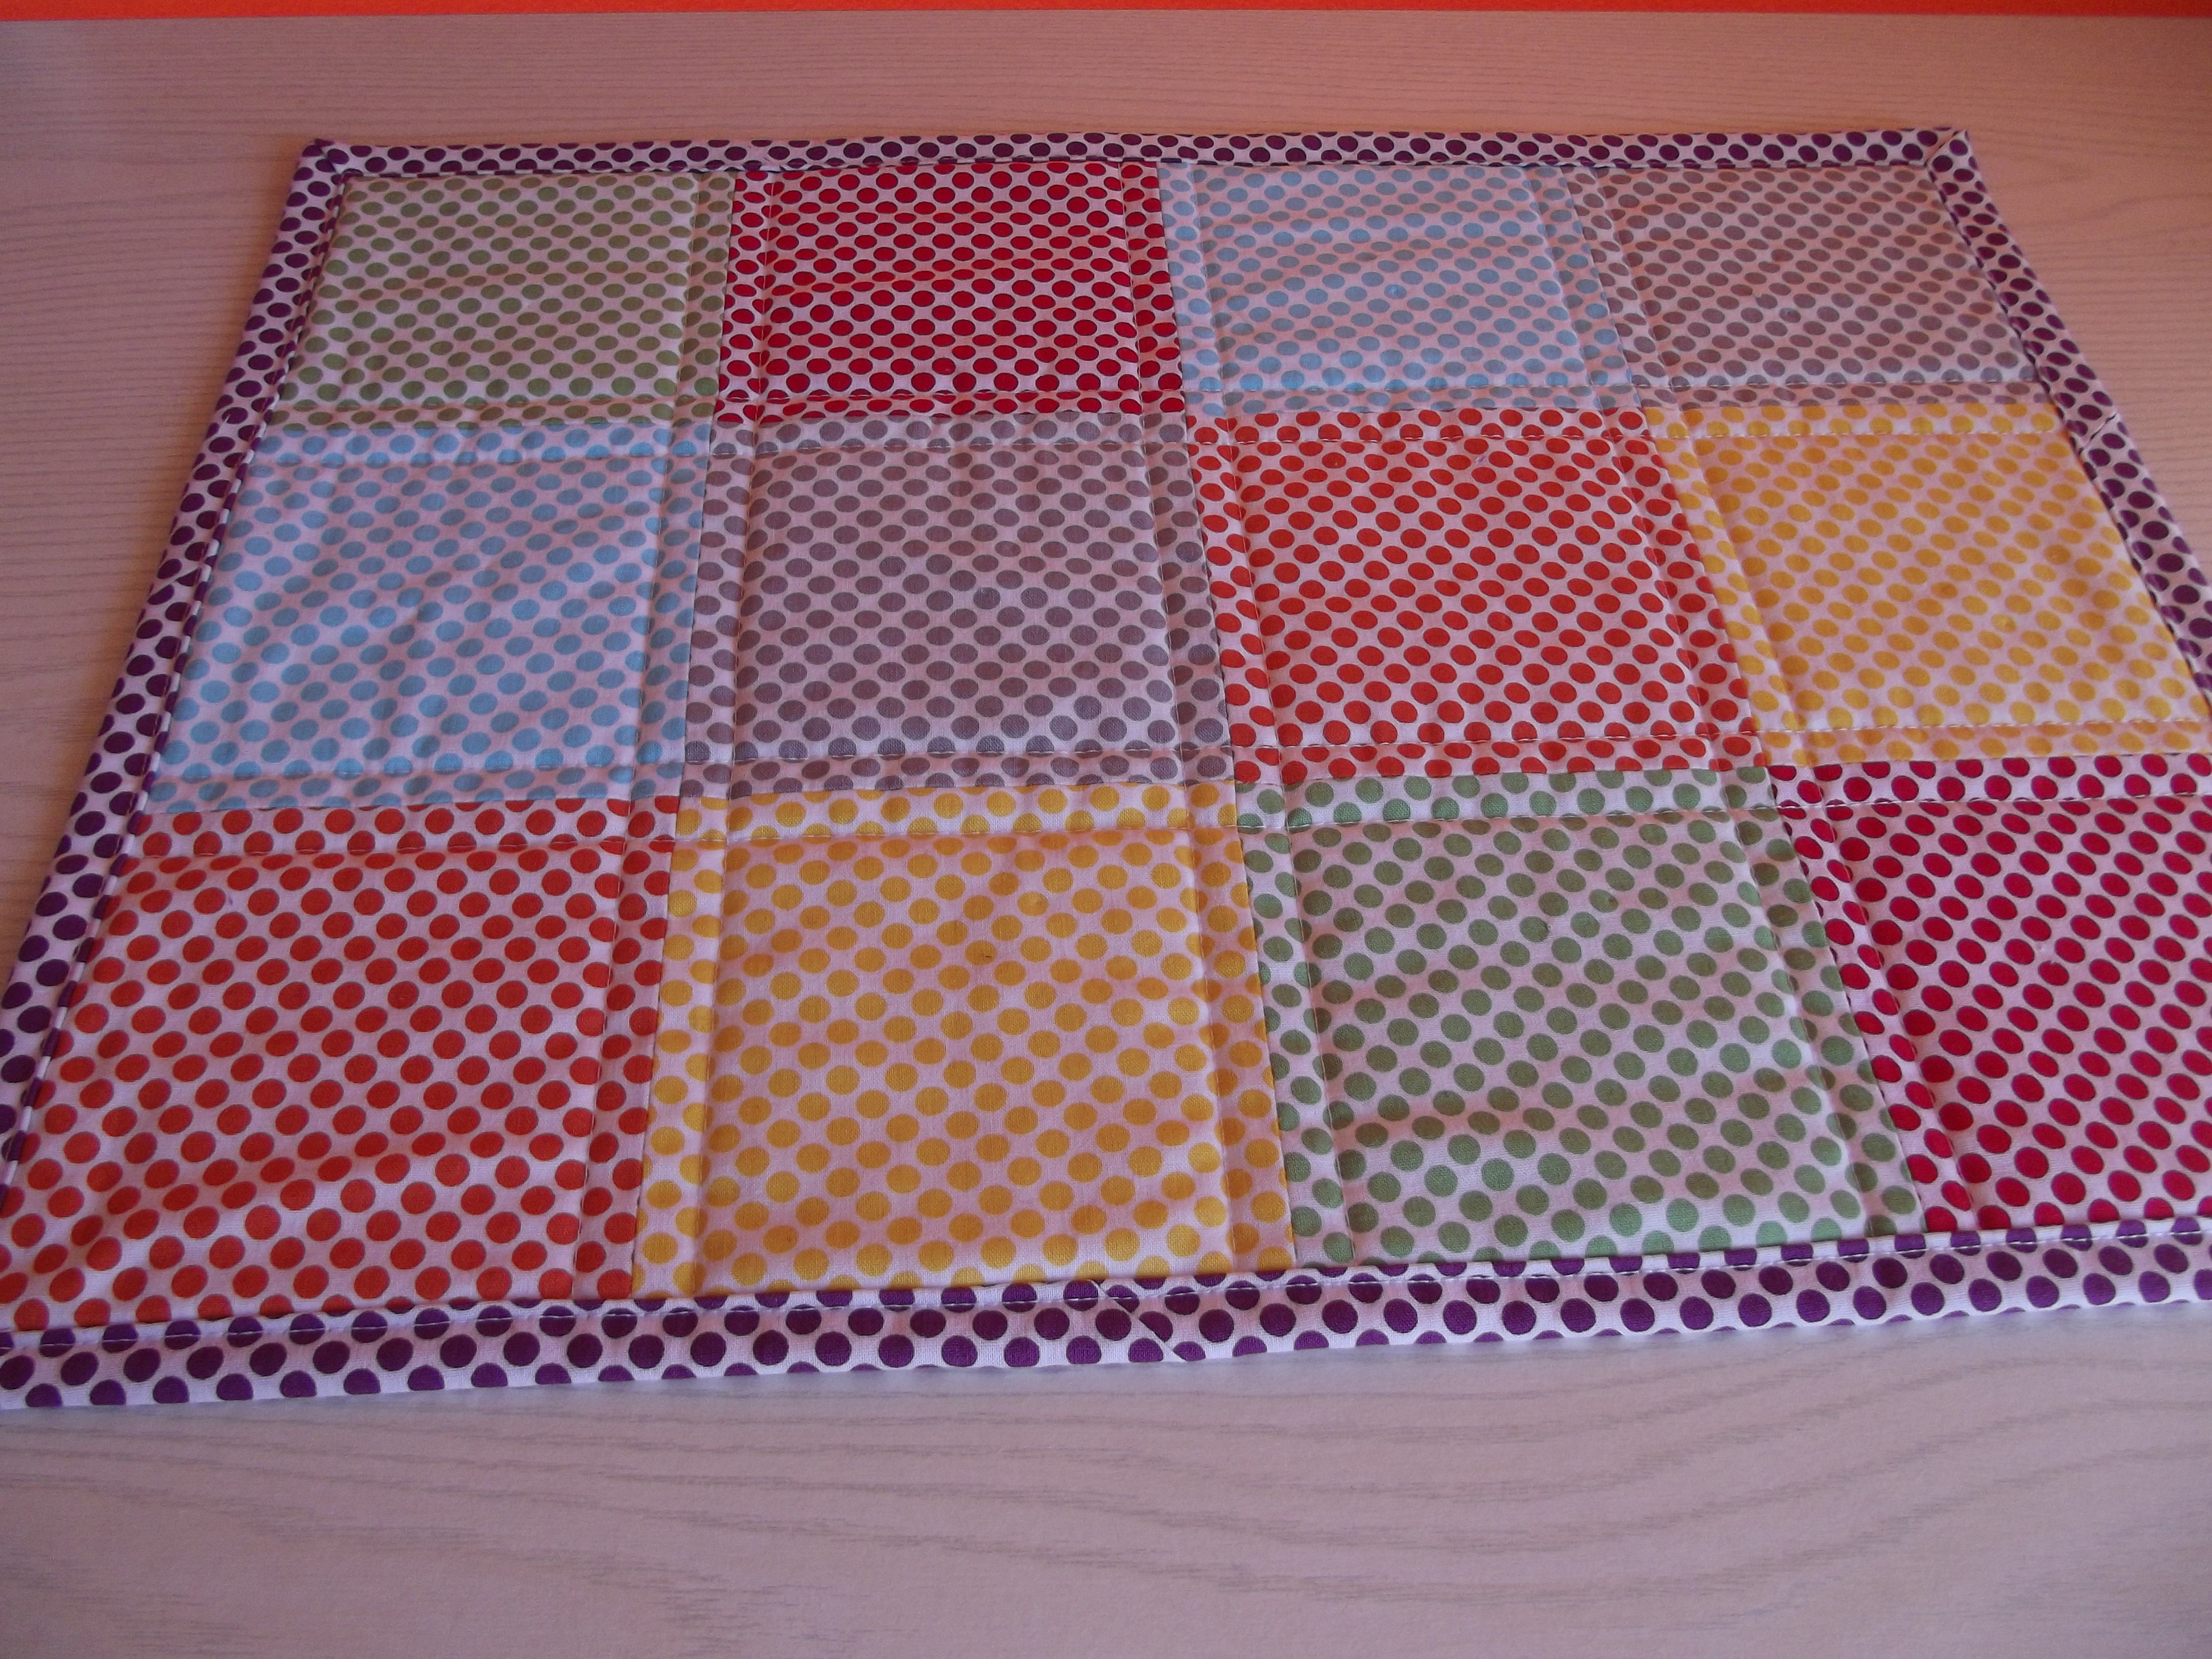
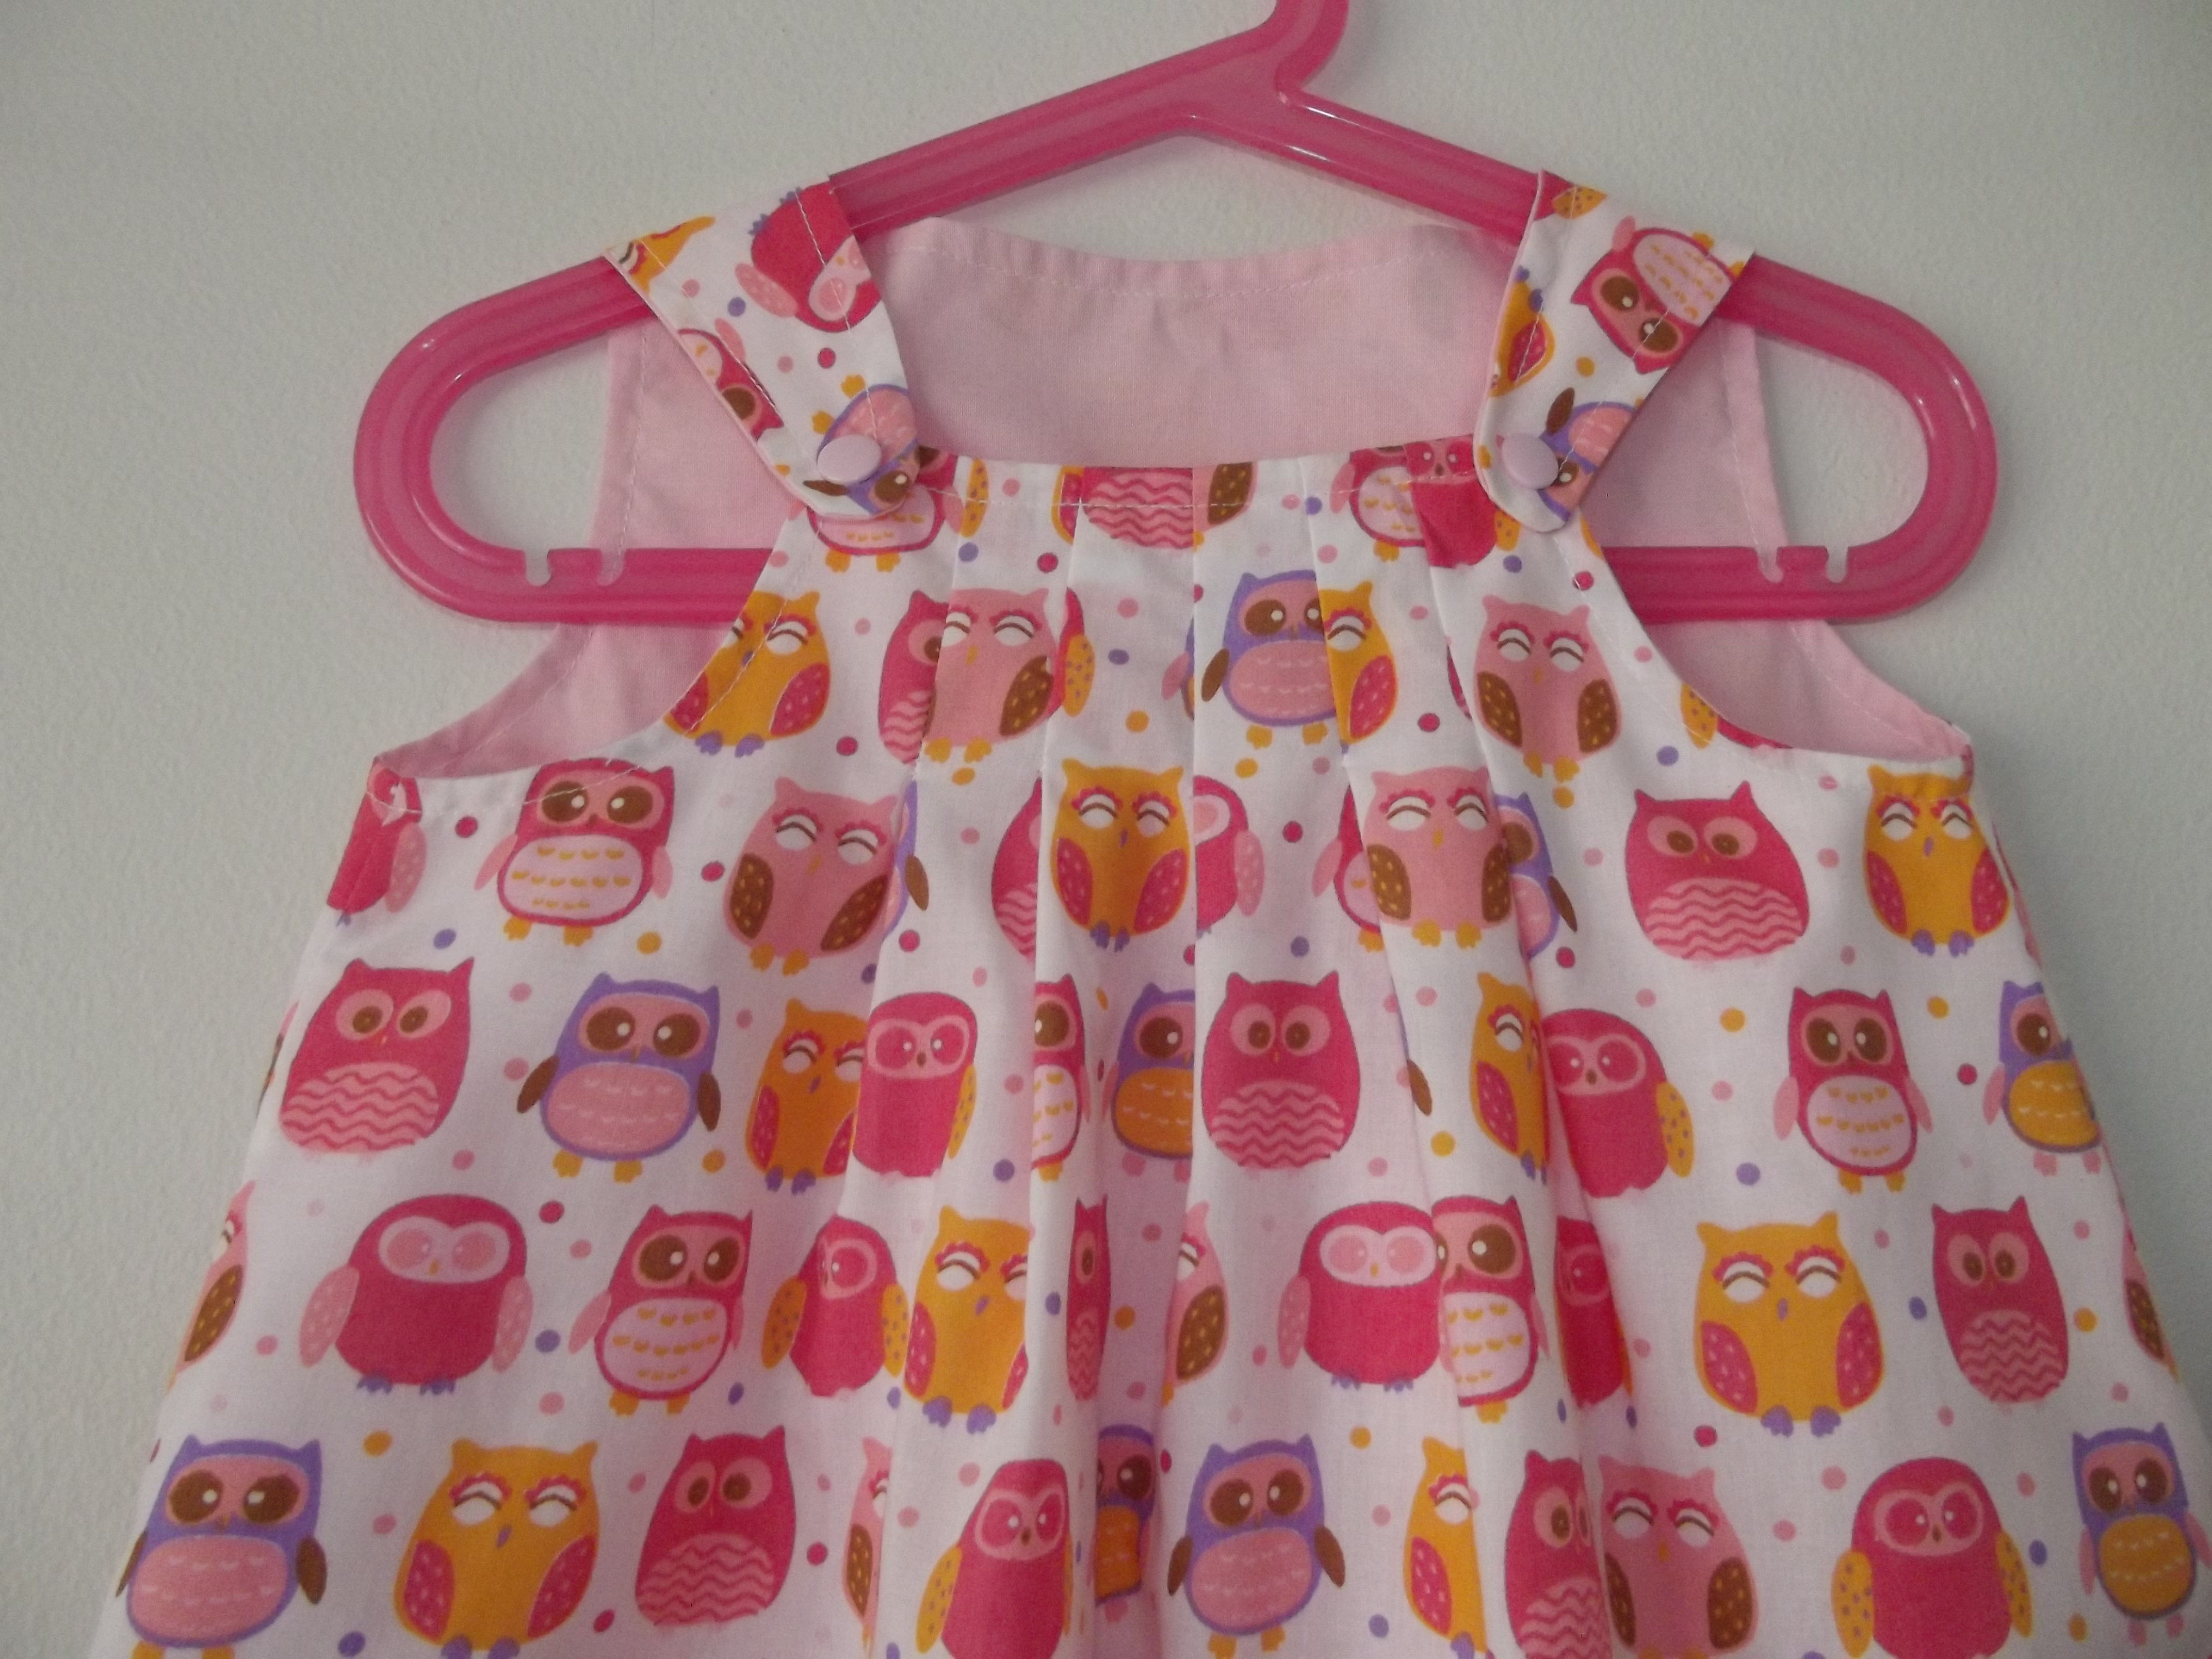
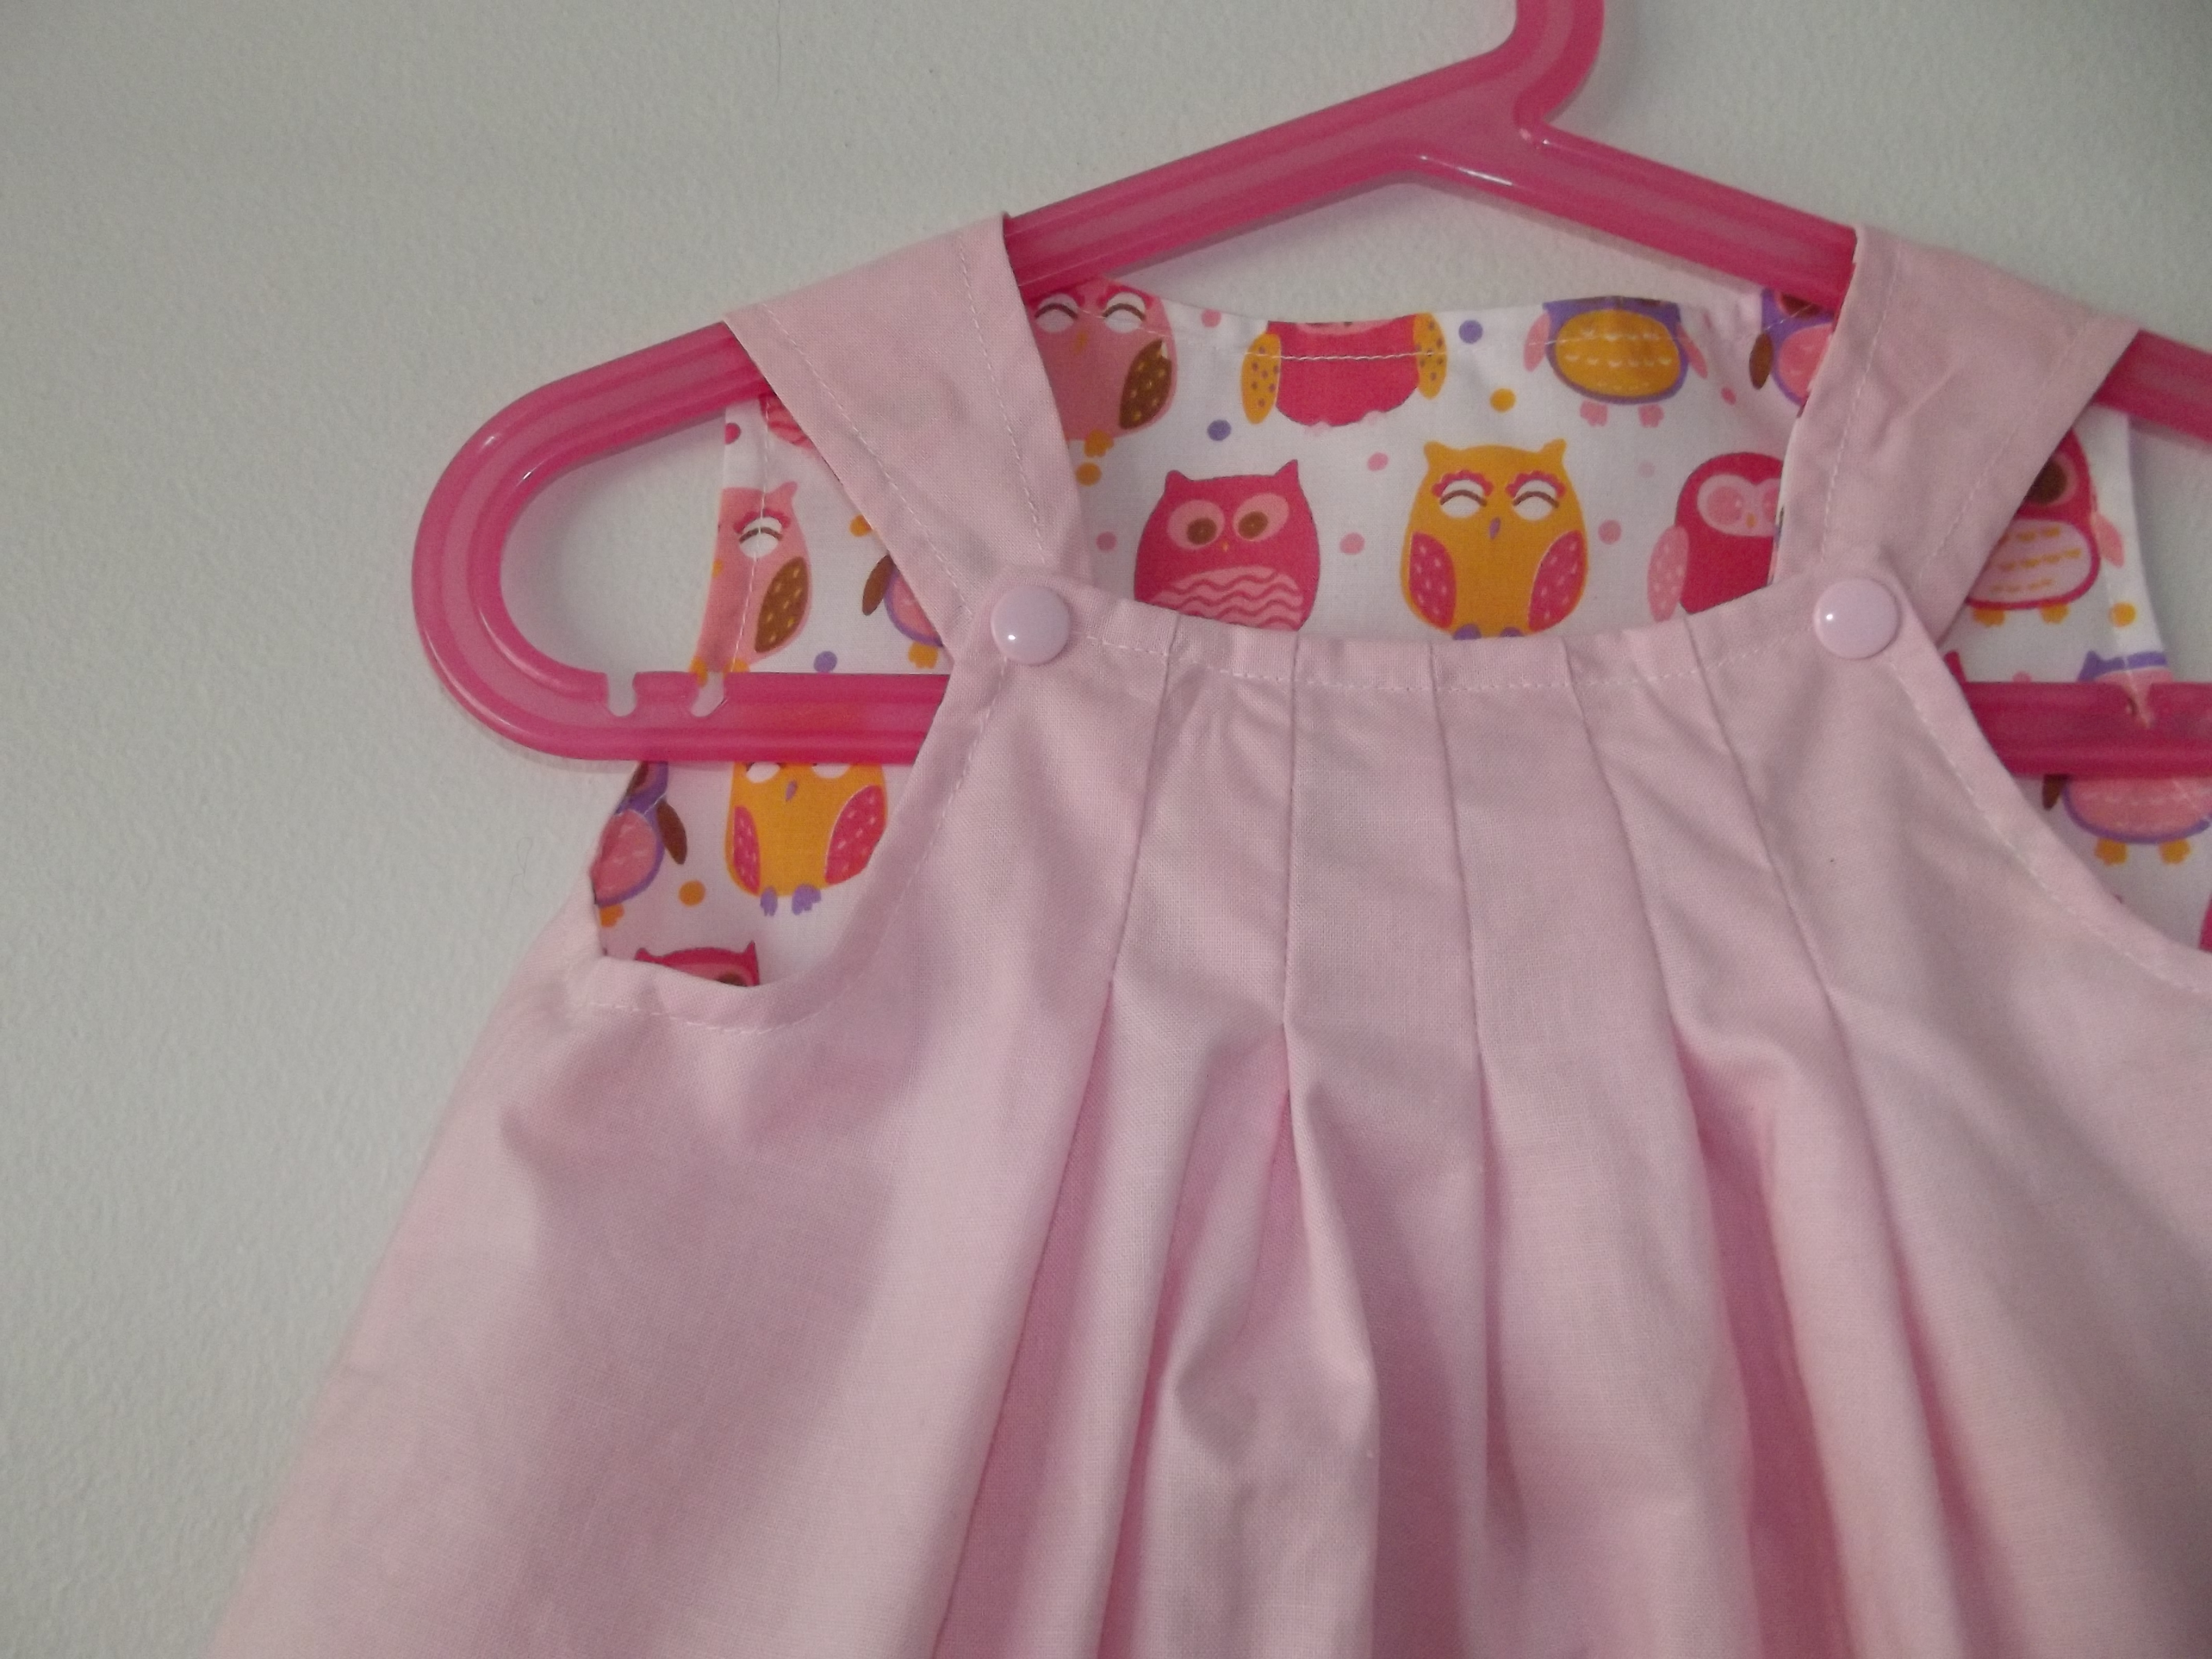
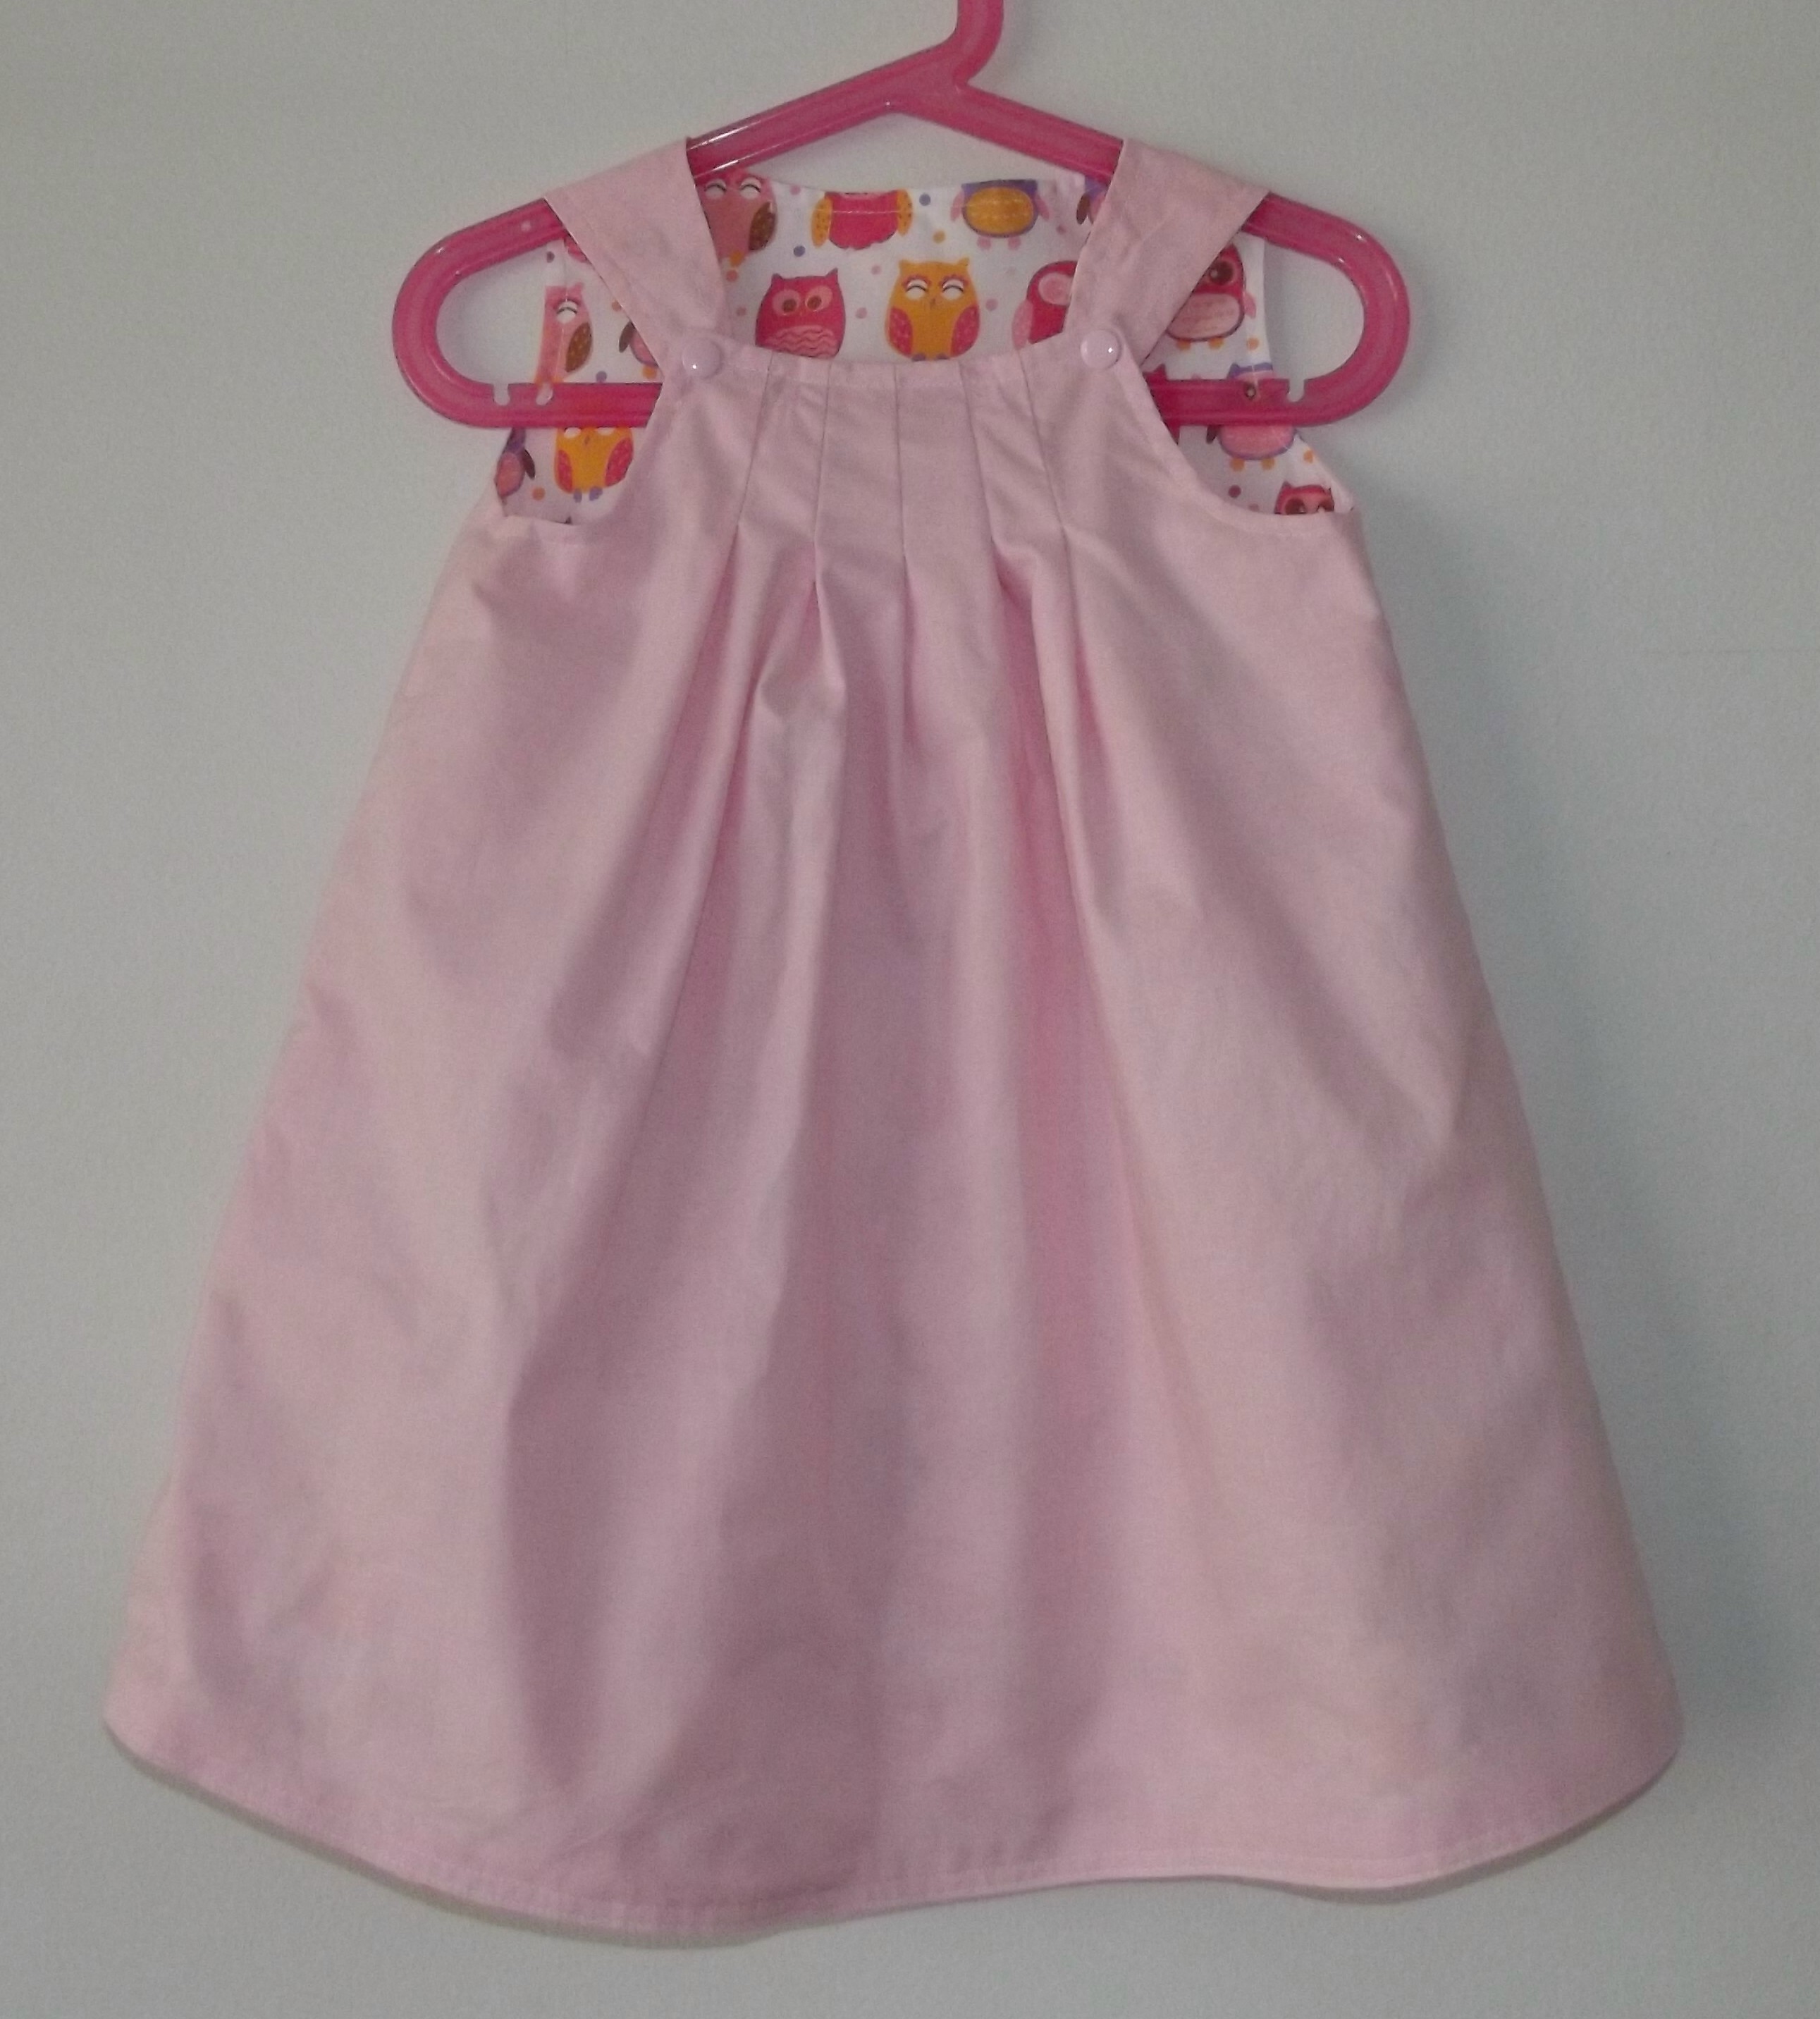
 And here is the finished dress – two dresses in one!